20
© Ideas In2 Action 2008 Welcome to your Health and Safety Wood-working Machinery Module Accreditation day
| Date post: | 25-Dec-2015 |
| Category: |
Documents |
| Upload: | george-gilbert |
| View: | 213 times |
| Download: | 0 times |

© Ideas In2 Action 2008
Welcome to your
Health and Safety
Wood-working Machinery Module
Accreditation day

© Ideas In2 Action 2008
Health and SafetyTraining for teachers ofDesign and Technology
WOOD SAWING MACHINES
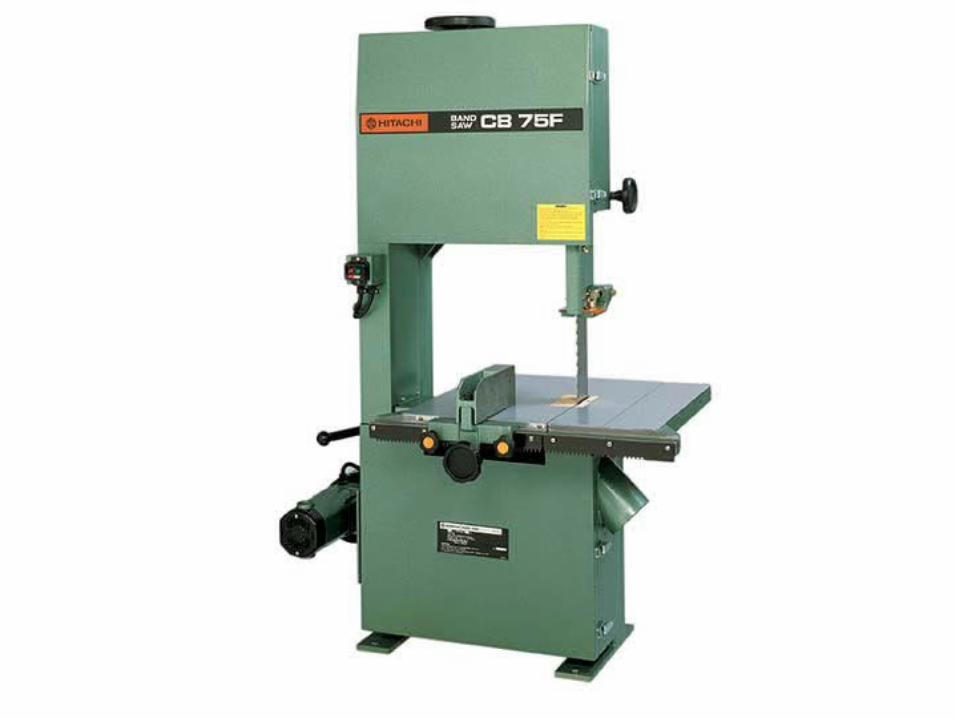
1.The Band Saw
© Ideas In2 Action 2008
The Bandsaw

© Ideas In2 Action 2008
Health and Safety Executive have published a splendid
document on this
http//.www.hse.gov.uk

© Ideas In2 Action 2008
Building Bulletin 81 The Footprint
The green area is acceptable overlap with another machine.

© Ideas In2 Action 2008
RISK ASSESSMENT
• All moving parts covered and guarded. (All guards must be painted yellow)
• Correct adjustment of guard. (Closed down to the bed when not in use.)
• Limited access and ‘High Risk machine’ therefore key switch should be fitted.
• No loose clothing.• Eye protection to be used.• Any access to the enclosed band should be made
when the isolator is locked in the off position

© Ideas In2 Action 2008
RISK ASSESSMENT (contd.)
• Entanglement if moving parts are exposed• Dust extraction should be integrated at source.• Combination of plastics and wood dust extracted
and collected from the same machine is a severe fire risk due to static build up and fine dust particles.
• Cutting speeds correct tension of the blade and an appropriate blade for the material being cut should be addressed

© Ideas In2 Action 2008
RISK ASSESSMENT (contd.)
• Band saws are used to cut profiles in material not irregular oblique shapes
• Withdrawing the work from a band saw can pull the blade from the band wheels resulting in snapped or buckled blade and serious injury to the operator.
• Work should only be fed in one direction and the turning circle of the cut is relative to the width of the band

© Ideas In2 Action 2008
CHANGING THE BLADE
• Isolate the machine from main power source.
• Remove all guards and release the tension of the blade
• Remove blade (wearing goggles)• Check pulleys and brushes for dust or
resin build up (vacuum cleaner)• Inspection of blunt blade and ‘kinking’• Fold and store old blade safely

© Ideas In2 Action 2008
CHANGING THE BLADE (contd)
• Safely un-ravel new blade
• Fit new blade checking direction of teeth
• Set the tension and tracking of the blade
• Rotate wheel to check for alignment and restrictions

© Ideas In2 Action 2008
CHANGING THE BLADE (contd)
• Set the top and bottom blade guides to their correct positions ensuring slight continued clearance on the thrust bearing/guide
• Check correct adjustment for pulley brush and replace all guards securely
• Check rotation of blade once more before running the machine for a test cut

© Ideas In2 Action 2008
ORDERING A NEW BLADE
• Tooth size (number of teeth per inch)• Length of band (circumference size)• Width of band• The details are normally dependent on the
materials to be cut.• (this also goes for the setting of the tensioning
and speed of the band saw) You are advised to consult the manufacturers hand book for further details

© Ideas In2 Action 2008

© Ideas In2 Action 2008

© Ideas In2 Action 2008

© Ideas In2 Action 2008

© Ideas In2 Action 2008

© Ideas In2 Action 2008

© Ideas In2 Action 2008

© Ideas In2 Action 2008


