6. STQA Mini Project No.1 6.1 Title Create a small application by selecting relevant system environment/ platform and programming languages. Narrate concise Test Plan consisting features to be tested and bug taxonomy. Prepare Test Cases inclusive of Test Procedures for identified Test Scenarios. Perform selective Black-box and White-box testing covering Unit and Integration test by using suitable Testing tools. Prepare Test Reports based on Test Pass/Fail Criteria and judge the acceptance of application developed. 6.2 Problem Definition: Perform Desktop Application testing using Automation Tool like JUnit generate Test Report by Using tool like Apache Maven. 6.3 Prerequisite: Knowledge of Core Java, Basic Concepts of Unit Testing, Test Cases Writing using Junit etc tool . 6.4 Software Requirements: JDK 1.8, Eclipse java photon-R version, TestNG . 6.5 Hardware Requirement: PIV, 2GB RAM, 500 GB HDD, Lenovo A13-4089Model. 6.6 Learning Objectives: R C V T Sig n
Transcript
6. STQA Mini Project No.1 6.1 Title Create a small application by selecting relevant system environment/ platform and programming languages. Narrate concise Test Plan consisting features to be tested and bug taxonomy. Prepare Test Cases inclusive of Test Procedures for identified Test Scenarios. Perform selective Black-box and White-box testing covering Unit and Integration test by using suitable Testing tools. Prepare Test Reports based on Test Pass/Fail Criteria and judge the acceptance of application developed. 6.2 Problem Definition: Perform Desktop Application testing using Automation Tool like JUnit generate Test Report by Using tool like Apache Maven.
6.3 Prerequisite: Knowledge of Core Java, Basic Concepts of Unit Testing, Test Cases Writing using Junit etc tool .
6.6 Learning Objectives: We are going to learn how to Prepare Test Cases inclusive of Test Procedures for identified Test Scenarios. Perform selective Black-box and White-box testing covering Unit and Integration test by using suitable Testing tools. also Prepare Test Reports based on Test Pass/Fail Criteria. 6.7 Outcomes: You are able to understand Unit and Integration testing with Tool with Test Report.
6.8 Theory Concepts: 6.8.1 What is Unit Testing? Unit Testing of software applications is done during the development (coding) of an application.
R C V T Sign
The objective of Unit Testing is to isolate a section of code and verify its correctness. In procedural programming a unit may be an individual function or procedure The goal of Unit Testing is to isolate each part of the program and show that the individual parts are correct. Unit Testing is usually performed by the developer.
6.8.2 How to Create Simple Junit Test in Eclipse IDE 1. Download JDK 1.8 and Eclipse latest version here we are using eclipse-java-photon-R-win32. 2. Open Eclipse IDE.
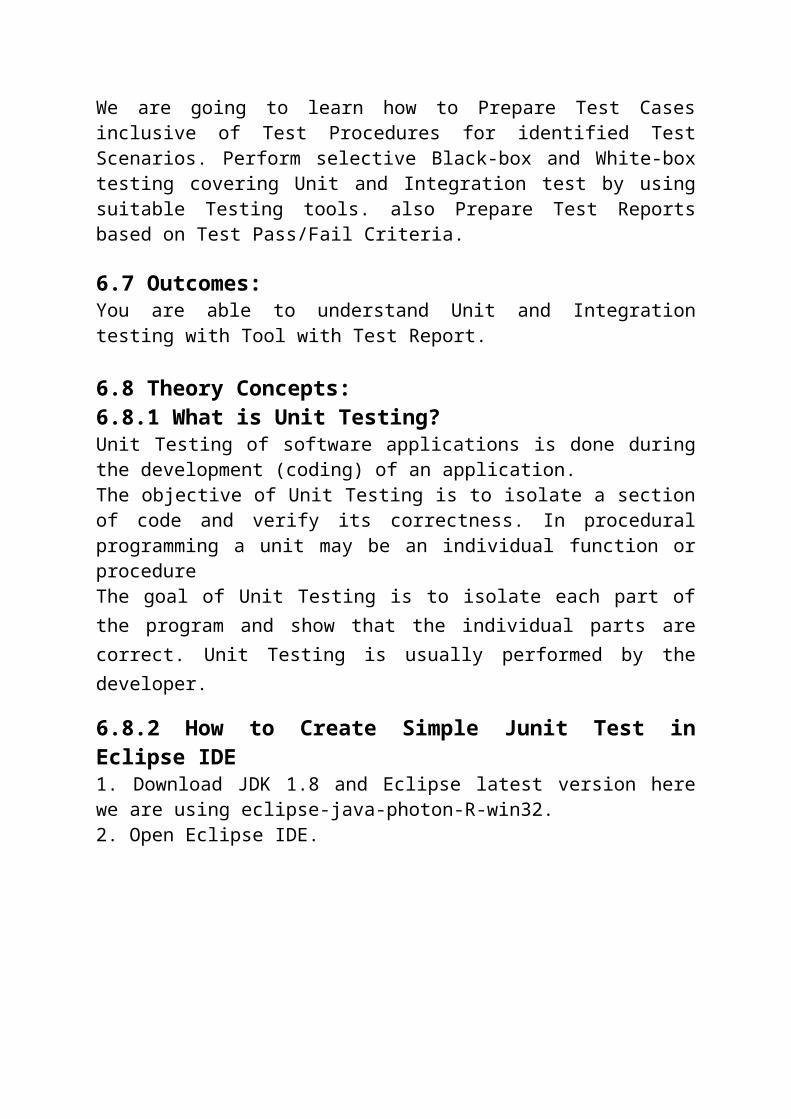
3. Go to File and Select New -> Create New Java Project
4. Give Junit name to the project and check use project folder as root for source and class files
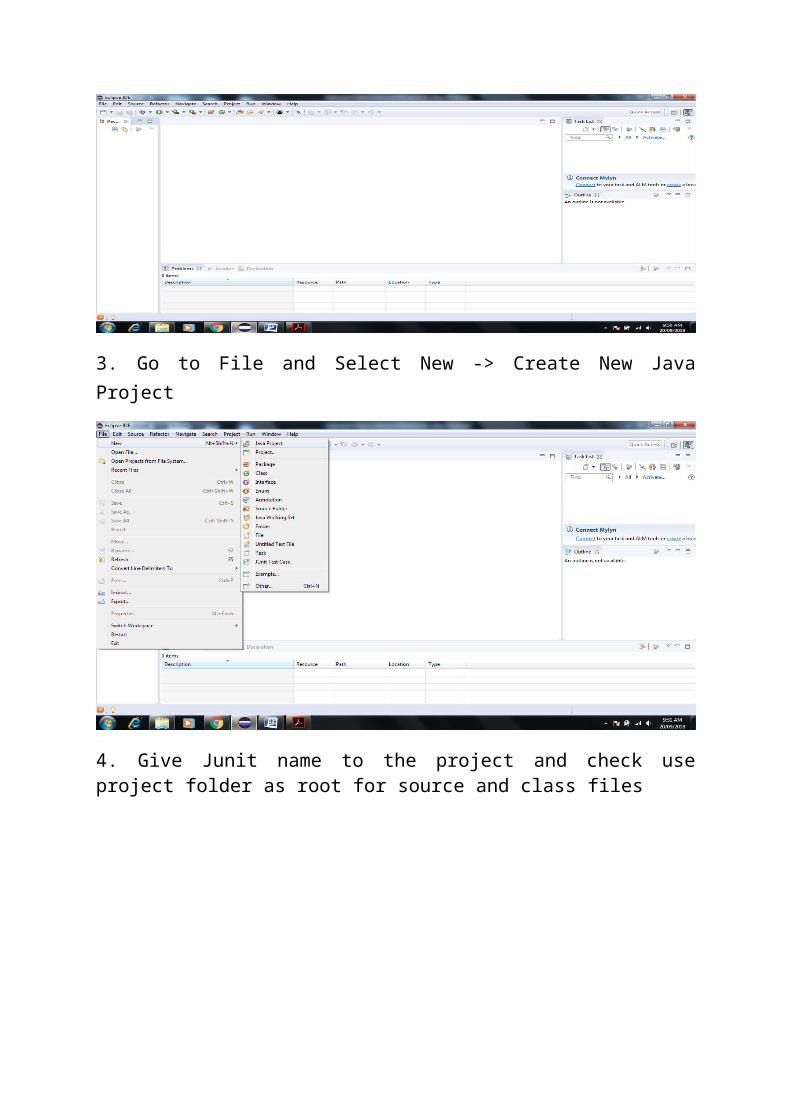
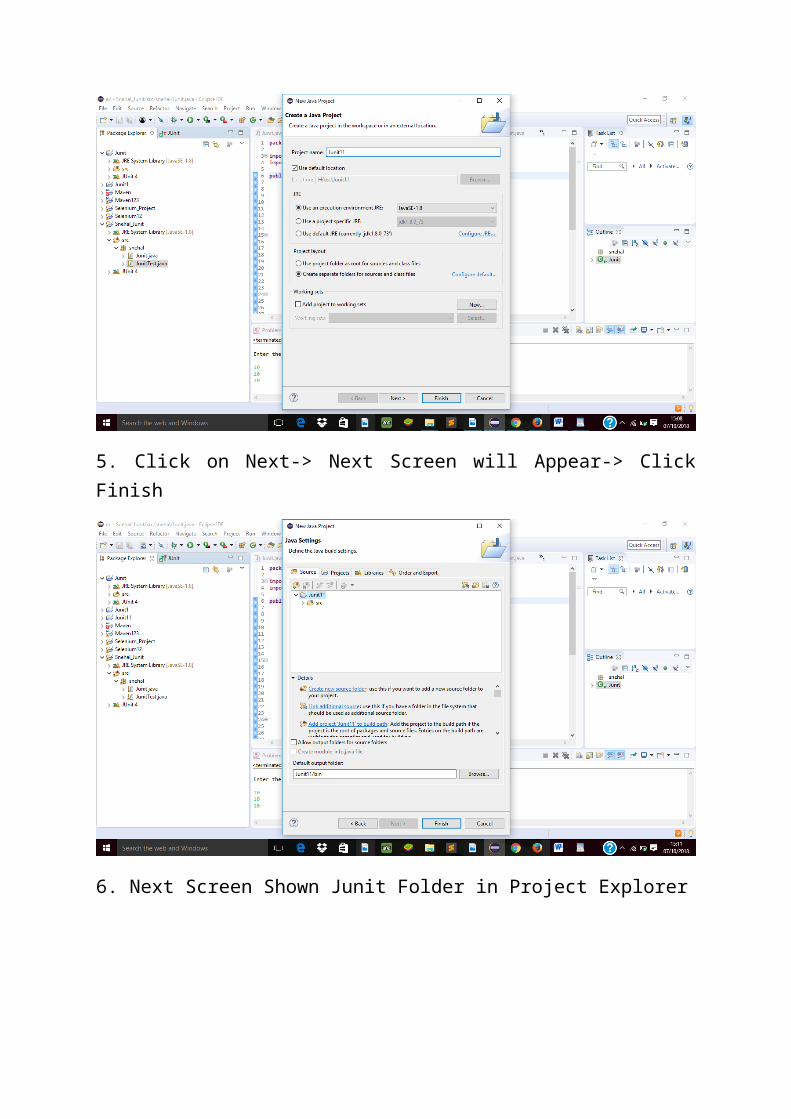
5. Click on Next-> Next Screen will Appear-> Click Finish
6. Next Screen Shown Junit Folder in Project Explorer
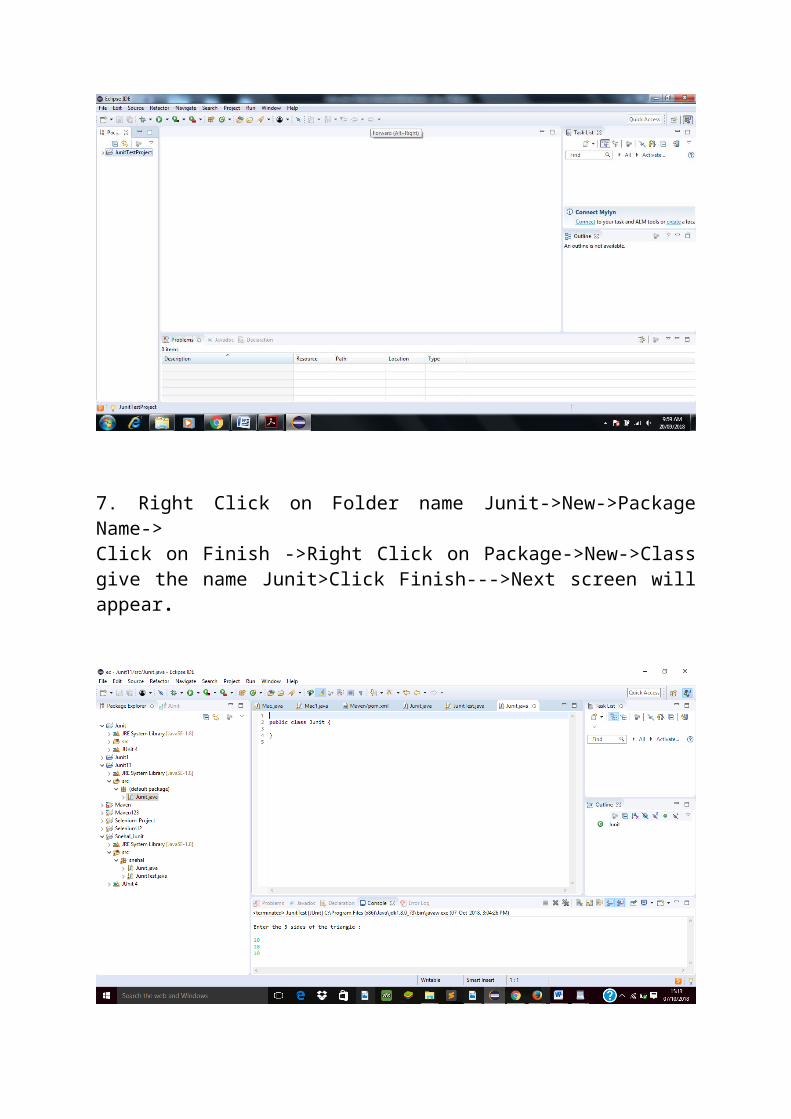
7. Right Click on Folder name Junit->New->Package Name->Click on Finish ->Right Click on Package->New->Class give the name Junit>Click Finish--->Next screen will appear.
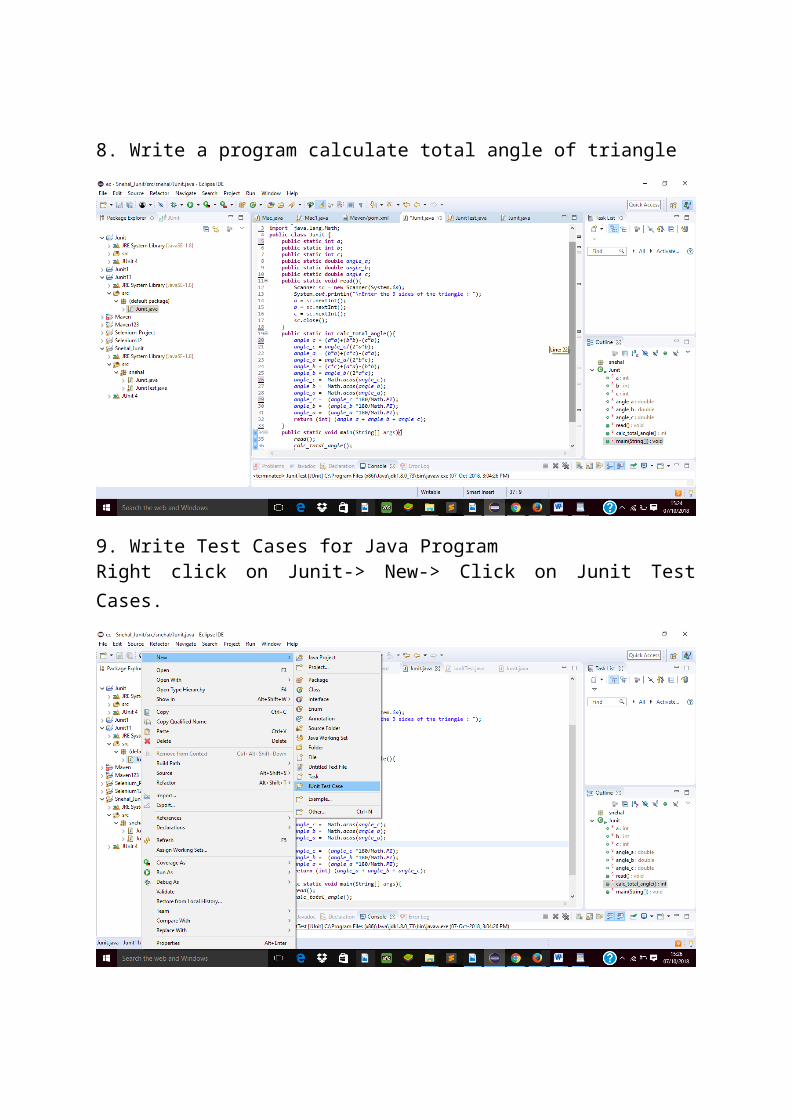
8. Write a program calculate total angle of triangle
9. Write Test Cases for Java Program Right click on Junit-> New-> Click on Junit Test Cases.
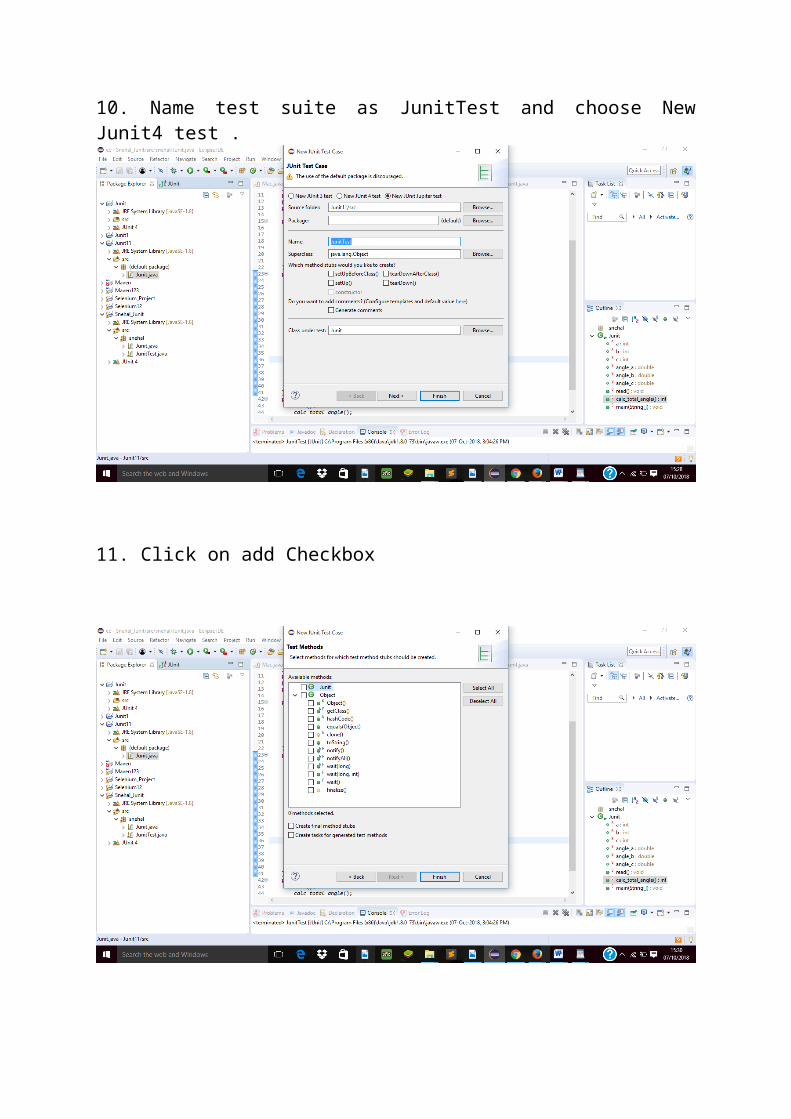
10. Name test suite as JunitTest and choose New Junit4 test .
11. Click on add Checkbox
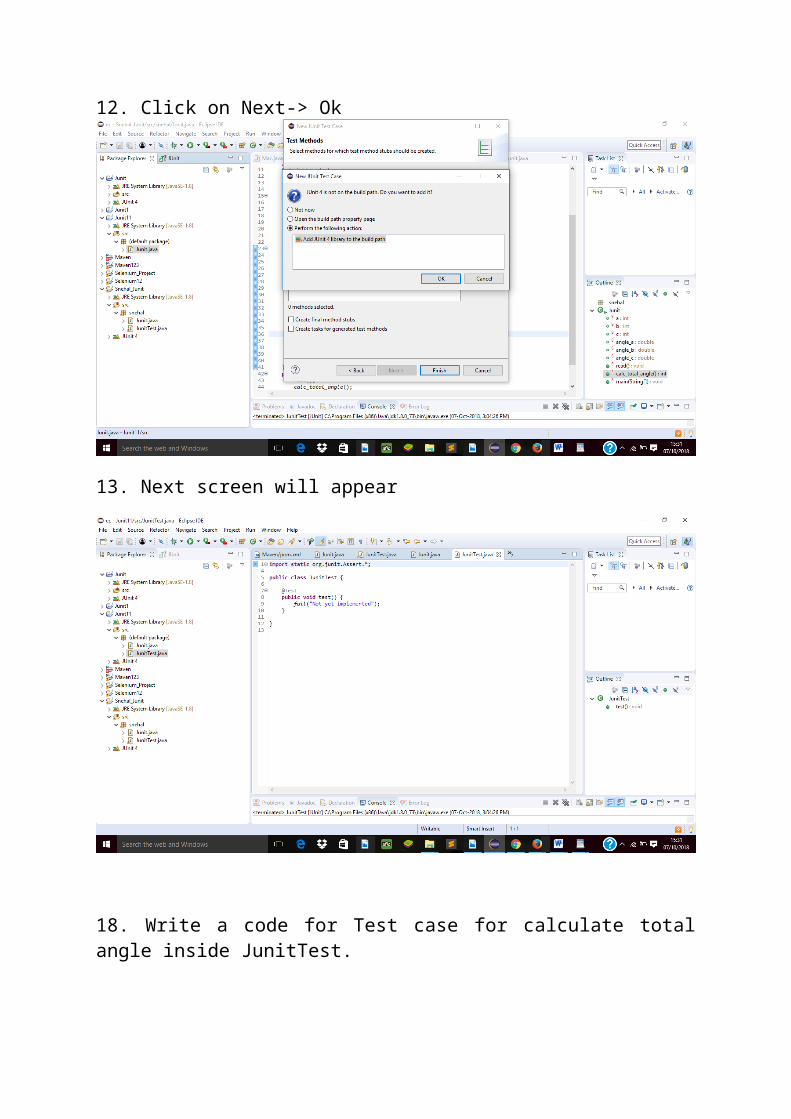
12. Click on Next-> Ok
13. Next screen will appear
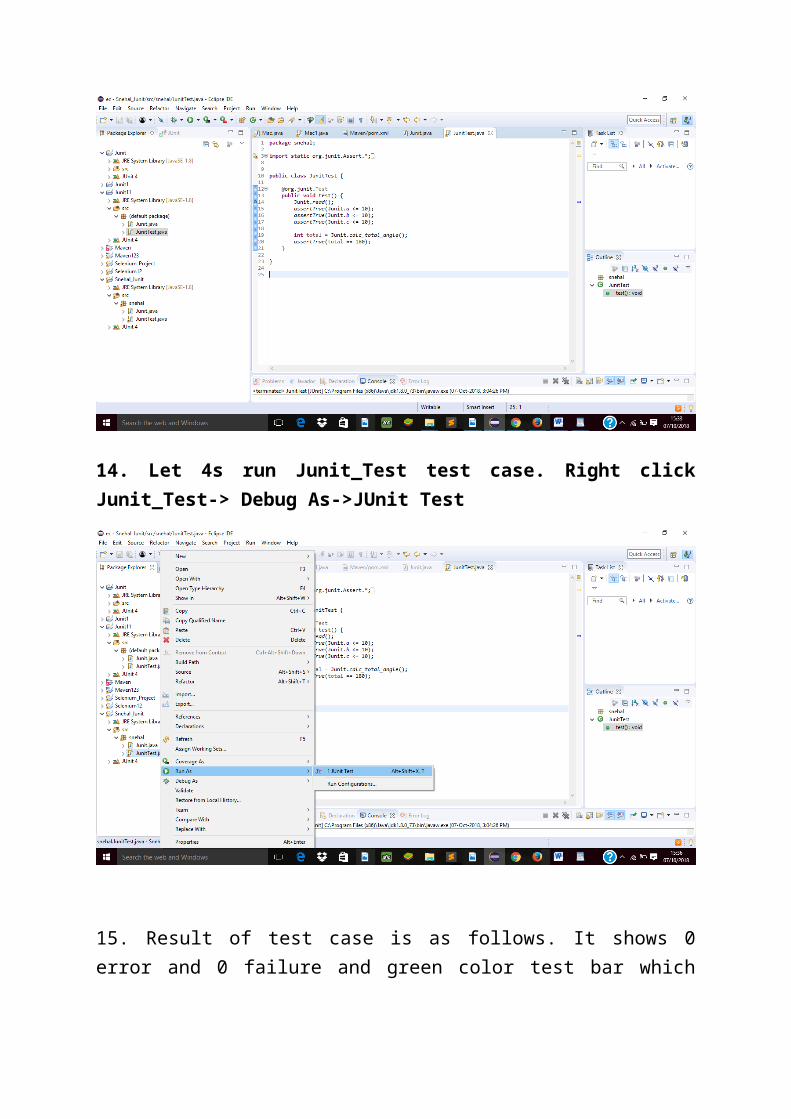
18. Write a code for Test case for calculate total angle inside JunitTest.
14. Let 4s run Junit_Test test case. Right click Junit_Test-> Debug As->JUnit Test
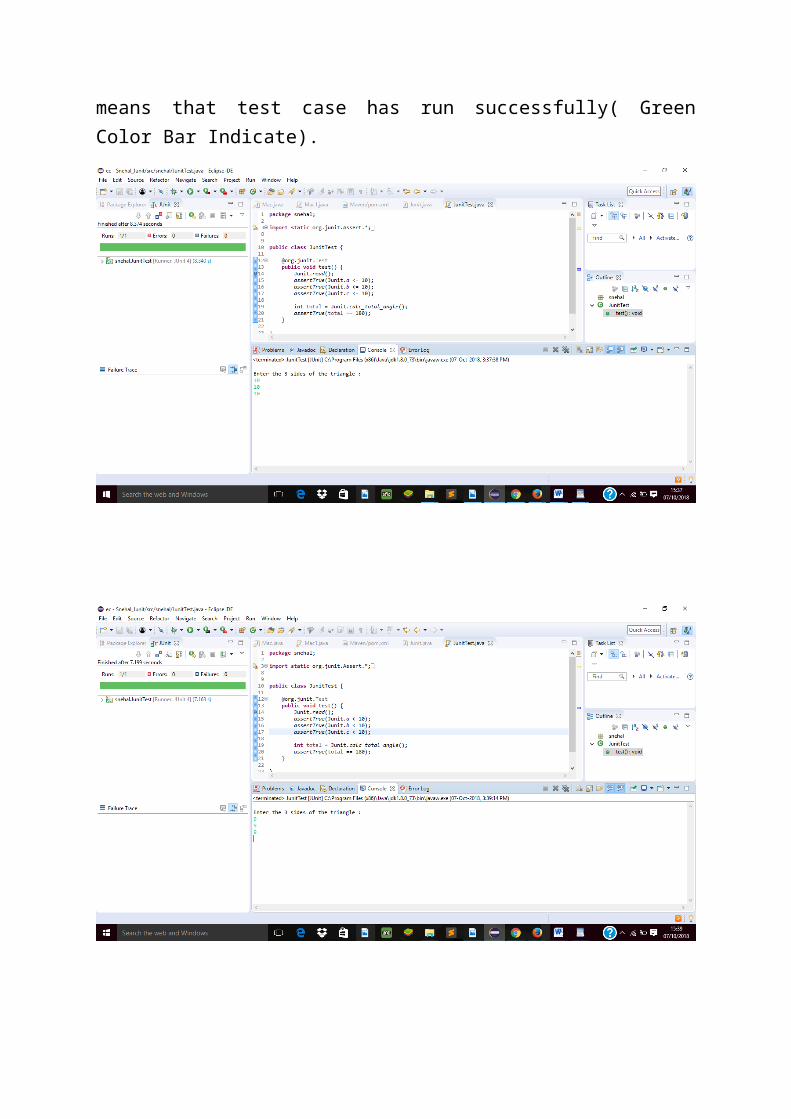
15. Result of test case is as follows. It shows 0 error and 0 failure and green color test bar which means that test case has run successfully( Green Color Bar Indicate).
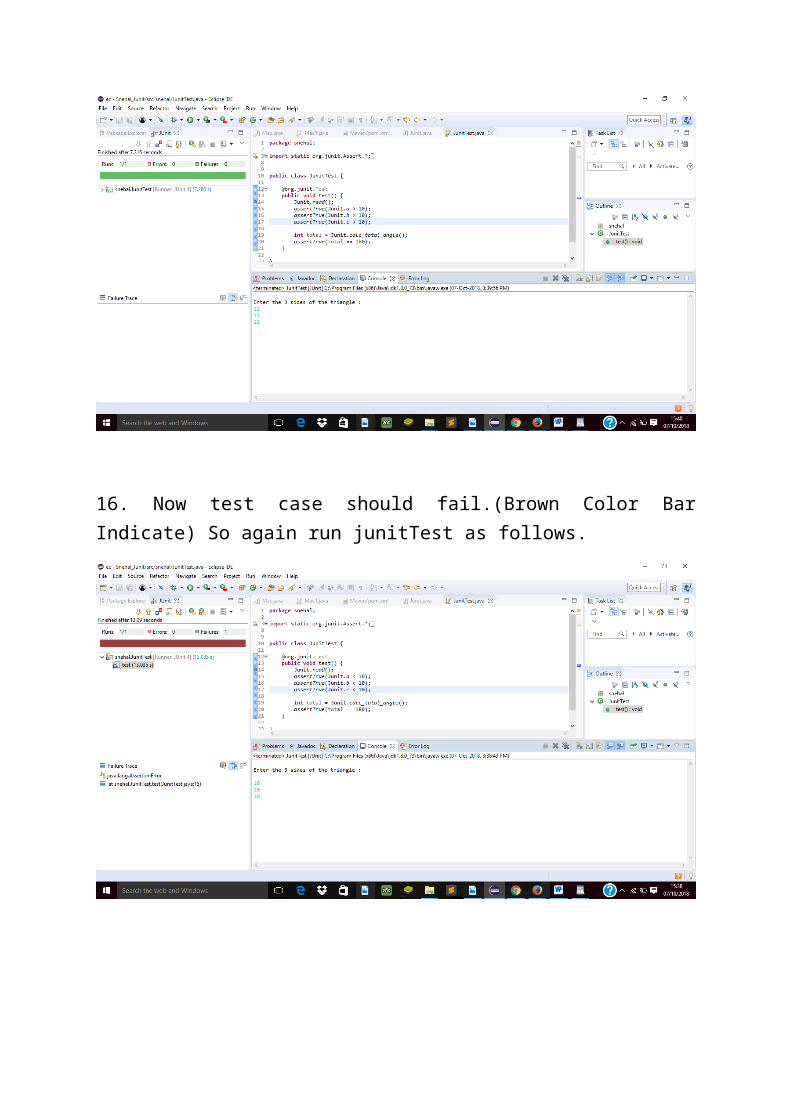
16. Now test case should fail.(Brown Color Bar Indicate) So again run junitTest as follows.
17. Now Create Test Report Using Apache Maven If you use eclipse-java-photon-R-win32 Version it include Maven in built installed so no need to install software via Eclipse help Install Software Option .
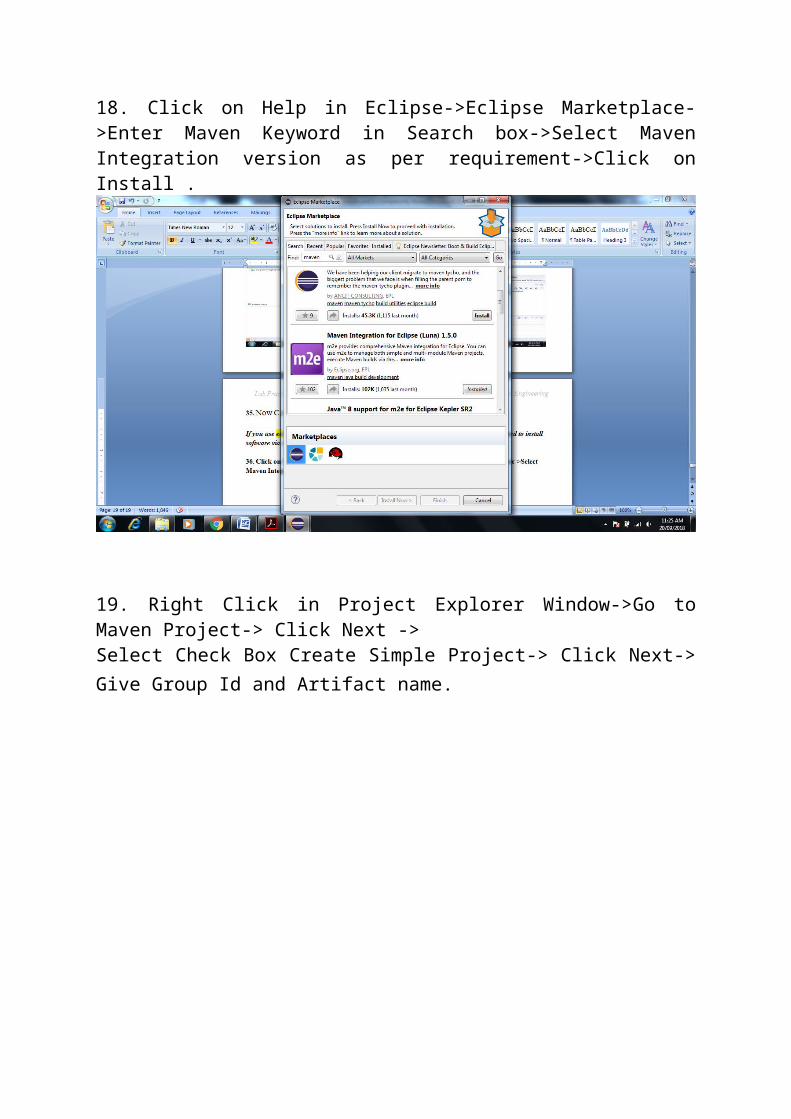
18. Click on Help in Eclipse->Eclipse Marketplace->Enter Maven Keyword in Search box->Select Maven Integration version as per requirement->Click on Install .
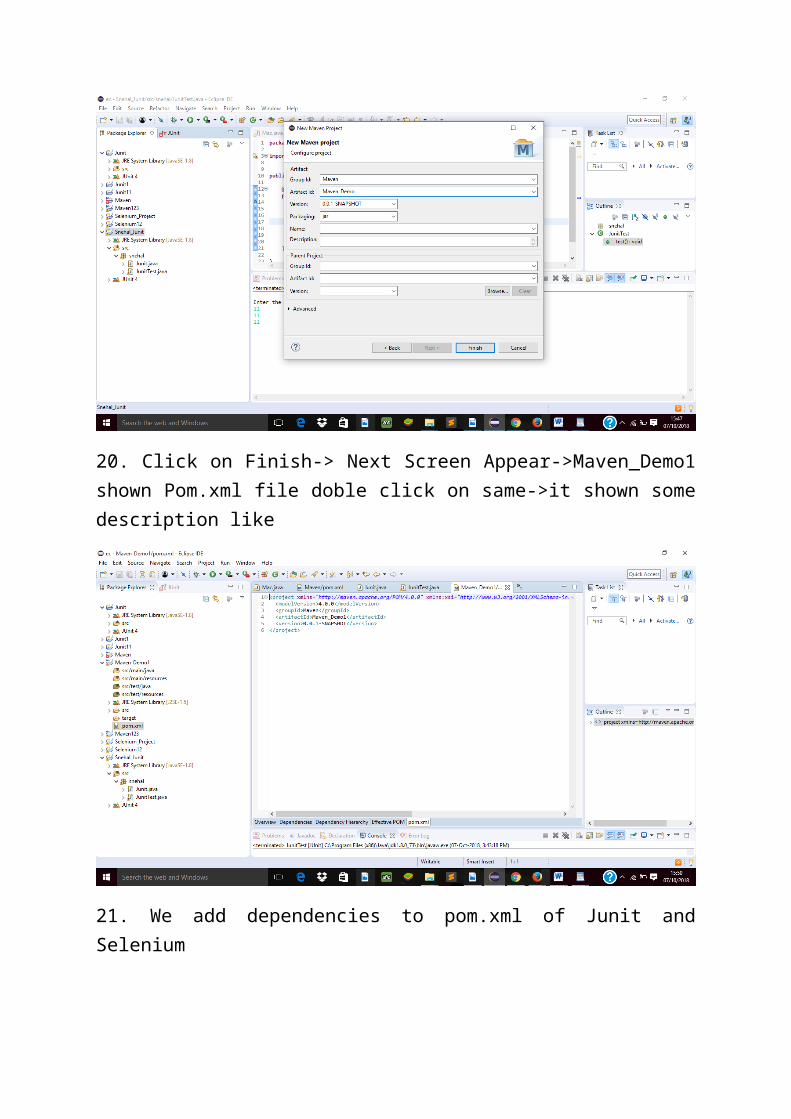
19. Right Click in Project Explorer Window->Go to Maven Project-> Click Next ->Select Check Box Create Simple Project-> Click Next-> Give Group Id and Artifact name.
20. Click on Finish-> Next Screen Appear->Maven_Demo1 shown Pom.xml file doble click on same->it shown some description like
21. We add dependencies to pom.xml of Junit and Selenium
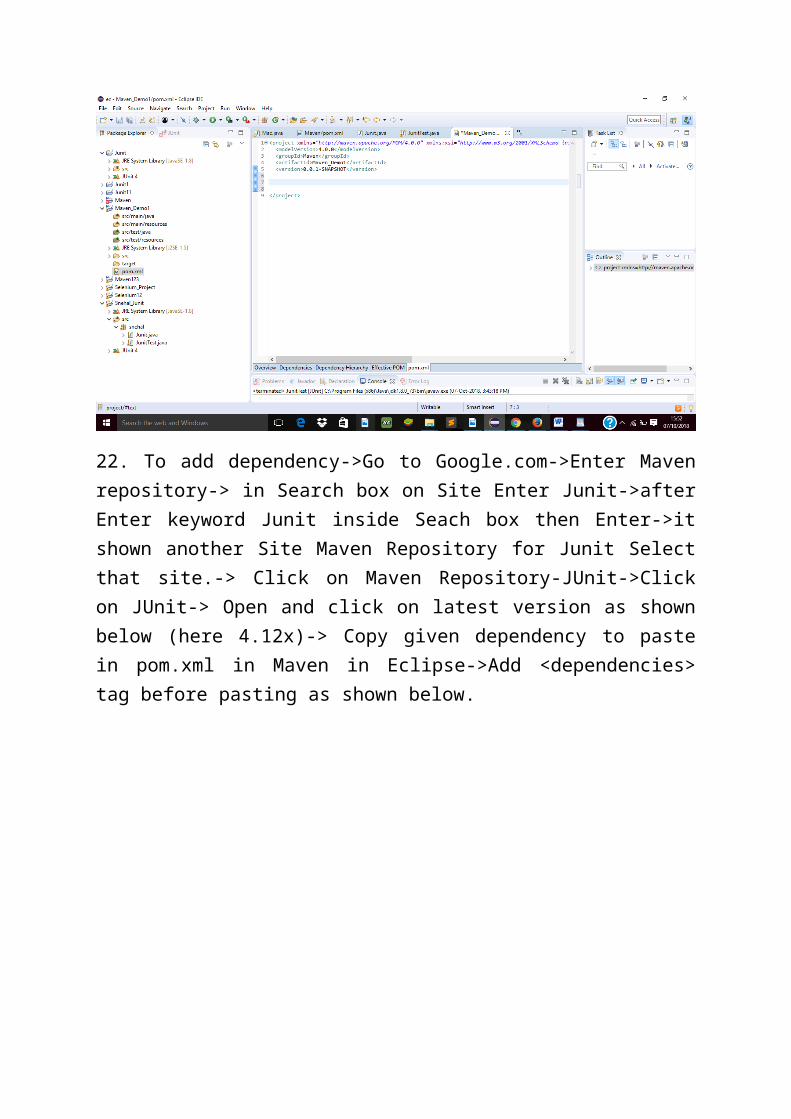
22. To add dependency->Go to Google.com->Enter Maven repository-> in Search box on Site Enter Junit->after Enter keyword Junit inside Seach box then Enter->it shown another Site Maven Repository for Junit Select that site.-> Click on Maven Repository-JUnit->Click on JUnit-> Open and click on latest version as shown below (here 4.12x)-> Copy given dependency to paste in pom.xml in Maven in Eclipse->Add <dependencies> tag before pasting as shown below.
23. Now Paste the code in between <dependencies> tag then save pom.xml file.
24. Now it It gets reflected in Maven by adding Junit jars.
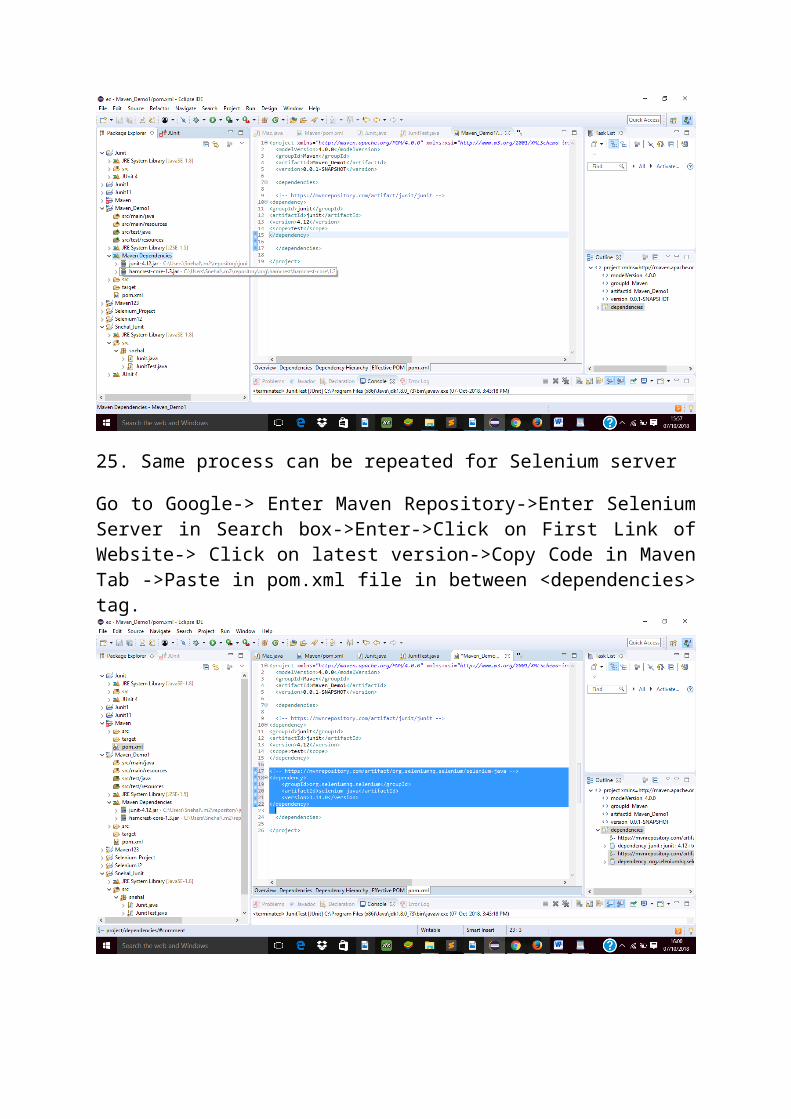
25. Same process can be repeated for Selenium server
Go to Google-> Enter Maven Repository->Enter Selenium Server in Search box->Enter->Click on First Link of Website-> Click on latest version->Copy Code in Maven Tab ->Paste in pom.xml file in between <dependencies> tag.
26. Now Go to C:\Users\snehal\.m2\repository\org\seleniumhq\selenium\selenium-server\3.14.0 Check the latest selenium server version.
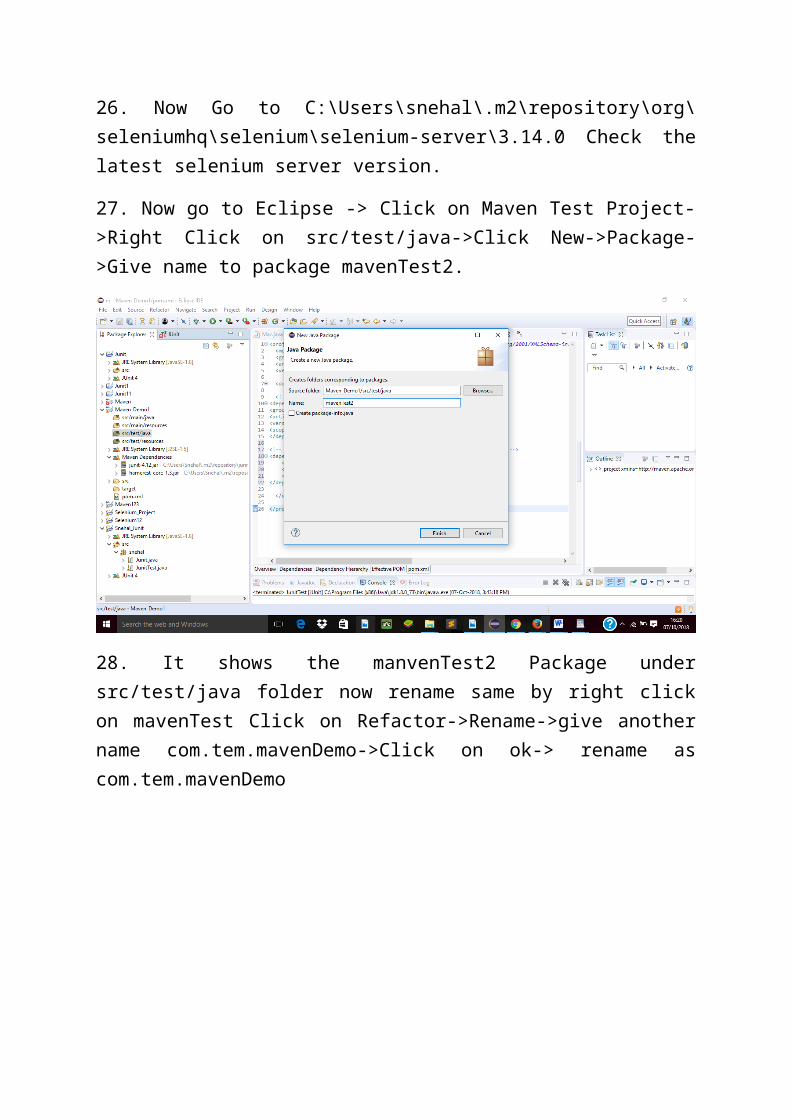
27. Now go to Eclipse -> Click on Maven Test Project->Right Click on src/test/java->Click New->Package->Give name to package mavenTest2.
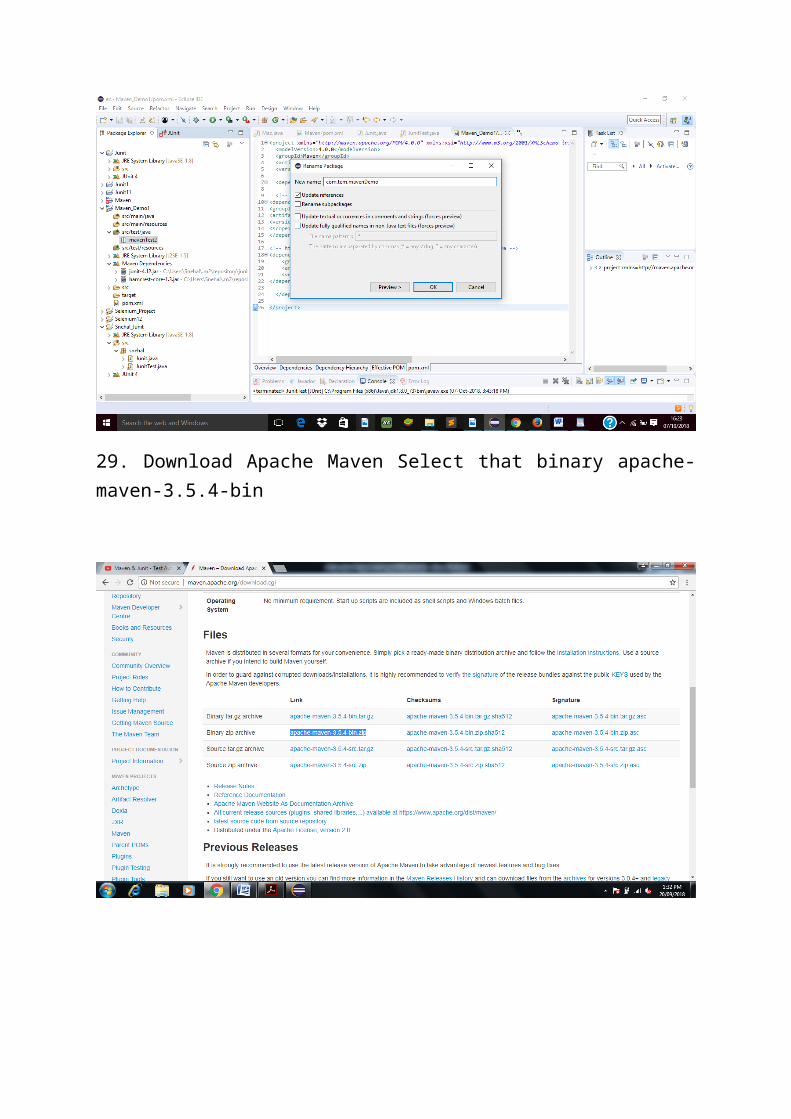
28. It shows the manvenTest2 Package under src/test/java folder now rename same by right click on mavenTest Click on Refactor->Rename->give another name com.tem.mavenDemo->Click on ok-> rename as com.tem.mavenDemo
29. Download Apache Maven Select that binary apache-maven-3.5.4-bin
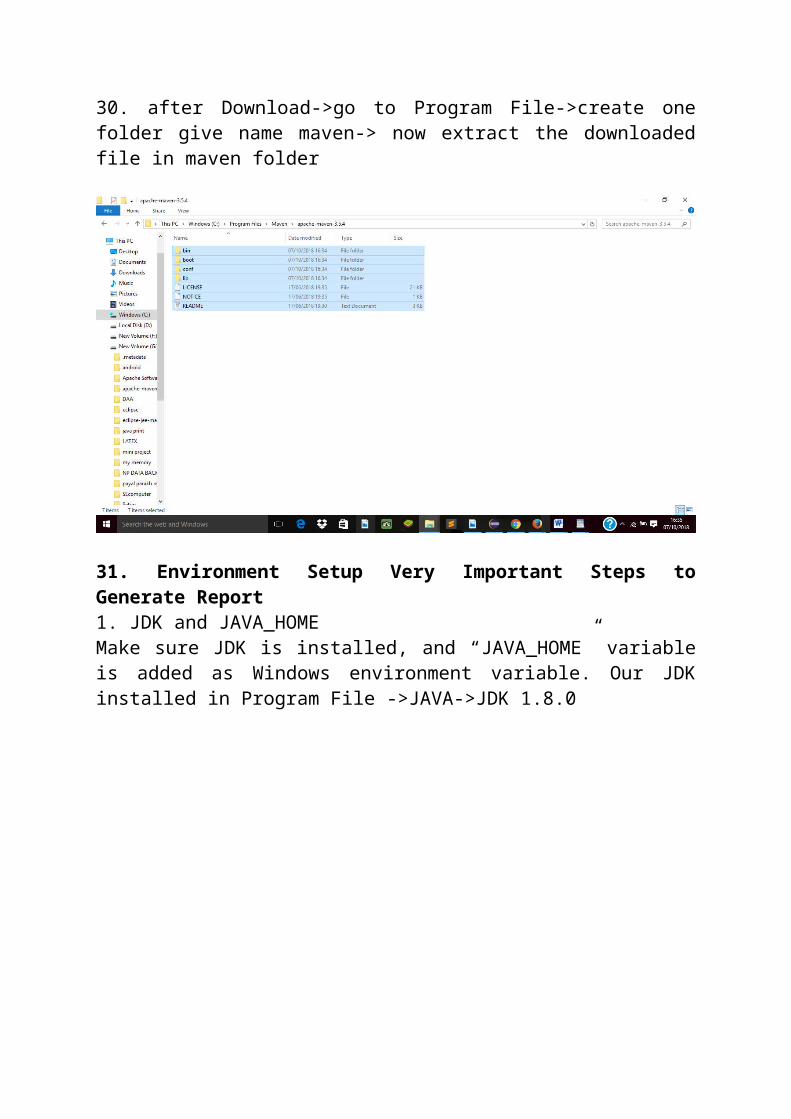
30. after Download->go to Program File->create one folder give name maven-> now extract the downloaded file in maven folder
31. Environment Setup Very Important Steps to Generate Report 1. JDK and JAVA_HOME Make sure JDK is installed, and “JAVA_HOME” variable is added as Windows environment variable. Our JDK installed in Program File ->JAVA->JDK 1.8.0
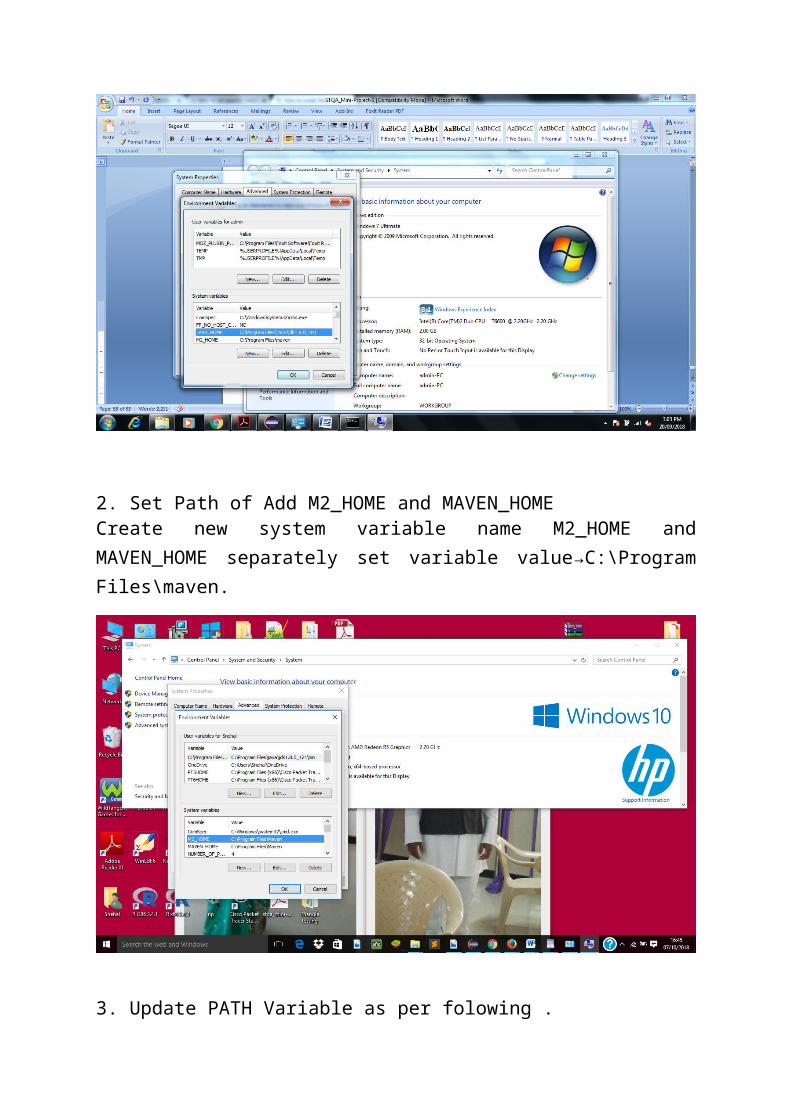
2. Set Path of Add M2_HOME and MAVEN_HOME Create new system variable name M2_HOME and MAVEN_HOME separately set variable value→C:\Program Files\maven.
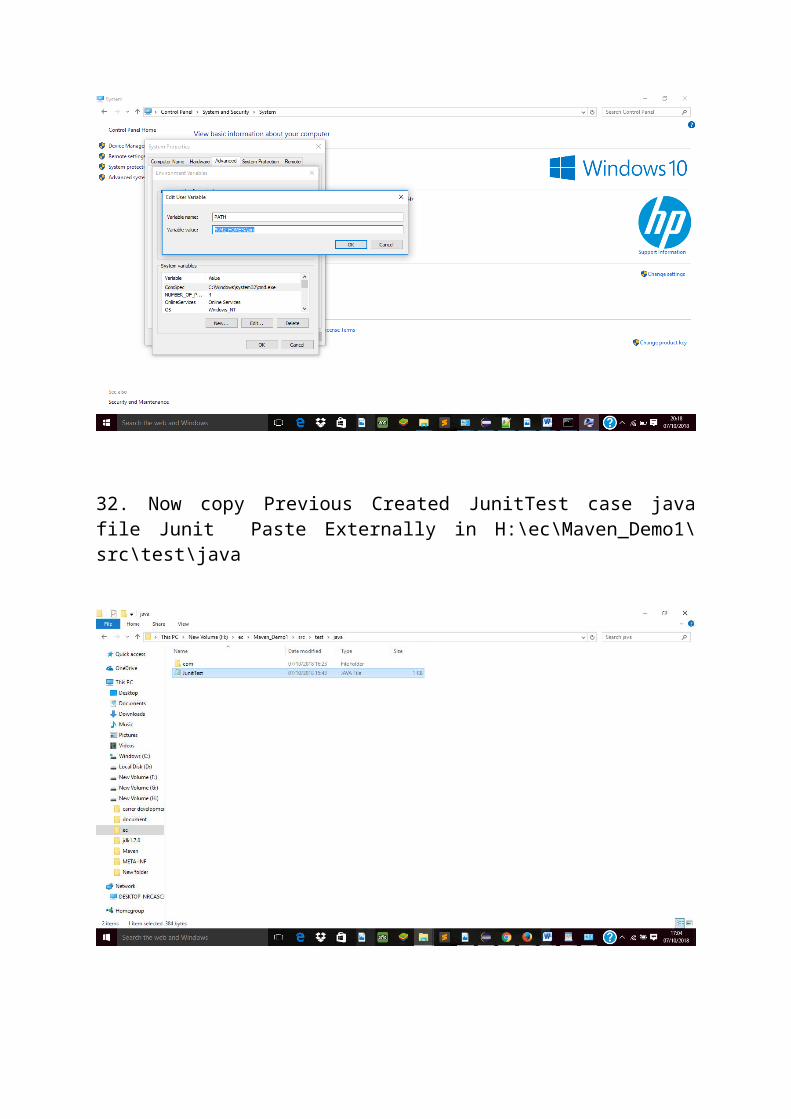
3. Update PATH Variable as per folowing .
32. Now copy Previous Created JunitTest case java file Junit Paste Externally in H:\ec\Maven_Demo1\src\test\java
33. Now Open Eclipse Right Click on Maven_Demo1->Properties->Resources ->Copy Path of Project Folder
34. Now go to command prompt->H:\es\Maven_Demo1>
35. Enter E:\MavenTestProject>mvn –version
36. Now go to command prompt→E:\MavenTestProject>mvn clean
To run test suite or all test cases under project, give command mvn test Enter E:\MavenTestProject>mvn test
This Command is Used to See the Test Report
You can even run individual test cases. Give command mvn test –Dtesttestcasename


![· Web view[Enter text here] [Enter text here] [Enter text here][Enter text here][Enter text here] [Enter text here] [Agent Name] [Slogan] Cell: [cell] eMail: [email]](https://static.documents.pub/doc/80x56/5b075ad17f8b9a56408cfaa3/viewenter-text-here-enter-text-here-enter-text-hereenter-text-hereenter.jpg)


![€¦ · Web view[Enter text here] [Enter text here] [Enter text here][Enter text here][Enter text here] [Enter text here] [Agent Name] [Slogan] Cell: [cell] eMail: [email]](https://static.documents.pub/doc/80x56/5b1530c57f8b9ab6778e0267/-web-viewenter-text-here-enter-text-here-enter-text-hereenter-text-hereenter.jpg)

