IT Essentials: PC Hardware and Software v4.1 Chapter 12 – Lab/Student
12.2.3 Lab: Create a Partition in Windows XP
Introduction Print and complete this lab. In this lab, you will create a FAT32 formatted partition on a disk. You will convert the partition to NTFS. You will identify the differences between the FAT32 format and the NTFS format.
Recommended Equipment Computer running Windows XP Professional Unpartitioned space of at least 1 GB on the hard disk drive
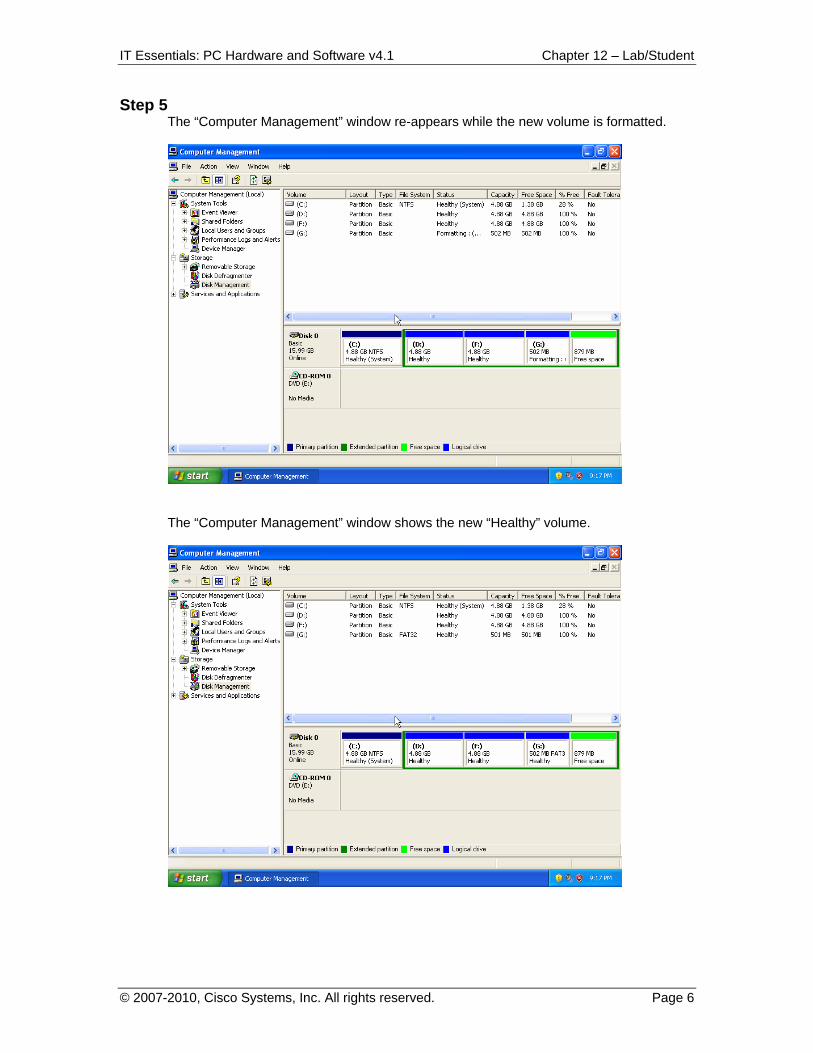
Step 1
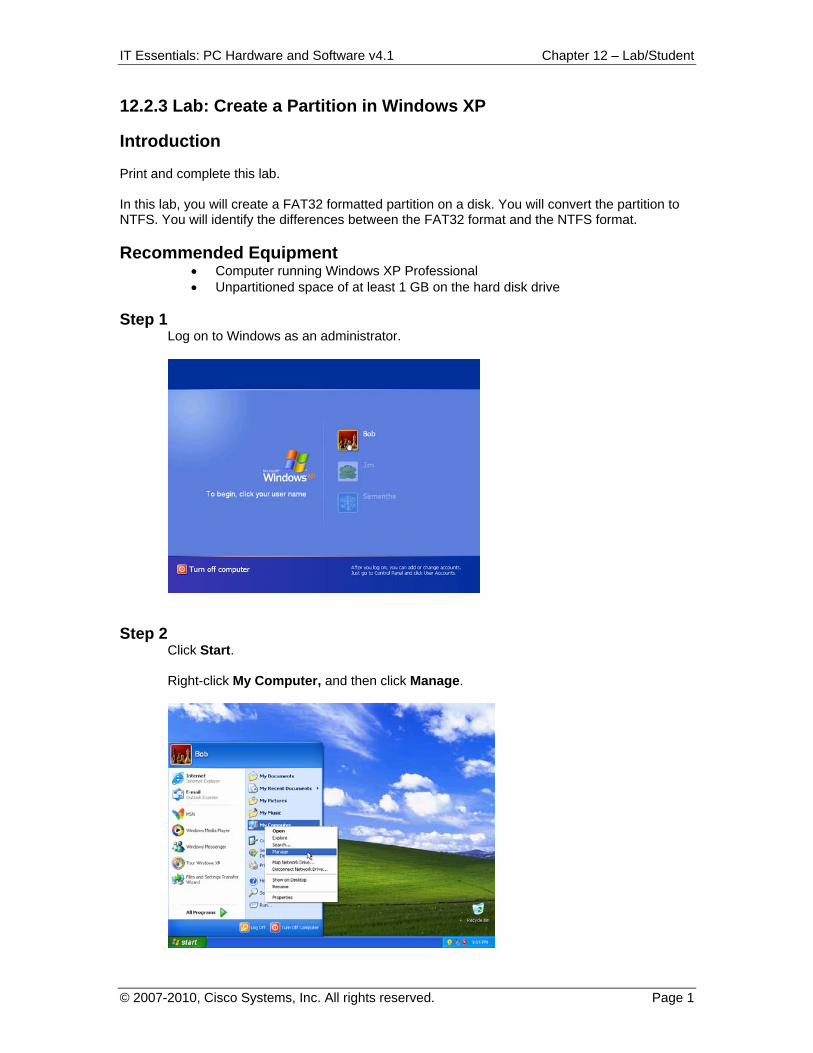
Log on to Windows as an administrator.
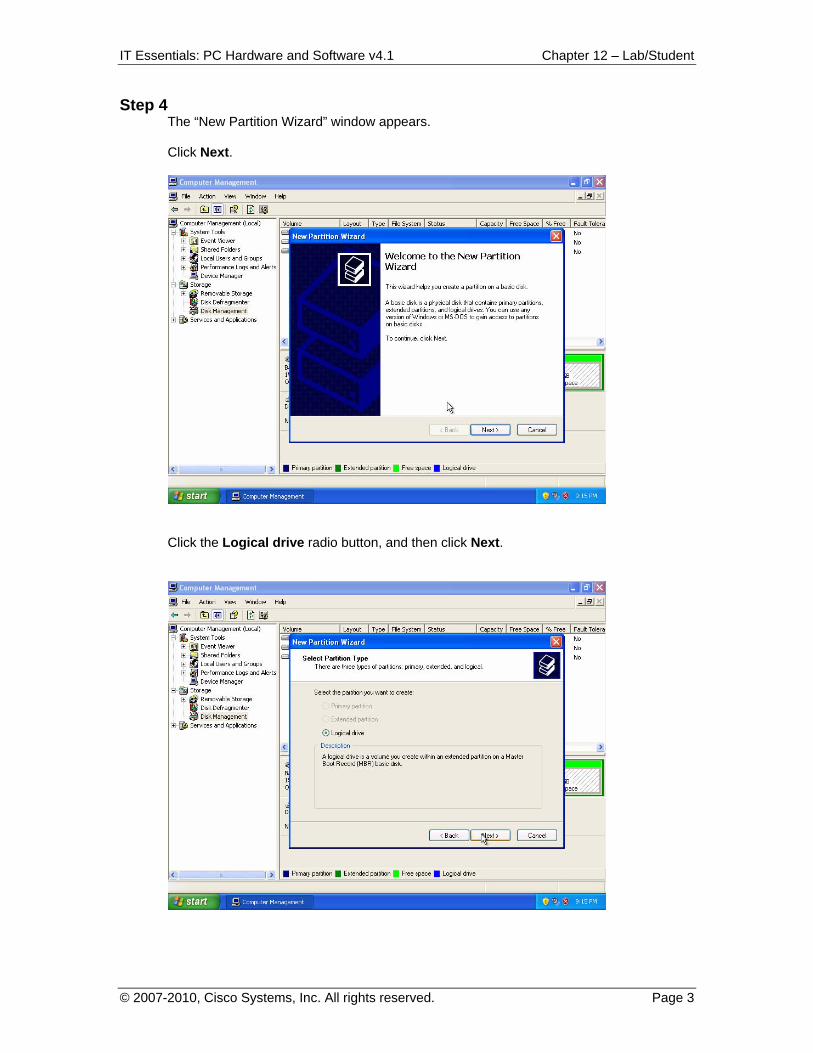
Step 2 Click Start. Right-click My Computer, and then click Manage.
IT Essentials: PC Hardware and Software v4.1 Chapter 12 – Lab/Student
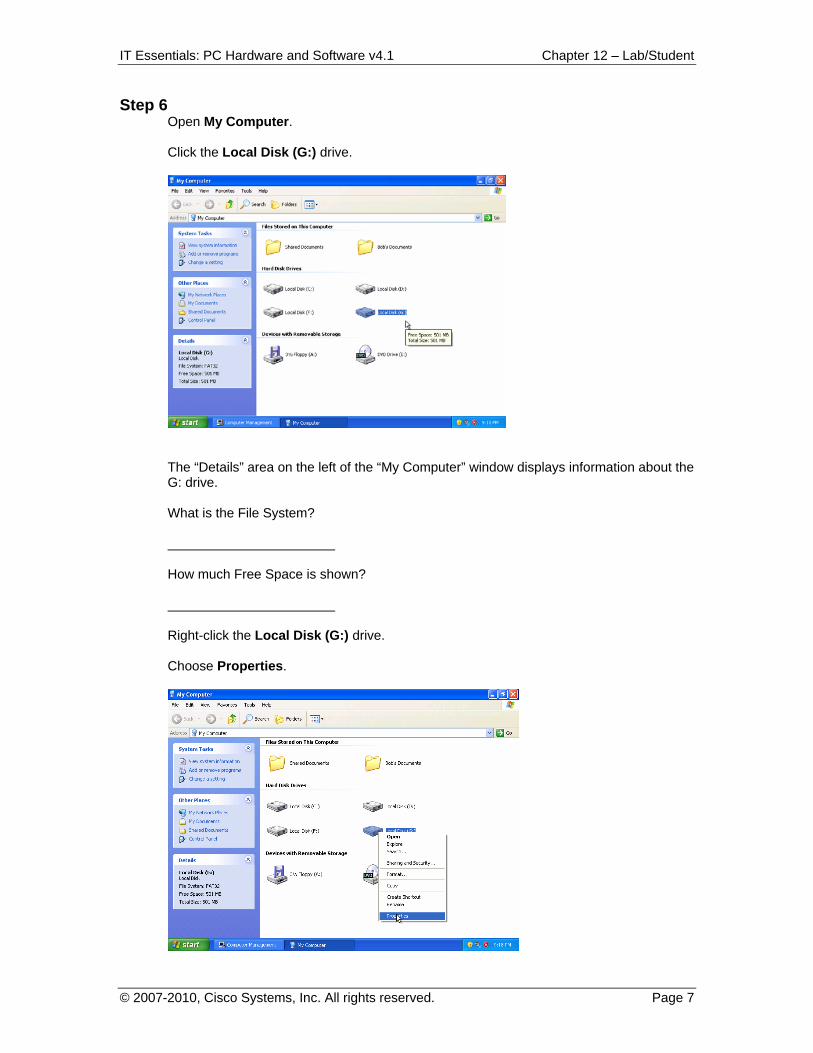
Step 6 Open My Computer. Click the Local Disk (G:) drive.
The “Details” area on the left of the “My Computer” window displays information about the G: drive. What is the File System? How much Free Space is shown? Right-click the Local Disk (G:) drive. Choose Properties.
IT Essentials: PC Hardware and Software v4.1 Chapter 12 – Lab/Student
Step 7 The “Local Disk (G:) Properties” window appears.
What is the File system of the G: drive? List the tabs found in the “Local Disk (G:) Properties” window. Click OK. Double-click the Local Disk (G:) drive.
Step 8 Right-click anywhere in the white space of the window. Choose New > Text Document.
IT Essentials: PC Hardware and Software v4.1 Chapter 12 – Lab/Student
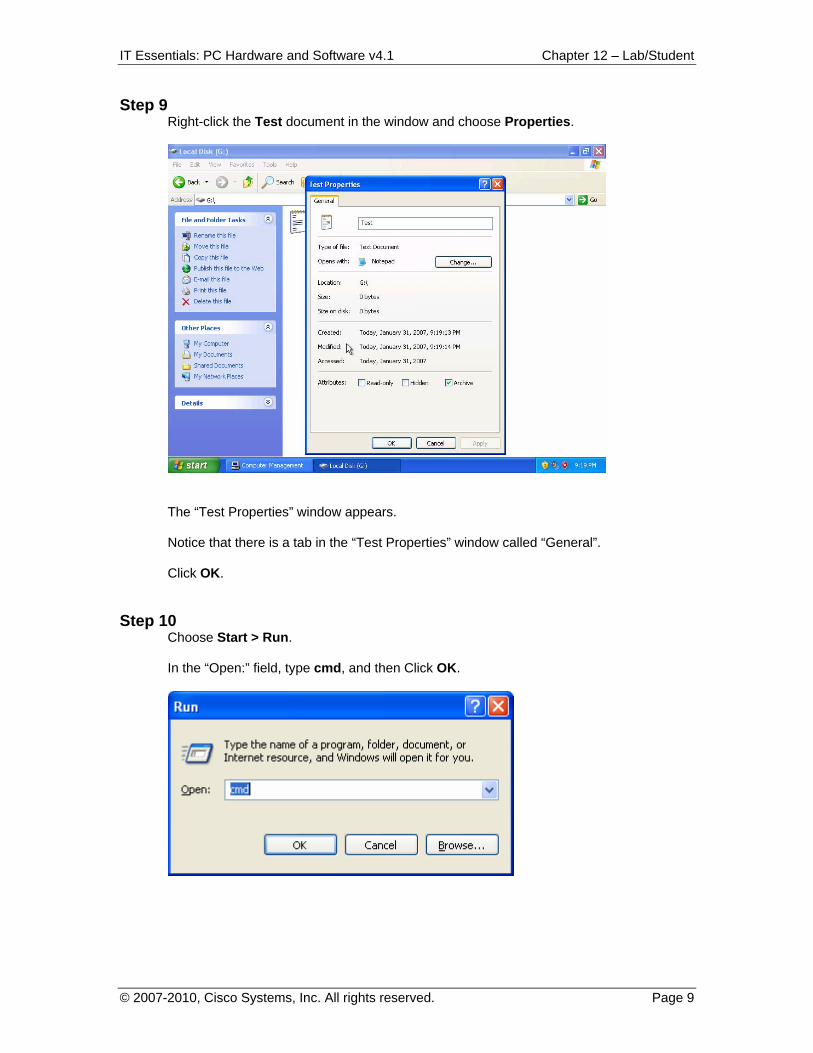
Step 11 The “C:\WINDOWS\system32\cmd.exe” window appears. Type convert G: /fs:NTFS. The convert command changes the file system of a volume without losing data.
IT Essentials: PC Hardware and Software v4.1 Chapter 12 – Lab/Student
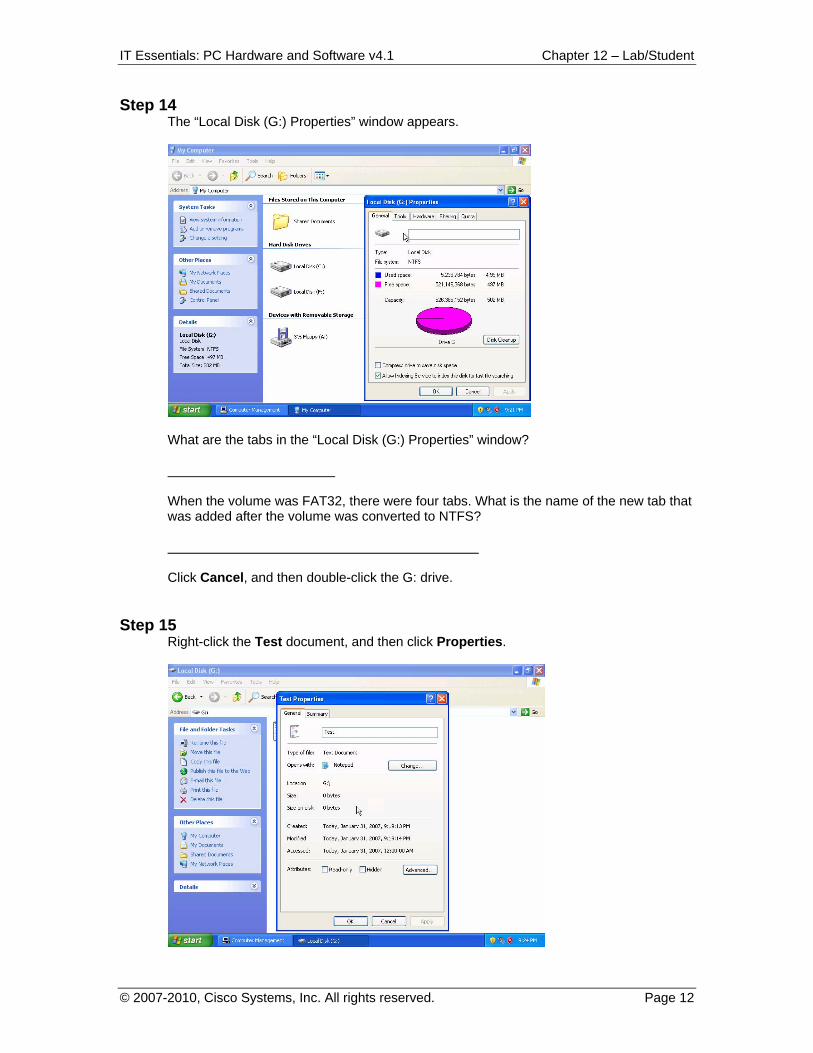
Step 14 The “Local Disk (G:) Properties” window appears.
What are the tabs in the “Local Disk (G:) Properties” window? When the volume was FAT32, there were four tabs. What is the name of the new tab that was added after the volume was converted to NTFS? Click Cancel, and then double-click the G: drive.
Step 15 Right-click the Test document, and then click Properties.
IT Essentials: PC Hardware and Software v4.1 Chapter 12 – Lab/Student
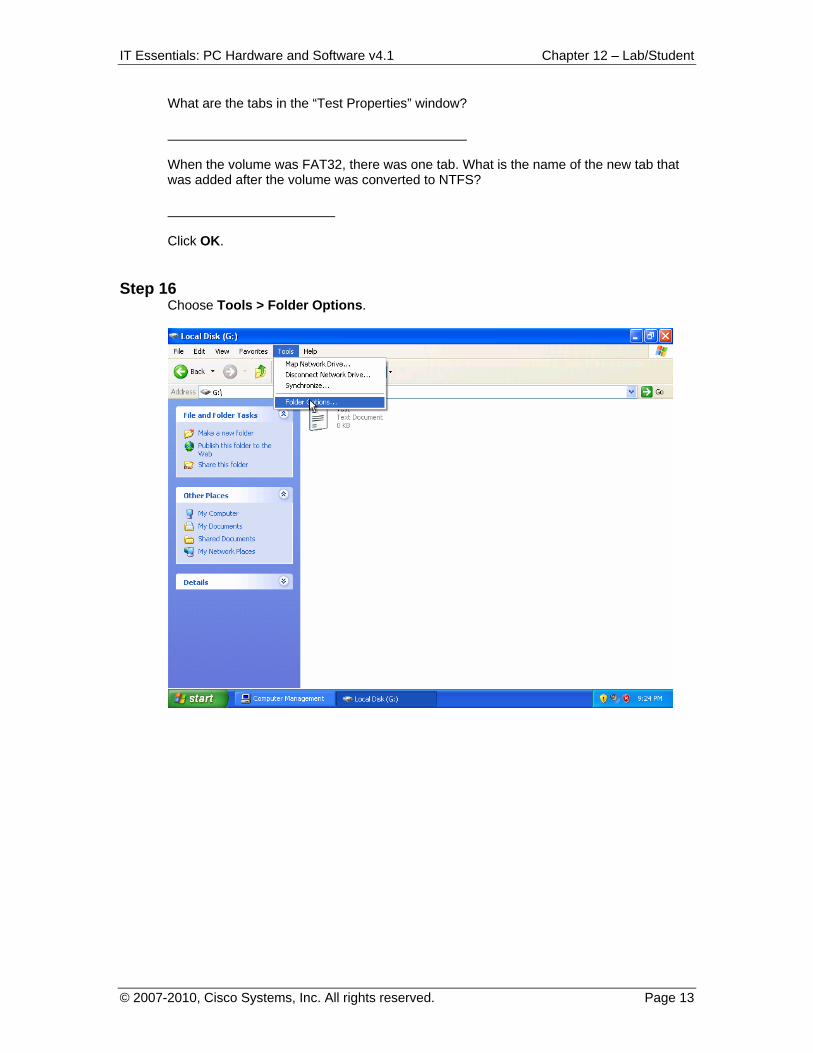
What are the tabs in the “Test Properties” window? When the volume was FAT32, there was one tab. What is the name of the new tab that was added after the volume was converted to NTFS? Click OK.
IT Essentials: PC Hardware and Software v4.1 Chapter 12 – Lab/Student
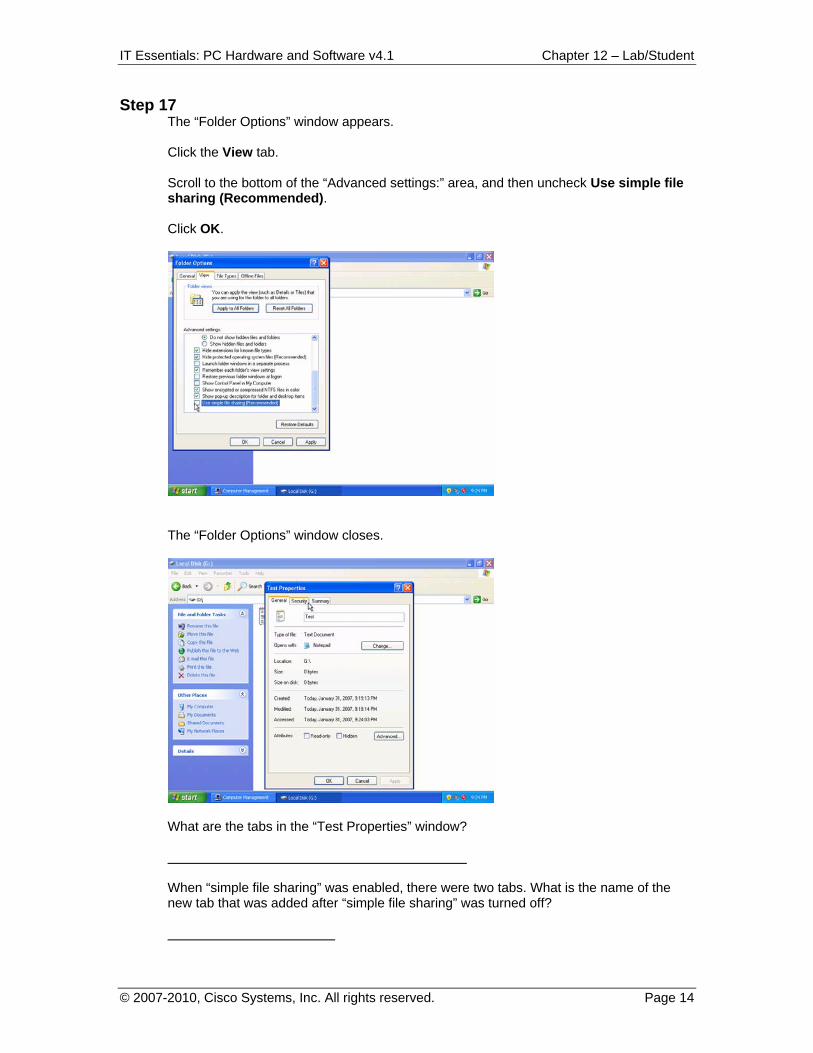
Step 17 The “Folder Options” window appears. Click the View tab. Scroll to the bottom of the “Advanced settings:” area, and then uncheck Use simple file sharing (Recommended). Click OK.
The “Folder Options” window closes.
What are the tabs in the “Test Properties” window? When “simple file sharing” was enabled, there were two tabs. What is the name of the new tab that was added after “simple file sharing” was turned off?
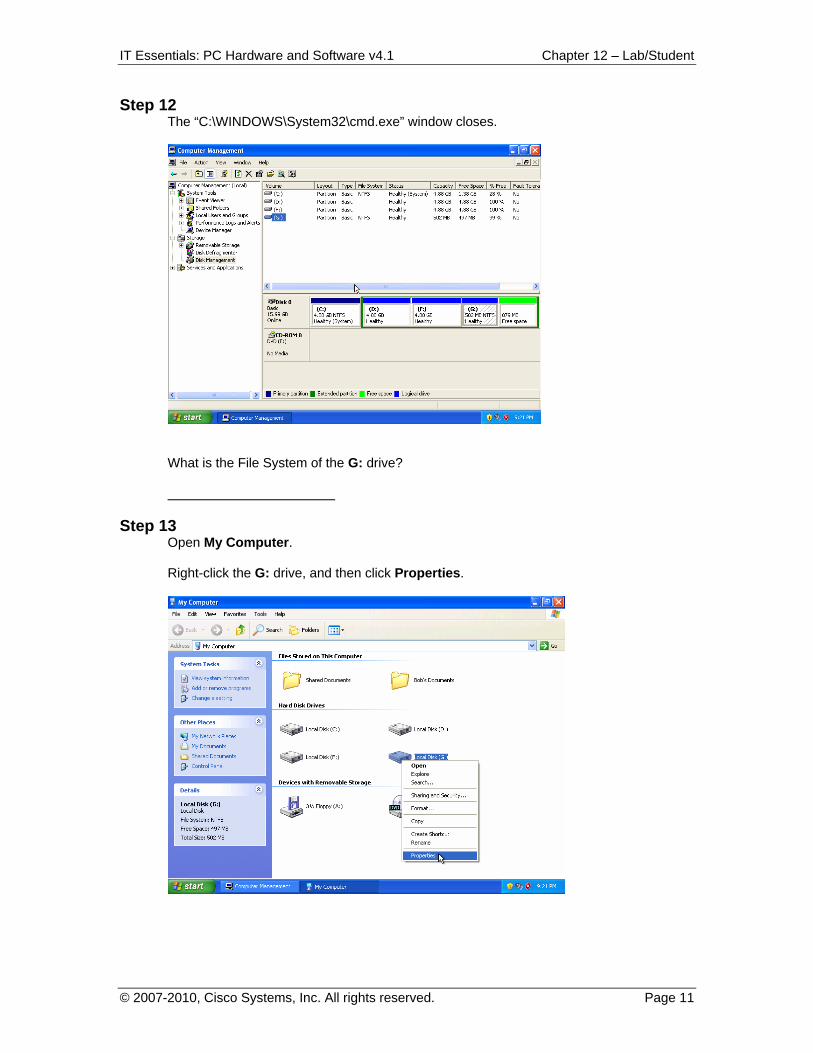
Step 18 Right-click the G: drive, and then choose Properties.
What are the tabs in the “Local Disk (G:) Properties” window? When “simple file sharing” was enabled, there were five tabs. What is the name of the new tab that was added after “simple file sharing” was turned off?