14
975 975 2½”-10” 2½”-10”
9759752½”-10”2½”-10”
Modification OverviewModification Overview
Production of the 975 (21/2”-10”) began in Production of the 975 (21/2”-10”) began in 1990 and was discontinued in 2004. 1990 and was discontinued in 2004.
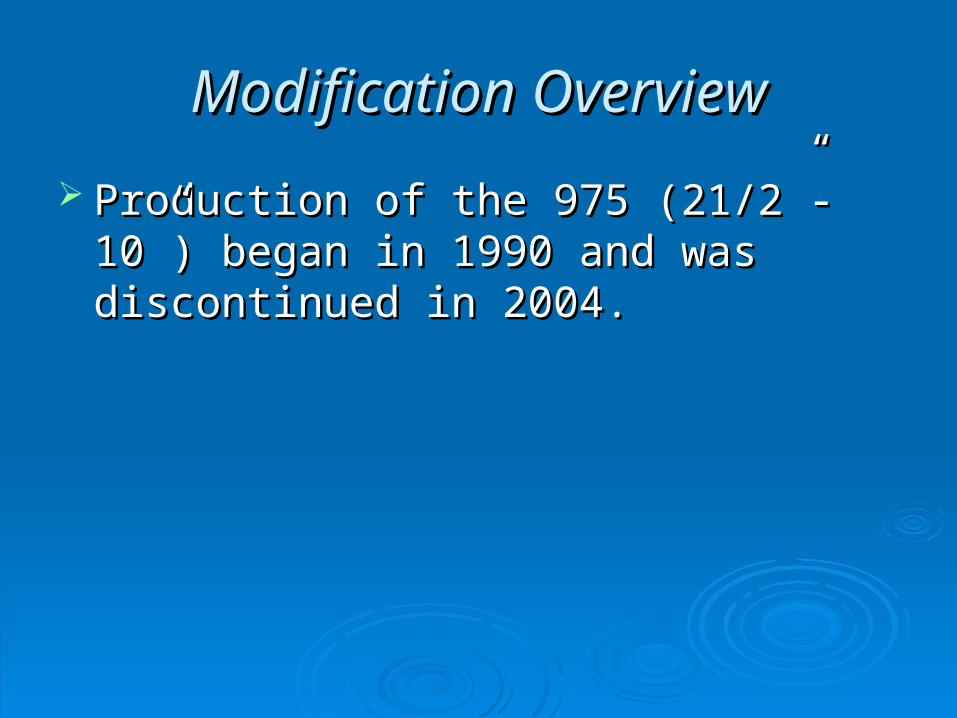
Check Cover RemovalCheck Cover Removal
Cover is o-ring Cover is o-ring sealed.sealed.
Loosen bolts 1/2”. Loosen bolts 1/2”. The spring load is The spring load is now released from now released from the cover and the cover and retained by the check retained by the check subassembly.subassembly.
** Verify spring load ** Verify spring load before removing all before removing all the bolts.the bolts.
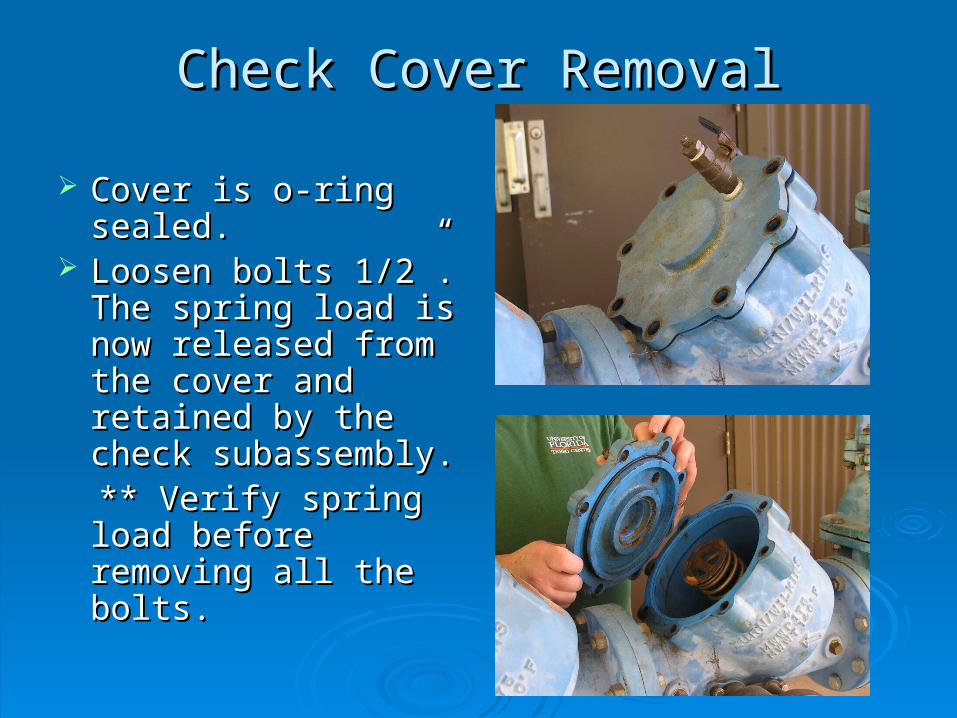
Check Valve RemovalCheck Valve Removal
Center stem guided Center stem guided check assembly.check assembly.
Disc & spring Disc & spring subassembly.subassembly.
Slide subassembly Slide subassembly straight out of seat straight out of seat and body.and body.
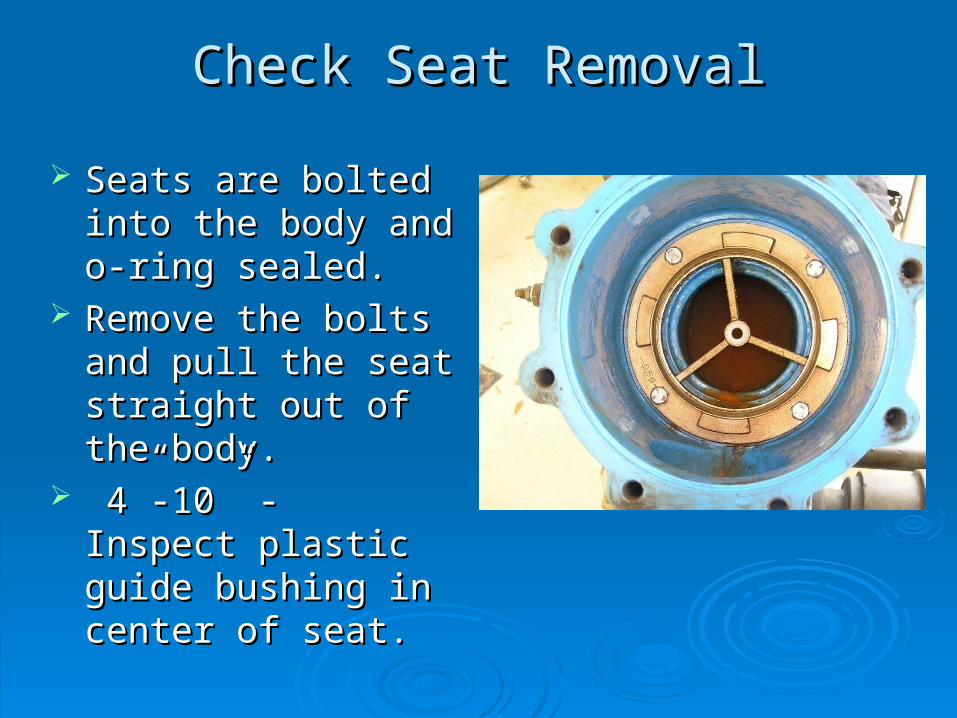
Check Seat RemovalCheck Seat Removal
Seats are bolted into Seats are bolted into the body and o-ring the body and o-ring sealed.sealed.
Remove the bolts and Remove the bolts and pull the seat straight pull the seat straight out of the body.out of the body.
4”-10” - Inspect 4”-10” - Inspect plastic guide bushing plastic guide bushing in center of seat.in center of seat.
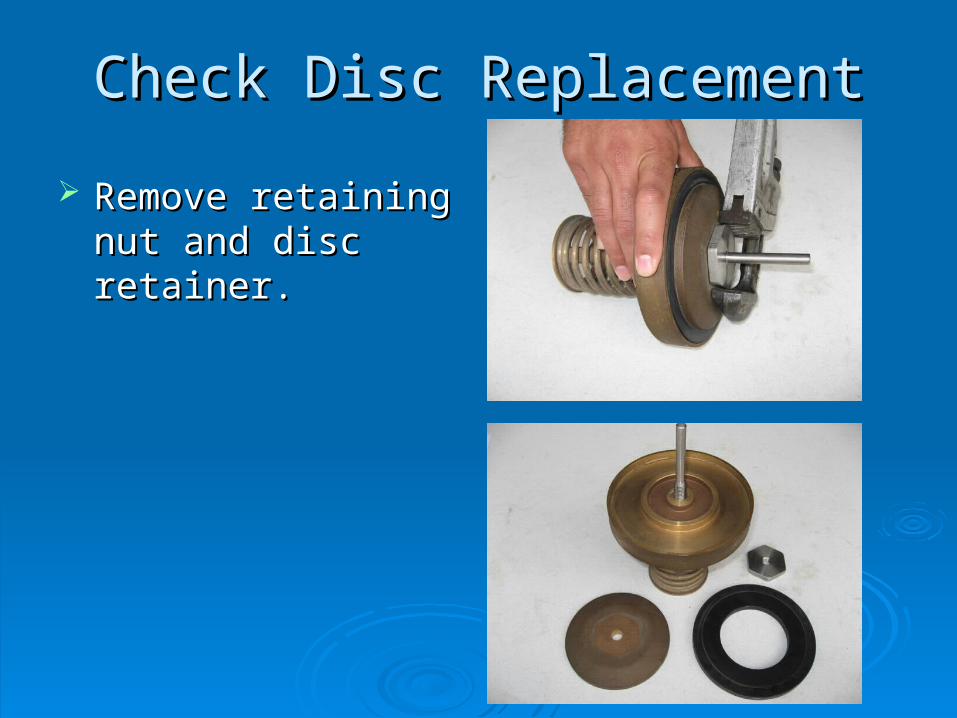
Check Disc ReplacementCheck Disc Replacement
Remove retaining nut Remove retaining nut and disc retainer.and disc retainer.
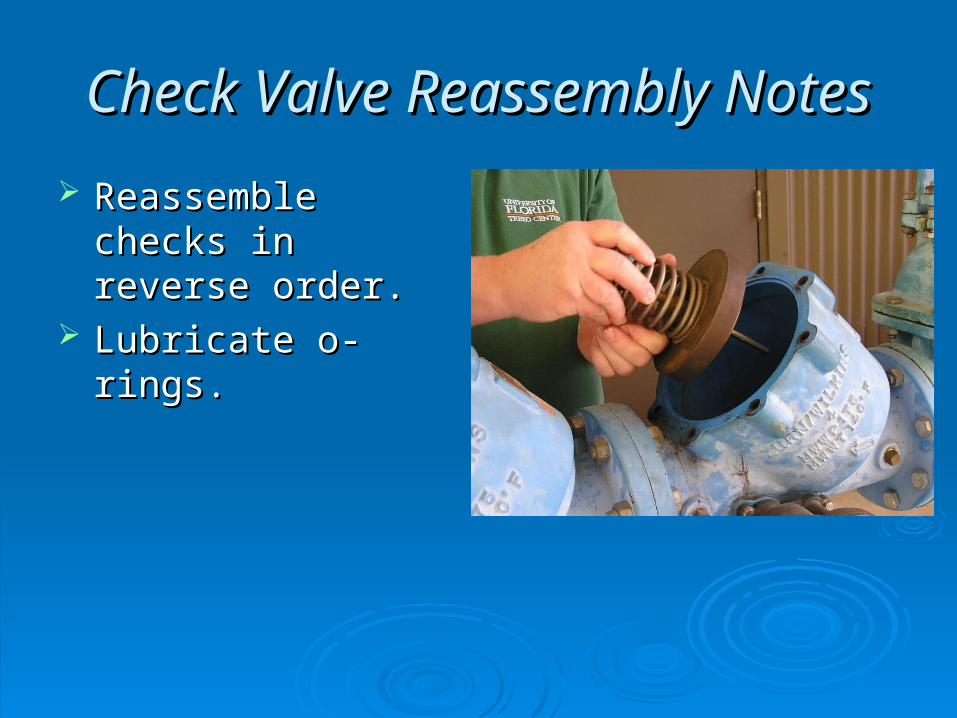
Check Valve Reassembly NotesCheck Valve Reassembly Notes
Reassemble checks Reassemble checks in reverse order.in reverse order.
Lubricate o-rings.Lubricate o-rings.
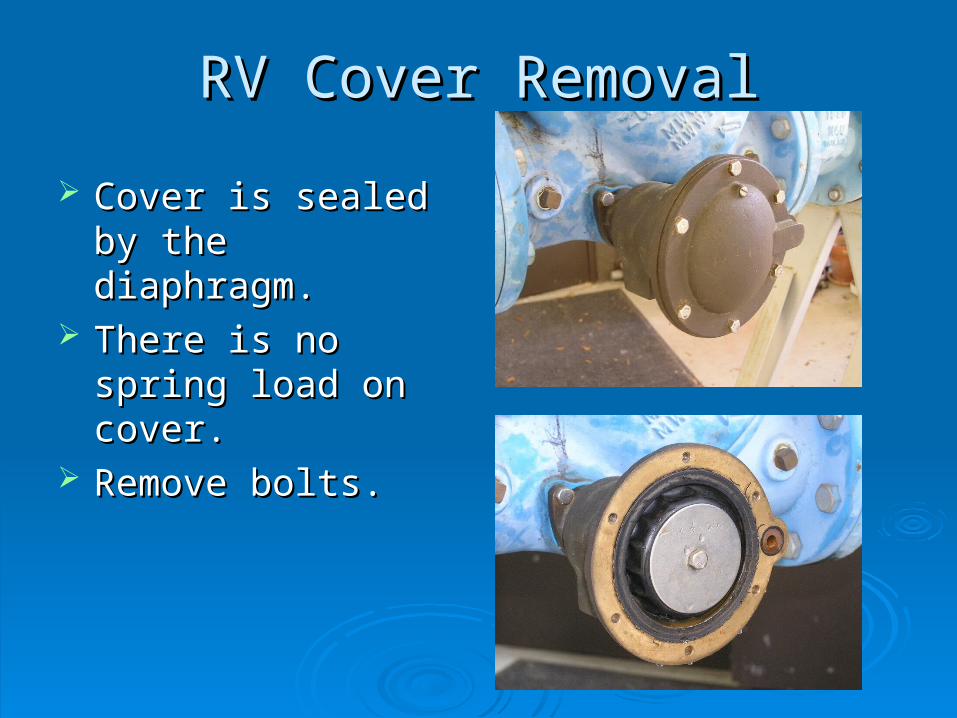
RV Cover RemovalRV Cover Removal
Cover is sealed by Cover is sealed by the diaphragm.the diaphragm.
There is no spring There is no spring load on cover.load on cover.
Remove bolts.Remove bolts.
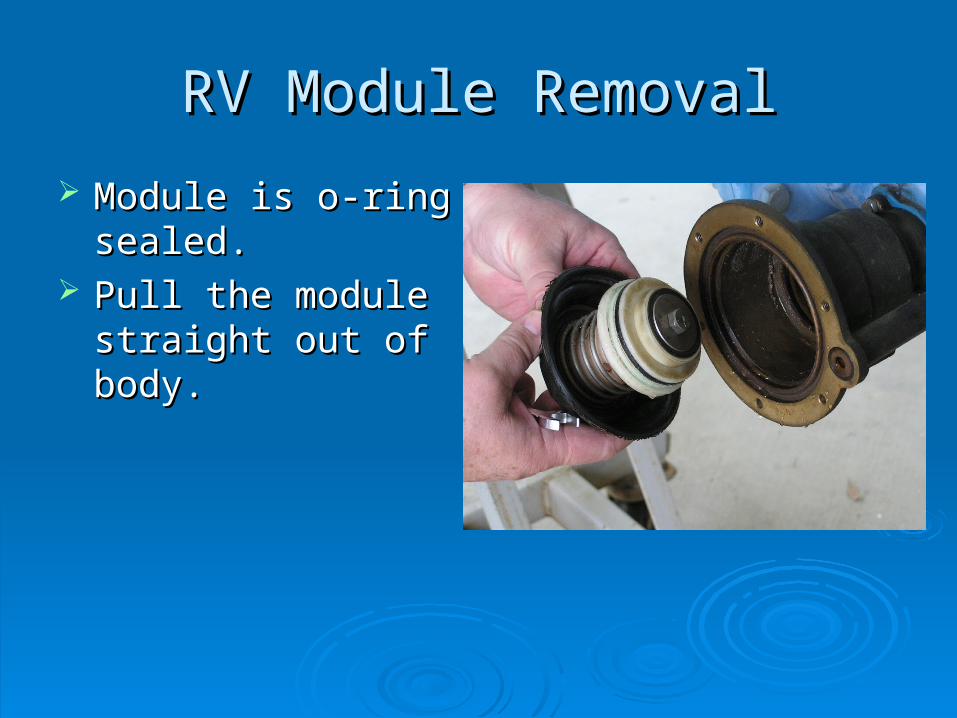
RV Module RemovalRV Module Removal
Module is o-ring Module is o-ring sealed.sealed.
Pull the module Pull the module straight out of body.straight out of body.
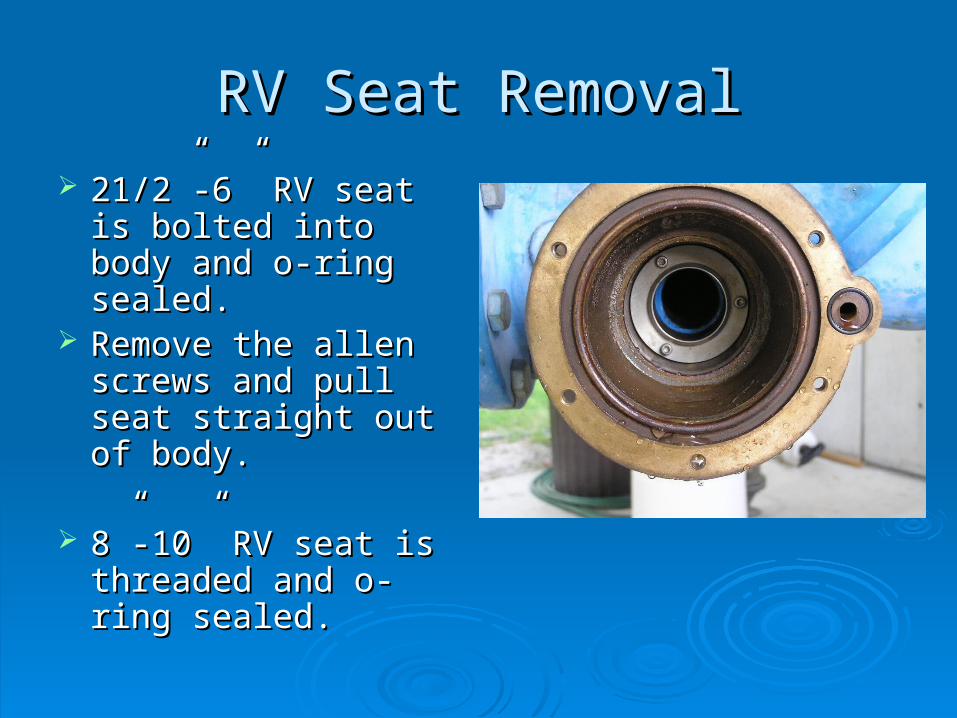
RV Seat RemovalRV Seat Removal
21/2”-6” RV seat is 21/2”-6” RV seat is bolted into body and bolted into body and o-ring sealed.o-ring sealed.
Remove the allen Remove the allen screws and pull seat screws and pull seat straight out of body.straight out of body.
8”-10” RV seat is 8”-10” RV seat is threaded and o-ring threaded and o-ring sealed.sealed.
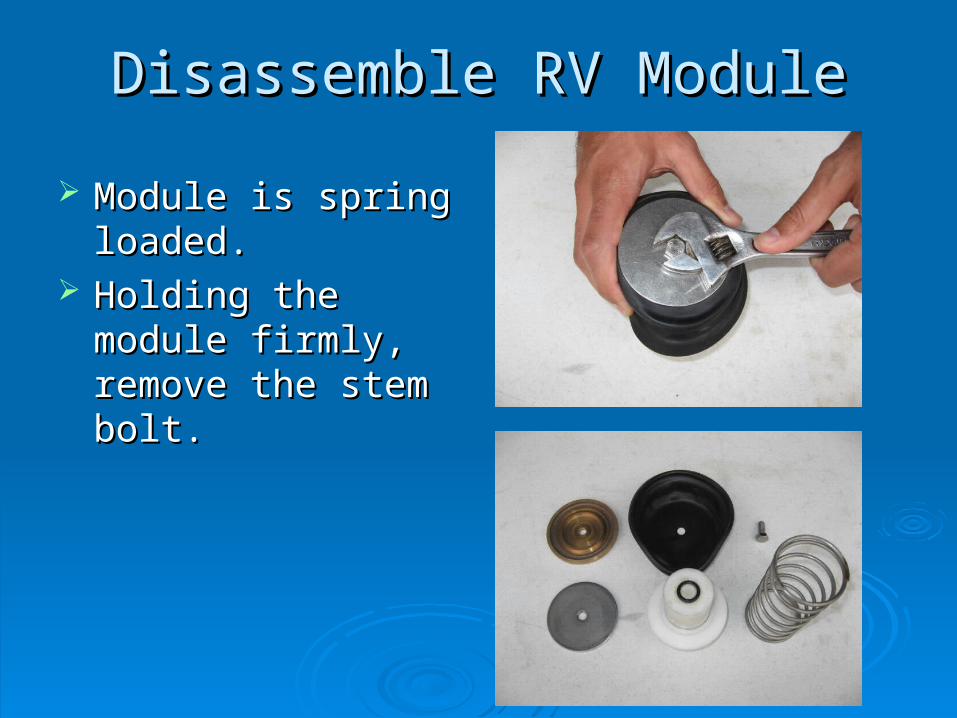
Disassemble RV ModuleDisassemble RV Module
Module is spring Module is spring loaded.loaded.
Holding the module Holding the module firmly, remove the firmly, remove the stem bolt.stem bolt.
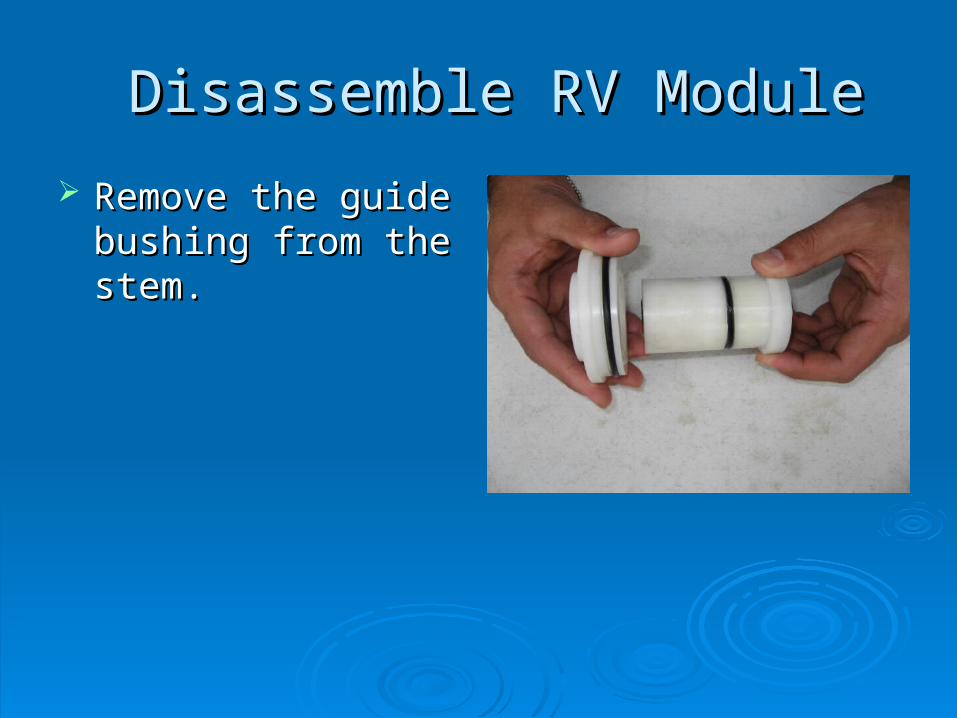
Disassemble RV ModuleDisassemble RV Module
Remove the guide Remove the guide bushing from the bushing from the stem.stem.
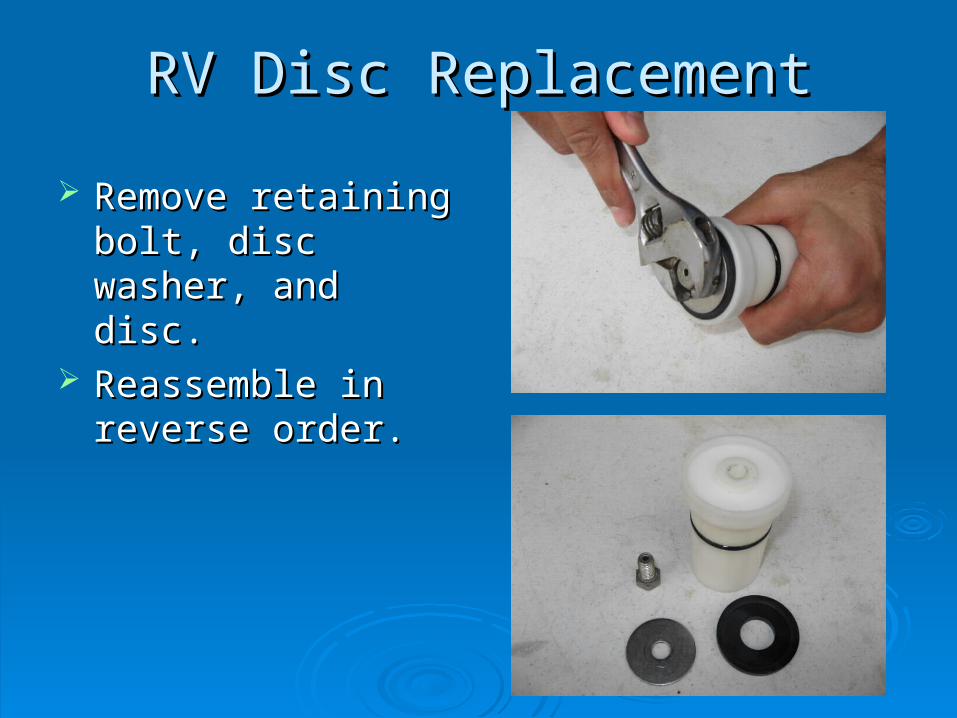
RV Disc ReplacementRV Disc Replacement
Remove retaining Remove retaining bolt, disc washer, and bolt, disc washer, and disc.disc.
Reassemble in Reassemble in reverse order.reverse order.
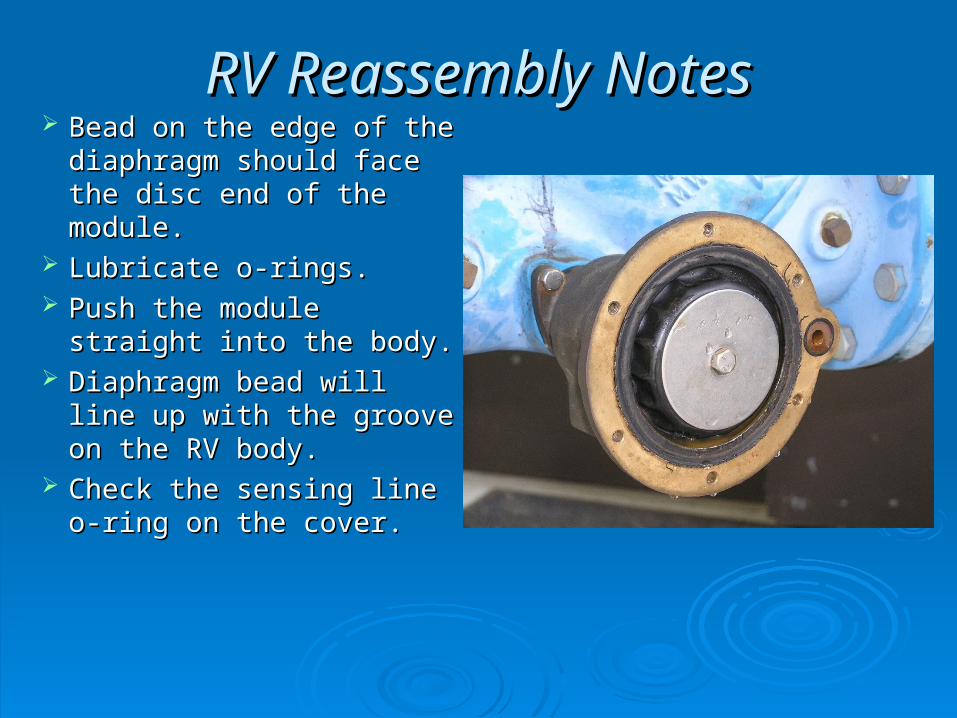
RV Reassembly NotesRV Reassembly Notes Bead on the edge of the Bead on the edge of the
diaphragm should face the diaphragm should face the disc end of the module.disc end of the module.
Lubricate o-rings.Lubricate o-rings. Push the module straight Push the module straight
into the body.into the body. Diaphragm bead will line up Diaphragm bead will line up
with the groove on the RV with the groove on the RV body.body.
Check the sensing line o-Check the sensing line o-ring on the cover.ring on the cover.


