Adapting Existing Non-Formal Education Techniques to Conform to Universal Design Adapting CSIRO-SEC Hands-On Forensic Frenzy Program for Students with Visual Disabilities Sponsored by Commonwealth Scientific and Industrial Research Organisation (CSIRO) An Interactive Qualifying Project Proposal submitted to CSIRO Education and the Faculty of WORCESTER POLYTECHNIC INSTITUTE By Jillian Cohen Chad Mondor Sally Trabucco Spring 2009 Approved: ______________________ Stephen Weininger, Advisor ______________________ Robert Kinicki, Co-Advisor ______________________ Thidinalei Tshiguvho, Co-Advisor
Transcript
Adapting Existing Non-Formal Education Techniques to
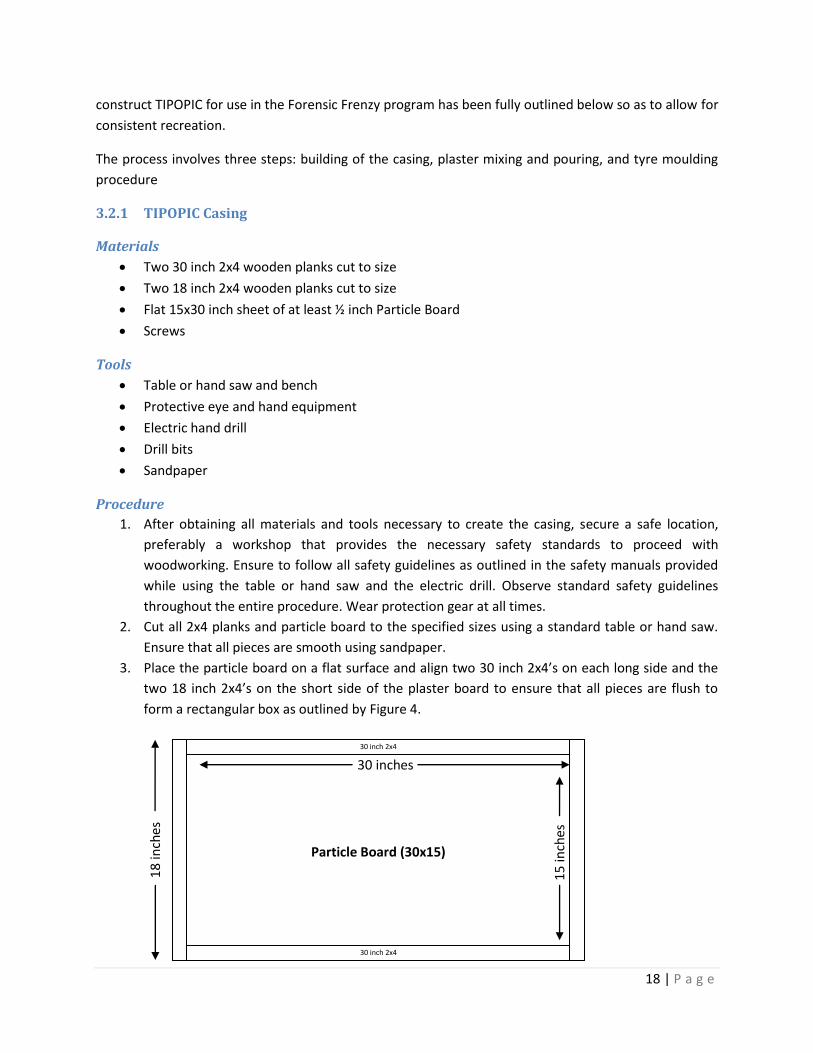
Conform to Universal Design
Adapting CSIRO-SEC Hands-On Forensic Frenzy Program for
Students with Visual Disabilities
Sponsored by Commonwealth Scientific and Industrial Research Organisation
(CSIRO)
An Interactive Qualifying Project Proposal submitted to CSIRO Education and the Faculty of
WORCESTER POLYTECHNIC INSTITUTE
By
Jillian Cohen
Chad Mondor
Sally Trabucco
Spring 2009
Approved: ______________________
Stephen Weininger, Advisor
______________________ Robert Kinicki, Co-Advisor
______________________
Thidinalei Tshiguvho, Co-Advisor
ii | P a g e
Table of Authorship
Section # Section Title Primary Author Primary Editor
1 Introduction Jillian All
2 Background
2.1 Non-formal education Sally All
2.1.1 Definition and
comparison to formal
Sally All
2.1.2 Evaluation and
Assessment
Sally All
2.1.3 CSIRO Science
Education Centre
Programs
Sally All
2.2 Visual Impairment Jillian All
2.2.1 Definition Jillian All
2.2.2 Barriers Present for
students
Jillian All
2.2.3 Adaptations for
students
Jillian All
2.2.4 Universal Design Jillian All
2.3 CSIRO Programs Chad All
2.3.1 Forensic Studies Chad All
2.3.2 Tyre Forensics Chad All
2.3.3 Use in Forensic Frenzy Chad All
2.3.4 Casting and Moulds Chad All
3 Methodology Chad All
3.1 Universal Design
Equipmet
Chad All
3.1.1 TIPOPIC Versions Chad All
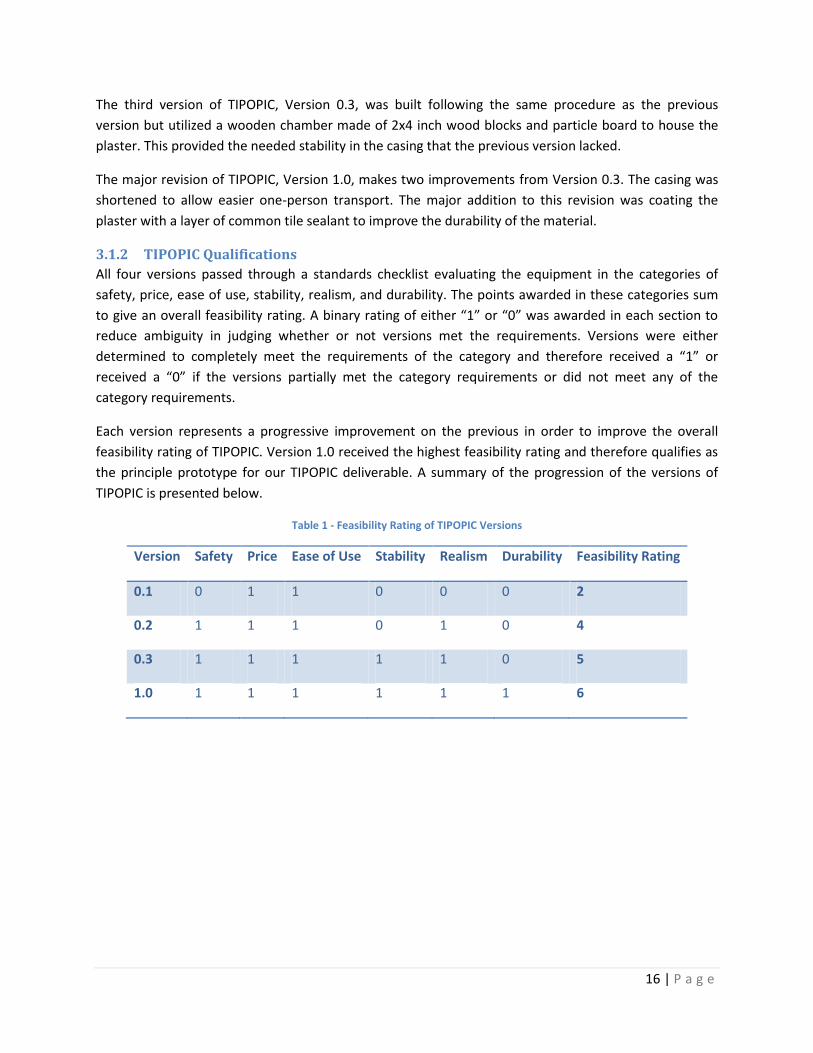
3.1.2 TIPOPIC Qualifications Chad All
3.2 Procedure to build
TIPOPIC
Chad All
iii | P a g e
3.2.1 TIPOPIC Casing Chad All
3.2.2 Plaster Mixing and
Pouring
Chad All
3.2.3 Tyre Moulding
Procedure
Chad All
3.3 Assessment Sally All
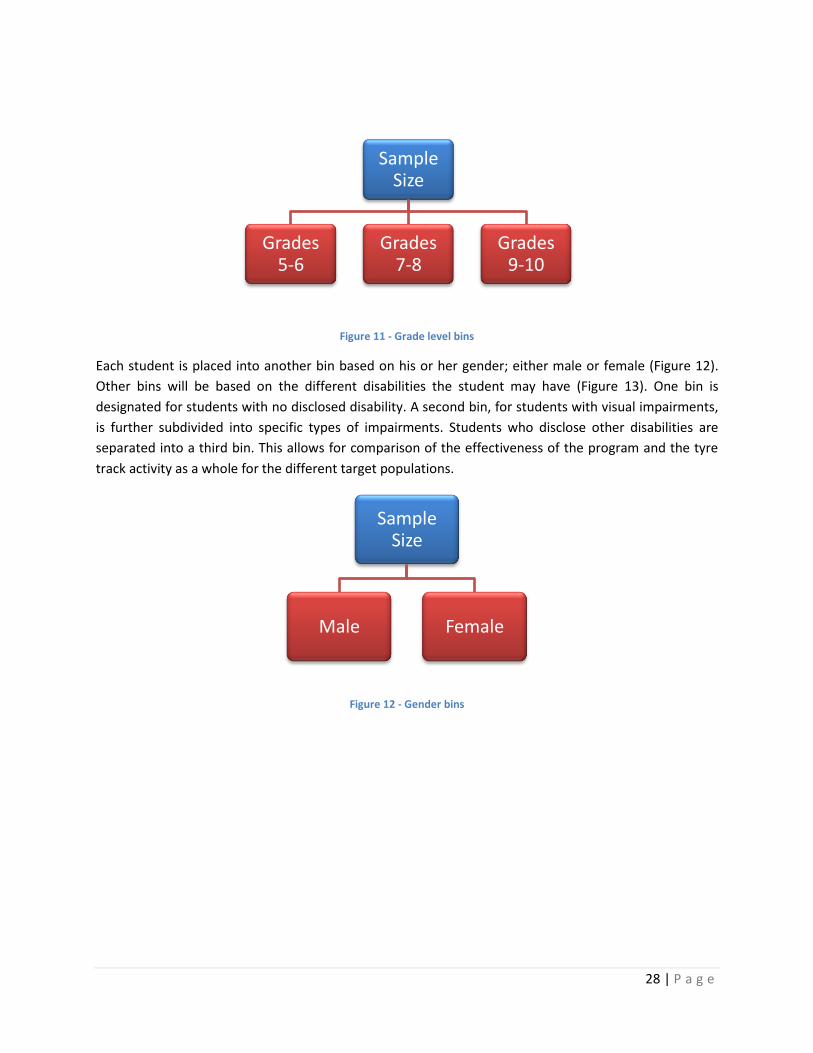
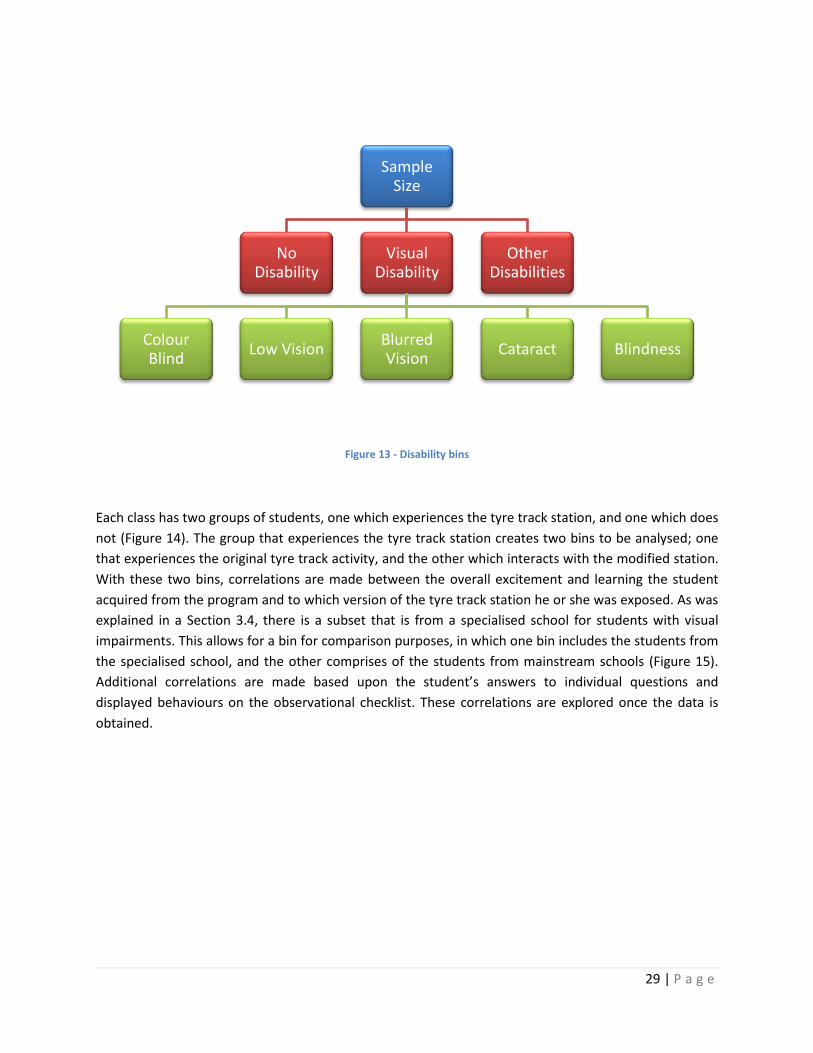
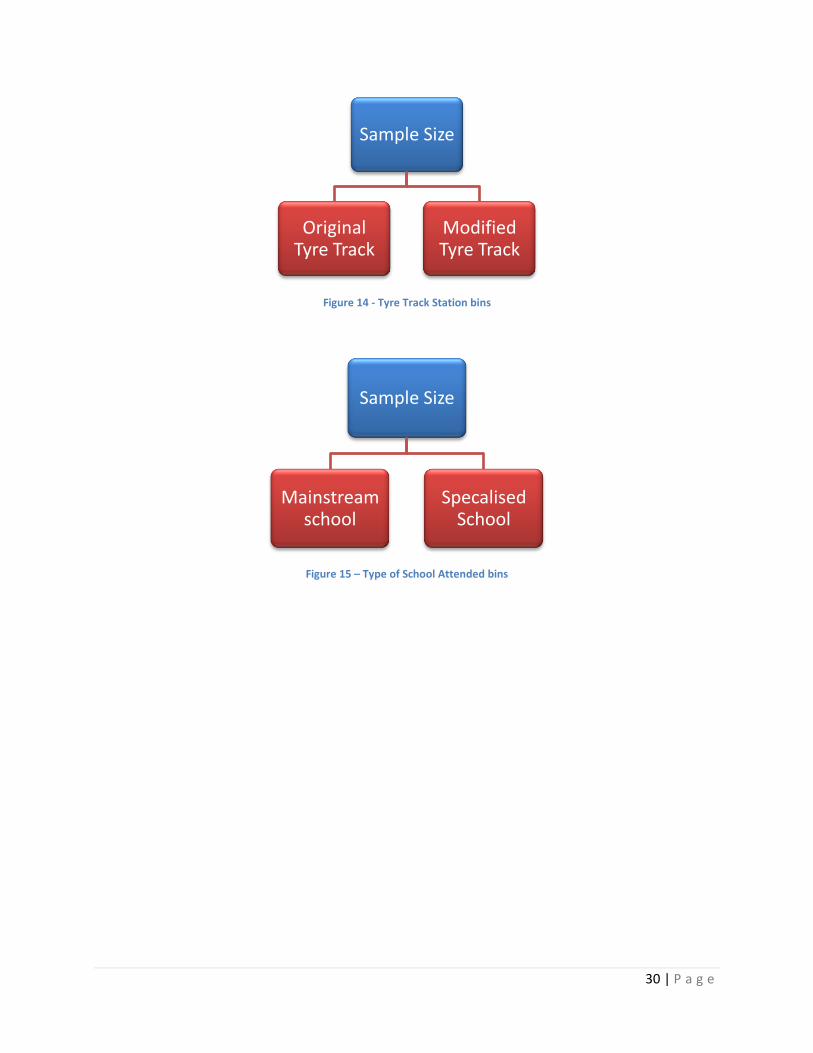
3.4 Sample Size Sally All
3.5 Data Analysis Sally All
iv | P a g e
Table of Contents Table of Authorship ...................................................................................................................................... ii
Table of Contents ......................................................................................................................................... iv
Table of Figures ............................................................................................................................................ vi
List of Tables ............................................................................................................................................... vii
Nomenclature ............................................................................................................................................ viii
Figure 14 - Tyre Track Station bins .............................................................................................................. 30
Figure 15 – Type of School Attended bins .................................................................................................. 30
vii | P a g e
List of Tables Table 1 - Feasibility Rating of TIPOPIC Versions .......................................................................................... 16
viii | P a g e
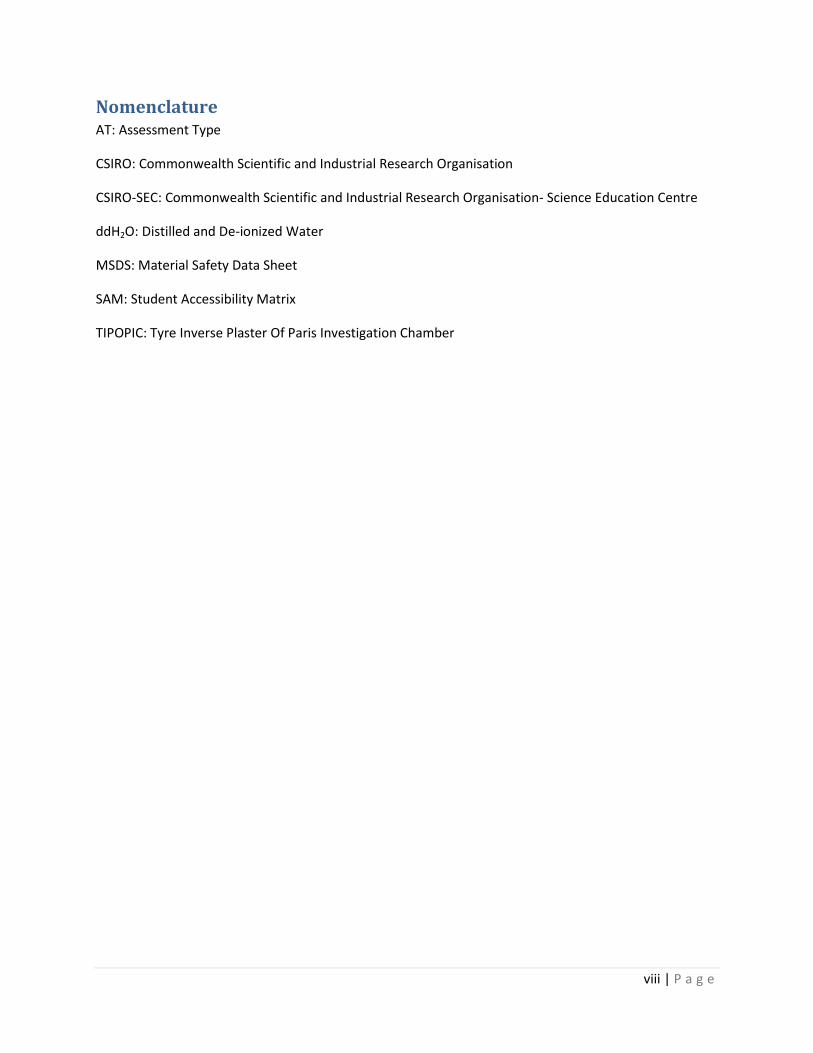
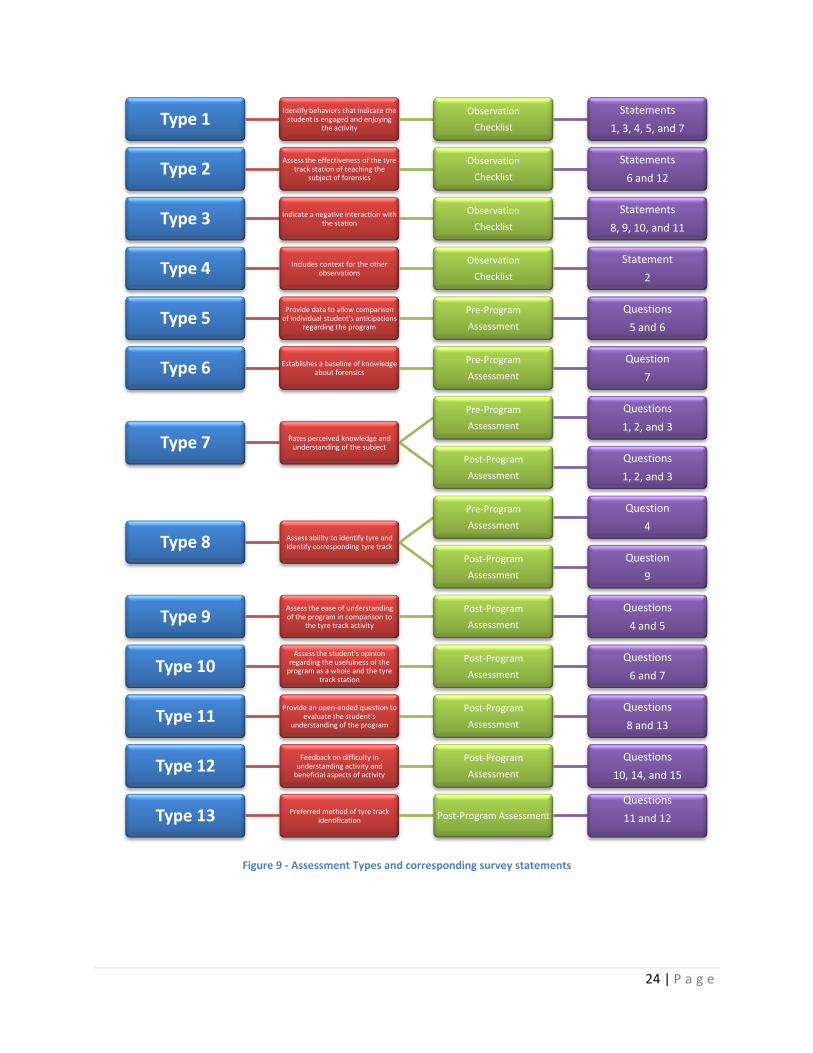
Nomenclature AT: Assessment Type
CSIRO: Commonwealth Scientific and Industrial Research Organisation
CSIRO-SEC: Commonwealth Scientific and Industrial Research Organisation- Science Education Centre
ddH2O: Distilled and De-ionized Water
MSDS: Material Safety Data Sheet
SAM: Student Accessibility Matrix
TIPOPIC: Tyre Inverse Plaster Of Paris Investigation Chamber
1 | P a g e
1 Introduction Non-formal education is valuable to the overall learning experience of students. Unfortunately, most
non-formal education techniques are not able to communicate the desired objective to students with
disabilities. Universal Design is a method of adapting these programs to influence all students regardless
of impairments. It reduces barriers present in educational settings so that all students have equal
opportunities to learn.
The Commonwealth Scientific and Industrial Research Organisation (CSIRO), in Victoria Australia, strives
to educate students about science through a variety of exciting educational programs. CSIRO is working
to implement Universal Design into their educational programs so that all students have equal
opportunities to gain knowledge and understanding about science. The process of implementing
Universal Design entails the development of the program so that a student who has any type of
disability or impairment will have the same learning opportunities as a student without any disability or
impairment. It is also important that the modifications to the program do not interfere with the delivery
of the program’s objective, to introduce students to science.
One of the programs that CSIRO offers to educators is titled Forensic Frenzy. CSIRO reaches out to
students in grades five through ten and teaches them the fundamentals of forensic science in hopes that
they will acquire an interest in the subject. Students take on the role of forensic investigators and
examine evidence using scientific techniques to solve a crime. The activities included in the Forensic
Frenzy program are based on evidence left behind at the scene of the crime. The activities include
fingerprint analysis, footprint analysis through soil testing, fabric and fibre analysis, and tyre track
identification. The activity that the team has been asked to modify is tyre track identification.
The current method for identification of tyres in the Forensic Frenzy program revolves around the use of
photographs. A photograph of the tyre track left behind at the crime scene is compared to photographs
of the tyres that belong to the cars of the four suspects. To a student without any disability, this task
would seem relatively easy. However, to a student who is visually impaired, the comparison of the
photographs is extremely difficult and may even be impossible. It would be beneficial to students with
visual impairments to have a tactile aid for the tyre track identification activity.
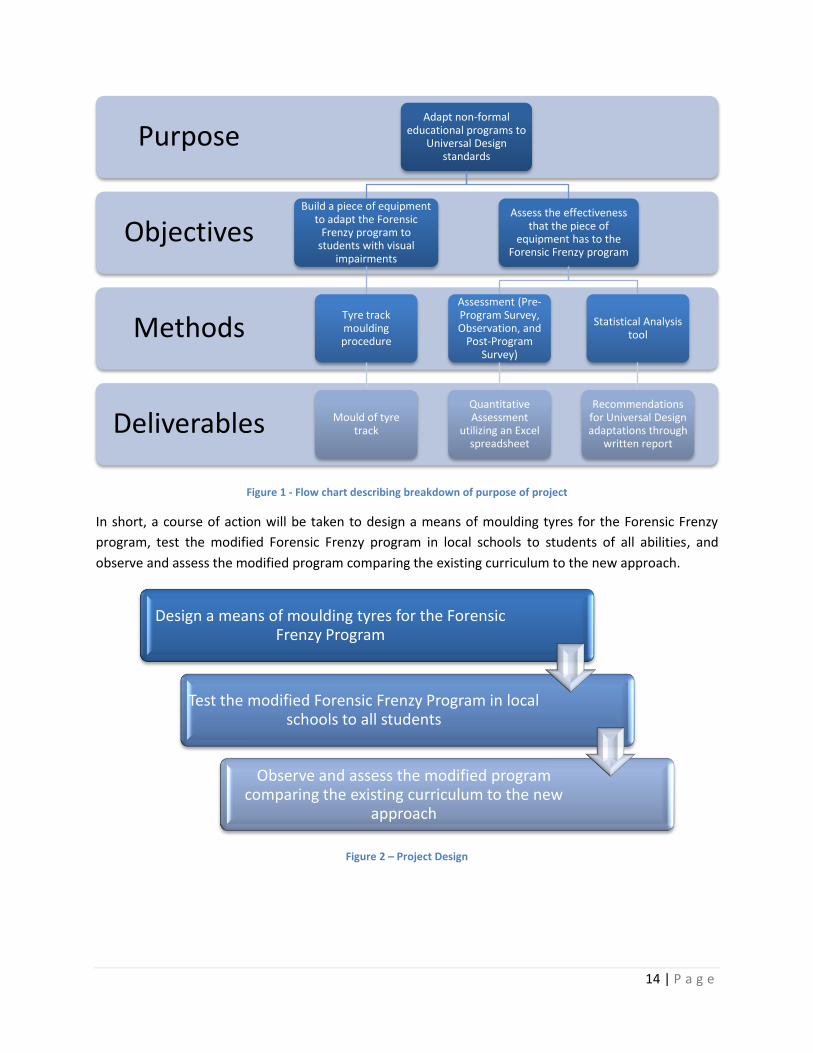
In order to address the problem, the WPI project team set out to create a plaster mould of the tyre to
represent the inverse print that the tyre track would exhibit. The team developed four prototypes
culminating in a final design. By using Plaster of Paris, the team was able to create the inverse print of
the tyre in hopes of creating a tactile aid for the use of all students. The final design will be implemented
into the Forensic Frenzy program so that students participating in the program will be able to feel the
comparisons of the tyre track left at the scene of a crime to the tyre itself.
After implementing the new approach to the tyre track identification activity, the team must assess the
effectiveness that the piece of equipment has on the Forensic Frenzy program and compare the
assessment to the previous methods of tyre identification. Students will either participate in the tyre
track activity by means of photograph analysis or by means of tactile learning. Throughout the activity,
2 | P a g e
they will be assessed. The assessment is composed of three parts: a pre-program survey, observation,
and a post-program survey. The pre-program survey defines the level of knowledge that the students
have before going through the program. During the activity, the team will observe the students’
interactions and behaviours. After the completion of the activity, the student will participate in a post-
program survey that will assess the amount of knowledge and interest gained in the activity. The set of
data that comes from photograph analysis will be compared to the set of data from tactile learning. The
desired outcome of implementing Universal Design is that students will gain the same amount of
educational learning and stimuli regardless of disability. If this outcome is achieved, the team will have
reached the primary step in implementing Universal Design into CSIRO’s educational programming.
3 | P a g e
2 Background To best understand the CSIRO objectives, a variety of subjects were analysed by the team. Within the
non-formal education setting there are many types of students. Some students have disabilities and
impairments and others do not. Implementing Universal Design into the educational setting will allow
all students to gain the same opportunities regardless of impairments.
To be able to implement Universal Design into CSIRO’s science programs, the project team researched
an assortment of methods that are suggested for students with visual impairments in an educational
setting. The project team also needed to research assessments that can accommodate all types of
students. The team found that assessments vary widely between formal and non-formal education.
The project team must convert a primarily vision based activity, the tyre track identification station, to a
tactile learning opportunity. Different moulding techniques were researched to determine the most
effective means of tactile learning.
2.1 Non-formal Education Non-formal education, occasionally referred to as informal education in literature, is an integral part to
learning in most educational systems. Non-formal education gives students a chance to learn and
explore at their own pace, following their individual motivations.
2.1.1 Definition and Comparison to Formal Education
To define and clarify the term non-formal education, formal and informal education must first be clearly
defined. According to Mark K. Smith, formal education is the “hierarchically structured, chronologically
graded ‘education system’, running from primary school through the university and including, in
addition to general academic studies, a variety of specialised programmes and institutions for full-time
technical and professional training” (Smith, 2001). Formal education is typically what students
experience in schools as part of a larger educational system, public or otherwise. In contrast, informal
education is “the truly lifelong process whereby every individual acquires attitudes, values, skills, and
knowledge from daily experiences and the educative influences and resources in his or her
environment” (Smith, 2001). Informal education is simply the knowledge that one gains through
interaction with his or her environment and the other individuals in it.
In contrast to these types of education is non-formal education, which falls between both of these
extremes. Non-formal education is “any organised educational activity outside the established formal
system- whether operating separately or as an important feature of some broader activity- that is
intended to serve identifiable learning clienteles and learning objectives” (Smith, 2001). Common
examples of non-formal education are field trips, museum or national park visits, and hands on projects
provided by outside vendors. Non-formal education increases interest and curiosity for learning by
providing students an opportunity to explore things which they find interesting and allows them to learn
based upon their own motivations. Non-formal education is sometimes referred to as informal
education. In this proposal non-formal and informal education will be used as defined above.
4 | P a g e
2.1.2 Evaluation and Assessment
Assessment is an essential element of both formal and non-formal education. Particularly in non-formal
education, the issue of assessing both individual progress and the effectiveness of the program as a
whole is not well established. Assessment of these two aspects is clarified by the following distinction:
“Assessment is a test of individual performance, whereas evaluation is a means of
gathering a more broad range of data concerning effectiveness of programs and
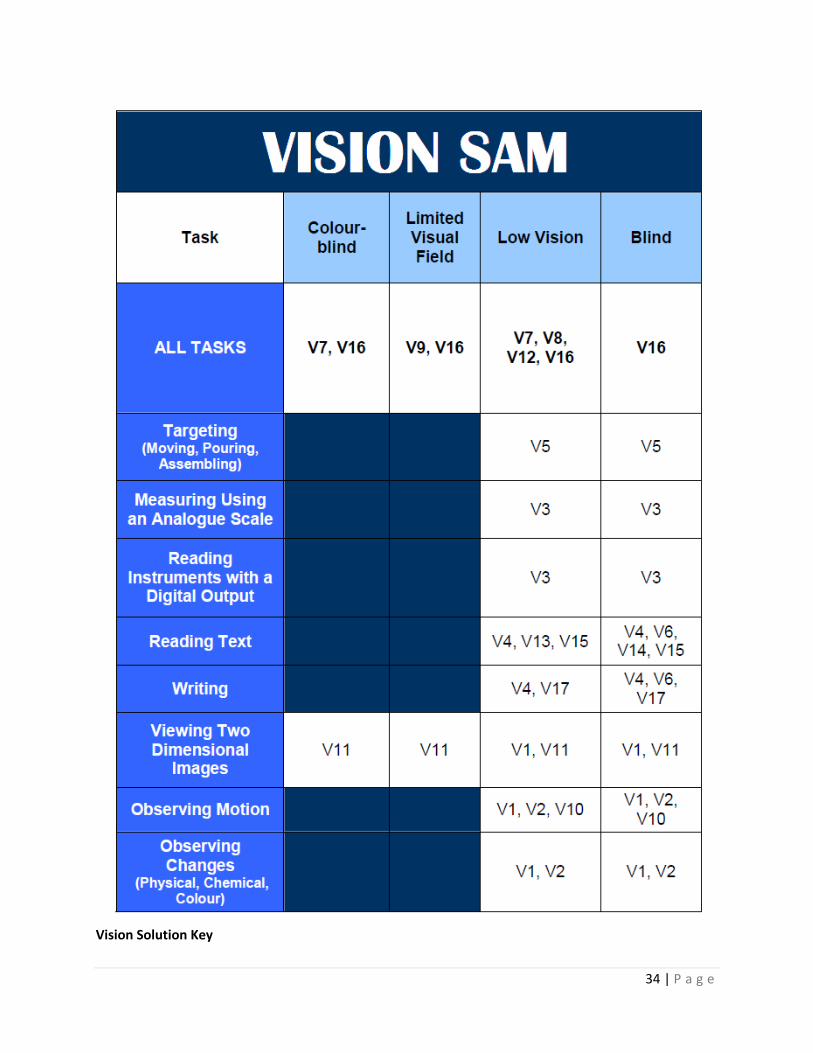
Tasks that have been identified as barriers for student with visual impairments are listed in the left hand
column. The spectrum of the disability is found in the top row of the matrix. The second row of the
matrix includes accommodations that can be made for all tasks to make them more accessible for
students with visual impairments; these solutions should be considered before the rest of the matrix is
consulted. The middle cells of the matrix contain solution codes which correspond to adaptations that
can be made to accommodate students with visual impairments. The coded list of solutions is found
below the matrix. It should be noted that the vision specific accommodations are meant to supplement
the Universal Design section; they assume that the general strategies in the Universal Design section
have been implemented.
34 | P a g e
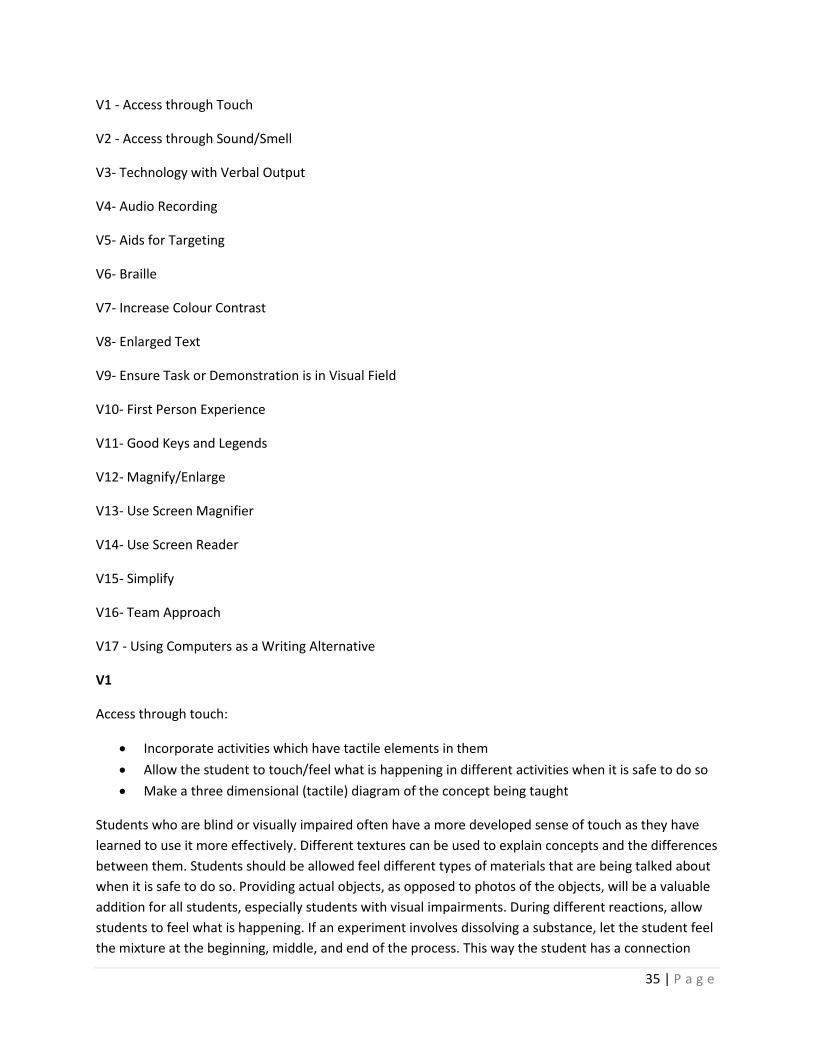
Vision Solution Key
35 | P a g e
V1 - Access through Touch
V2 - Access through Sound/Smell
V3- Technology with Verbal Output
V4- Audio Recording
V5- Aids for Targeting
V6- Braille
V7- Increase Colour Contrast
V8- Enlarged Text
V9- Ensure Task or Demonstration is in Visual Field
V10- First Person Experience
V11- Good Keys and Legends
V12- Magnify/Enlarge
V13- Use Screen Magnifier
V14- Use Screen Reader
V15- Simplify
V16- Team Approach
V17 - Using Computers as a Writing Alternative
V1
Access through touch:
Incorporate activities which have tactile elements in them
Allow the student to touch/feel what is happening in different activities when it is safe to do so
Make a three dimensional (tactile) diagram of the concept being taught
Students who are blind or visually impaired often have a more developed sense of touch as they have
learned to use it more effectively. Different textures can be used to explain concepts and the differences
between them. Students should be allowed feel different types of materials that are being talked about
when it is safe to do so. Providing actual objects, as opposed to photos of the objects, will be a valuable
addition for all students, especially students with visual impairments. During different reactions, allow
students to feel what is happening. If an experiment involves dissolving a substance, let the student feel
the mixture at the beginning, middle, and end of the process. This way the student has a connection
36 | P a g e
with the material by touching it. If it is safe for a student to touch part of an experiment only while
wearing protective gloves, the loss of tactility is tolerable.
Three dimensional diagrams or models can be made to illustrate many different concepts including how
the solar system is arranged, the components of a cell, or the structure of a plant. Craft supplies, such as
Plaster of Paris, Popsicle sticks, and clay can all be used to make tactile diagrams.
There are also different types of paper which will become raised to make diagrams and graphs on paper
more tactile. Piaf paper and thermoform paper are both used for this purpose. Thermoform paper can
be placed over a raised surface and heated to conform to the surface. The thermoform paper can then
be removed and used on its own. Piaf paper uses heat sensitivity to raise different areas based on
greyscale shading, making the dark outlines of different diagrams three dimensional.
V2
Access through sound/smell:
Incorporate activities which contain changes in sound
Incorporate activities which contain changes in smell when it is safe to do so
Incorporate sounds into the activities to give students feedback
It is important to incorporate activities which have changes in sound and smell to make the activities
more multi-sensory. Changes in sound and smell can be used during reactions, allowing students with
visual impairment to detect changes through their stronger senses. Sounds can also accompany visual
changes to reinforce them when a complete substitute cannot be made. For example, if a noise like a
click is used to signal that something has happened, the student will know when the visual change has
occurred. Including nonverbal sounds and smells ensures that students with visual impairments can gain
an understanding of what is happening during the reaction.
V3
Technology with verbal output:
Talking tape measures, scales, rulers, and colour readers
For students that have severe vision impairments, there are devices such as talking tape measures and
other tools which utilize a verbal output. These can allow students to participate in measuring activities
that they otherwise would not be able to perform.
V4
Audio Recording:
Record instructions on audio tape or in mp3 format
Allow the students to submit audio tapes detailing their ideas and observations
37 | P a g e
For activities with complicated instructions, it can be hard to remember all of the instructions through
memory. As an alternative to converting instructions to large text or Braille, they can be converted to
audio format, utilizing a much stronger sensory input channel. In audio format, students can play
instructions step by step, pausing in between and allowing time to complete the activity. The students
can also review steps if they miss something the first time around. Mp3 formats are very accessible as
they can be used on computers, which make it possible to read the labels on recordings using a screen
reader or magnifier.
In addition to using audio recordings as an alternative format for delivering information to students,
students can also record their own ideas and observations. This way, time is saved and students do not
have write or type their answers, a task which may be difficult for some students.
V5
Aids for Targeting:
Use containers with large openings
Use a funnel
A guide system can be helpful
If substances are being moved from one container to another, ensure that the openings are large
enough for the student to move the material to the right place easily. If the opening is too small, the
student may not be able to see it and will have difficulty targeting. Using a funnel is an easy way to
widen the opening and make it easier for students with all different types of visual impairments to
target small openings. For students with severe vision impairments, a device or person to guide the
student to the area to pour is often very helpful.
V6
Braille:
Convert text-based documents into Braille
Allow students to use a Braille typewriter to record their answers
Although Braille is not the most widely used written communication method for students with visual
impairments, for those who do use the medium it is important to supply them with access to Braille
material. Many different places will transcribe information into Braille. In Australia, the Vision Australia
Information Library Service (VAILS) will convert various materials into Braille form, but it usually takes
about two weeks. Braille can also be applied to measuring devices like rulers so blind students can read
the increments on the tool.
Students can also use Braille typewriters to record their answers.
V7
Increase Colour Contrast:
38 | P a g e
Utilize contrasting colours in measurement devices, PowerPoint, worksheets and visual aids
Minimize use of colours which cannot be seen by students
It is difficult for students with visual impairments to see objects or text that have very little colour
contrast; these students need maximum colour contrast to see well. To account for this, it is best to use
a light background with dark text or vice versa. Specifically, a light yellow or white background with
black text works best. This applies to devices such as rulers, text on computer screens, and PowerPoint
slides. In addition, adding colour to a clear liquid can make the liquid easier to see when measuring
volumes.
Avoid non-contrasting colour combinations, such as red and green, because students who are colour-
blind may not be able to distinguish the difference between such colours. If an experiment is being done
where the colour change goes from red to green, it is suggested to use materials which will produce
other colours or completely report the results in a drawing or illustration in which alternate colours can
be used.
V8
Enlarged Text:
Use a larger font size (18 is usually sufficient)
Use a copier to enlarge a textual document
For students with visual impairments, text is not accessible if it is not transcribed into the right format. It
is important to find a font size that ensures students with low vision are able to comfortably read the
material. When material is in an electronic format the font size can be altered before being printed out
and if material from a book is being used or worksheets are being copied, a copier can be used to
enlarge the print of the text. Eighteen point font is usually sufficient for most users, but it depends
greatly on the level of impairment. Some students may be able to read smaller text, but visual fatigue
will set in much quicker. Text on measuring devices can also be enlarged as well as number keys on tools
like calculators.
V9
Ensure Task or Demonstration is in Visual Field
Place objects in student’s visual field
Encourage student to scan entire area
For students with a limited visual field, it is important that objects are located within the student’s visual
field. The visual field can be different for each student, so it is important to first identify where the
student’s visual range lies. An activity may need to be relocated in a vertical or horizontal direction.
Additionally, activities may need to be positioned closer to students. Also, for students with a limited
visual field, a task which is normally spread out may need to be consolidated so all the tools and
39 | P a g e
materials can be seen at once. While students may have a limited visual field, it is still important to
encourage them to scan the entire area so they are aware of their surroundings.
V10
First Person Experience:
Show the student what is happening by having them experience it
First person experience allows a student to better understand certain phenomena such as force. For
example, to show the effect of force on movement, push the student on a skateboard, rather than just
showing a demonstration to the class. The student will be able to experience movement and gain a
better understanding of force and the resultant motion.
V11
Good Keys and Legends
Use good keys and legends when using diagrams or grasp
Ensure that keys and legends are simple
Incorporate textures into the keys and legends if tactile diagrams are being used
It is easier for a student to understand diagrams, whether they be tactile or enlarged two-dimensional, if
there is a good key which is not overly complex. The simpler and more self-explanatory a diagram or
graph is, the easier it is to understand. This is especially important for visually impaired students
because if a student is accessing a diagram in a tactile manner there is only a very limited area that can
be accessed at one time. Also, for students with low vision if the diagram is not labelled well it will be
difficult to understand.
V12
Magnify/Enlarge:
Enlarge images from microscopes or demonstrations using a camera
Supply magnifying glasses to students with visual impairments
Enlarge the size of pictures and diagrams
Enlarge the size of objects and buttons
Using cameras connected to projectors or televisions to enlarge small demonstrations can allow
students to see what is happening better. Similarly, connecting a microscope to a projector or television
can give the student access to phenomena that occur on a scale that is normally too small for them to
see. Magnifying glasses can be used to enlarge objects that are too small for students to see. In addition
to using optics to enlarge objects in real time, enlarging the physical size of buttons or objects will make
it easier for students to see or use them.
V13
40 | P a g e
Use Screen Magnifier:
Put things in an electronic format and use computer software to magnify information displayed
on computer screen
Screen magnifier software can be used to enlarge text or pictorial images to the desired level. It should
be noted that for internet use, not all websites are compatible with screen magnifiers.
V14
Use Screen Reader
Put things in an electronic format and use computer software to read written material to
students
Screen readers are accessed through a computer. The software translates the electronic text into a
verbal output. It should be noted not all websites and PDF files are compliant with screen readers.
V15
Simplify:
Simplify instructions and explanations, be concise
Use less text
Simplify visual displays to ensure they are easy to comprehend
Too much text can become overwhelming and confusing for all students, particularly students with
visual impairments. To account for this, it is important to make sure that written instructions and textual
documents are as concise as possible. Also, pictures can be used in place of text in instances where
students have low vision but are able to see the pictures.
For students with visual impairments, it can become very confusing if there are too many lines on a
graph or if there are too many different figures on one diagram. By simplifying the graphs and diagrams,
they are easier to understand for everyone and can be seen better on worksheets and posters. It should
also be noted that different colour lines on graphs should be used with caution. Coloured lines are good
when material is printed in colour but may be difficult to distinguish and if the graph is copied in black
and white at any point, the colours will be changed to gray shades, which can be very hard to read.
V16
Team Approach:
Put students in teams so that the students can help each other
Students with visual impairments may require peer helpers during classroom activities. Using a team
approach to learning can optimize each student’s strengths within activities. This way, every student can
contribute in his or her own way and complete all the activities. For students with visual impairments,
41 | P a g e
peer helpers may need to read off the numbers on a scale or stop watch, verbally explain visual changes,
and aid the student in any other areas where vision is required. It is important to note that in some
cases, a trained observer may be needed to describe visual changes because a student observer may not
know what to look for. It is important to ensure that every member of the group contributes; therefore,
while one member of the group may read the digital outputs from a scale, the student who is blind or
visually impaired could record data or hold/position other objects.
V17
Use Computers as a Writing Alternative
Allow students to type answers
Students with visual impairments, especially blind students, will have difficulty writing manually. As an
alternative to manual writing, these students may use computers to input their answers. With the
support of technologies like screen readers and screen magnifiers, it is easier for students to record their
answers and observations.
42 | P a g e
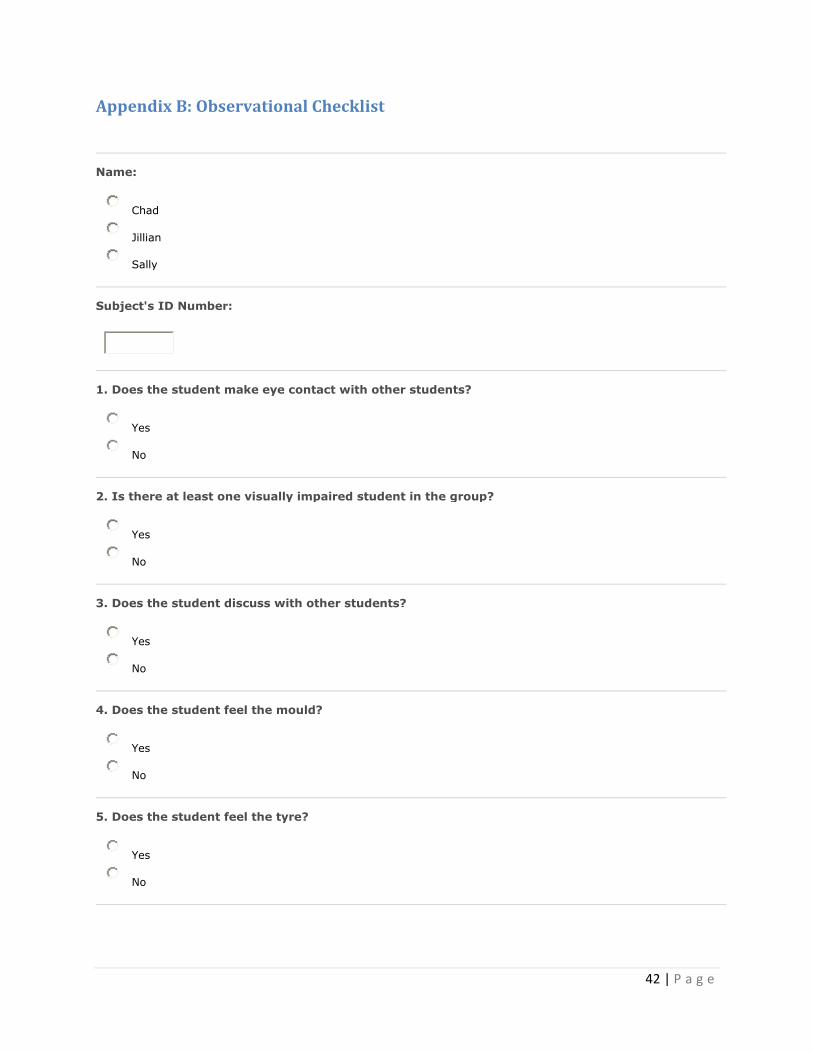
Appendix B: Observational Checklist
Name:
Chad
Jillian
Sally
Subject's ID Number:
1. Does the student make eye contact with other students?
Yes
No
2. Is there at least one visually impaired student in the group?
Yes
No
3. Does the student discuss with other students?
Yes
No
4. Does the student feel the mould?
Yes
No
5. Does the student feel the tyre?
Yes
No
43 | P a g e
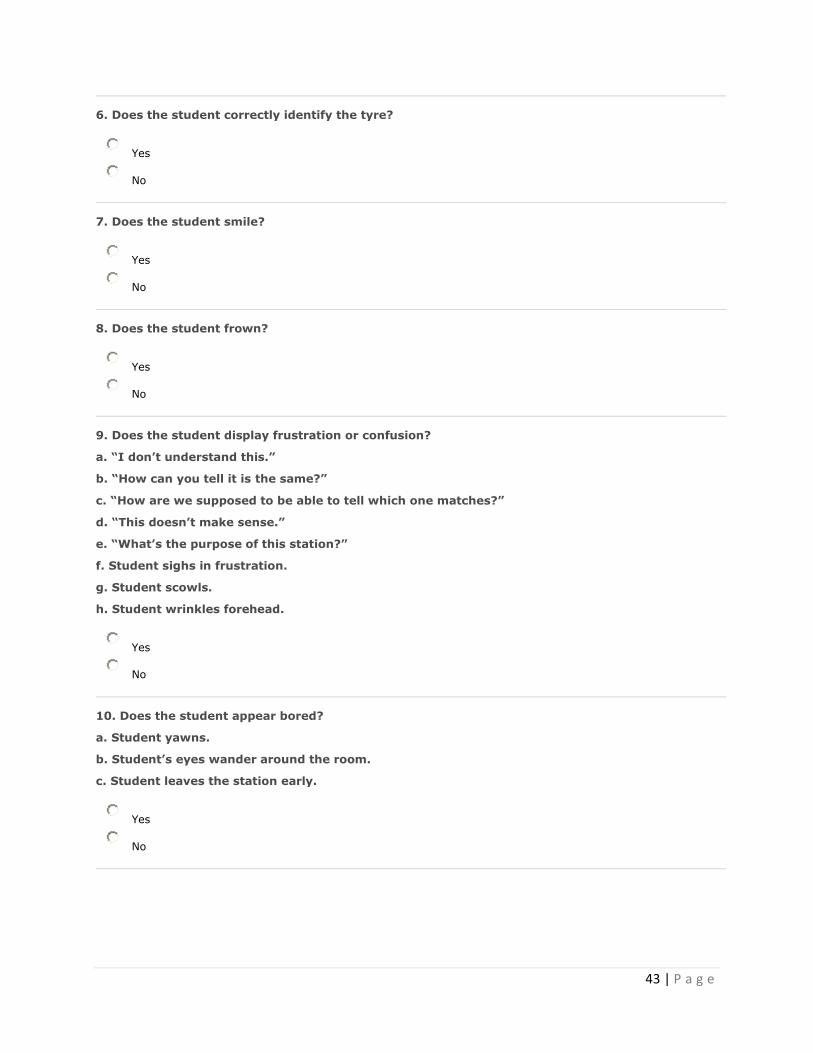
6. Does the student correctly identify the tyre?
Yes
No
7. Does the student smile?
Yes
No
8. Does the student frown?
Yes
No
9. Does the student display frustration or confusion?
a. “I don’t understand this.”
b. “How can you tell it is the same?”
c. “How are we supposed to be able to tell which one matches?”
d. “This doesn’t make sense.”
e. “What’s the purpose of this station?”
f. Student sighs in frustration.
g. Student scowls.
h. Student wrinkles forehead.
Yes
No
10. Does the student appear bored?
a. Student yawns.
b. Student’s eyes wander around the room.
c. Student leaves the station early.
Yes
No
44 | P a g e
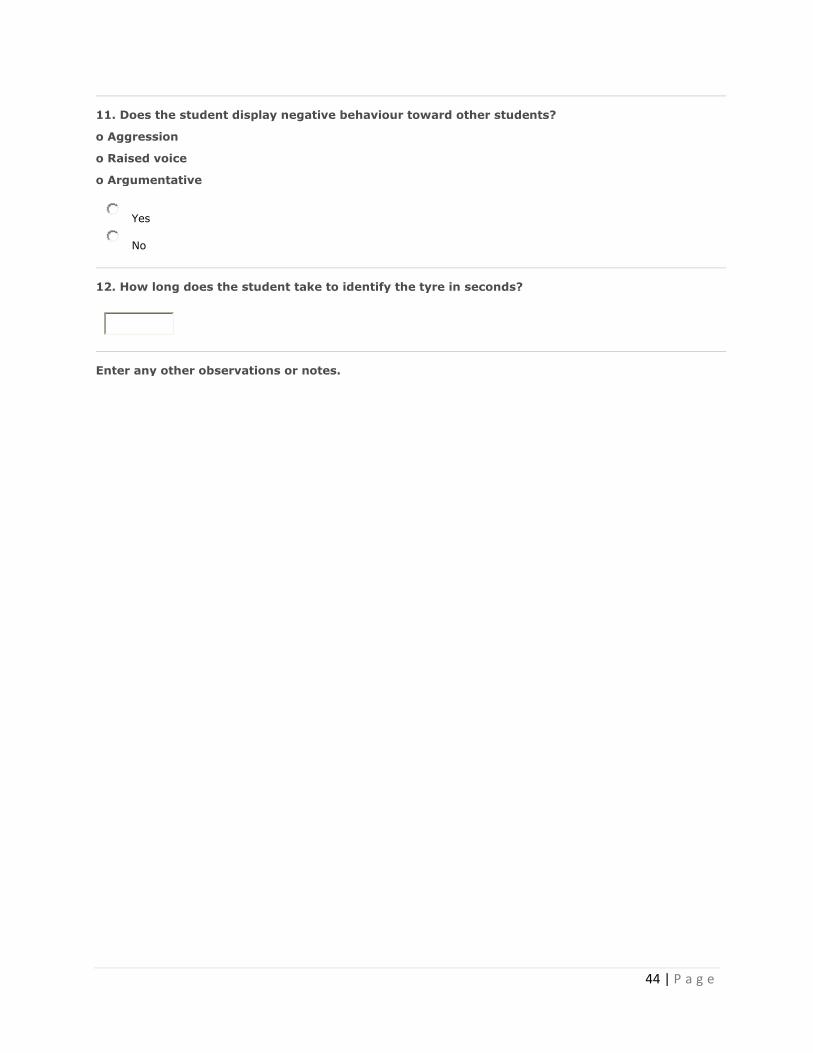
11. Does the student display negative behaviour toward other students?
o Aggression
o Raised voice
o Argumentative
Yes
No
12. How long does the student take to identify the tyre in seconds?
Enter any other observations or notes.
45 | P a g e
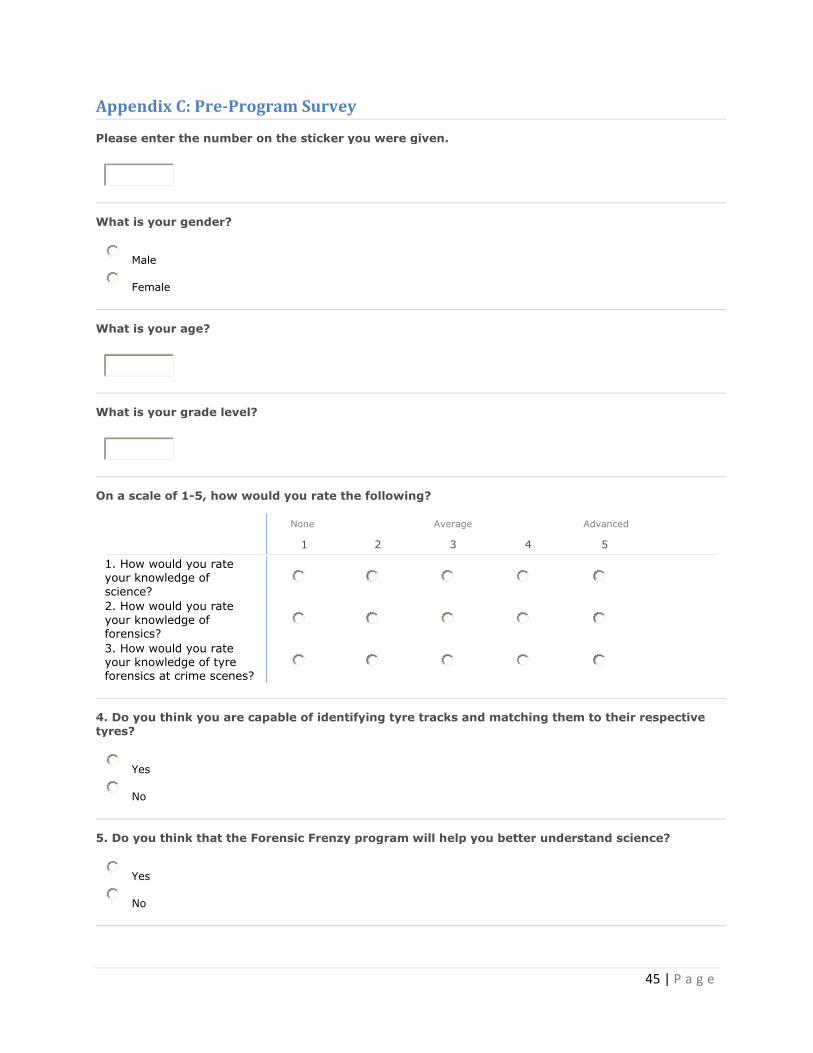
Appendix C: Pre-Program Survey
Please enter the number on the sticker you were given.
What is your gender?
Male
Female
What is your age?
What is your grade level?
On a scale of 1-5, how would you rate the following?
None
Average
Advanced
1 2 3 4 5
1. How would you rate your knowledge of
science?
2. How would you rate
your knowledge of forensics?
3. How would you rate your knowledge of tyre forensics at crime scenes?
4. Do you think you are capable of identifying tyre tracks and matching them to their respective
tyres?
Yes
No
5. Do you think that the Forensic Frenzy program will help you better understand science?
Yes
No
46 | P a g e
6. Do you think that the Forensic Frenzy program will help you better understand forensics?
Yes
No
7. Have you ever been exposed to the study of forensics before?
Yes
No
If you answered "Yes" to the previous question, please explain.
8. If you are comfortable answering, please list any visual, hearing, mobility, or any other impairments you have. This information will help our study to assist in better adapting science programs such as Forensic Frenzy to all students.
Colour Blind
Low Vision
Blurred Vision
Cataract
Blindness
Hearing Loss
Arthritis
Cerebral Palsy
Multiple Sclerosis
Muscular Dystrophy
Paralysis
Parkinson's Disease
Stroke
Other
47 | P a g e
If you answered "Other," please explain.
48 | P a g e
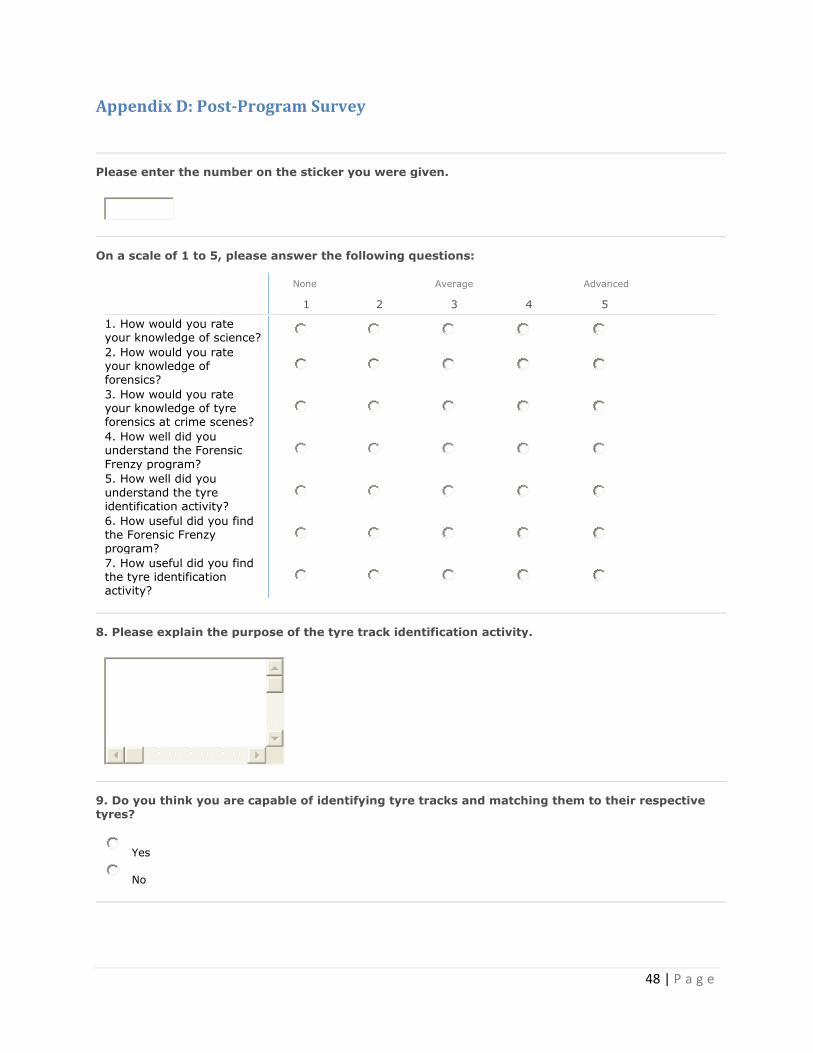
Appendix D: Post-Program Survey
Please enter the number on the sticker you were given.
On a scale of 1 to 5, please answer the following questions:
None
Average
Advanced
1 2 3 4 5
1. How would you rate your knowledge of science? 2. How would you rate your knowledge of forensics?
3. How would you rate your knowledge of tyre forensics at crime scenes?
4. How well did you understand the Forensic
Frenzy program?
5. How well did you
understand the tyre identification activity?
6. How useful did you find the Forensic Frenzy program?
7. How useful did you find the tyre identification activity?
8. Please explain the purpose of the tyre track identification activity.
9. Do you think you are capable of identifying tyre tracks and matching them to their respective tyres?
Yes
No
49 | P a g e
10. Did you have any difficulty identifying the correct tyre?
Yes
No
If you answered "Yes" to the previous question, please explain.
11. How did you identify the correct tyre?
By Touch
By Sight
Both
12. Was it easy to identify the correct tyre using this method?
Yes
No
If you had difficulty identifying the correct tyre using this method, please explain.
13. Please explain what you learned from the tyre track activity.
50 | P a g e
14. What did you enjoy or find interesting about this tyre track activity?
15. What was unclear or confusing about the tyre track activity?