16
Administrator’s Guide for Managing Dell Wyse Thin Clients Running WES7 (32-bit and 64-bit) with Microsoft System Center 2012 R2 Configuration Manager
| Date post: | 02-Apr-2018 |
| Category: |
Documents |
| Upload: | dangkhuong |
| View: | 218 times |
| Download: | 1 times |
Administratorrsquos Guide for Managing Dell Wyse Thin Clients Running WES7 (32-bit and 64-bit) with Microsoft System Center 2012 R2 Configuration Manager
Notes cautions and warningsNOTE A NOTE indicates important information that helps you make better use of your product
CAUTION A CAUTION indicates either potential damage to hardware or loss of data and tells you how to avoid the problem
WARNING A WARNING indicates a potential for property damage personal injury or death
copy 2016 Dell Inc or its subsidiaries All rights reserved This product is protected by US and international copyright and intellectual property laws Dell and the Dell logo are trademarks of Dell Inc in the United States andor other jurisdictions All other marks and names mentioned herein may be trademarks of their respective companies
2016 - 08
Rev A00
Contents
1 Introduction4About this Guide4
2 Getting Started Prerequisites and Supported Management Features 5General prerequisites for configuration manager and device manager support 5Management features supported 5
3 How to distribute software applications6Additional References6
4 Imaging Wyse Thin Clients with Configuration Manager 8Phase 1 Capturing an OS Image from a Reference Thin Client 8Phase 2 Importing the Captured OS Image (WIM File) into the Configuration Manager Server9Phase 3 Deploying the OS Image to the Destination Client Using the Operating Systems Deployment (OSD) Task
Sequence10
5 Deployment of Software Updates (Monthly Security Updates)13
6 Localization Requirements Multilingual User Interface (MUI) 14
7 Troubleshooting Tools 15Tools 15
8 Upgrading SCCM 2007 ConfigMgr 2012 SP1 clients with ConfigMgr 2012 R2 clients on Older Dell Wyse WES7 builds16
3
1IntroductionDell Wyse provides support for using Microsoft System Center 2012 Configuration Manager R2 to manage Dell Wyse thin clients running Dell Wyse Enhanced Windows Embedded Standard 7 (32ndashbit and 64ndashbit) operating systems
NOTE Configuration Manager 2012 R2 extends the capabilities to enable the management of specialized devices such as thin clients
Configuration Manager is a systemrsquos management software product by Microsoft for managing large groups of Windows-based computer systems
About this Guide
This guide is intended for administrators of Dell Wyse thin clients running WES7 (32ndashbit and 64ndashbit) OS Administrators must have expertise in System Center Configuration Manager before using this guide
This guide provides the necessary information for using the Dell Wyse solution to support Configuration Manager capabilities to manage Dell Wyse thin clients that runs on Dell Wyse Enhanced WES7 (32ndashbit and 64ndashbit) OS
This guide contains information on
bull Features supported on Dell Wyse Enhanced WES7 (32ndashbit and 64ndashbit) builds by Configuration Manager 2012 R2
bull Software distribution on Dell Wyse Enhanced WES7 (32ndashbit and 64ndashbit) builds using Configuration Manager 2012 R2
bull OS Capture and deployment of the Dell Wyse Enhanced WES7 (32ndashbit and 64ndashbit) builds using Configuration Manager 2012 R2
Configuration Manager and Windows Embedded Standard 7 help can be accessed from the Microsoft Help and Support Web site at supportmicrosoftcomdefaultaspx
4
2Getting Started Prerequisites and Supported Management FeaturesBefore using Configuration Manager be sure to meet all prerequisites and understand the supported management features for Dell Wyse thin clients contained in the following sections
bull General Pre-requisites for Configuration Manager and Device Manager Support
bull Management Features Supported
General prerequisites for configuration manager and device manager support1 Configuration Manager 2012 R2 Client must be installed on the client device
2 Configuration Manager 2012 R2 supported Dell Wyse scripts for preparing the image for capture and deployment must be available on the client device
3 Additional storage space on client may be required to cache software updates
4 Configuration Manager 2012 R2 infrastructure supporting Operating Systems Deployment (OSD)
5 Client device must be joined to a domain
6 Client device must be discovered and available in the Configuration Manager server console
Management features supported
Management features supported by Configuration Manager 2012 R2 on Dell Wyse thin clients with WES7 builds are
Configuration manager 2012 R2 supports
bull Asset Discovery
bull Asset Inventory
bull Image Pull
bull Image Push
bull Software package advertisement with Write-Filter Management
bull Task Sequence advertisement
Some of the Configuration Manager features are
bull Deploying software applications
bull Deploying software updates
bull Deploying images
bull Collecting hardware and software inventory
bull Metering software usage
bull Reporting
5
3How to distribute software applicationsThis section explains how third party software applications can be distributed to Dell Wyse thin clients running Dell Wyse Enhanced WES7 (32ndashbit and 64ndashbit)
Prerequisites
1 Device should be domain joined and discovered in Configuration Manager server prior to software deployment (Disable the FBWF and join the client to domain and discover in Configuration Manager server console)
2 Obtain latest Application executable (Example Firefoxexe so on) and copy it to local drive on the ConfigMgr site serverrsquos shared location CConfigMgr_packagesapps
The following types of software distributions can be performed such as
bull Legacy method- For information about packages and programs that were used in Configuration Manager 2007 go to wwwtechnetmicrosoftcomen-uslibrarygg699369aspx
bull New Method ndash For information about applications deployment with Microsoft System Center 2012 Configuration Manager go to wwwtechnetmicrosoftcomen-uslibrarygg682125aspx
When you deploy applications to Windows Embedded devices that are write filter-enabled you can specify whether to disable the write filter on the device during the deployment and then restart the device after the deployment If the write filter is not disabled the software is deployed to a temporary overlay and the software will no longer be installed when the device restarts unless another deployment forces changes to be persisted
When you deploy an application to a WES7 make sure that the device is a member of a collection that has a configured maintenance window This lets you manage when the write filter is disabled and enabled and when the device restarts
In the Deploy Software Wizard the user experience setting that controls the write filter behavior is a check box named Commit changes at deadline or during a maintenance window (requires restarts)
For more information on managing Windows Embedded devices that are write filer-enabled see wwwblogstechnetcombconfigmgrteamarchive20121126managing-embedded-devices-with-write-filters-in-configuration-manager-service-pack-1aspx
NOTE
Time for the Advertisement to appear at the client side depends on the machine and user policy refresh interval time and server and network parameters such as server capacity to handle the clients and network traffic
If you do not receive an Advertisement then you must initiate on the thin client
1 Go to Control Panel rarr Configuration Manager rarr Actions tab select Machine Policy Retrieval amp Evaluation Cycle and then click Initiate Action
2 Go to Control Panel rarr Configuration Manager rarr Actions tab select User Policy Retrieval amp Evaluation Cycle and then click Initiate Action
Additional Referencesbull Planning for Application Management in Configuration Manager see wwwtechnetmicrosoftcomen-uslibrary
gg699370aspx
6
bull Creating Applications in Configuration Manager see wwwtechnetmicrosoftcomen-uslibrarygg682159aspx
bull Creating Deployment Types in Configuration Manager see wwwtechnetmicrosoftcomen-uslibrarygg682174aspx
bull Configuring the Application Catalog and Software Center in Configuration Manager see wwwtechnetmicrosoftcomen-uslibraryhh489603aspx
bull Deploying the Configuration Manager Client to Windows Embedded Devices see wwwtechnetmicrosoftcomen-uslibrarygg682132aspxBKMK_DeployClientEmbedded
bull Managing embedded devices with System Center see wwwblogsmsdncombwindows-embeddedarchive20130917managing-embedded-devices-with-system-centeraspx
bull Example Scenario for Deploying and Managing Configuration Manager Clients on Windows Embedded Devices see wwwtechnetmicrosoftcomen-uslibraryjj721567aspx
7
4Imaging Wyse Thin Clients with Configuration ManagerThis section explains how to capture import and deploy an OS image to supported Wyse thin clients running Dell Wyse Enhanced WES7 (32ndashbit and 64ndashbit) OS in a Configuration Manager environment
Imaging includes the following phases (in order)
1 Phase 1 Capturing an OS Image from a Reference Thin Client
2 Phase 2 Importing the Captured OS Image (WIM File) into the Configuration Manager Server
3 Phase 3 Deploying the OS Image to the Destination Client Using the Operating Systems Deployment (OSD) Task Sequence
NOTE
1 The steps included in this section are for administrators who are familiar with OS imaging and Configuration Manager usage
2 BEFORE YOU BEGIN If you are planning for Multilingual User Interface Deployments for WES7 refer to Localization Requirements Multilingual User Interface (MUI) before you begin
Phase 1 Capturing an OS Image from a Reference Thin Client
The Reference image must be captured as a Microsoft Windows Imaging (WIM) format file so that it can be deployed with Configuration Manager 2012 R2 Server To capture an image in WIM format follow the steps given below
Step 1 Prepare the Reference Thin Client for image capture
NOTE
To prepare a reference Dell Wyse Enhanced WES7 image it is recommended to start with a newly imaged thin client make any customizations to the build you want and then make the build ready for Configuration Manager Image capture
1 Be sure the thin client you want to use as a reference thin client is running the image you want
2 Boot the thin client For security the thin client will automatically log on using the User account
3 Log off and log on as an ldquoAdministratorrdquo user Use the Log off button (Start gt Log off) to log off the current desktop while holding down the SHIFT key until the Log On window displays Log on as an Administrator (Default Username is Administrator and default case-sensitive Password is DellCCCvdi)
4 Disable the File-Based Write Filter by double-clicking the FBWF Disable (red) icon on the desktop (this will disable the File-Based Write Filter and reboot the system)
5 If automatic logon to a user desktop is enabled you must log off the user desktop and log on as an Administrator (as you did in point 3 of step 1)
NOTE
At this time also be sure the boot order in the BIOS is HDD followed by PXE LAN
6 Un-join the client from domain and reboot the client Log on as a local Administrator
7 Make any customizations you want (drivers and so on)
8
8 Download the CCMDelCertexe tool and copy it to the reference thin client Cwindowssetup This file is used to remove the Configuration Manager client certificate if they are present from the Configuration Manager reference build
NOTE
bull The Ccmdelcertexe tool is part of the SMS 2003 Toolkit 2 Download SMS 2003 Toolkit 2 from Microsoft Web site at wwwmicrosoftcomdownloadendetailsaspxid=18153
bull For 64ndashbit GPT based images follow the path CwindowssetupTools
9 Run CwindowssetupWES7_ConfigMgr_Capturebat
NOTE For 64ndashbit GPT based images follow the path and run CwindowssetupBuild_Mastercmd
10 Open the servicesmsc and ensure that SMS Agent Host service is started If it is not started start the service
11 Go to the Cwindowssetup folder and ensure that CCMdelcertexe is deleted If not delete it manually as it must not be used as part of Dell Wyse builds due to redistribution license restrictions
NOTE
For 64ndashbit GPT based images follow the path CwindowssetupTools
12 Now the image is Configuration Manager clone ready
NOTE Do not restart the thin client at this time Otherwise all Configuration Manager related Customizations will be reverted back
Step 2 Prepare Image Capture Media (USB flash Drive)
To create Capture Media (USB flash drive) see technetmicrosoftcomen-uslibraryhh397285aspxBKMK_CreateCaptureMedia
Step 3 Use Capture Media to capture the image from the Reference thin client
1 Attach the prepared USB flash drive or CDDVD (with the captured media that you prepared in Step 2 Prepare Image Capture Media (USB flash Drive)) to the reference thin client
2 Go to the USB pen drive or CDDVD drive for example drive D and launch the TSMBAutoRunexe file (for example DSMSBini386TSMBAutoRunexe)
3 On the Welcome to the Image Capture Wizard page click Next
4 On the Image Destination page enter either the remote network shared location (recommended) or the local USB drive path along with the wim file name extension and then click Next
5 On the Image Information page click Next
6 On the Summary page click Finish It will take five to ten minutes for the image capture wizard to start the capture process During the capture process the machine will be syspreped and restarted in WINPE In the WINPE session the image will be captured and after successful capture the wim file is generated and stored
NOTE Once the image is captured the reference thin client will not be in the same state as it was before the capture because of sysprep To bring the reference thin client back to its original state join the reference thin client to the domain and deploy the OS as mentioned in Phase 3 Deploying the OS Image to the Destination Client Using the Operating Systems Deployment (OSD) Task Sequencerdquo
Phase 2 Importing the Captured OS Image (WIM File) into the Configuration Manager Server
1 Import the captured OS image (See wwwtechnetmicrosoftcomen-uslibraryhh397283aspx)
2 Distribute the content to Distribution point (See wwwtechnetmicrosoftcomen-uslibrarygg712694aspx)
9
Phase 3 Deploying the OS Image to the Destination Client Using the Operating Systems Deployment (OSD) Task Sequence
NOTE
1 This section assumes that the destination thin client is already associated with (discovered by) the Configuration Manager Server
2 Be sure the boot order in the BIOS is HDD followed by PXE LAN
1 Create a Configuration Manager Client Agent Software Package from Definition
a create Configuration Manager Client Package from Definition (See wwwtechnetmicrosoftcomen-inlibrarygg682112aspx)
b Distribute the content to Distribution point (See wwwtechnetmicrosoftcomen-uslibrarygg712694aspx)
2 Create a Software Package for Unattended installation
This package creation is required to bypass the product key other windows installation screens from asking user inputs and automatically logon as a local user called Admin after image deployment and to proceed with further Dell Wyse scripts to run and make the thin client ready for use
a Copy Cwindowssetupsysprepxml (For 32ndashbit Only) Cwindowssetupsysprep_64xml (For 64ndashbit Only) and Cwindowssetuptoolssysprep_64xml (for 64ndashbit GPT only) file (which is present on the Dell Wyse thin client) to SCCM-servershare-folder (which is on the Configuration Manager server) This xml file must be accessible by the Configuration Manager server and all WES7 (32ndashbit and 64ndashbit) systems
b Create Package for sysprepxml sysprep_64xml file (See wwwtechnetmicrosoftcomen-uslibrarygg682112aspx for creating package)
c Distribute the content to Distribution point (See wwwtechnetmicrosoftcomen-uslibrarygg712694aspx
3 Create a Software Package and Program that Disable the write Filter
a Copy CwindowssetupDisable-FBWFvbs file (which is present on the Dell Wyse thin client) to SCCM-servershare-folder (which is on the Configuration Manager server) This file must be accessible by the Configuration Manager server and all WES7 (32ndashbit and 64ndashbit) systems
NOTE
bull This script should be able to run at the client side without any prompt The Disable-FBWFvbs script should restart the client within 45 seconds After client restart the write-filter will be disabled
bull If Disable-FBWFvbs file is not available then create the file using Notepad with the following contents
This script is to disable the File based Write Filter Create Shell objectsdim filesys pathSet filesys = CreateObject(ScriptingFileSystemObject)Set WshShell = WScriptCreateObject(WScriptShell)path = filesysGetAbsolutePathName(CWINDOWSSystem32fbwfmgrexe) Disable FBWFWshShellRun CWINDOWSsystem32fbwfmgrexe disable Restart client in 45 secondsWshShellRun CWINDOWSsystem32shutdown -r -t 45
bull Save the file as Disable-FBWFvbs
b Create a package and program for Disable-FBWFvbs (See wwwtechnetmicrosoftcomen-uslibrarygg682112aspx)
(64-bit system only) In the command line of the program type windirSysnativecscriptexeDisable-FBWFvbs
c Distribute the content to Distribution point (See wwwtechnetmicrosoftcomen-uslibrarygg712694aspx)
4 Create a Push WES7 ImageTask Sequence for Image Push
a Create task sequence that installs existing OS image package (See wwwtechnetmicrosoftcomen-uslibraryhh273490aspx)
10
(64-bit system only) In the install windows Operating system page be sure to select the image index (1-1) that contains the Operating System otherwise you will not be given any UEFI options in the task sequence
b Right-click the new task sequence (in our example case Push WES7 Image) and select Edit to open the Task Sequence Editor window for Push WES7 Image
c Click Add gt New Group A New Group task is added Move the New Group task to be the first in the list of tasks Rename the New Group to Configure Client
d Select the Configure Client group and add a Run Command Line task by clicking Add gt General gt Run Command Line The Run Command Line task is added to the Configure Client group in the task editor
In the command line type cmdexe c cwindowssetup Configure_Clientbat
(64-bit System Only - Select the check box Disable 64-bit file system redirection)
In start in type Cwindowssystem32 and click Apply
NOTE For GPT based images this step is not required
e Select the Capture Files and Settings group In the Options tab select Disable this Step and then click Applyf Copy the PrepareOSPartitionwss file that is available in the Cwindowssetup folder of the thin client to Config
Manager serverrsquos shared folder For example Files
NOTE For 64ndashbit GPT based the path is Cwindowssetuptools
g (32-bit and 64ndashbit MBR based) Select Install Operating System - Partition Disk 0 In the Options tab select Disable this Step and then click Apply
h (64-bit GPT Only) Select Install Operating System - Partition Disk 0 - BIOS In the Options tab select Disable this Step and then click Apply
i (64-bit GPT Only) Select Install Operating System - Partition Disk 0 - UEFI In the Options tab select Disable this Step and then click Apply
j Select Install Operating System - Pre-provision Bitlocker In the Options tab select Disable this Step and then click Apply
k Select Install Operating System - Apply Operating System In the Properties tab do the following
bull (32-bit Only) For the Apply operating system from a captured image option ensure the value for the image selected is 2ndash2
bull (64-bit Only) For the GPT based Apply operating system from a captured image option ensure the value for the image selected is 1-1
bull (64-bit Only) For the MBR based Apply operating system from a captured image option ensure the value for the image selected is 3ndash3
bull Select the Use unattended or sysprep answer file for a custom installation option click Browse and select the Unattended Installation software package you created in Step 2 Create a Software Package for Unattended Installation
bull Enter sysprepxml for the Filename
NOTE
For 64ndashbit filename is sysprep_64xml
bull (32-bit Only) In the Select the location where you want to apply this operating system section select Specific disk and partition for Destination Enter 0 for Disk and 2 for Partition
bull (64-bit Only) For GPT based disk Select the location where you want to apply this operating system section select Specific disk and partition for Destination Enter 0 for Disk and 5 for Partition
bull (64-bit Only) For MBR based disk Select the location where you want to apply this operating system section select Specific disk and partition for Destination Enter 0 for Disk and 3 for Partition
bull Click Apply
l Select Install Operating System - Apply Data Image 1 In the Options tab select Disable this Step and then click Apply
NOTE This step is not applicable for GPT based images
m Select Install Operating System - Apply Windows Settings and ensure that Product Key is blank ensure that Enable the Account and specify the local administrator password is selected and then provide the password as DellCCCvdi
11
n Select Install Operating System - Apply Device Drivers In the Options tab select Disable this step and then click Applyo Select Setup Operating System - Enable Bitlocker In the Options tab select Disable this step and then click Applyp Select OK to close the Task Sequence Editor window for the task sequence
5 Deploy Disable Write FiIter program
a Deploy the Disable Write Filter program created in Step 3 Create a Software Package and Program that Disables the Write Filterrdquo In the User Experience settings of the Deploy Software Wizard clear the box named Commit changes at deadline or during a maintenance window (requires restarts)
See wwwtechnetmicrosoftcomen-uslibrarygg682178aspx
b After the task sequence is complete the thin client reboots and the write-filter is disabled
NOTE Time for the Advertisement to appear at the client side depends on the machine and user policy refresh interval time and server and network parameters such as server capacity to handle the clients and network traffic
If you do not receive an Advertisement then you must initiate on the thin client
a Go to Control Panel gt Configuration Manager gt Actions tab select Machine Policy Retrieval amp Evaluation Cycle and then click Initiate Action
b Go to Control Panel gt Configuration Manager gt Actions tab select User Policy Retrieval amp Evaluation Cycle and then click Initiate Action
c After successful deployment of the Disable Write Filter program proceed to the next step
6 Deploy the Push WES7 Image Task Sequence for Image Push
a Deploy the Push WES7 Image Task sequence created in Step 4 Create a Push WES7 Image Task Sequence for Image Push In the User Experience settings of the deploy Software Wizard clear uncheck the box named Commit changes at deadline or during a maintenance window (requires restart) For more information see wwwtechnetmicrosoftcomen-uslibrarygg682178aspx
b Once the Task Sequence runscompletes the thin client will restart in WINPE and deploy the WES7 reference image
NOTE Ensure the boot order in the BIOS is HDD followed by PXE LAN
c After successful deployment the thin client will automatically log on using the local user account named Administrator and the Dell Wyse scripts will run on the destination thin client Finally scripts will enable the File-Based Write Filter and reboot the thin client The destination client is now ready for use
12
5Deployment of Software Updates (Monthly Security Updates)Software Updates in System Center Configuration Manager 2012 R2 provides a set of tools and resources that can help you to manage deploy and monitor software updates in the enterprise
NOTE If you need additional assistance beyond the scope of the information contained in this section see your Configuration Manager installation and setup documentation
Following are the High level steps required to update the WES7 Thin client with monthly security updates
1 Configure Microsoft Windows Server Update Services (WSUS) according to your needs For more information see wwwtechnetmicrosoftcomen-uslibrarygg712312aspx
2 Download the Monthly Security updates
3 Create Software Package and Program for the Downloaded Security Updates For for information see wwwtechnetmicrosoftcomen-uslibrarygg699369aspx and wwwtechnetmicrosoftcomen-uslibrarygg682125aspx
Set the Silent installer option for the security updates For example follow the path Dismexe online add-package packagepathServernameshareupdatescab Quiet NoRestart for installing silently
NOTE The silent installation option varies for different applications
4 Distribute the content to Distribution point For more information see wwwtechnetmicrosoftcomen-uslibrarygg712694aspx
5 Deploy the Security Updates program or applications to the destination collection For more information see wwwtechnetmicrosoftcomen-uslibrarygg682178aspx
In the user experience setting of Deploy Software Wizard select the Commit changes at deadline or during a maintenance window (requires restarts) check box
NOTE Time for the advertisement to appear at the client side depends on the machine and user policy refresh interval time server and network parameters such as server capacity to handle the clients and network traffic
If you do not receive an advertisement then you must initiate on the thin client Go to Control Panel rarr Configuration Manager rarr Actions and select Machine Policy Retrieval amp Evaluation Cycle and then click Initiate Action Go to Control Panel rarr Configuration Manager rarr Actions and select User Policy Retrieval amp Evaluation Cycle and then click Initiate Action
If you need additional assistance beyond the scope of the information contained in this section see your Configuration Manager installation and setup documentation
13
6Localization Requirements Multilingual User Interface (MUI)WES7 MUI builds (32ndashbit and 64ndashbit) which supports Config Manager 2012 R2 client are delivered as individual builds Hence Dell Wyse scripts to handle different scripts are part of the builds Follow the steps which are described previously
14
7Troubleshooting Tools This appendix includes
bull Troubleshooting Tools
ToolsSystems Management Server 2003 Toolkit 2 (SMS 2003 Toolkit 2) contains tools to help you deploy and troubleshoot Download SMS 2003 Toolkit 2 from Microsoft website at wwwmicrosoftcomen-ussearchresultaspxq=SMS+2003+Toolkit+2ampform=dlc CMTrace (Configuration Manager Trace) tool is a part of Configuration Manager 2012 R2 helps to view log files and trace errors
15
8Upgrading SCCM 2007 ConfigMgr 2012 SP1 clients with ConfigMgr 2012 R2 clients on Older Dell Wyse WES7 buildsIf you are planning to upgrade the older Dell Wyse WES7 builds that has SCCM 2007 ConfigMgr 2012 SP1 Clients with ConfigMgr 2012 R2 clients do the following
1 Log in as an Administrator and disable FBWF
2 Uninstall Windows Embedded Device Manager client from Programs and features
3 Uninstall SCCM 2007ConfigMgr 2012 SP1 client using CCM setup uninstall command
4 Install the ConfigMgr 2012 R2 client
5 Add the following FBWF exclusion list either from Wyse FBWF tray utility or FBWFMgrexe command line
The following exclusions should be added in FBWF enabled state
WindowsSMSCFGiniWindowsCCMwedmtracelogWindowsCCMclientstatedatRegfdataWindowsCCMInventoryStoresdfWindowsCCMStateMessageStoresdfWindowsCCMCcmStoresdfWindowsCCMServiceData
6 Reboot the device and disable FBWF
7 Merge the following registry
[HKEY_LOCAL_MACHINESYSTEMCurrentControlSetservicesRegFilterParametersMonitoredKeys3] ClassKey=HKLM FileNameForSaving=ConfigMgrrgf RelativeKeyName=SOFTWAREMicrosoftCCMStateSystem
8 Get the latest ConfigMgr 2012 R2 supported scripts from Dell Wyse
9 Copy the files present in Dell Wyse provided ConfigMgr 2012 R2 scripts to the following location on your thin client Cwindowssetup folder Overwrite the files when it is prompted
10 Enable the file based write filter
11 Follow this entire document
For more information on client deployment through configuration Manager refer to technetmicrosoftcomen-uslibrarygg682132aspx
16
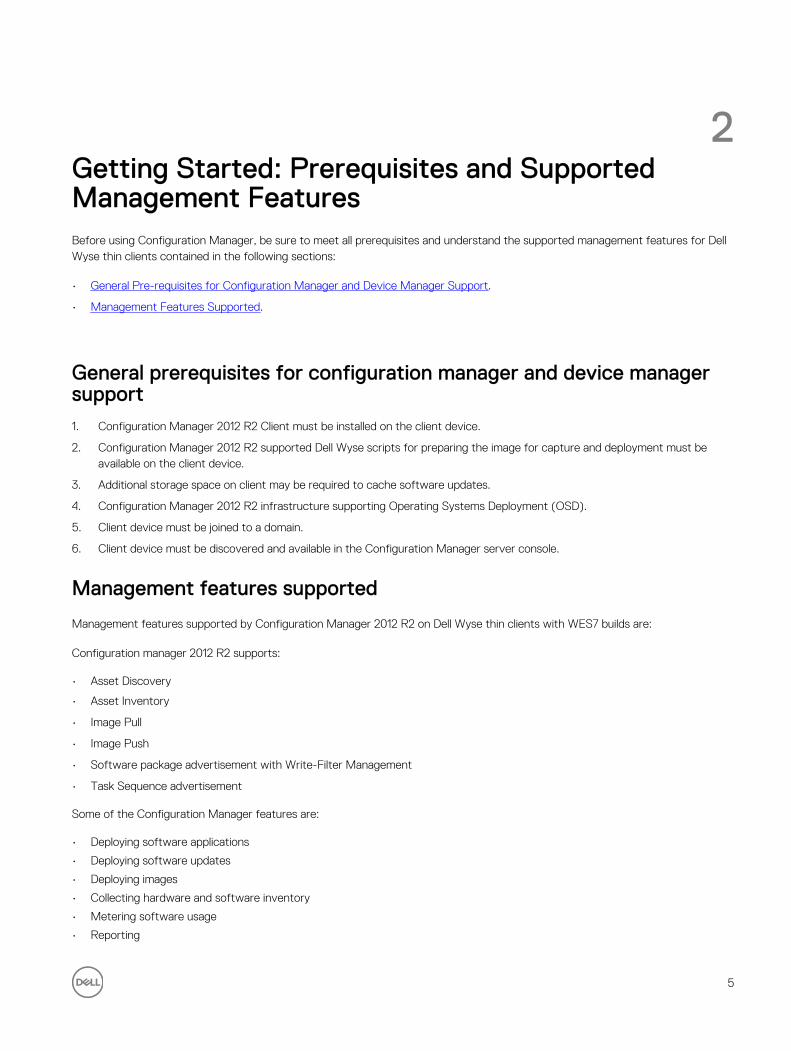
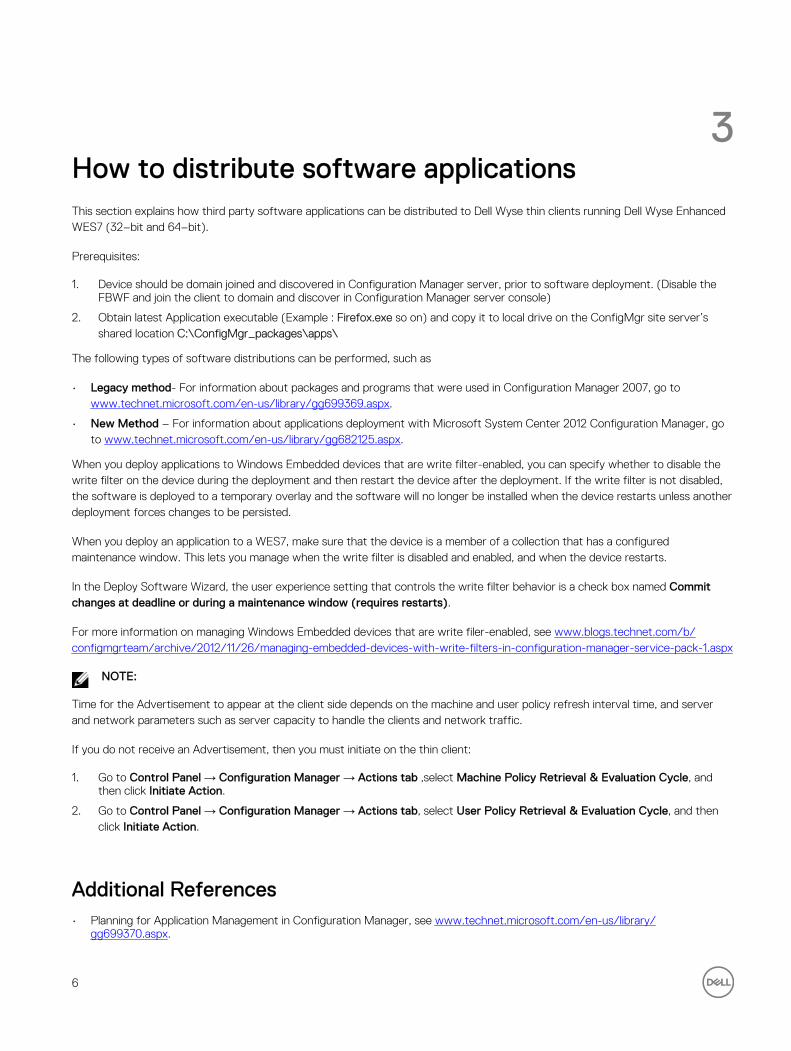
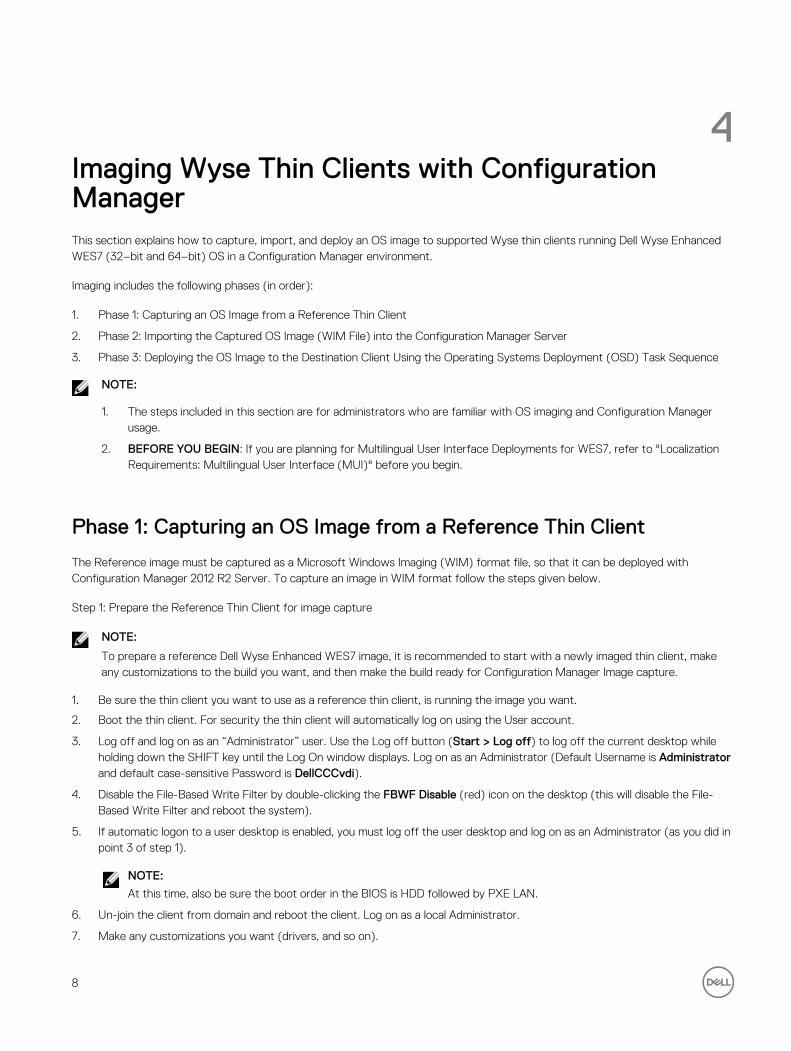
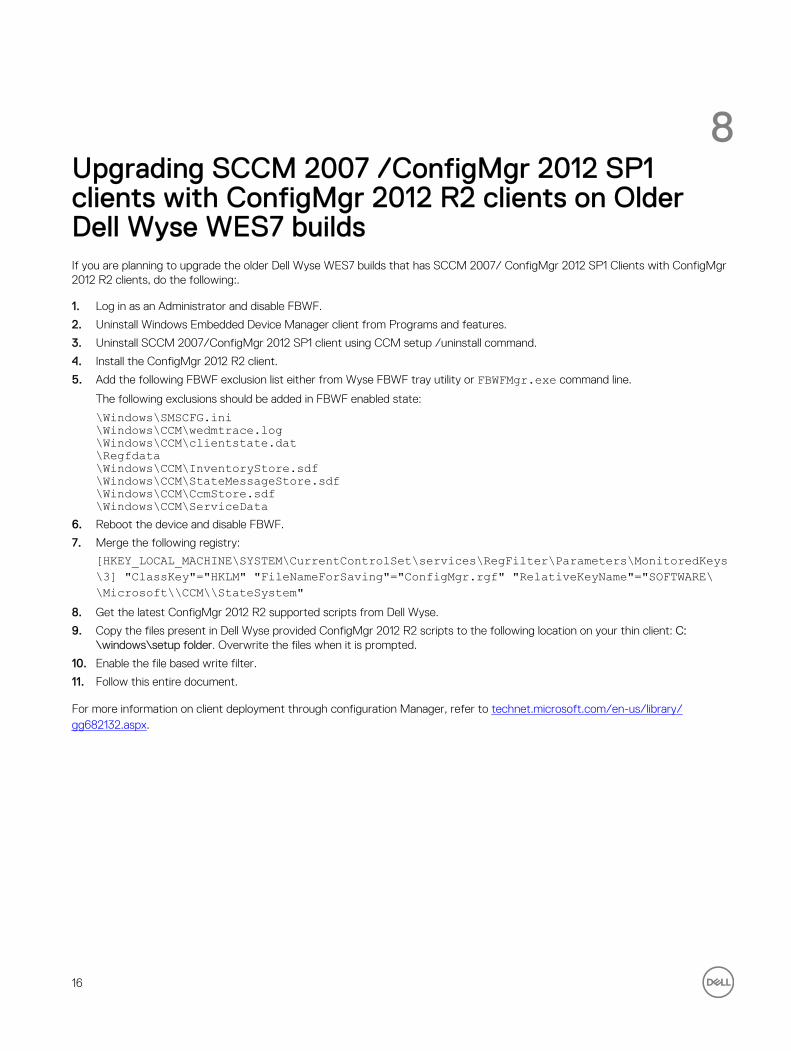


