10
BITMAIN AntMiner R4 Manual

BITMAIN
AntMiner R4 Manual

AntMiner Manual
Last updated: 8/30/2016 Page 2 of 10
Page 2 / 10
Contents 1 Overview ................................................................................................................................... 3
2 Features ..................................................................................................................................... 3
3 Power Supply............................................................................................................................. 4
4 Connect to Miner ...................................................................................................................... 5
5 Miner Configuration .................................................................................................................. 7
5.1 Pool Setting ................................................................................................................... 7
5.2 Frequency Modification ................................................................................................ 8
6 Miner Status .............................................................................................................................. 8
7 System Configuration and status ............................................................................................... 9
7.1 System Upgrading ......................................................................................................... 9
7.2 Password Modification ................................................................................................ 10
7.3 Software Version Checking .......................................................................................... 10
7.4 Restore Initial Setting .................................................................................................. 10
AntMiner Manual
Last updated: 8/30/2016 Page 3 of 10
Page 3 / 10
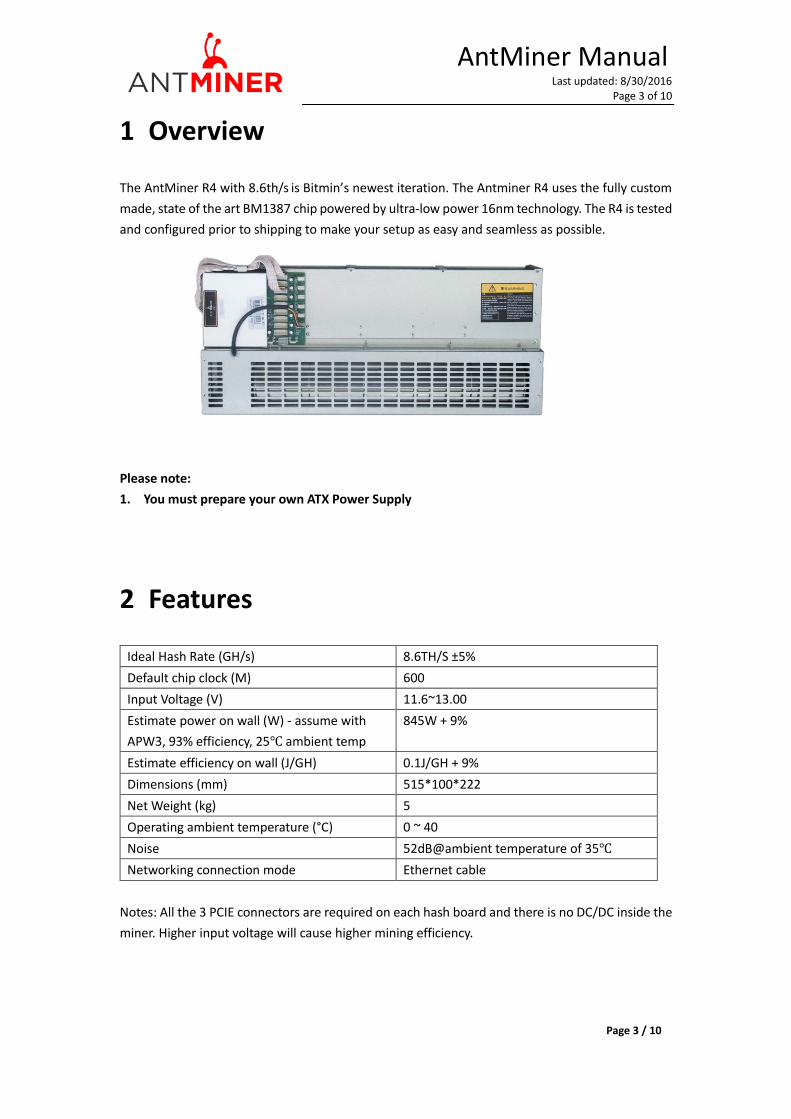
1 Overview
The AntMiner R4 with 8.6th/s is Bitmin’s newest iteration. The Antminer R4 uses the fully custom
made, state of the art BM1387 chip powered by ultra-low power 16nm technology. The R4 is tested
and configured prior to shipping to make your setup as easy and seamless as possible.
Please note:
1. You must prepare your own ATX Power Supply
2 Features
Ideal Hash Rate (GH/s) 8.6TH/S ±5%
Default chip clock (M) 600
Input Voltage (V) 11.6~13.00
Estimate power on wall (W) - assume with
APW3, 93% efficiency, 25℃ ambient temp
845W + 9%
Estimate efficiency on wall (J/GH) 0.1J/GH + 9%
Dimensions (mm) 515*100*222
Net Weight (kg) 5
Operating ambient temperature (°C) 0 ~ 40
Noise 52dB@ambient temperature of 35℃
Networking connection mode Ethernet cable
Notes: All the 3 PCIE connectors are required on each hash board and there is no DC/DC inside the
miner. Higher input voltage will cause higher mining efficiency.

AntMiner Manual
Last updated: 8/30/2016 Page 4 of 10
Page 4 / 10
3 Power Supply
Each AntMiner R4 has 6 PCI-e connectors for +12V/15A DC STABLE input on hash boards and
1 PCI-e connector on the controller, all the 7 PCI-e connectors are required. Do not connect more
than one PSU to the same hash board to prevent possible damage and instability. After
connecting all the hash boards and the controller to PSU and the wire cable to the ETHERNET
port, you can start the miner. See the screen shot below for the CORRECT and INCORRECT
connection of the PCI-E connectors:
Correct connection:
Incorrect connection:

AntMiner Manual
Last updated: 8/30/2016 Page 5 of 10
Page 5 / 10
4 Connect to Miner
Step 1. The default DHCP network protocol distributes IP addresses automatically. Please download
IPReporter.zip (only supported by Windows) from minerlink.com, then please follow the below
steps to find out the IP of the miner.
1. Extract the file and double click ‘IPReporter.exe’.
The ‘Shelf, Step, Position’ options are suitable for farm miners to mark the location of the
miners. For home miners, it can be left as default.
Then click ‘Start’.
2. Press the IP Reporter button on the controller board for about 5 seconds and you’ll hear
a beep sound:

AntMiner Manual
Last updated: 8/30/2016 Page 6 of 10
Page 6 / 10
3. Check your PC, you’ll see the IP address showing in the pop-up window.
Step 2. Enter the IP address provided into your WEB browser and proceed to login using ‘root’ for
both the username and password.
In the ‘Network’ section, you can assign a ‘Static’ IP address if you like. Click ‘Save & Apply’ after
modifying it.

AntMiner Manual
Last updated: 8/30/2016 Page 7 of 10
Page 7 / 10
5 Miner Configuration
5.1 General Settings
You can configure your miner through ‘Miner Configuration->General Settings’.
Pool URL- Enter the URL of your desired pool in this column.
Worker- This is your worker ID on the selected pool.
Password- This is the password for your selected worker.
Comment:
5.1.1 The AntMiner R4 can be set up with three mining pools, with decreasing priority from the
first pool (pool 1) to the third pool (pool 3). The pools with low priority will only be used if all
higher priority pools have gone offline.
5.1.2 When ‘Stop running when temperature is over 80℃’ is checked, the miner will stop mining
when the temperature(PCB) exceeds 90℃ to protect the miner. If it is unchecked, the miner will
still mine even at high temperatures. Note that while the interface says 80℃ the PCB temperature
will actually go to 90℃ before the machine stops mining.
5.1.3 When “Customize the fan speed percentage” is checked, the fan speed can be controlled by
the user. If it is unchecked, the fan speed will depend on the temperature of the hash boards.
Click ‘Save & Apply’ to save and restart miner.
Kindly reminder: Please set the fan speed above 80% to keep the temp(PCB) below 90 degrees
and the temp(chip) below 115 degrees.

AntMiner Manual
Last updated: 8/30/2016 Page 8 of 10
Page 8 / 10
5.2 Frequency Modification
You are able to modify the frequency value through ‘Miner Configuration->Advanced Settings’. The
default frequency for the AntMiner R4 is 600M.
6 Miner Status
You can check the operating status of your miner on ‘Miner Status’ page.
ASIC#: Number of chips detected in the chain
Frequency: ASIC frequency setting
GH/S(RT): Hash rate of each hash board
Temp(PCB): Temperature of the hash board, centigrade
Temp(Chip): Temperature of the chips on the hash board, centigrade
ASIC status: ‘o’ denotes OK, ‘x’ denotes error ‘-‘ denotes dead.

AntMiner Manual
Last updated: 8/30/2016 Page 9 of 10
Page 9 / 10
7 System Configuration and status
7.1 System Upgrading
You can upgrade the miner’s firmware on the ‘System > Upgrade’ page.
‘Keep setting’ is chosen by default and should be enabled if you want to keep your current settings.
You should deselect this option if you are trying to return the miner to default settings.
Click ‘Browse’ button to choose upgrade file. Select the upgrade and click the ’Flash image’ button.
The interface will display if the firmware can be upgraded and download the software. During the
upgrade process, you need to wait patiently, and must keep power on, otherwise, the AntMiner
can only be fixed with returned to factory. You will see below screenshot after upgrading
successfully.
Clicking the ‘Reboot’ button will restart the miner so it can load the new software. Clicking ‘Go
Back’ will keep the AntMiner mining before switching to the new software when it is restarted next
time or power cycled.

AntMiner Manual
Last updated: 8/30/2016 Page 10 of 10
Page 10 / 10
7.2 Password Modification
The AntMiner login password can be changed on the ‘System->Administration’ page. Once
modified, press ‘Save and Apply’ to save the new password.
7.3 Software Version
You can check which version of the software you are currently running on the ‘System > Overview’
page. ‘File System version’ displays the date of the firmware your miner use. In the example below,
the miner is using 20160527 firmware.
7.4 Restore Initial Setting
There is a ‘Reset’ button on the right hand side of the ETH port, next to the green and red LED light.
Power on miner and let it run for 5 minutes, then press and hold the reset button for 10 seconds
in order to restore to the default settings and reboot. The red LED will flash once every 15 seconds
automatically if the reset is operated successfully.


