15
Arduin-o-Phone Created by lady ada Last updated on 2015-05-20 05:40:07 PM EDT
| Date post: | 22-Jun-2018 |
| Category: |
Documents |
| Upload: | nguyentuyen |
| View: | 216 times |
| Download: | 0 times |
Arduin-o-PhoneCreated by lady ada
Last updated on 2015-05-20 05:40:07 PM EDT
236789
10101012
Guide Contents
Guide ContentsOverviewParts and PrepLearn all about it!Wire & Test FONA shieldTest TFT ShieldArduin-o-Phone SketchA tour of the code
Setup codeThe main Loop()
© Adafruit Industries https://learn.adafruit.com/arduin-o-phone-arduino-powered-diy-cellphone
Page 2 of 15
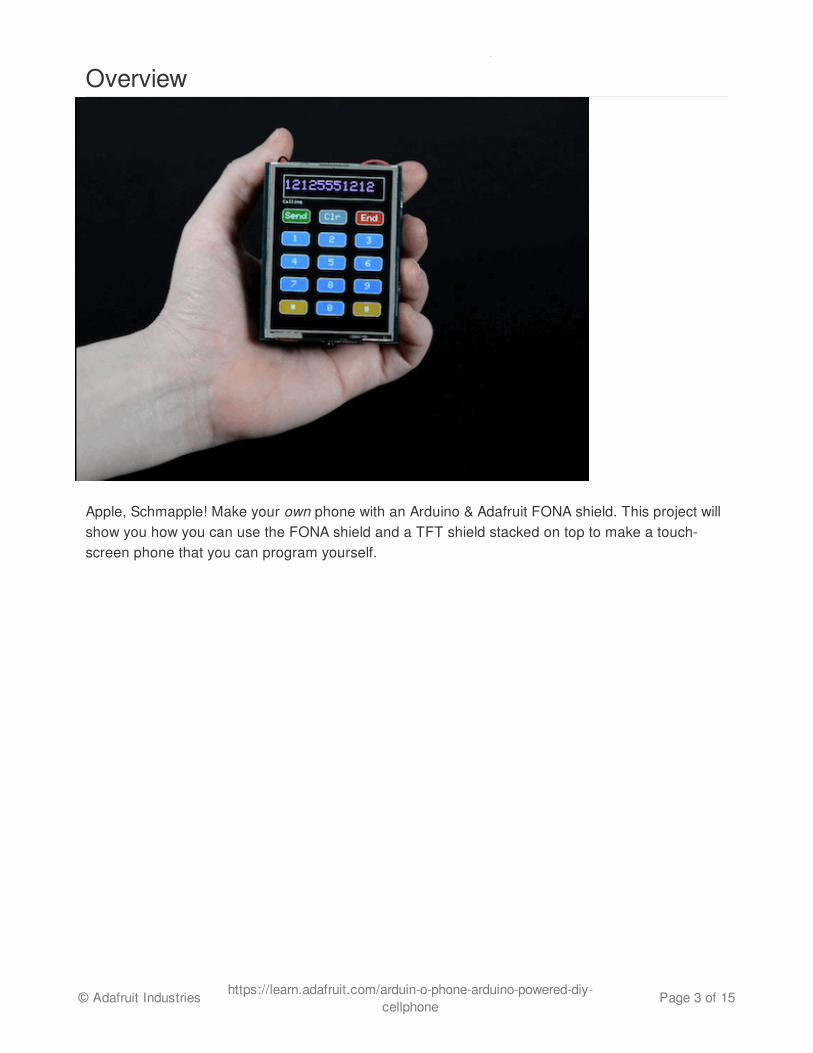
Overview
Apple, Schmapple! Make your own phone with an Arduino & Adafruit FONA shield. This project willshow you how you can use the FONA shield and a TFT shield stacked on top to make a touch-screen phone that you can program yourself.
© Adafruit Industries https://learn.adafruit.com/arduin-o-phone-arduino-powered-diy-cellphone
Page 3 of 15

Using Adafruit's great libraries, you can make your own touch-screen dialer in 200 lines of code.Extend it yourself, or keep it simple. Design your own interface or code up a custom app, right fromthe Arduino IDE
OK sure, you can't check your facebook on the Arduin-o-Phone, but maybe that's not such a badidea?
© Adafruit Industries https://learn.adafruit.com/arduin-o-phone-arduino-powered-diy-cellphone
Page 4 of 15
© Adafruit Industries https://learn.adafruit.com/arduin-o-phone-arduino-powered-diy-cellphone
Page 5 of 15
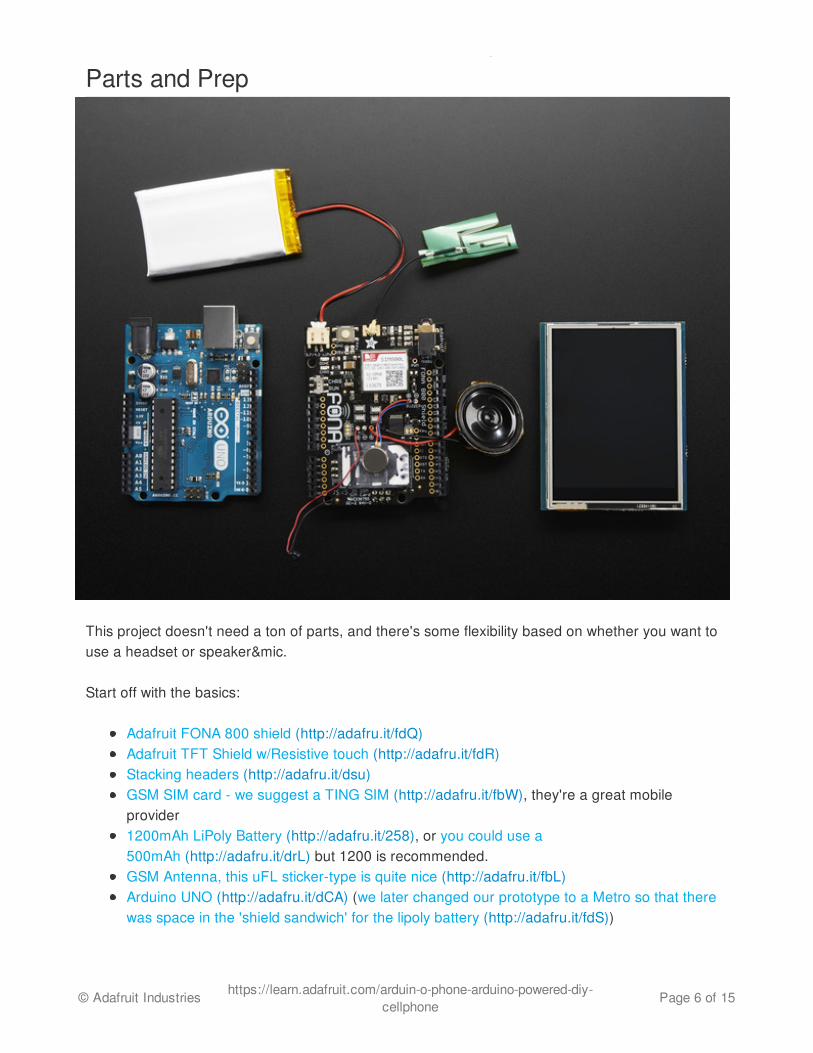
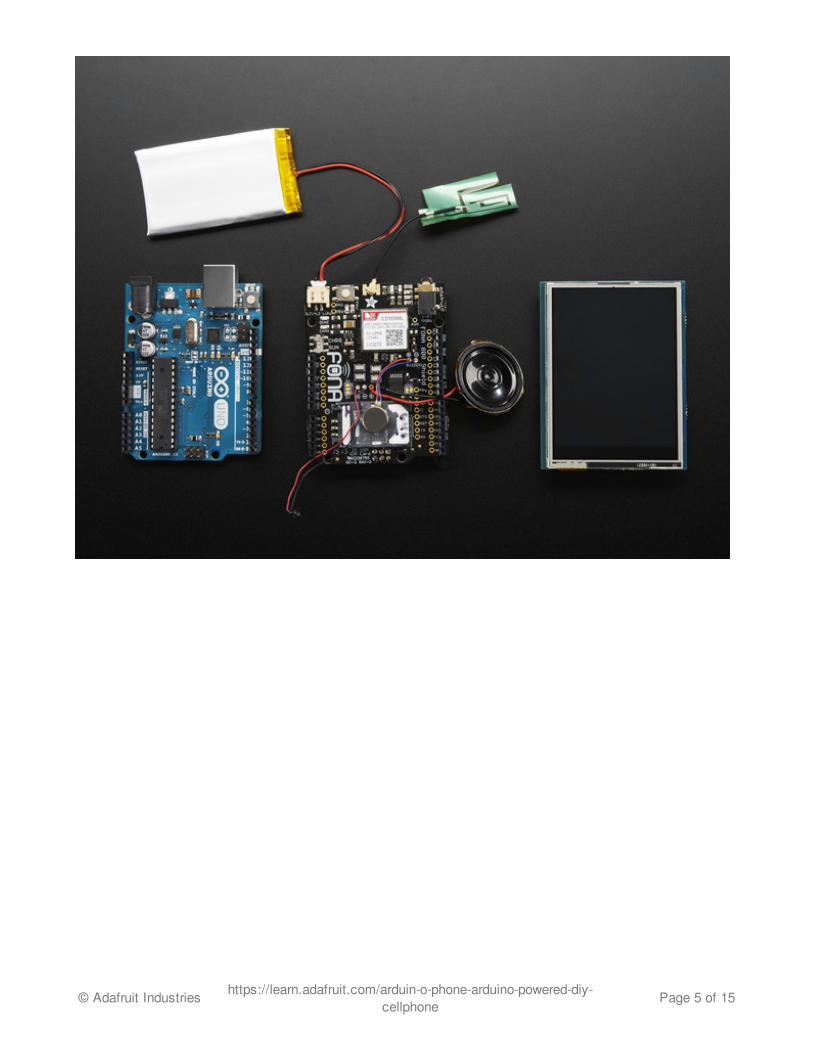
Parts and Prep
This project doesn't need a ton of parts, and there's some flexibility based on whether you want touse a headset or speaker&mic.
Start off with the basics:
Adafruit FONA 800 shield (http://adafru.it/fdQ)Adafruit TFT Shield w/Resistive touch (http://adafru.it/fdR)Stacking headers (http://adafru.it/dsu)GSM SIM card - we suggest a TING SIM (http://adafru.it/fbW), they're a great mobileprovider1200mAh LiPoly Battery (http://adafru.it/258), or you could use a500mAh (http://adafru.it/drL) but 1200 is recommended.GSM Antenna, this uFL sticker-type is quite nice (http://adafru.it/fbL)Arduino UNO (http://adafru.it/dCA) (we later changed our prototype to a Metro so that therewas space in the 'shield sandwich' for the lipoly battery (http://adafru.it/fdS))
© Adafruit Industries https://learn.adafruit.com/arduin-o-phone-arduino-powered-diy-cellphone
Page 6 of 15

Then you can either go with speaker + mic for 'hold it up and talk' style
Wired electret microphone (http://adafru.it/dDa)Small metal speaker (http://adafru.it/dDb)
or
A plug-in headset (http://adafru.it/fbS)
You'll also need a microUSB cable, soldering iron and solder, and possibly some wire or otherbasic electronic components!
Learn all about it!Before you put together the Arduin-o-Phone you'll want to read up a bunch and be familiar with the:
Arduino UNO and Arduino IDE (http://adafru.it/dVk)2.8" TFT Shield (http://adafru.it/fdT) - make sure you get this working nicely firstFONA 800 Shield (http://adafru.it/fdU) - solder this one up with the stacking headers soyou can stack the TFT shield on top! Then go through the example and make sure youhave it working first
© Adafruit Industries https://learn.adafruit.com/arduin-o-phone-arduino-powered-diy-cellphone
Page 7 of 15

Wire & Test FONA shieldOK now you're ready to put it together. Most of the soldering happens on the FONA shield. Don'tforget to solder it with stacking headers!
Attach the Mini Metal Speaker to the SPKR pins by soldering the + wire to the + pad, andsame with the - wireAttach the Wired Electret Microphone to the MIC pins by soldering the red wire to + andblack wire to -Solder the Vibrating Motor Disc to the Buzzer pins by soldering the red wire to the + pad,and the black wire to -Plug the Lipoly battery into the JST connector, and switch the slide switch to CHRGInsert the SIM cardCarefully plug the GSM antenna into the uFL connector, it should snap on nicelyPlug the shield onto the Arduino and connect the Arduino to your computer
OK now go through the FONA test to make sure your FONA can get onto the cellular network,make phone calls, etc:
© Adafruit Industries https://learn.adafruit.com/arduin-o-phone-arduino-powered-diy-cellphone
Page 8 of 15

Go through the Arduino FONA shieldtest
http://adafru.it/fdV
Test TFT Shield
Once that works, plug the 2.8" TFT shield on top and run the touch-paint tutorial to make sureyou've got the display and touch capability working
Go through 2.8" TFT Shield tutorial
http://adafru.it/dLS
All working? OK, now you can go to the next step
© Adafruit Industries https://learn.adafruit.com/arduin-o-phone-arduino-powered-diy-cellphone
Page 9 of 15

Arduin-o-Phone Sketch
Now you're ready to upload the Arduin-o-phone sketch. Visit the github repository (http://adafru.it/fdW)for the full code history and details, or simply download by clicking this link:
Download Arduin-o-Phone sketch
http://adafru.it/fdX
A tour of the codeThe sketch will likely get updated with more capability but here's a tour of the code for the initialcommit
Setup code
In the setup() code we start by initializing the screen first, before the FONA, so that we can displaythe status updates
© Adafruit Industries https://learn.adafruit.com/arduin-o-phone-arduino-powered-diy-cellphone
Page 10 of 15
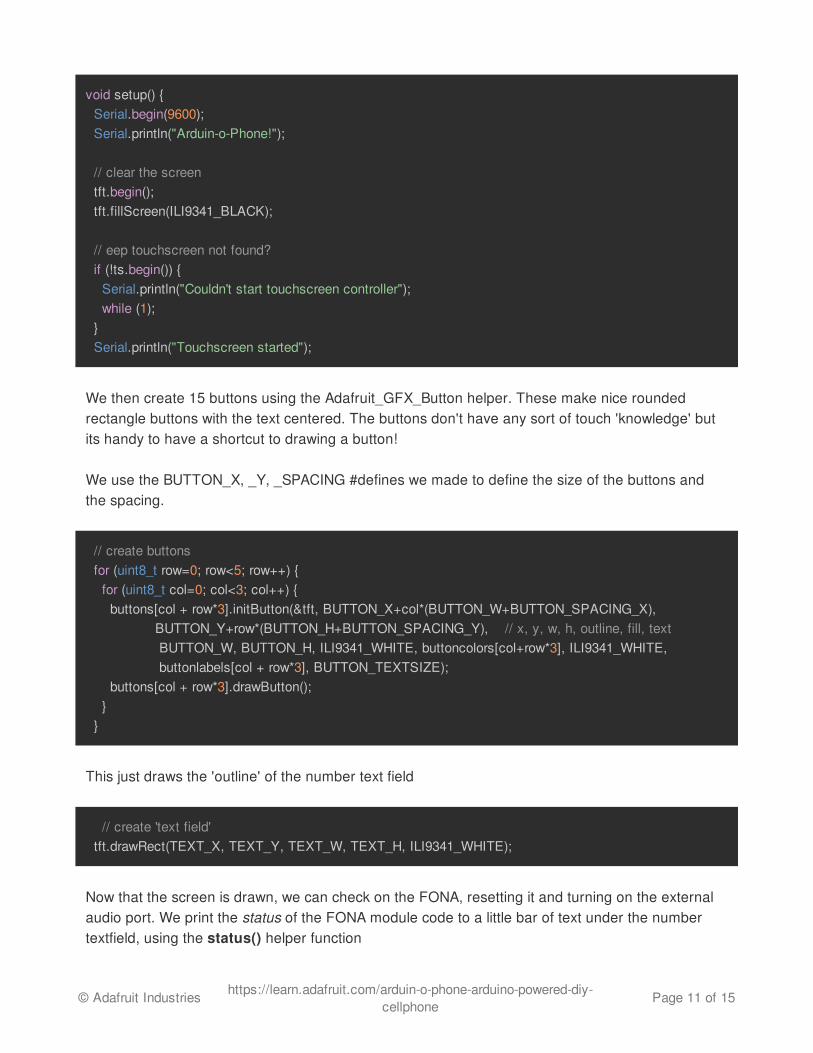
We then create 15 buttons using the Adafruit_GFX_Button helper. These make nice roundedrectangle buttons with the text centered. The buttons don't have any sort of touch 'knowledge' butits handy to have a shortcut to drawing a button!
We use the BUTTON_X, _Y, _SPACING #defines we made to define the size of the buttons andthe spacing.
This just draws the 'outline' of the number text field
Now that the screen is drawn, we can check on the FONA, resetting it and turning on the externalaudio port. We print the status of the FONA module code to a little bar of text under the numbertextfield, using the status() helper function
void setup() { Serial.begin(9600); Serial.println("Arduin-o-Phone!"); // clear the screen tft.begin(); tft.fillScreen(ILI9341_BLACK); // eep touchscreen not found? if (!ts.begin()) { Serial.println("Couldn't start touchscreen controller"); while (1); } Serial.println("Touchscreen started");
// create buttons for (uint8_t row=0; row<5; row++) { for (uint8_t col=0; col<3; col++) { buttons[col + row*3].initButton(&tft, BUTTON_X+col*(BUTTON_W+BUTTON_SPACING_X), BUTTON_Y+row*(BUTTON_H+BUTTON_SPACING_Y), // x, y, w, h, outline, fill, text BUTTON_W, BUTTON_H, ILI9341_WHITE, buttoncolors[col+row*3], ILI9341_WHITE, buttonlabels[col + row*3], BUTTON_TEXTSIZE); buttons[col + row*3].drawButton(); } }
// create 'text field' tft.drawRect(TEXT_X, TEXT_Y, TEXT_W, TEXT_H, ILI9341_WHITE);
© Adafruit Industries https://learn.adafruit.com/arduin-o-phone-arduino-powered-diy-cellphone
Page 11 of 15
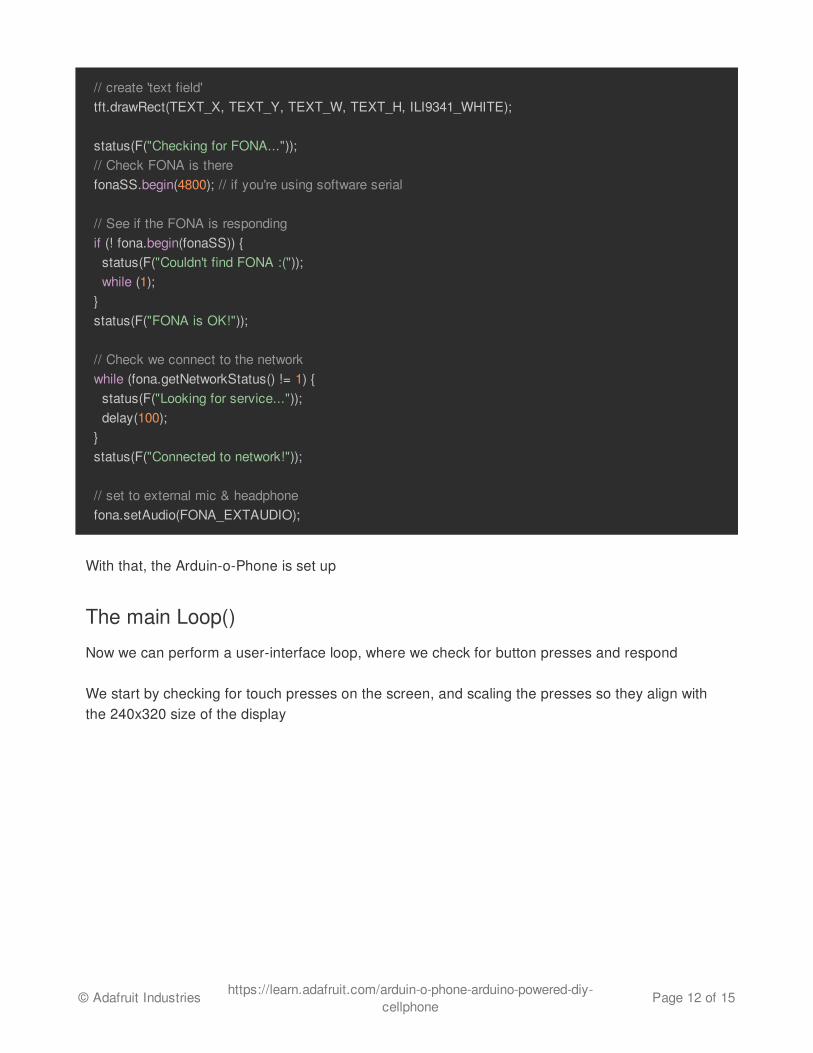
With that, the Arduin-o-Phone is set up
The main Loop()
Now we can perform a user-interface loop, where we check for button presses and respond
We start by checking for touch presses on the screen, and scaling the presses so they align withthe 240x320 size of the display
// create 'text field' tft.drawRect(TEXT_X, TEXT_Y, TEXT_W, TEXT_H, ILI9341_WHITE); status(F("Checking for FONA...")); // Check FONA is there fonaSS.begin(4800); // if you're using software serial
// See if the FONA is responding if (! fona.begin(fonaSS)) { status(F("Couldn't find FONA :(")); while (1); } status(F("FONA is OK!")); // Check we connect to the network while (fona.getNetworkStatus() != 1) { status(F("Looking for service...")); delay(100); } status(F("Connected to network!")); // set to external mic & headphone fona.setAudio(FONA_EXTAUDIO);
© Adafruit Industries https://learn.adafruit.com/arduin-o-phone-arduino-powered-diy-cellphone
Page 12 of 15
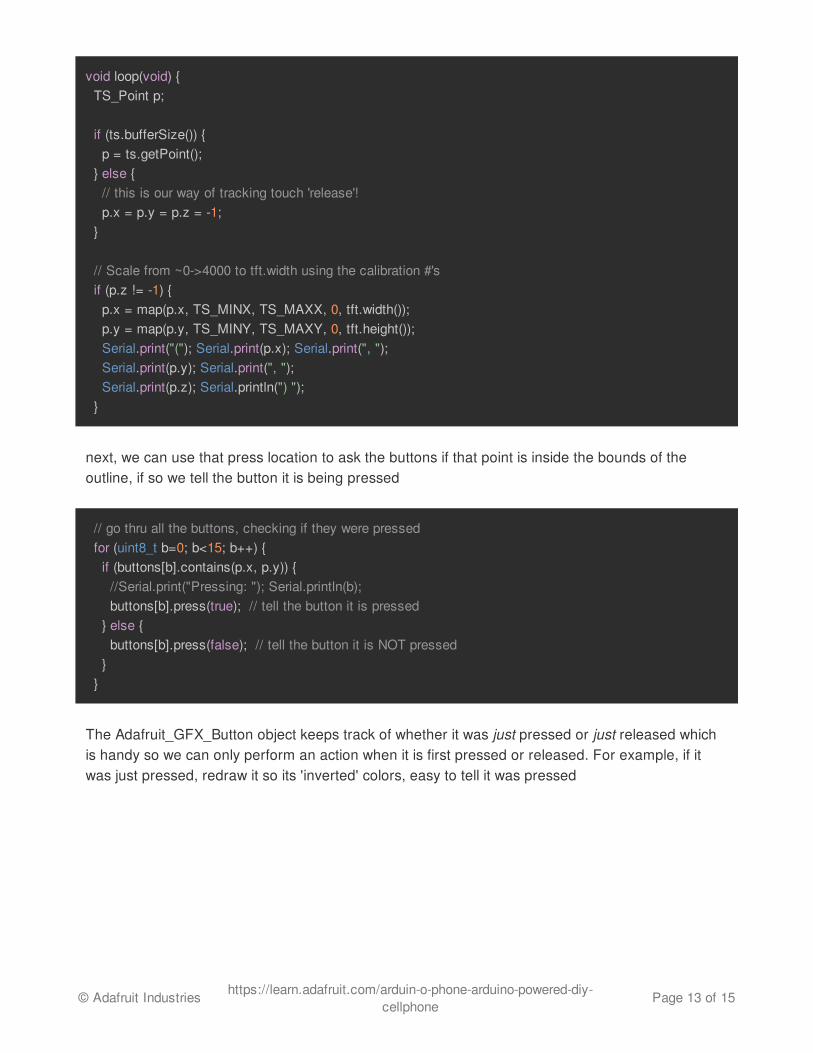
next, we can use that press location to ask the buttons if that point is inside the bounds of theoutline, if so we tell the button it is being pressed
The Adafruit_GFX_Button object keeps track of whether it was just pressed or just released whichis handy so we can only perform an action when it is first pressed or released. For example, if itwas just pressed, redraw it so its 'inverted' colors, easy to tell it was pressed
void loop(void) { TS_Point p; if (ts.bufferSize()) { p = ts.getPoint(); } else { // this is our way of tracking touch 'release'! p.x = p.y = p.z = -1; } // Scale from ~0->4000 to tft.width using the calibration #'s if (p.z != -1) { p.x = map(p.x, TS_MINX, TS_MAXX, 0, tft.width()); p.y = map(p.y, TS_MINY, TS_MAXY, 0, tft.height()); Serial.print("("); Serial.print(p.x); Serial.print(", "); Serial.print(p.y); Serial.print(", "); Serial.print(p.z); Serial.println(") "); }
// go thru all the buttons, checking if they were pressed for (uint8_t b=0; b<15; b++) { if (buttons[b].contains(p.x, p.y)) { //Serial.print("Pressing: "); Serial.println(b); buttons[b].press(true); // tell the button it is pressed } else { buttons[b].press(false); // tell the button it is NOT pressed } }
© Adafruit Industries https://learn.adafruit.com/arduin-o-phone-arduino-powered-diy-cellphone
Page 13 of 15
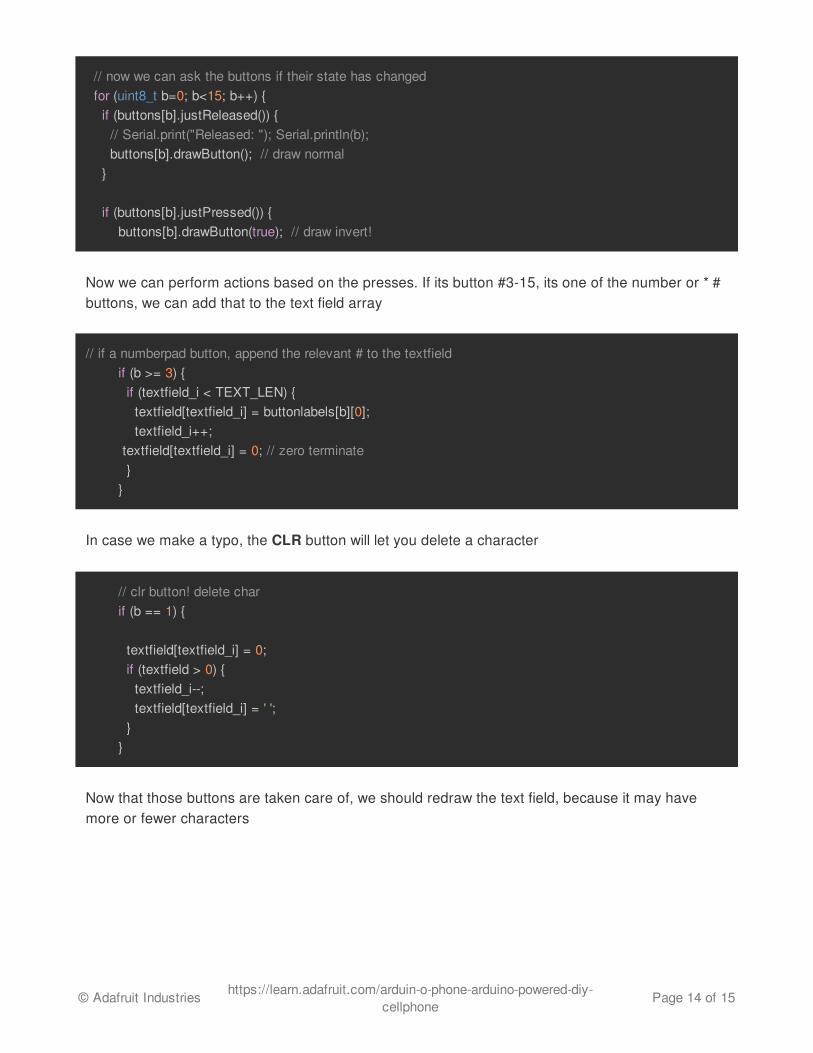
Now we can perform actions based on the presses. If its button #3-15, its one of the number or * #buttons, we can add that to the text field array
In case we make a typo, the CLR button will let you delete a character
Now that those buttons are taken care of, we should redraw the text field, because it may havemore or fewer characters
// now we can ask the buttons if their state has changed for (uint8_t b=0; b<15; b++) { if (buttons[b].justReleased()) { // Serial.print("Released: "); Serial.println(b); buttons[b].drawButton(); // draw normal } if (buttons[b].justPressed()) { buttons[b].drawButton(true); // draw invert!
// if a numberpad button, append the relevant # to the textfield if (b >= 3) { if (textfield_i < TEXT_LEN) { textfield[textfield_i] = buttonlabels[b][0]; textfield_i++; textfield[textfield_i] = 0; // zero terminate } }
// clr button! delete char if (b == 1) { textfield[textfield_i] = 0; if (textfield > 0) { textfield_i--; textfield[textfield_i] = ' '; } }
© Adafruit Industries https://learn.adafruit.com/arduin-o-phone-arduino-powered-diy-cellphone
Page 14 of 15
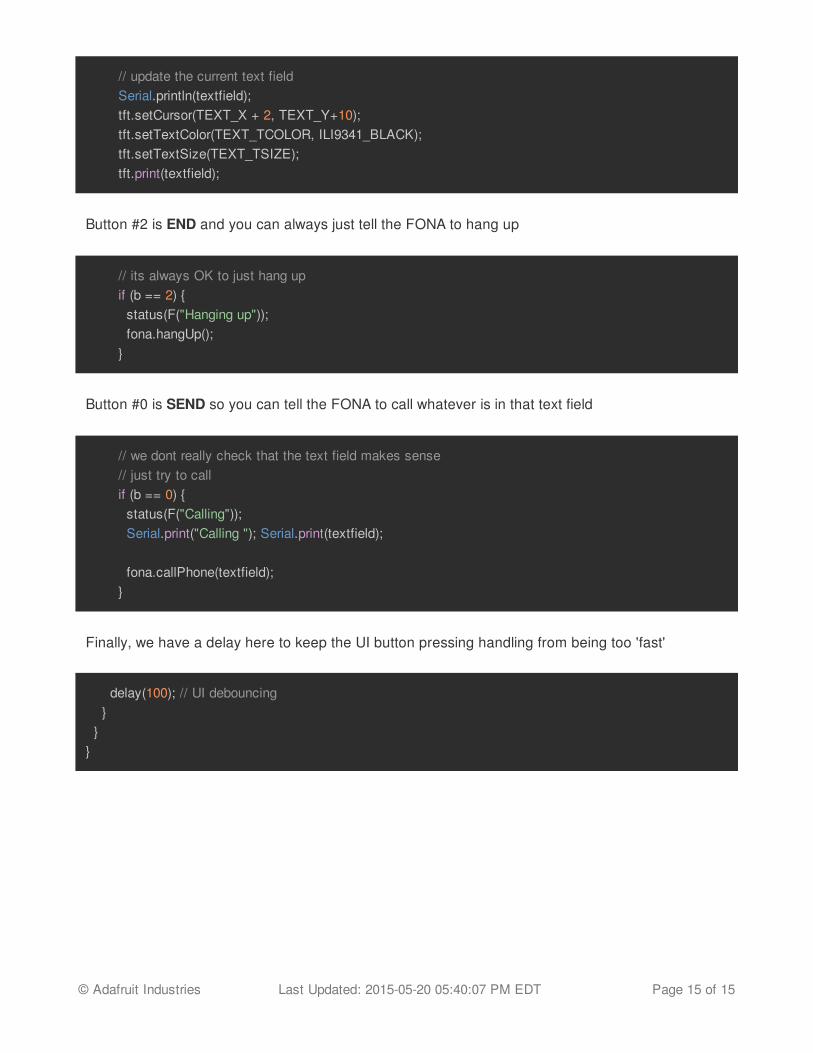
Button #2 is END and you can always just tell the FONA to hang up
Button #0 is SEND so you can tell the FONA to call whatever is in that text field
Finally, we have a delay here to keep the UI button pressing handling from being too 'fast'
// update the current text field Serial.println(textfield); tft.setCursor(TEXT_X + 2, TEXT_Y+10); tft.setTextColor(TEXT_TCOLOR, ILI9341_BLACK); tft.setTextSize(TEXT_TSIZE); tft.print(textfield);
// its always OK to just hang up if (b == 2) { status(F("Hanging up")); fona.hangUp(); }
// we dont really check that the text field makes sense // just try to call if (b == 0) { status(F("Calling")); Serial.print("Calling "); Serial.print(textfield); fona.callPhone(textfield); }
delay(100); // UI debouncing } }}
© Adafruit Industries Last Updated: 2015-05-20 05:40:07 PM EDT Page 15 of 15


![121015 Arduin Kool Smiles Publichealth House TX[5]](https://static.documents.pub/doc/80x56/577ce4f71a28abf1038f833b/121015-arduin-kool-smiles-publichealth-house-tx5.jpg)


