AUMT 1310 - Brake System Diagnosis and Service 10/5/11 1 Brake System Diagnosis and Service Donald Jones Brookhaven College Automotive Brake Systems Automotive Brake Systems Brake System Inspection • Road test • Hydraulic system • Leaks • Fluid condition • Disc brakes • Rotors and pads • Drum brakes • Drums and linings • Parking brake Automotive Brake Systems Road Test • Brake fluid level • Brake lamp operation • Antilock lamp operation • Pedal feel and travel • Power assist operation • Brake pull • Brake vibration • Excessive brake noise • Parking brake operation Automotive Brake Systems Brake Pedal Reserve • Check for proper pedal operation • The pedal should feel firm not spongy • Low pedal could indicate a leak or improper brake adjustment • Some vehicles have specific brake pedal free height and travel specifications Automotive Brake Systems Hydraulic System Inspection • Inspect the brake fluid level and condition • A low brake pedal or red brake lamp could indicate a hydraulic system failure • Check for evidence of external brake fluid leaks Automotive Brake Systems Brake Lines • Never attempt to repair a damaged brake line • Brake lines are made from steel tubing • Double flare • ISO flare • Allow 1/8” of additional length for each flare • Always use line wrenches when working with brake line fittings
Transcript
AUMT 1310 - Brake System Diagnosis and Service
10/5/11
1
Brake System Diagnosis and Service
Donald Jones Brookhaven College
Automotive Brake Systems Automotive Brake Systems
Brake System Inspection • Road test • Hydraulic system
• Some vehicles have specific brake pedal free height and travel specifications
Automotive Brake Systems
Hydraulic System Inspection • Inspect the brake fluid
level and condition • A low brake pedal or
red brake lamp could indicate a hydraulic system failure
• Check for evidence of external brake fluid leaks
Automotive Brake Systems
Brake Lines • Never attempt to repair
a damaged brake line • Brake lines are made
from steel tubing • Double flare • ISO flare • Allow 1/8” of additional
length for each flare • Always use line
wrenches when working with brake line fittings
AUMT 1310 - Brake System Diagnosis and Service
10/5/11
2
Automotive Brake Systems
Brake Hoses
• Brake hoses are designed to handle the high hydraulic pressures of braking
• Never attempt to repair a brake hose • Always use line wrenches when working
with brake hose fittings • Be certain not to twist the hose during
installation • Do not reuse the copper washers
Automotive Brake Systems
Common Brake Service Tools
• Caliper socket set • Brake shoe hold
down spring tool • Return spring tool • Bleeder wrenches
• Metric vs. Standard • Caliper piston
compression tool
Automotive Brake Systems
Disc Brakes Inspection • Inspect caliper
assemblies for leakage
• Check pads for contamination and wear
• Check rotors for excessive run out and excessive parallelism variance
Automotive Brake Systems
Brake Rotor Inspection
• Brake rotors should be checked for: • Lateral run out • Parallelism • Excessive scoring • Hot spots or heat
checking • Minimum thickness
Automotive Brake Systems
Replacing Brake Pads • Remove excessive
brake fluid • Remove and inspect the
caliper assembly • Service the rotor as
required • Retract the piston • Install new pads • Check and lubricate
caliper mounting pins
Automotive Brake Systems
Caliper Service • Calipers should be serviced if
leakage is present or the piston is binding
• Overhaul kits include the piston seal and dust boot
• The caliper’s bore may be cleaned with crocus cloth or a hone
• Components should be cleaned with alcohol
• Components may be lubricated with brake fluid or brake assembly lube
AUMT 1310 - Brake System Diagnosis and Service
10/5/11
3
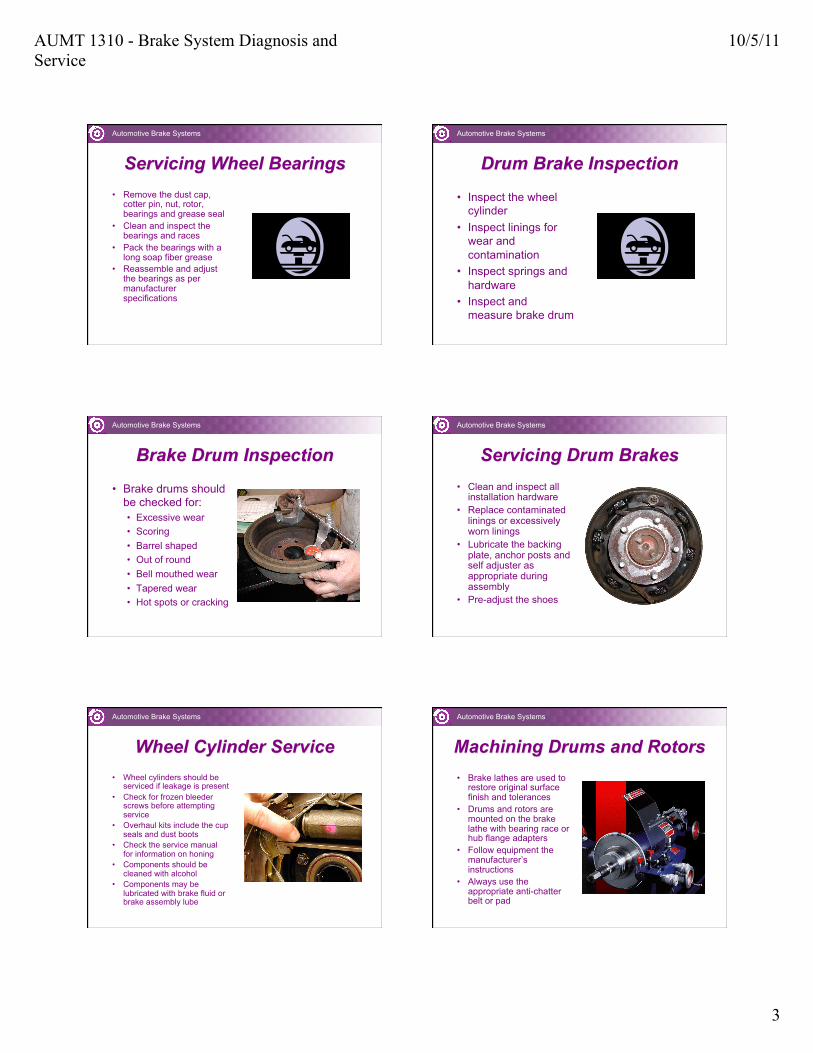
Automotive Brake Systems
Servicing Wheel Bearings • Remove the dust cap,
cotter pin, nut, rotor, bearings and grease seal
• Clean and inspect the bearings and races
• Pack the bearings with a long soap fiber grease
• Reassemble and adjust the bearings as per manufacturer specifications
Automotive Brake Systems
Drum Brake Inspection
• Inspect the wheel cylinder
• Inspect linings for wear and contamination
• Inspect springs and hardware
• Inspect and measure brake drum
Automotive Brake Systems
Brake Drum Inspection
• Brake drums should be checked for: • Excessive wear • Scoring • Barrel shaped • Out of round • Bell mouthed wear • Tapered wear • Hot spots or cracking
Automotive Brake Systems
Servicing Drum Brakes • Clean and inspect all
installation hardware • Replace contaminated
linings or excessively worn linings
• Lubricate the backing plate, anchor posts and self adjuster as appropriate during assembly
• Pre-adjust the shoes
Automotive Brake Systems
Wheel Cylinder Service • Wheel cylinders should be
serviced if leakage is present • Check for frozen bleeder
screws before attempting service
• Overhaul kits include the cup seals and dust boots
• Check the service manual for information on honing
• Components should be cleaned with alcohol
• Components may be lubricated with brake fluid or brake assembly lube
Automotive Brake Systems
Machining Drums and Rotors • Brake lathes are used to
restore original surface finish and tolerances
• Drums and rotors are mounted on the brake lathe with bearing race or hub flange adapters
• Follow equipment the manufacturer’s instructions
• Always use the appropriate anti-chatter belt or pad
AUMT 1310 - Brake System Diagnosis and Service
10/5/11
4
Automotive Brake Systems
Brake Machining Practices • Remove the least amount of
metal possible to achieve the proper finish
• Never turn the drum or rotor on one side of the vehicle without turning the other side
• Rotors should be within 0.002 inch to 0.003 inch side to side
• Drum diameters should be within 0.005 inch of each other
Automotive Brake Systems
On Car Brake Lathe • Allows rotor machining
on the vehicle spindle center line which is the axis of rotation for the rotor
• Eliminates the stack-up tolerance of related parts from affecting rotor lateral run out
• Bench units machine rotors to the center line of the lathe’s spindle
Automotive Brake Systems
Bleeding Brakes • Brakes are bled to remove
air and contaminated brake fluid • Manual bleeding • Pressure bleeding • Vacuum bleeding
• Brake systems must be bled in the proper order
• Always use six point sockets or wrenches on bleeder screws
Automotive Brake Systems
Bleeding and Flushing Brakes • The brake’s hydraulic system
should be flushed and bled anytime major brake work is performed or contamination is suspected
• Brake fluid can be checked for moisture galvanic reaction with a DVOM • Hook a voltmeter between
should be checked after any brake service is performed
• Parking brakes are commonly adjusted at at one of two places • The parking brake pedal
or handle • Under the car
Automotive Brake Systems
Air Entrapment Test • Pump the brakes rapidly
20 times and hold the brake pedal depressed
• Observe the fluid reservoir when the pedal is released
• A geyser or squirt in either reservoir indicates air is trapped in the system
AUMT 1310 - Brake System Diagnosis and Service
10/5/11
5
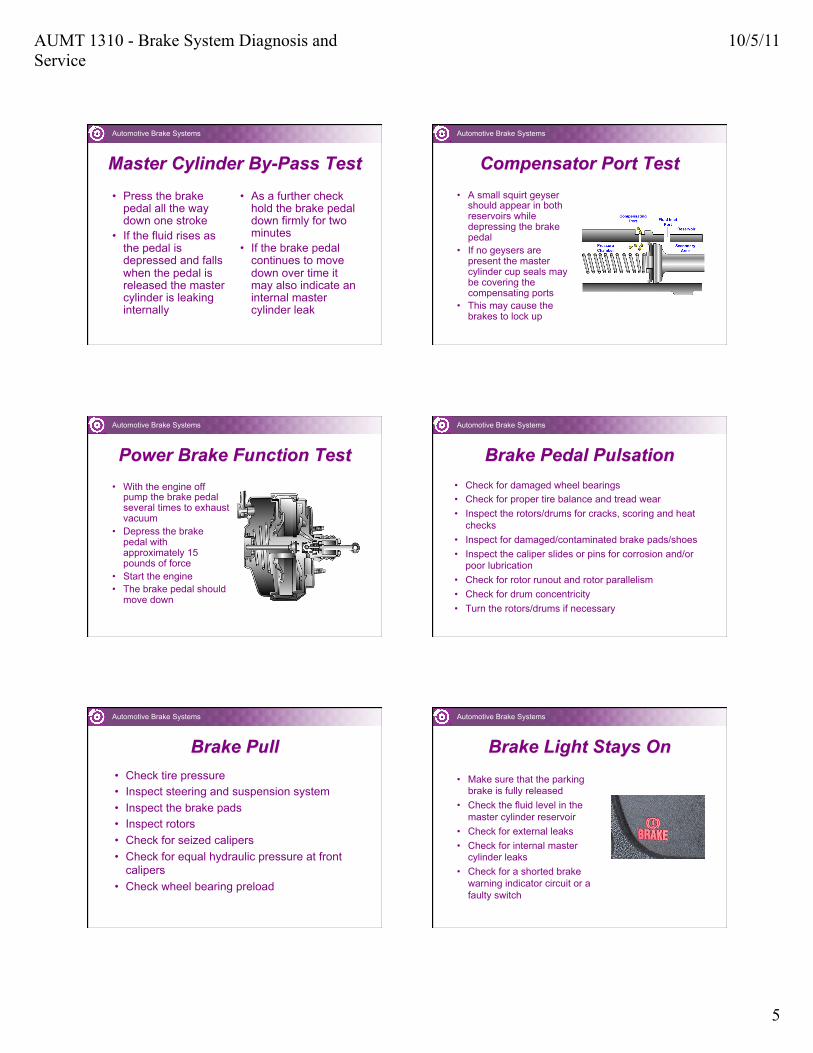
Automotive Brake Systems
Master Cylinder By-Pass Test • Press the brake
pedal all the way down one stroke
• If the fluid rises as the pedal is depressed and falls when the pedal is released the master cylinder is leaking internally
• As a further check hold the brake pedal down firmly for two minutes
• If the brake pedal continues to move down over time it may also indicate an internal master cylinder leak
Automotive Brake Systems
Compensator Port Test • A small squirt geyser
should appear in both reservoirs while depressing the brake pedal
• If no geysers are present the master cylinder cup seals may be covering the compensating ports
• This may cause the brakes to lock up
Automotive Brake Systems
Power Brake Function Test • With the engine off
pump the brake pedal several times to exhaust vacuum
• Depress the brake pedal with approximately 15 pounds of force
• Start the engine • The brake pedal should
move down
Automotive Brake Systems
• Check for damaged wheel bearings • Check for proper tire balance and tread wear • Inspect the rotors/drums for cracks, scoring and heat
checks • Inspect for damaged/contaminated brake pads/shoes • Inspect the caliper slides or pins for corrosion and/or
poor lubrication • Check for rotor runout and rotor parallelism • Check for drum concentricity • Turn the rotors/drums if necessary
Brake Pedal Pulsation
Automotive Brake Systems
• Check tire pressure • Inspect steering and suspension system • Inspect the brake pads • Inspect rotors • Check for seized calipers • Check for equal hydraulic pressure at front
calipers • Check wheel bearing preload
Brake Pull
Automotive Brake Systems
Brake Light Stays On • Make sure that the parking
brake is fully released • Check the fluid level in the
master cylinder reservoir • Check for external leaks • Check for internal master
cylinder leaks • Check for a shorted brake
warning indicator circuit or a faulty switch
AUMT 1310 - Brake System Diagnosis and Service
10/5/11
6
Automotive Brake Systems
• Check the brake pedal bushings and linkage • Unbolt the master cylinder from the brake
booster, depress the brake pedal and release it • If the brake pedal does not return to its original
position, replace the power booster • If the brake pedal now returns to its original
position, replace the master cylinder
Poor Brake Pedal Return
Automotive Brake Systems
Low or Spongy Brake Pedal • Low brake fluid level • External brake system
leaks • Internal master cylinder
failure • Air in the hydraulic
system • Improperly adjusted
rear drum brakes
Automotive Brake Systems
Brakes Locking Up
• Contaminated brake linings
• Defective proportioning valve
• Compensating ports not uncovered with brake pedal fully released
Automotive Brake Systems
Excessive Pedal Effort • Inspect for binding and wear
at the brake pedal bushing • Check brake booster
operation • Check for proper vacuum
signal to booster • Insect vacuum brake booster
check valve for proper operation
• Check brake pressure control valve for contamination
• Brake noise is more noticeable when the brakes are cold, but some noise may be heard anytime while braking • Semi metallic brake linings extend brake pad life
but are may exhibit additional noise during braking • Abnormal brake noise may be caused by: