Back to Tutorials Woven Polish Nymph Step-by-Step Back to Tutorials Shuttle Weave Step-by-Step Fly and Photos by Loren Williams What follows is a pseudo-tutorial. I am unable to photograph the actual weave since it requires both of my hands and firm, constant tension to complete. What I have done is used twisted wire in place of the usual flosses and yarns for the weave. The wire holds it's shape and place allowing me to let go of the material for purposes of photographing the steps. I have not actually tied a fly per se, but you can substitute this tutorial in any woven fly tutorials I do since I am fond of the shuttle weave and use it almost without exclusion. Please pay particular attention to the underbody (or form as Vladi taught it to me) since this is the foundation over which the weave will be built. If the form is not representative of the insect you are imitating, or if it has gaps and bumps, even the tightest weave will be for naught. For purposes of the tutorial, I recommend you select a large hook, and two different colors of quality vernille for the weave. Vernille is stout and somewhat wirey so that it will behave nicely until you get the hang of it. I would lay the lead wire foundation and overlay it with waxed "A" nylon to practice building the form. I have demonstrated a caddis larva/pupae form, but a wide and flat stonefly nymph form is also well suited to this weave. For that application I would bind a length of .030" or ,035" wire to the sides of the hook shank versus wrapping the shank. For now, I would advise against tying an actual fly. Just learn the form and how to weave over it. Let's get to work...
Transcript
Back to Tutorials
Woven Polish Nymph
Step-by-Step
Back to Tutorials
Shuttle Weave
Step-by-Step
Fly and Photos by Loren Williams
What follows is a pseudo-tutorial. I am unable to photograph the actual weave since it requires both of my hands and firm, constant tension to complete. What I have done is used twisted wire in place of the usual flosses and yarns for the weave. The wire holds it's shape and place allowing me to let go of the material for purposes of photographing the steps. I have not actually tied a fly per se, but you can substitute this tutorial in any woven fly tutorials I do since I am fond of the shuttle weave and use it almost without exclusion.
Please pay particular attention to the underbody (or form as Vladi taught it to me) since this is the foundation over which the weave will be built. If the form is not representative of the insect you are imitating, or if it has gaps and bumps, even the tightest weave will be for naught.
For purposes of the tutorial, I recommend you select a large hook, and two different colors of quality vernille for the weave. Vernille is stout and somewhat wirey so that it will behave nicely until you get the hang of it. I would lay the lead wire foundation and overlay it with waxed "A" nylon to practice building the form. I have demonstrated a caddis larva/pupae form, but a wide and flat stonefly nymph form is also well suited to this weave. For that application I would bind a length of .030" or ,035" wire to the sides of the hook shank versus wrapping the shank.
For now, I would advise against tying an actual fly. Just learn the form and how to weave over it.
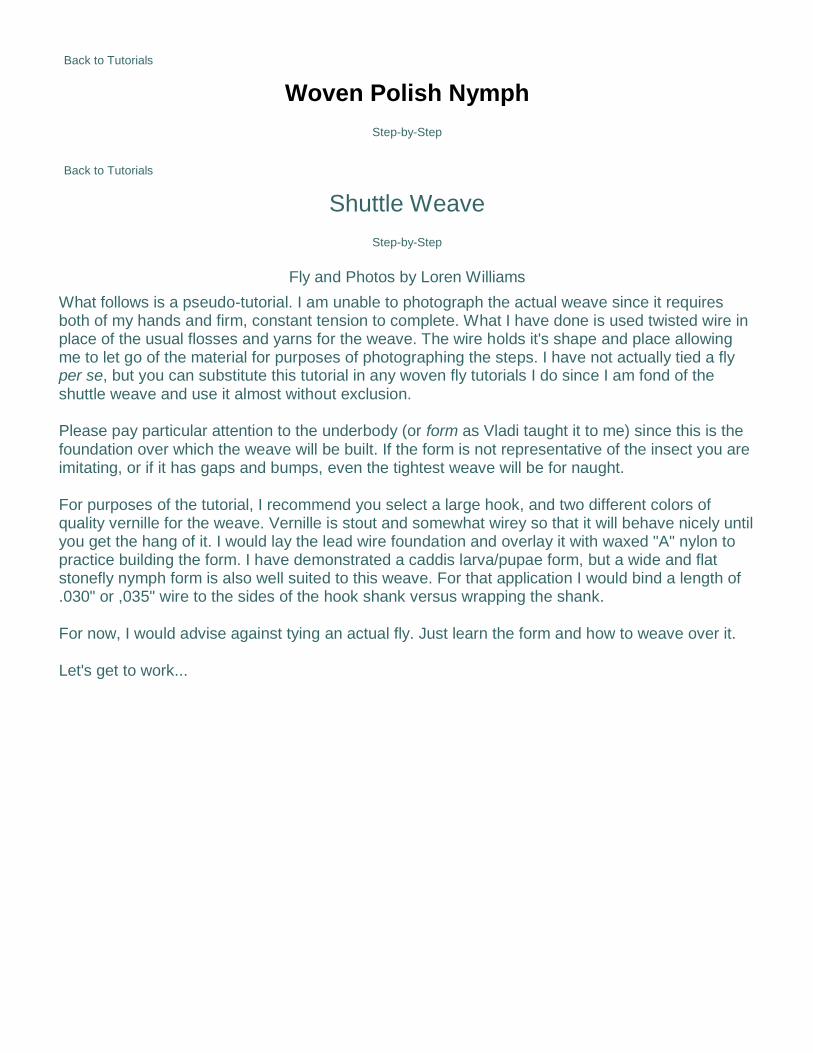
Place the (hopefully) debarbed hook in your vise. I have added a copper bead to show relationship between beads, if used, and the form and weave.
Wrap the shank with lead wire to cover the middle 2/3's. Wiggle either end of the wire to break it cleanly and so that the ends taper. Vladi uses the handle of his scissors to flatten the rear edge
before he wraps it, and uses a fine pliers to flatten the front edge before he breaks it. Wire diameter is dependent on the effect you wish to achieve. In this case I am using .025" on a #8
CO68.
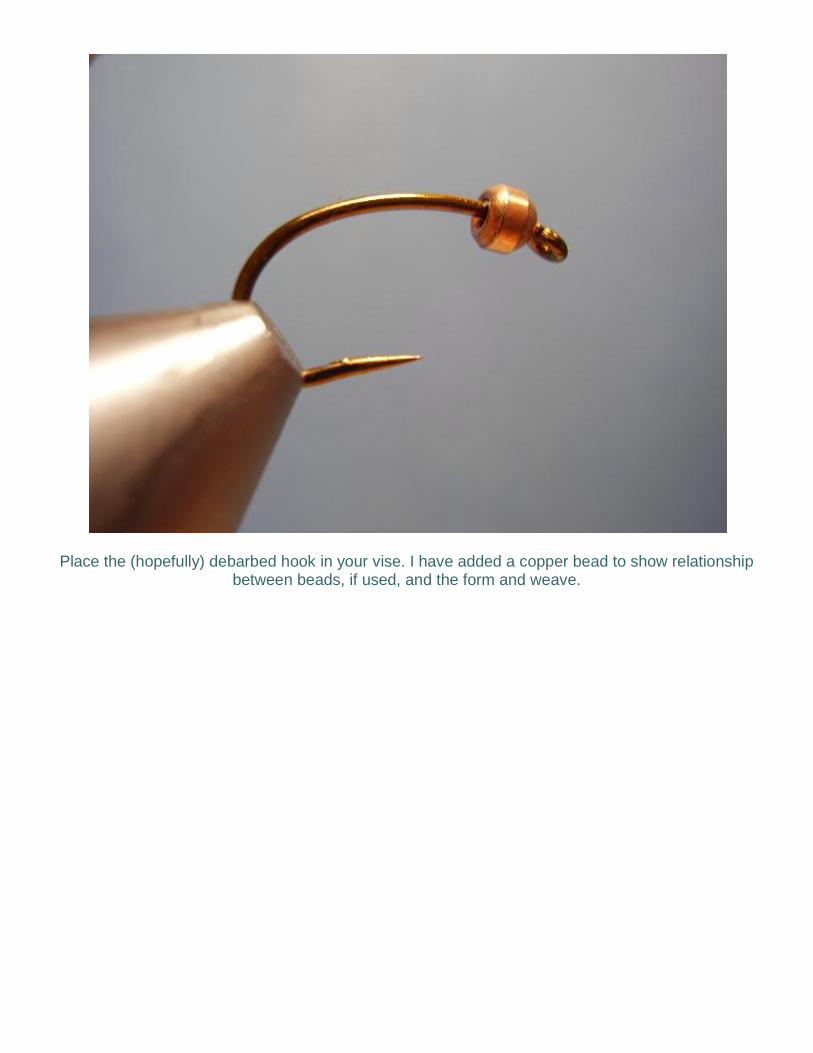
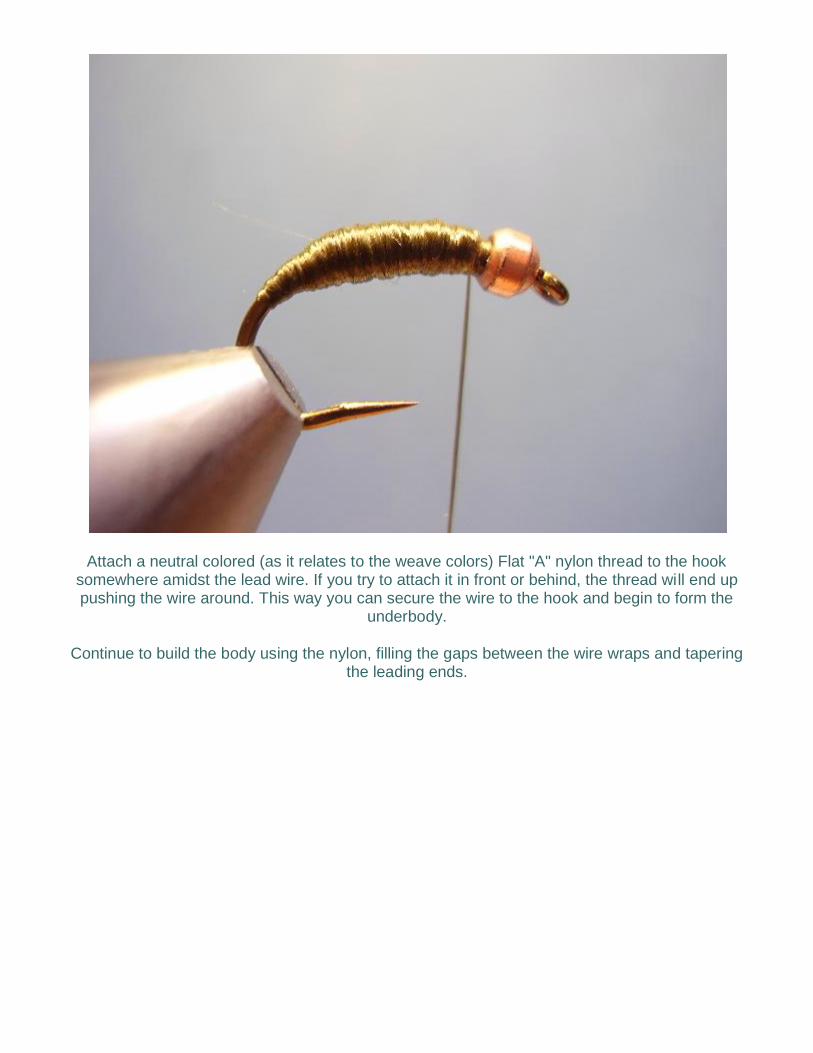
Attach a neutral colored (as it relates to the weave colors) Flat "A" nylon thread to the hook somewhere amidst the lead wire. If you try to attach it in front or behind, the thread will end up pushing the wire around. This way you can secure the wire to the hook and begin to form the
underbody.
Continue to build the body using the nylon, filling the gaps between the wire wraps and tapering the leading ends.
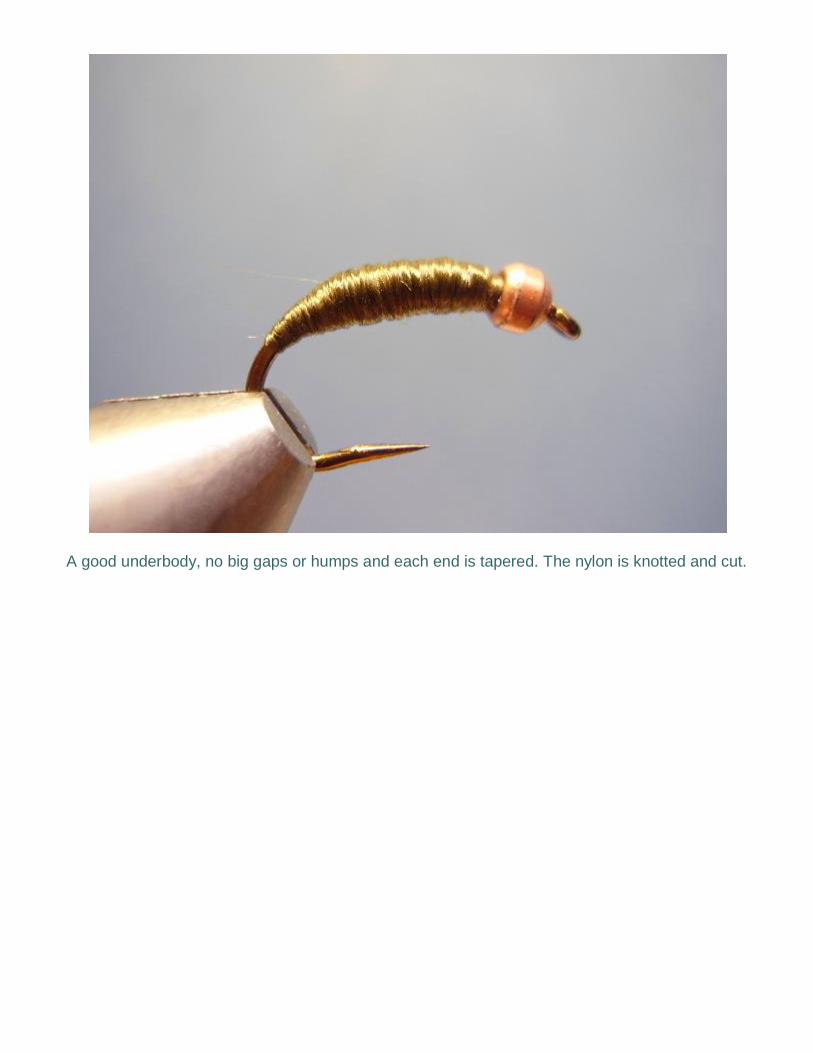
A good underbody, no big gaps or humps and each end is tapered. The nylon is knotted and cut.
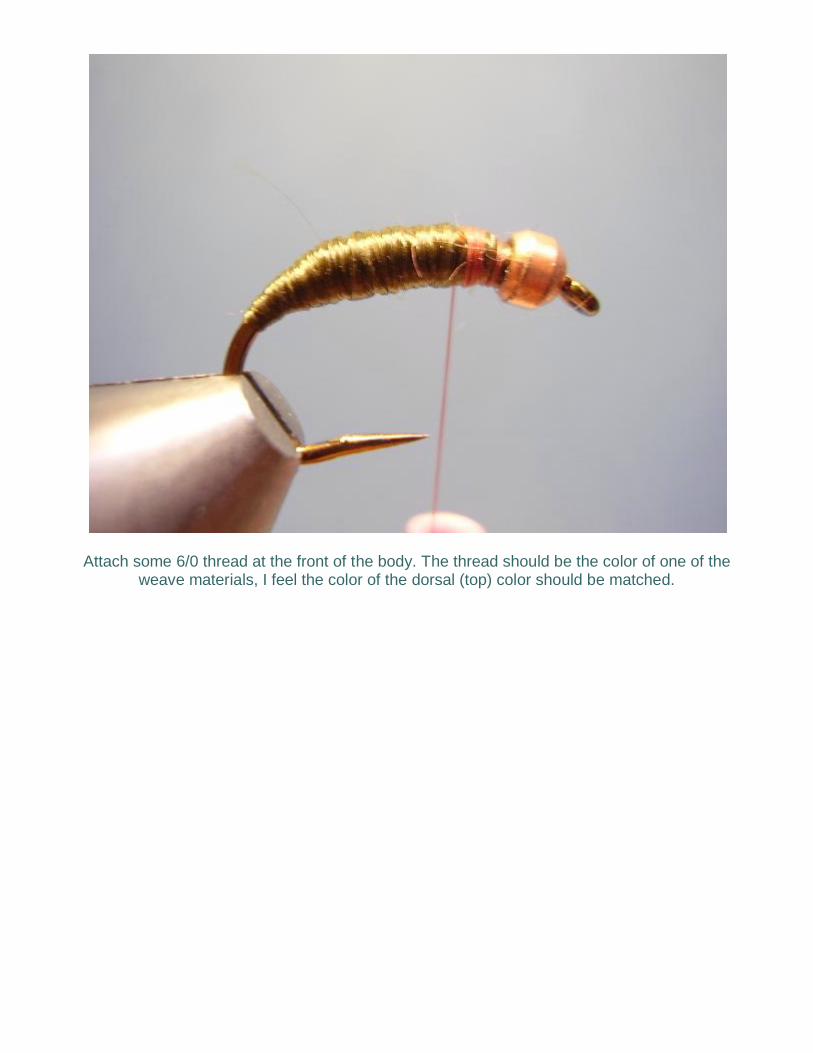
Attach some 6/0 thread at the front of the body. The thread should be the color of one of the weave materials, I feel the color of the dorsal (top) color should be matched.
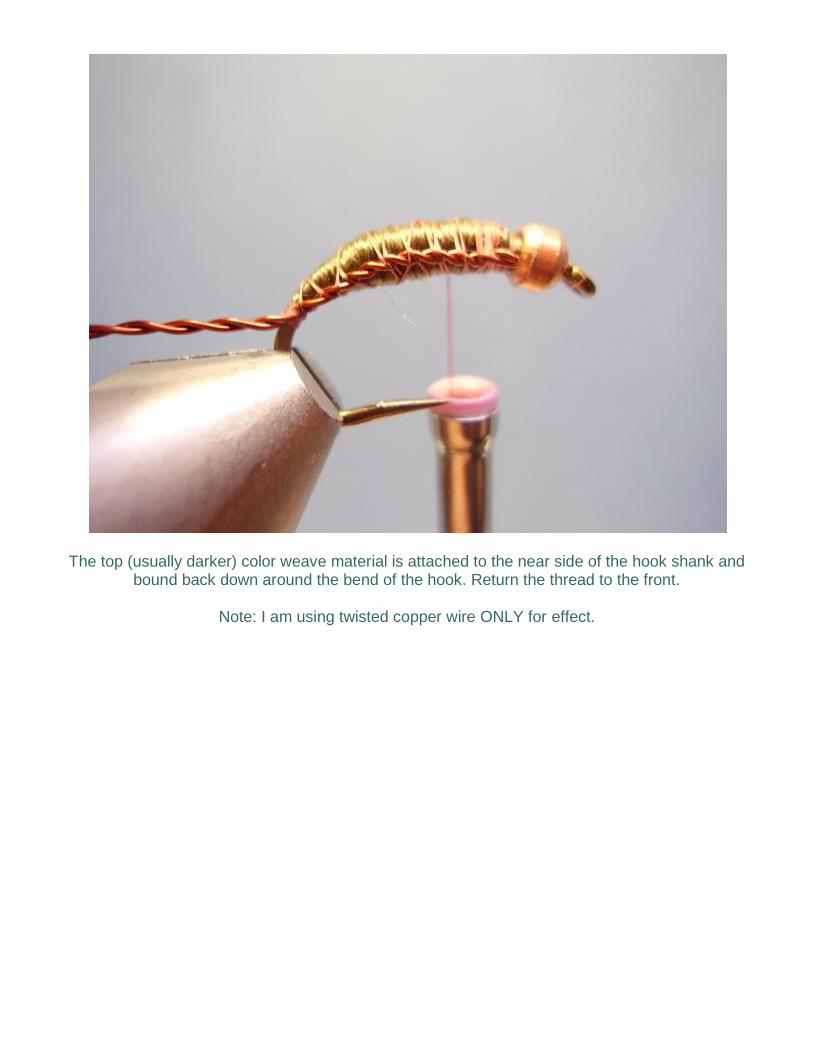
The top (usually darker) color weave material is attached to the near side of the hook shank and bound back down around the bend of the hook. Return the thread to the front.
Note: I am using twisted copper wire ONLY for effect.
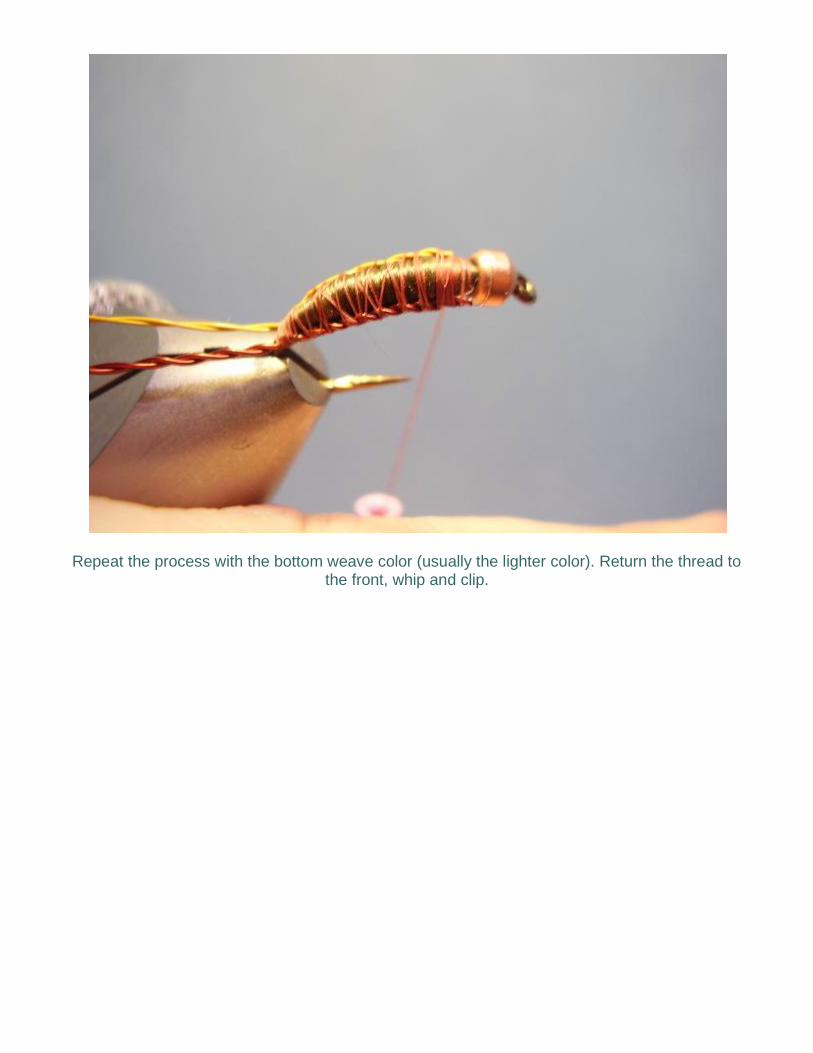
Repeat the process with the bottom weave color (usually the lighter color). Return the thread to the front, whip and clip.
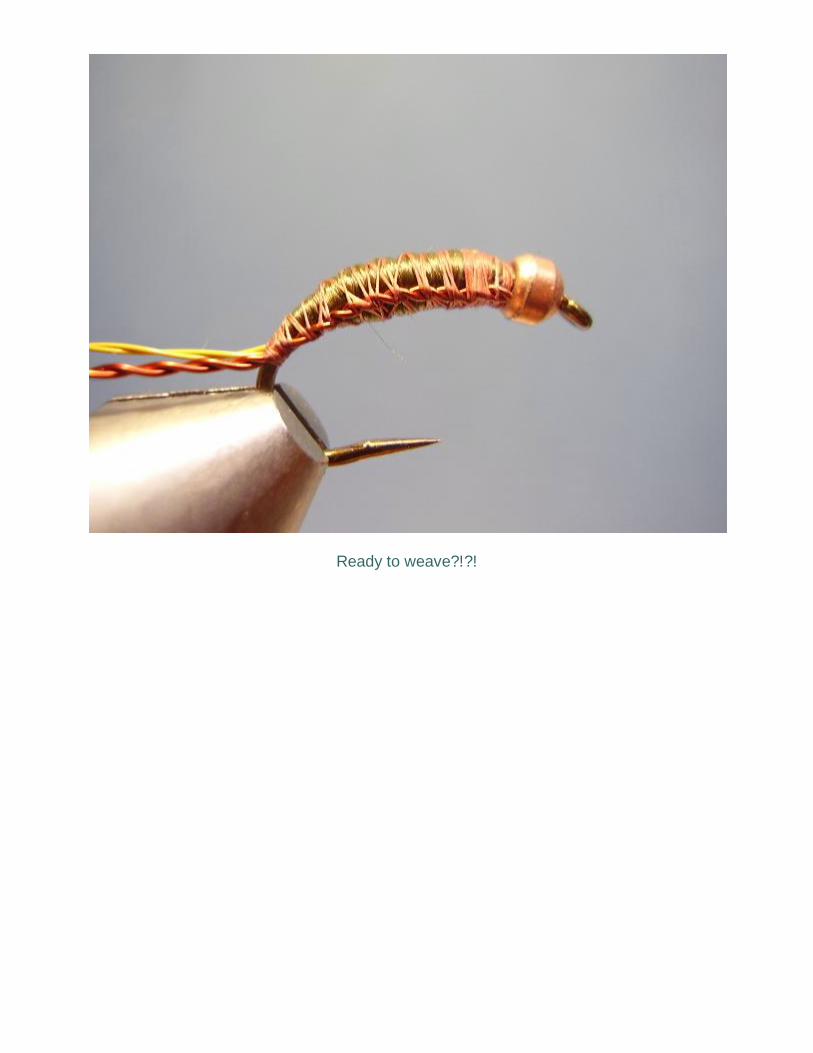
Ready to weave?!?!
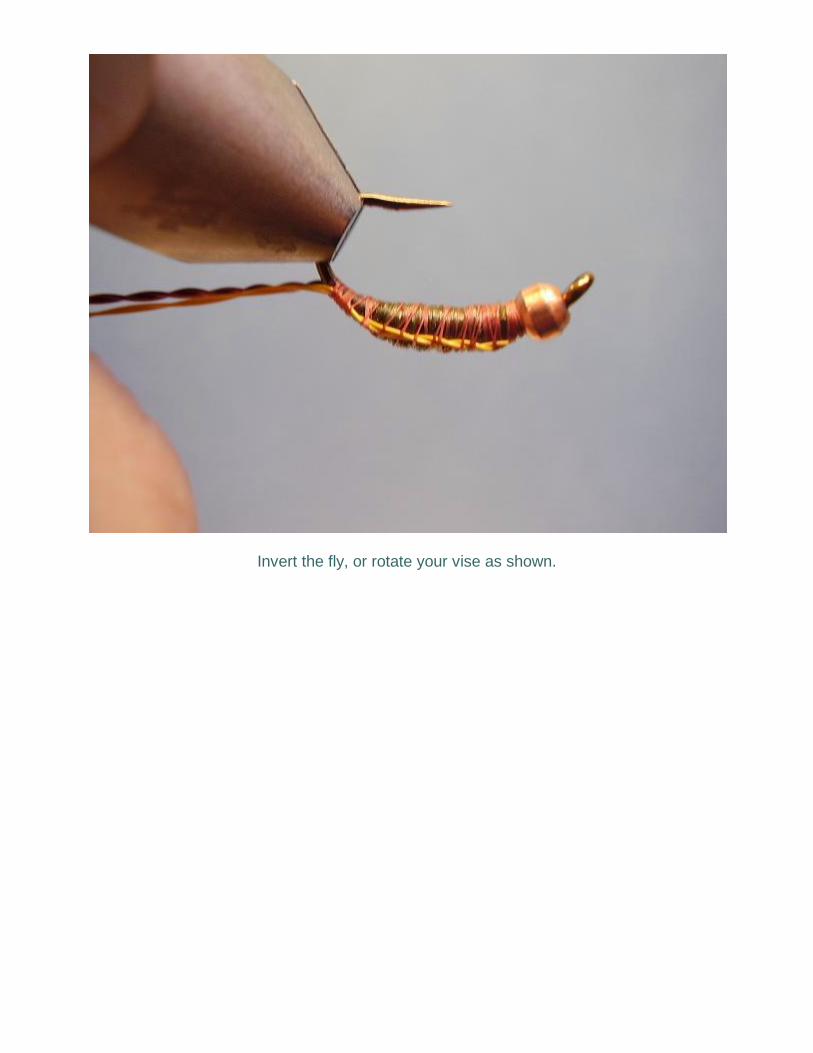
Invert the fly, or rotate your vise as shown.
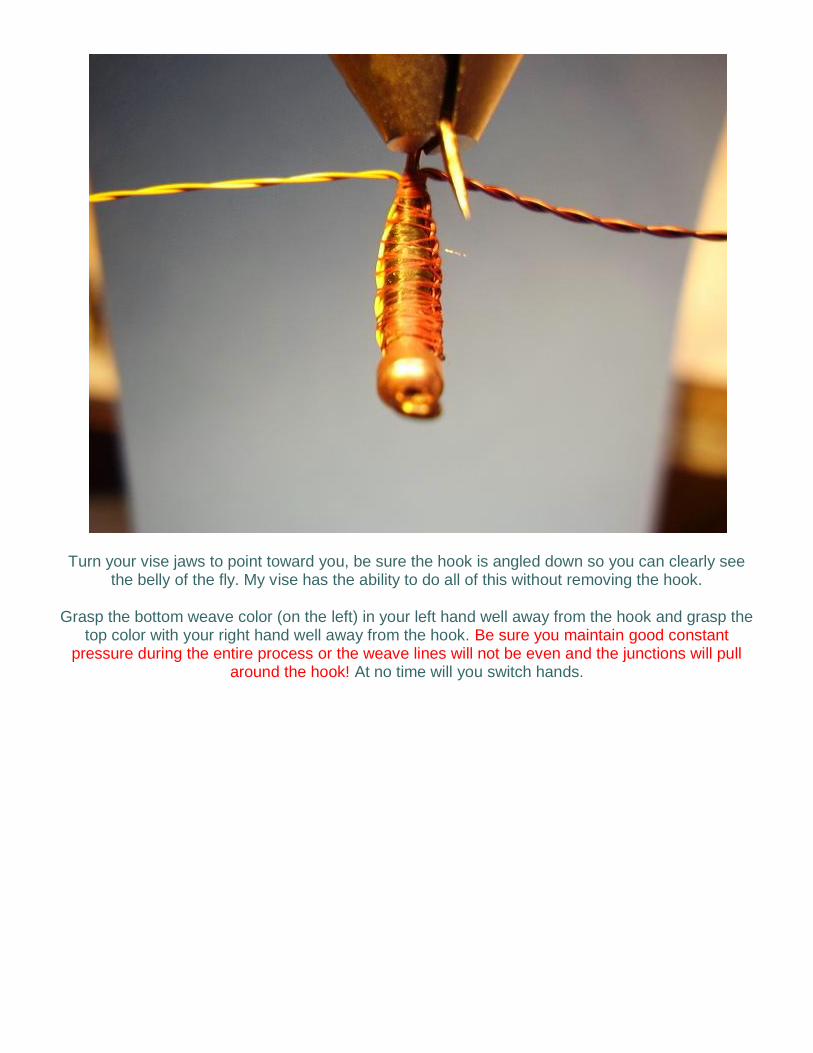
Turn your vise jaws to point toward you, be sure the hook is angled down so you can clearly see the belly of the fly. My vise has the ability to do all of this without removing the hook.
Grasp the bottom weave color (on the left) in your left hand well away from the hook and grasp the top color with your right hand well away from the hook. Be sure you maintain good constant
pressure during the entire process or the weave lines will not be even and the junctions will pull around the hook! At no time will you switch hands.
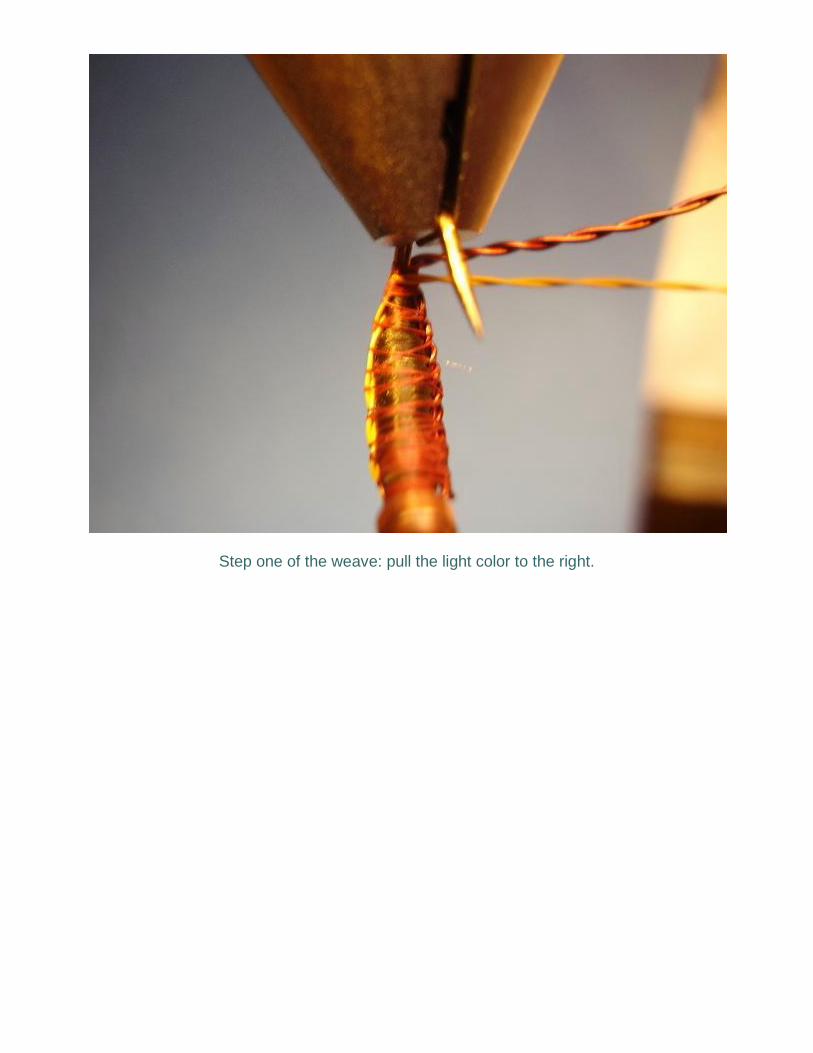
Step one of the weave: pull the light color to the right.
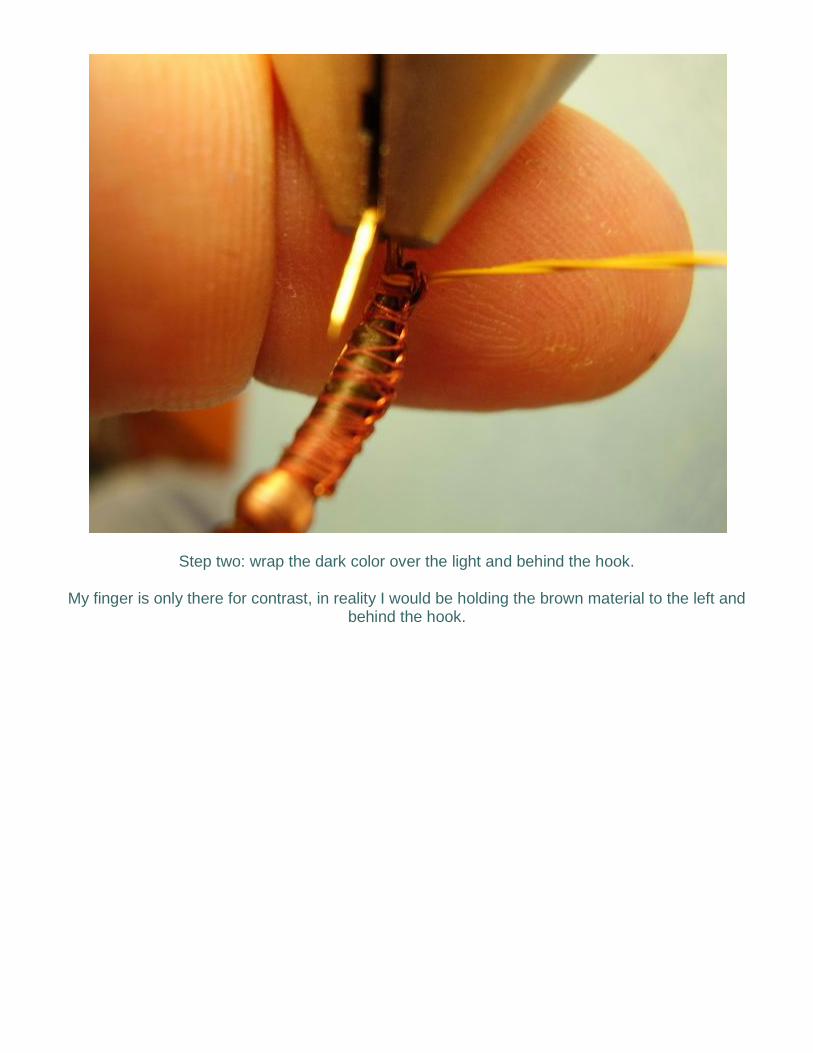
Step two: wrap the dark color over the light and behind the hook.
My finger is only there for contrast, in reality I would be holding the brown material to the left and behind the hook.
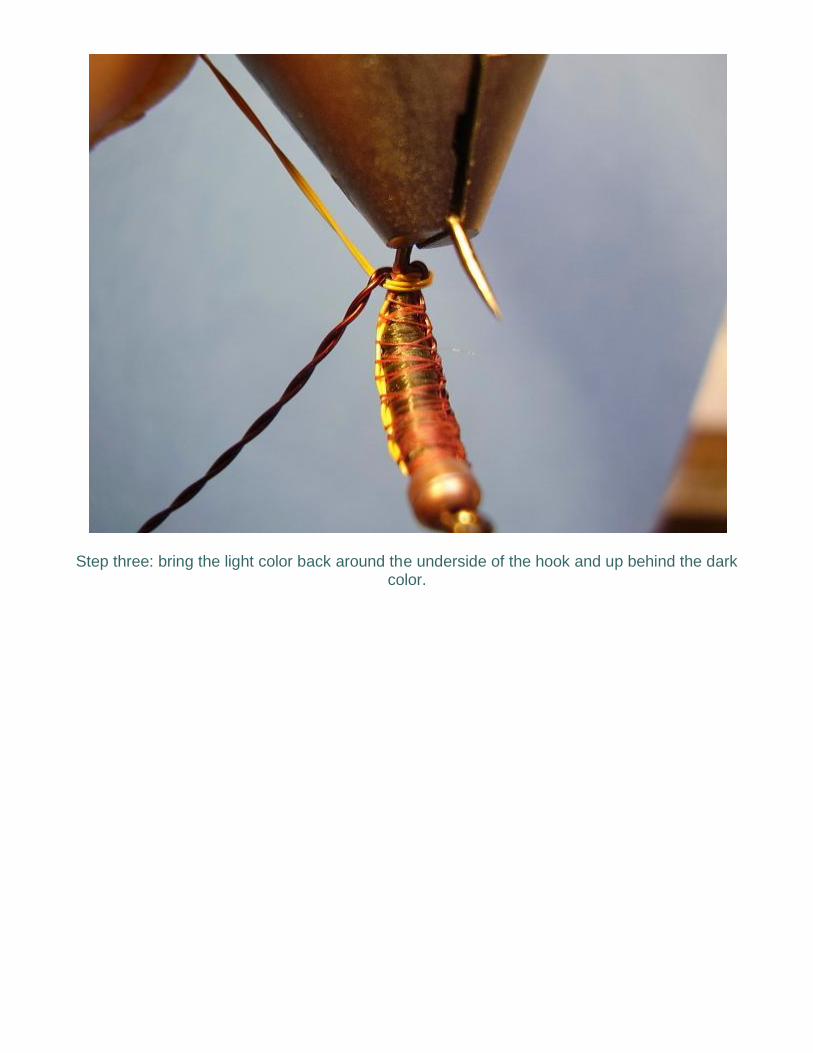
Step three: bring the light color back around the underside of the hook and up behind the dark color.
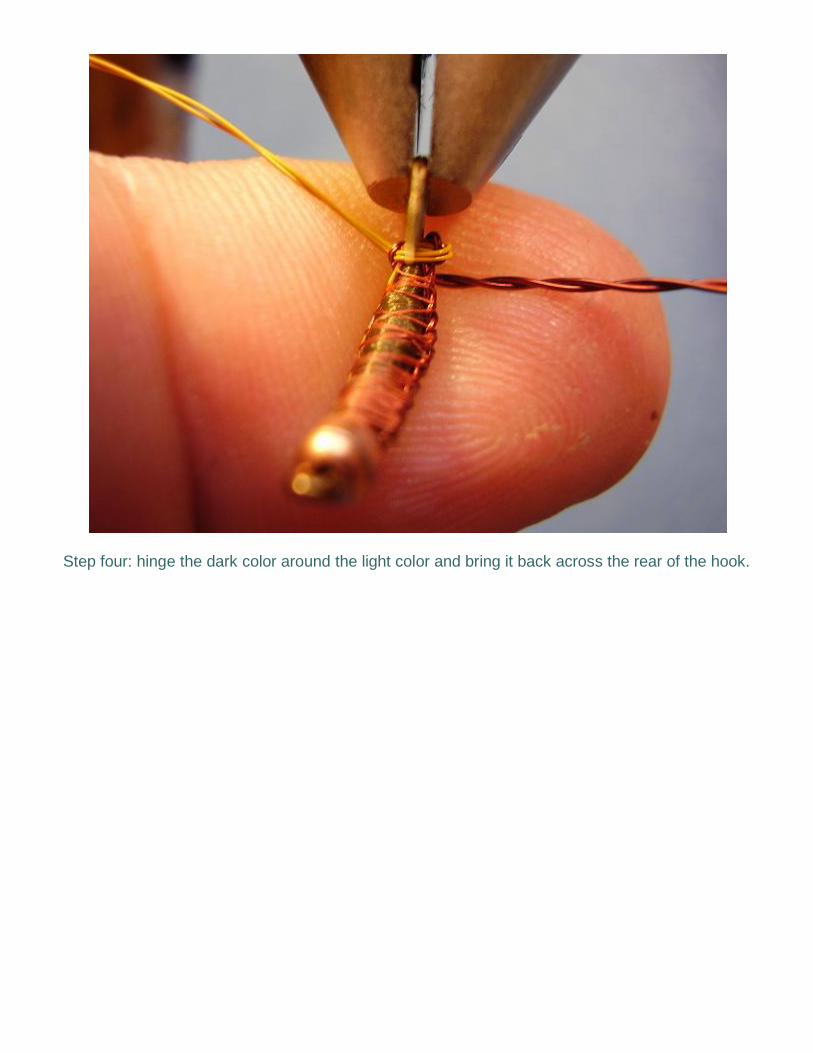
Step four: hinge the dark color around the light color and bring it back across the rear of the hook.
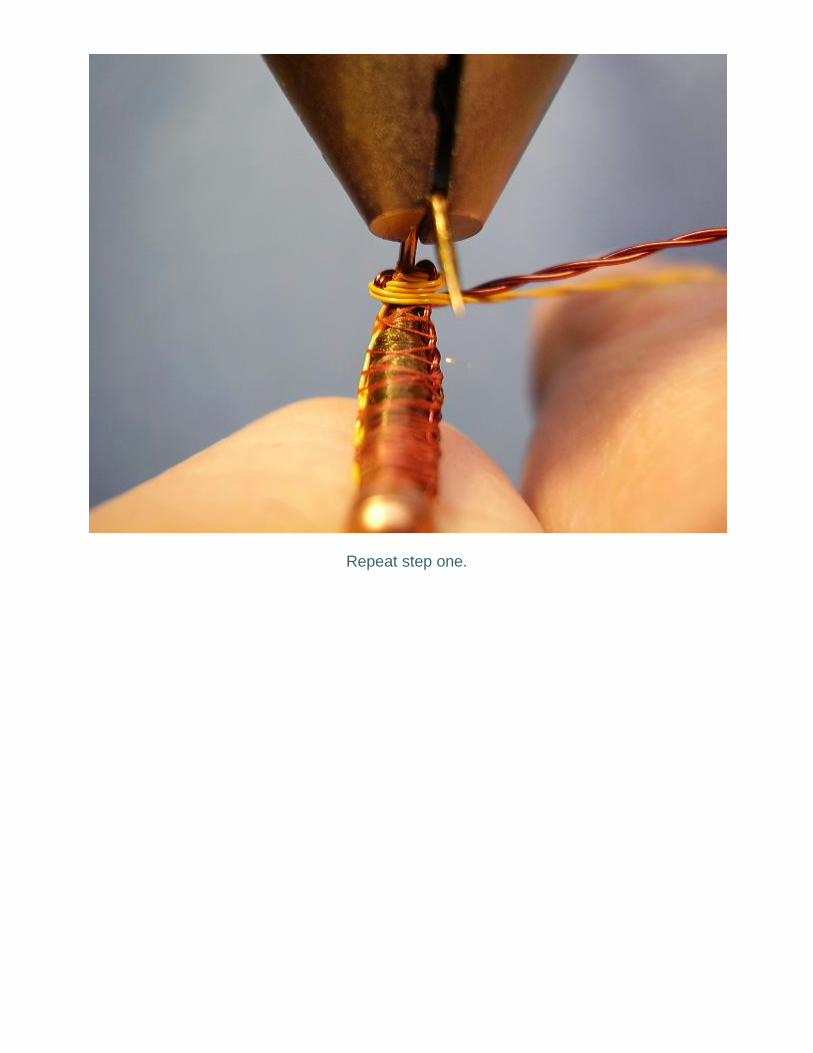
Repeat step one.
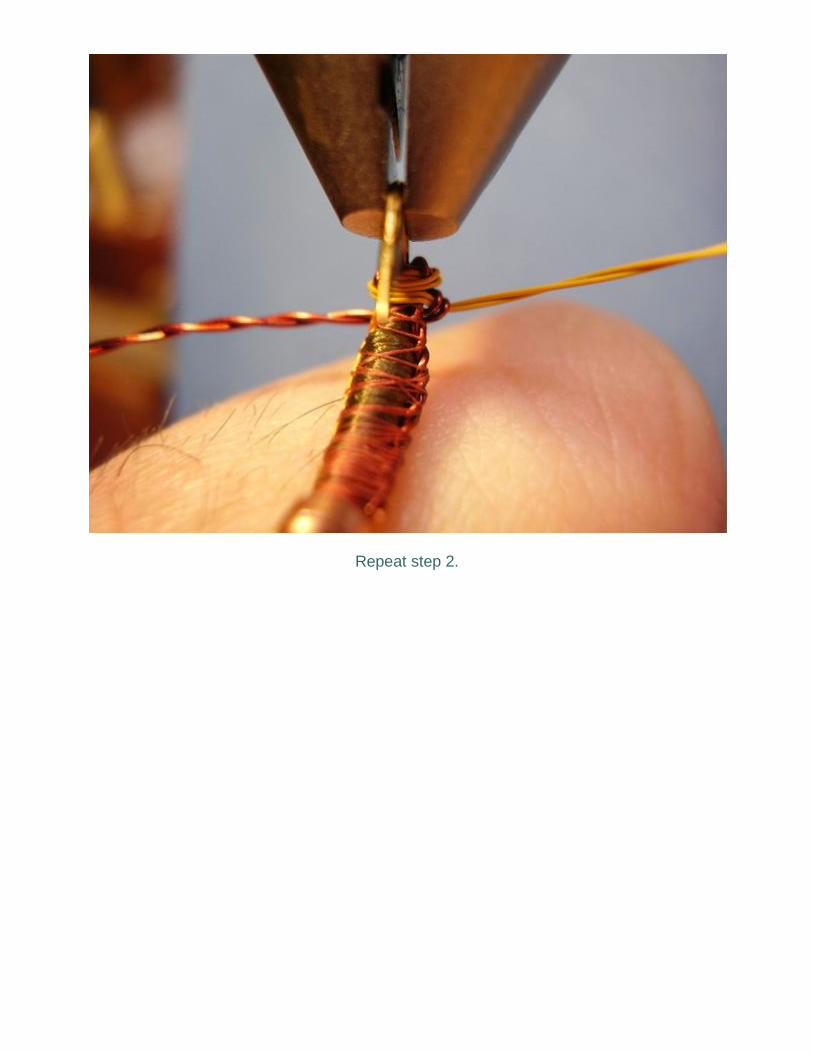
Repeat step 2.
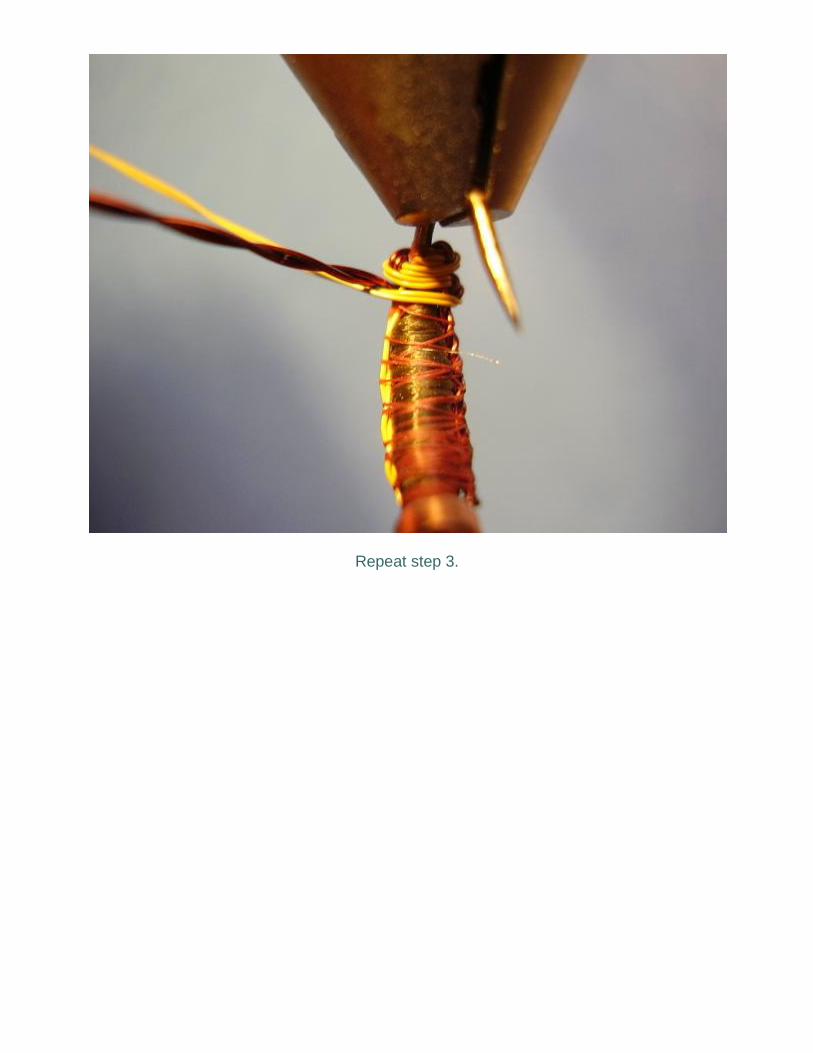
Repeat step 3.
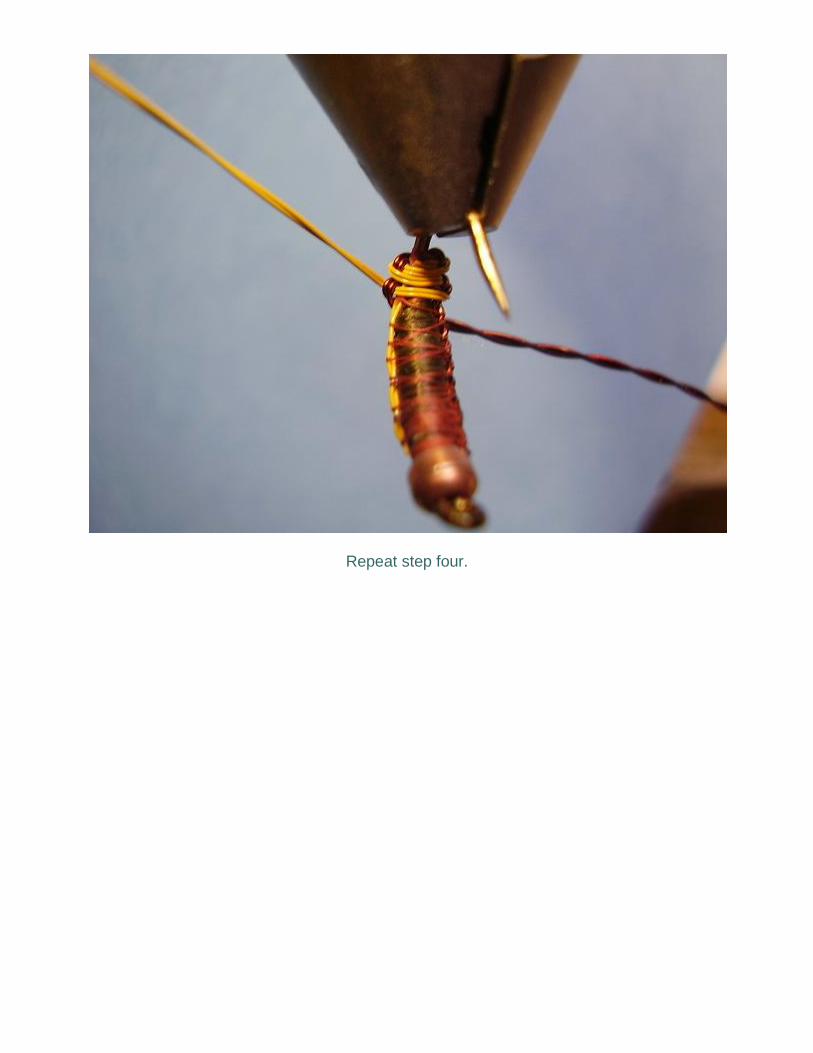
Repeat step four.
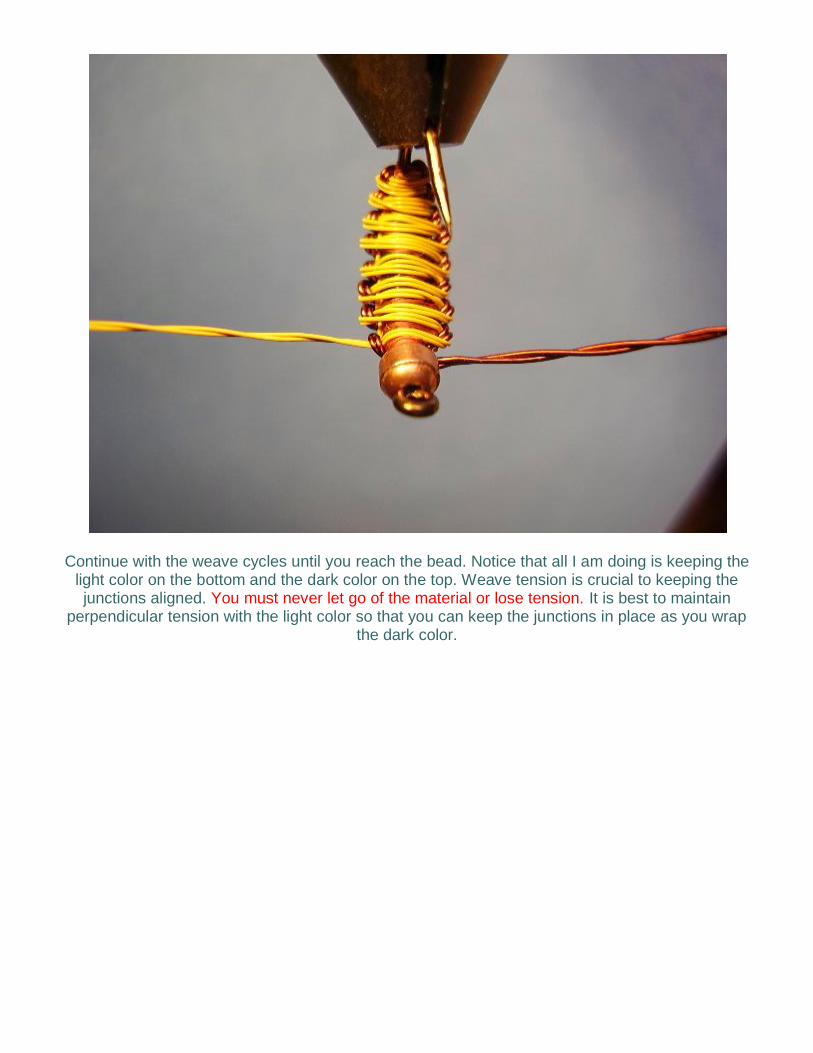
Continue with the weave cycles until you reach the bead. Notice that all I am doing is keeping the light color on the bottom and the dark color on the top. Weave tension is crucial to keeping the junctions aligned. You must never let go of the material or lose tension. It is best to maintain
perpendicular tension with the light color so that you can keep the junctions in place as you wrap the dark color.
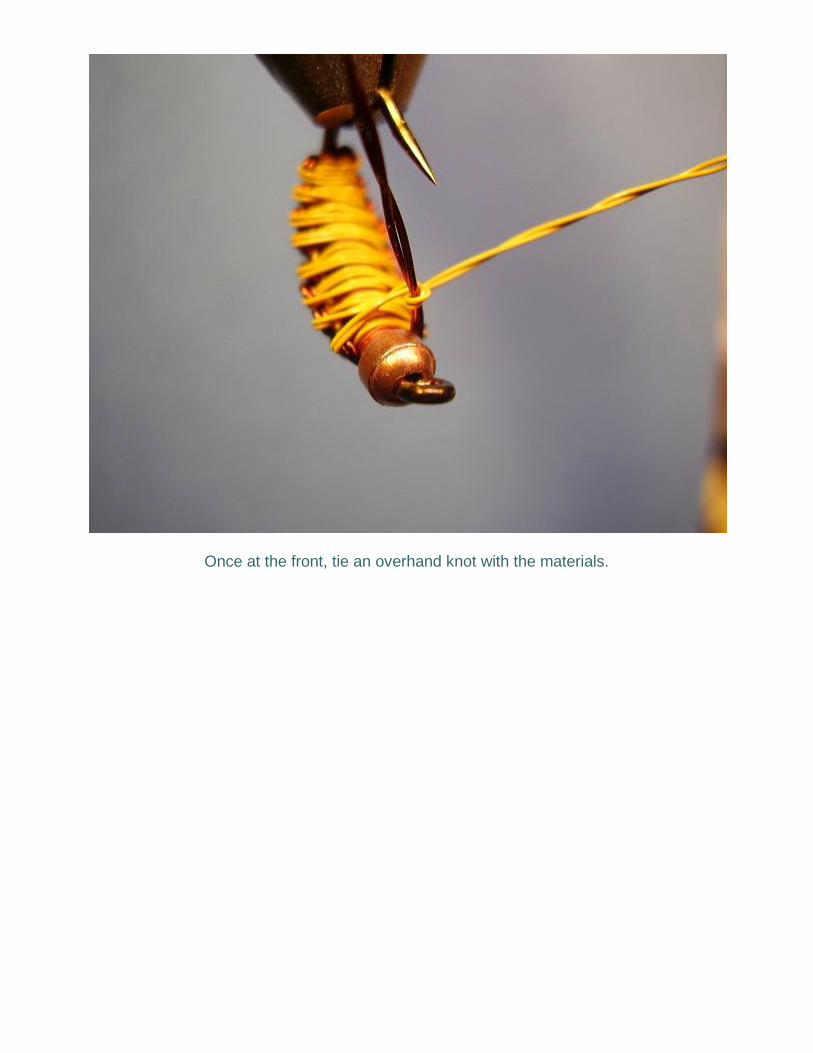
Once at the front, tie an overhand knot with the materials.
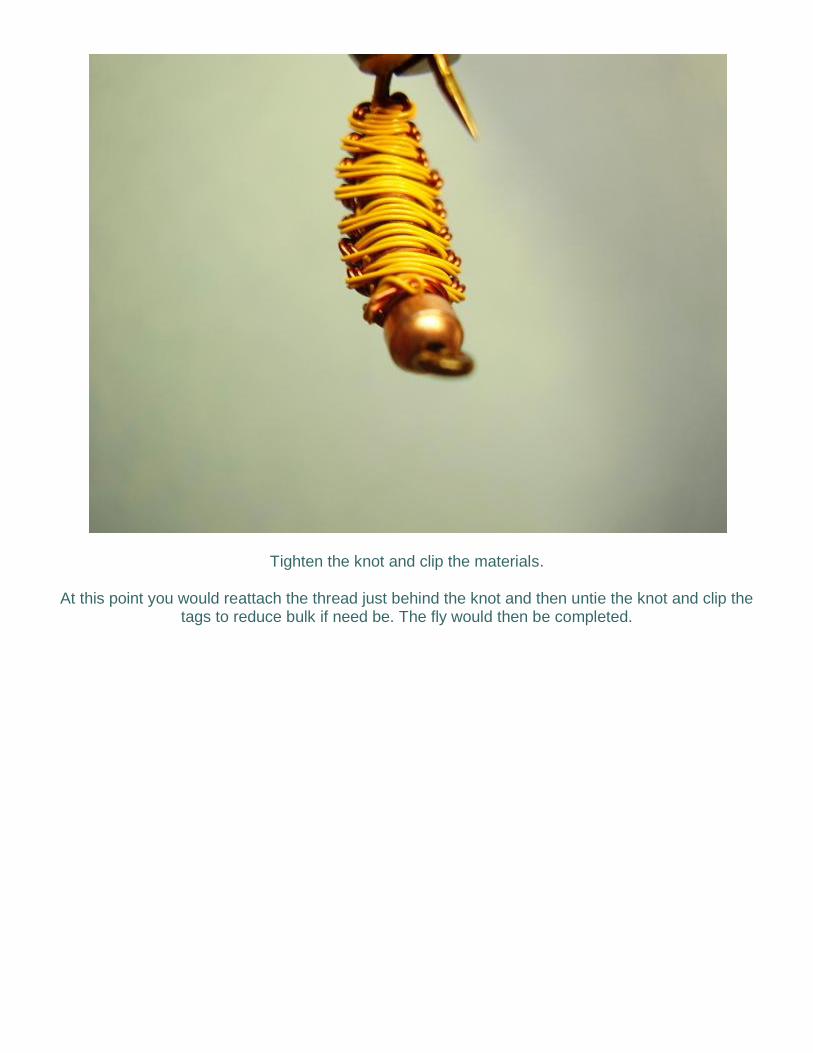
Tighten the knot and clip the materials.
At this point you would reattach the thread just behind the knot and then untie the knot and clip the tags to reduce bulk if need be. The fly would then be completed.
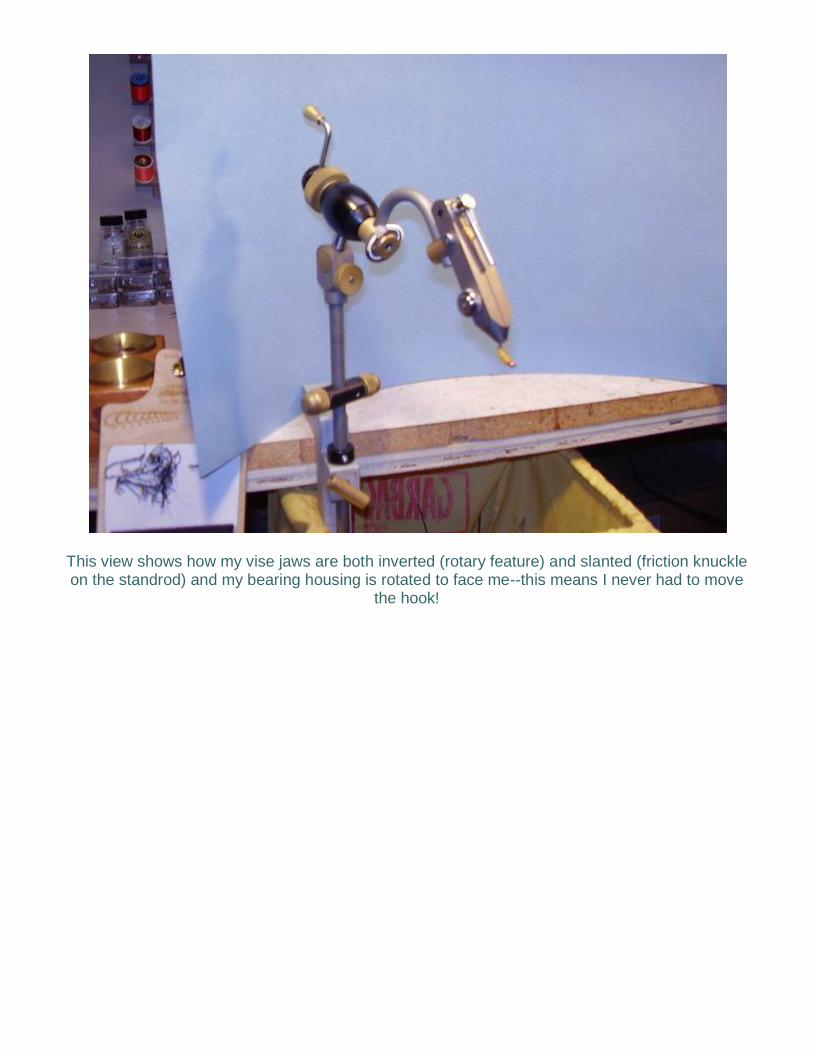
This view shows how my vise jaws are both inverted (rotary feature) and slanted (friction knuckle on the standrod) and my bearing housing is rotated to face me--this means I never had to move
the hook!
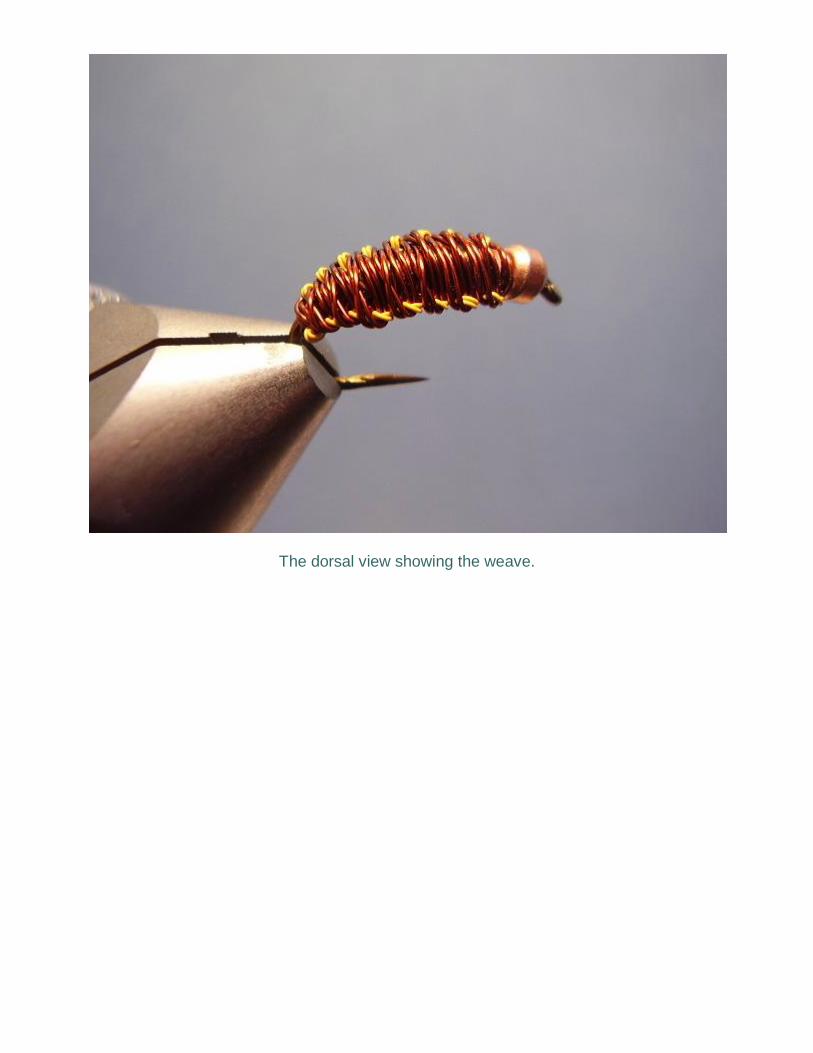
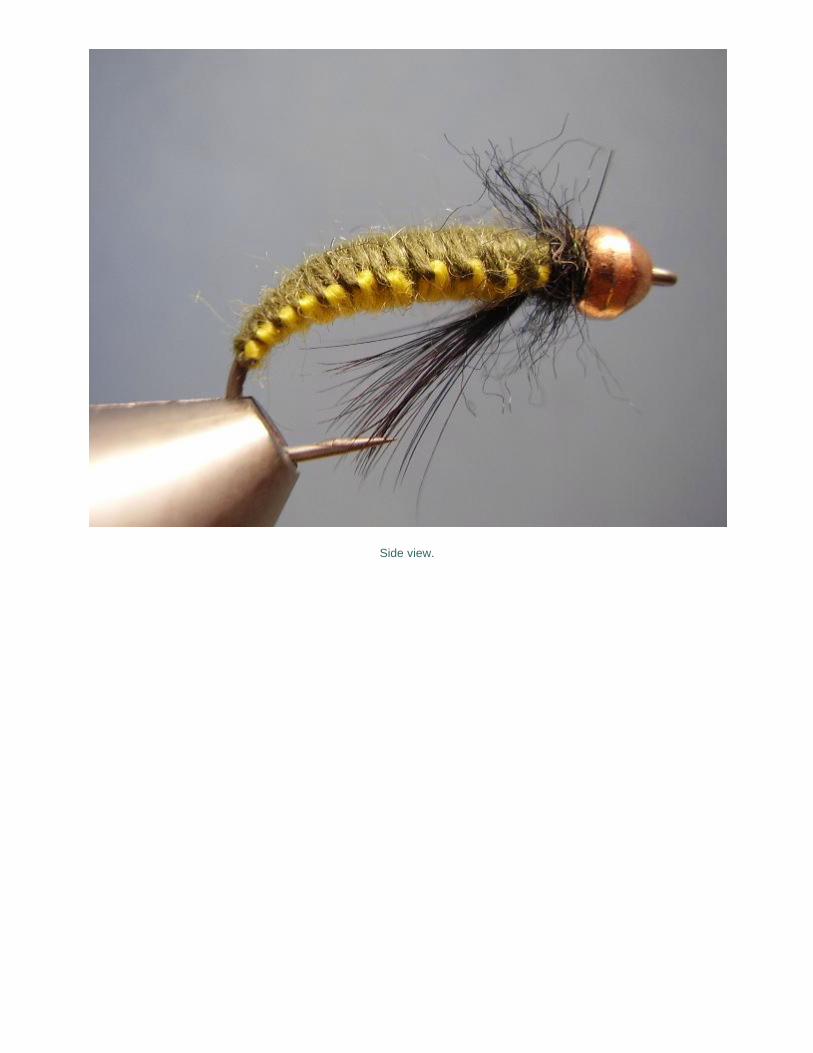
The dorsal view showing the weave.
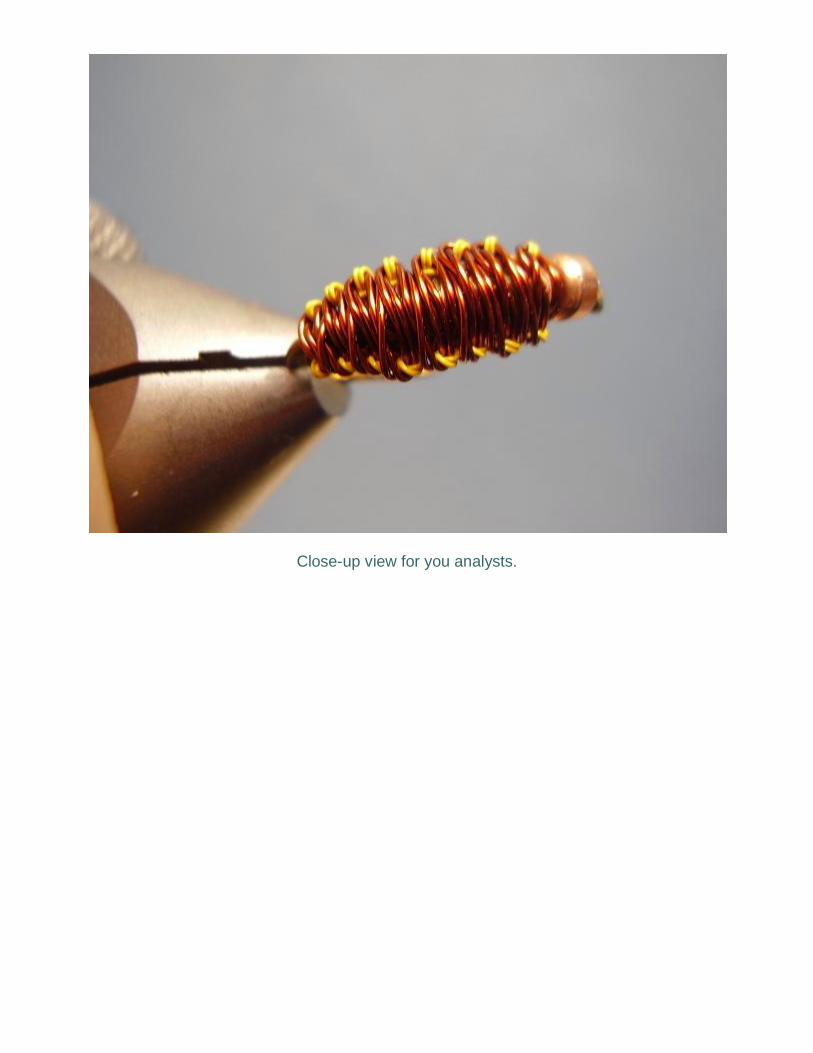
Close-up view for you analysts.
Ventral view. Notice how the junctions line up and the dark portions form little bumps. These imitate the leg buds on a caddis larva. If you were to add a counter-rib (I always do) then the
ribbing is to go in between the legs in order to look proper. Since I'm not as good as Vladi, Jay, or Oliver, I cheat and use monofilament for my ribbing! SSHHHHH....
Remember: It's going to take some time and trail and error to get the weave to work for you. No time like the present and keep at it!
I am approached very often by folks asking me "how to weave" fishing flies. I can relate. Not long
ago, even after decades of fly-tying, woven flies amazed me.
In the summer of 2005, upon my selection as Fly Fishing Team USA's fly tier, I was speaking with Jay Buchner candidly about my inability to weave, feeling that woven nymphs would be important in the World Championships that year in Swedish Lapland. Jay calmed my fears telling me that he could weave and would be able to show me, and that he could help tie those flies if they became important. He also kept mentioning his friend Vladi from Poland who may also be able to help.
It turns out that Jay was holding back a tad about Vladi. Vladi was the Vladi Trzebunia from Poland- 1989 Gold medallist and member of the Polish team that took the fly fishing world by storm when they introduced the Polish nymph (i.e. "heavy nymph ") and astounded the competition that year. This is the technique that has been tweaked and renamed "Czech Nymphing." These days Vladi has retired from competitive fishing and just happens to be a Team USA coach-and I got to spend 17 days in his company! The fishing technique may have been tweaked, but the flies remain Polish, and Vladi is central to them.
Vladi Trzebunia "Polish Nymphing" on California's Kings River in October, 2006.
One night during pre-competition practice week, Vladi asked me away from my vise in the meeting room and invited me to his room where his Regal lay in wait. I was about to be mentored by the same kind man who taught Jay Buchner and Oliver Edwards about "his" flies and how to fish them. Can you say "lump in throat?"
Understand that weaving will not come overnight. It has taken me two full years of daily practice to get to the point I am at, and I am still years behind the Trezbunias, Buchners, and Edwards' of the world. Once you realize the technique, you will still need to master the tension, material selection
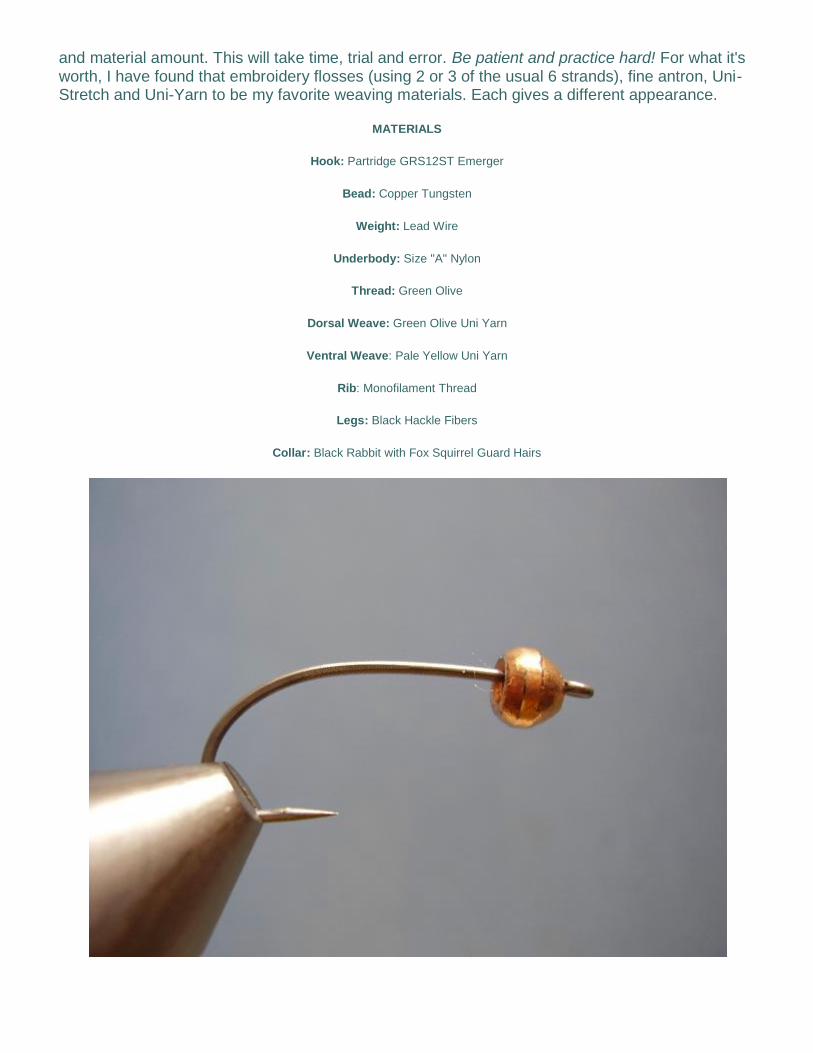
and material amount. This will take time, trial and error. Be patient and practice hard! For what it's worth, I have found that embroidery flosses (using 2 or 3 of the usual 6 strands), fine antron, Uni-Stretch and Uni-Yarn to be my favorite weaving materials. Each gives a different appearance.
MATERIALS
Hook: Partridge GRS12ST Emerger
Bead: Copper Tungsten
Weight: Lead Wire
Underbody: Size "A" Nylon
Thread: Green Olive
Dorsal Weave: Green Olive Uni Yarn
Ventral Weave: Pale Yellow Uni Yarn
Rib: Monofilament Thread
Legs: Black Hackle Fibers
Collar: Black Rabbit with Fox Squirrel Guard Hairs
Slip an appropriately sized bead onto the barbless hook and place the hook in your vise.
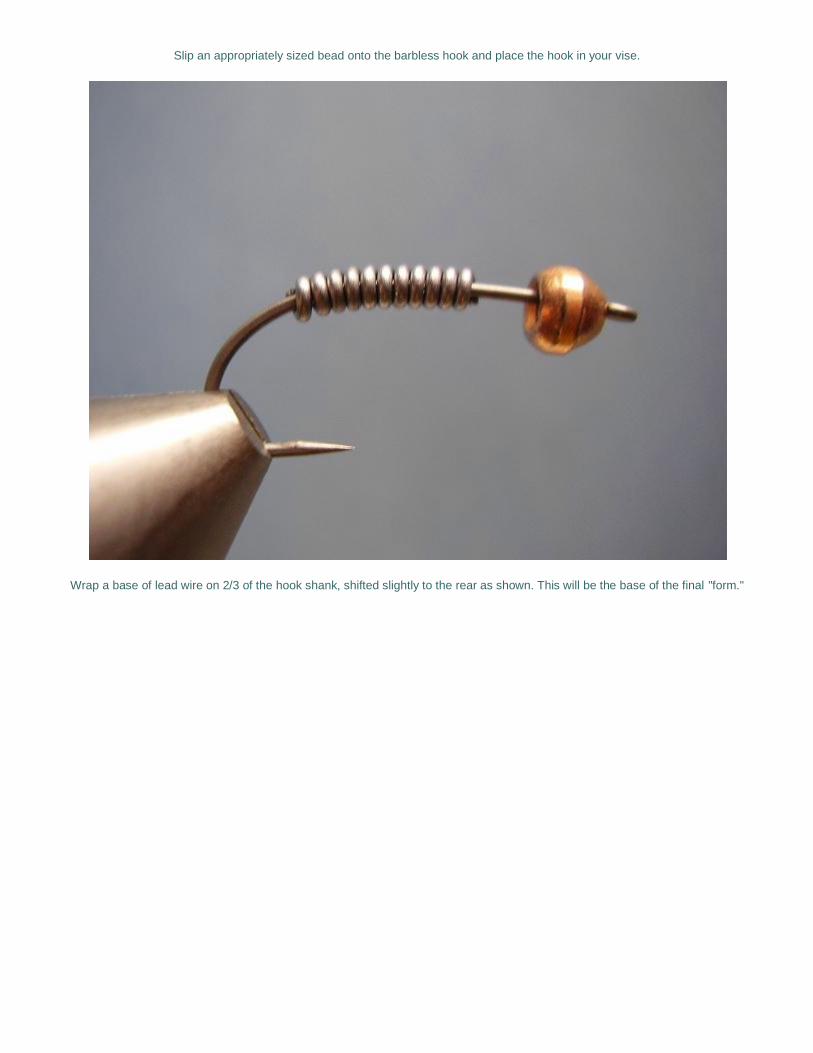
Wrap a base of lead wire on 2/3 of the hook shank, shifted slightly to the rear as shown. This will be the base of the final "form."
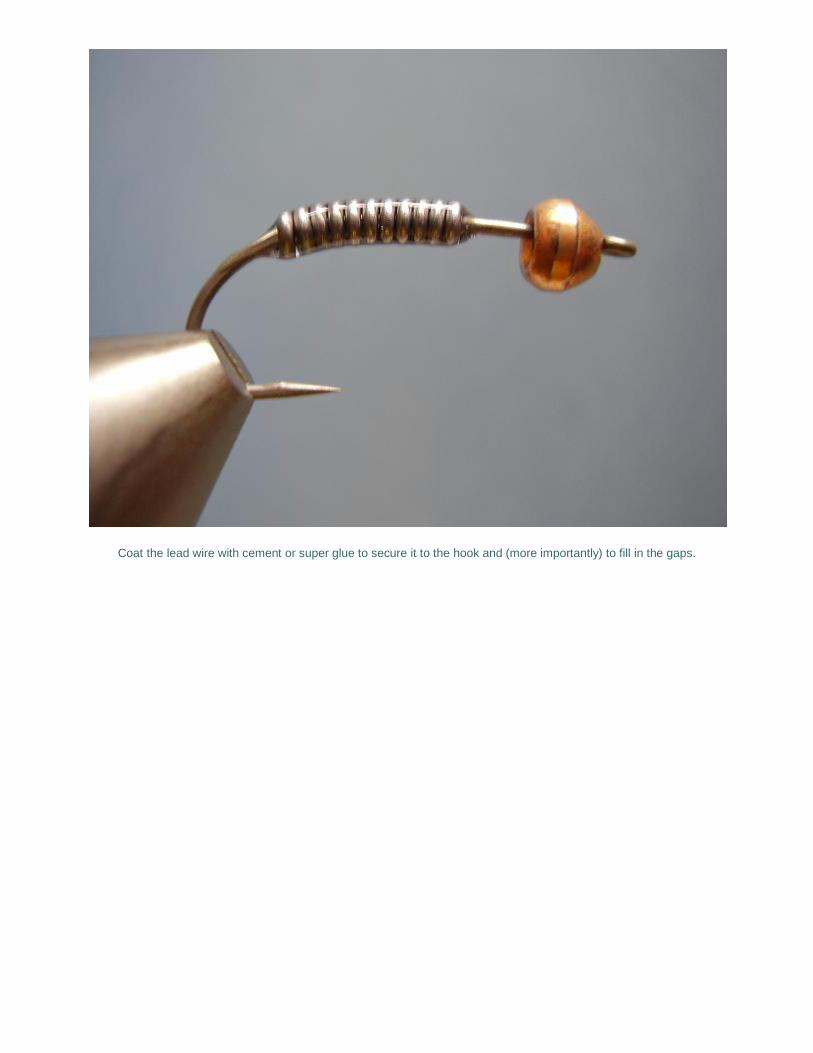
Coat the lead wire with cement or super glue to secure it to the hook and (more importantly) to fill in the gaps.
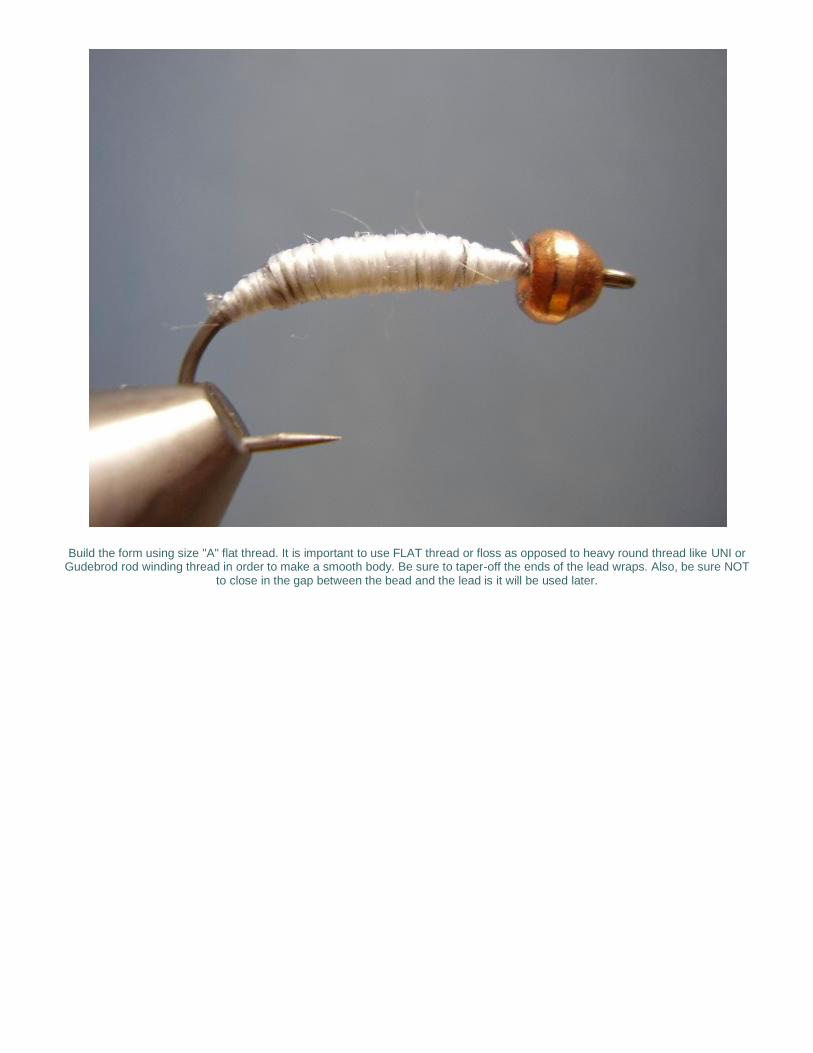
Build the form using size "A" flat thread. It is important to use FLAT thread or floss as opposed to heavy round thread like UNI or Gudebrod rod winding thread in order to make a smooth body. Be sure to taper-off the ends of the lead wraps. Also, be sure NOT
to close in the gap between the bead and the lead is it will be used later.
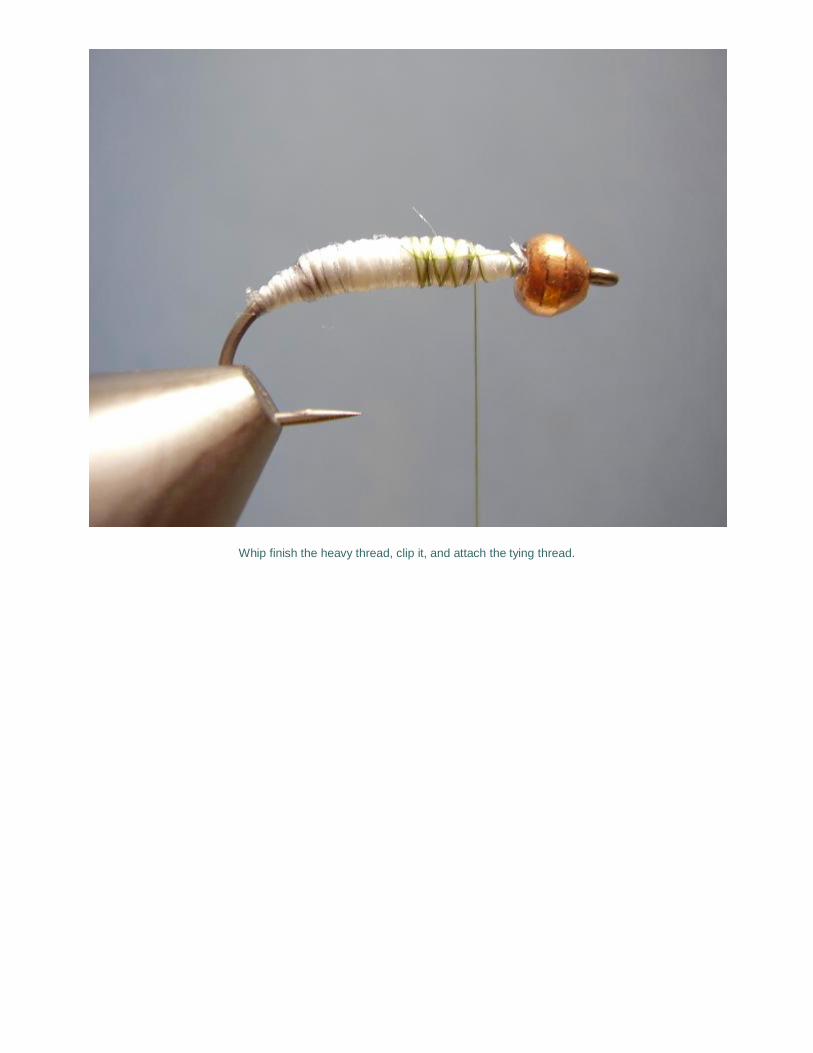
Whip finish the heavy thread, clip it, and attach the tying thread.
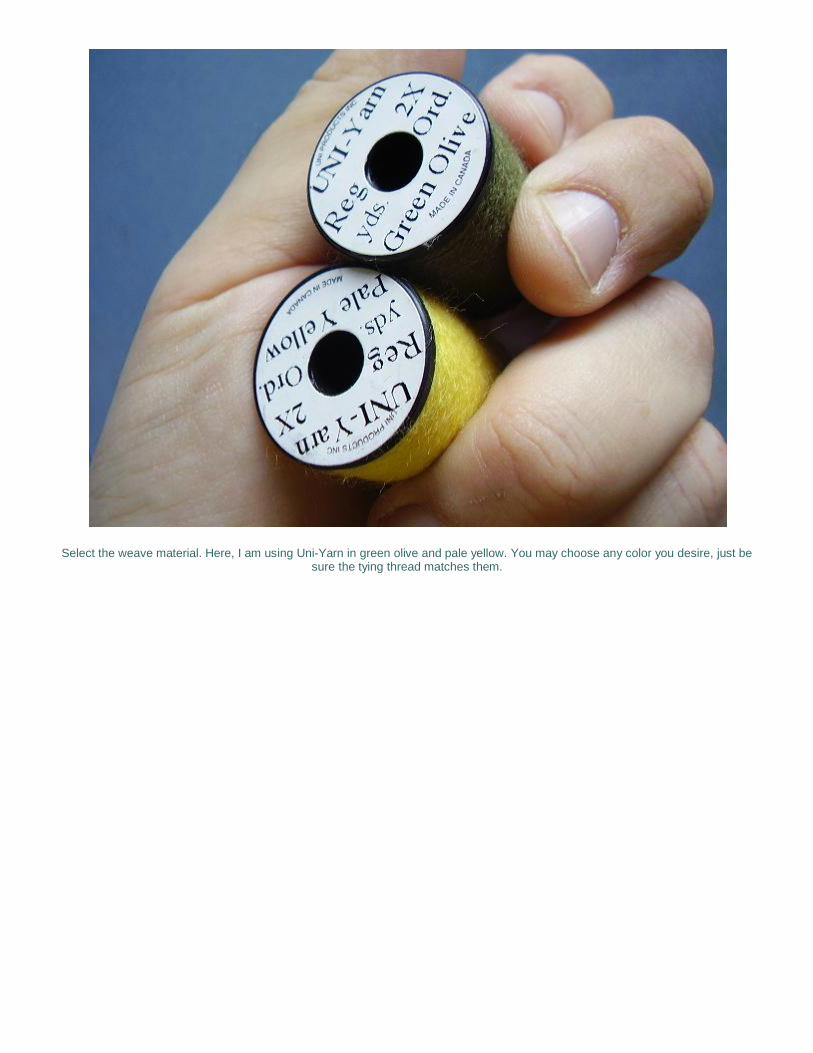
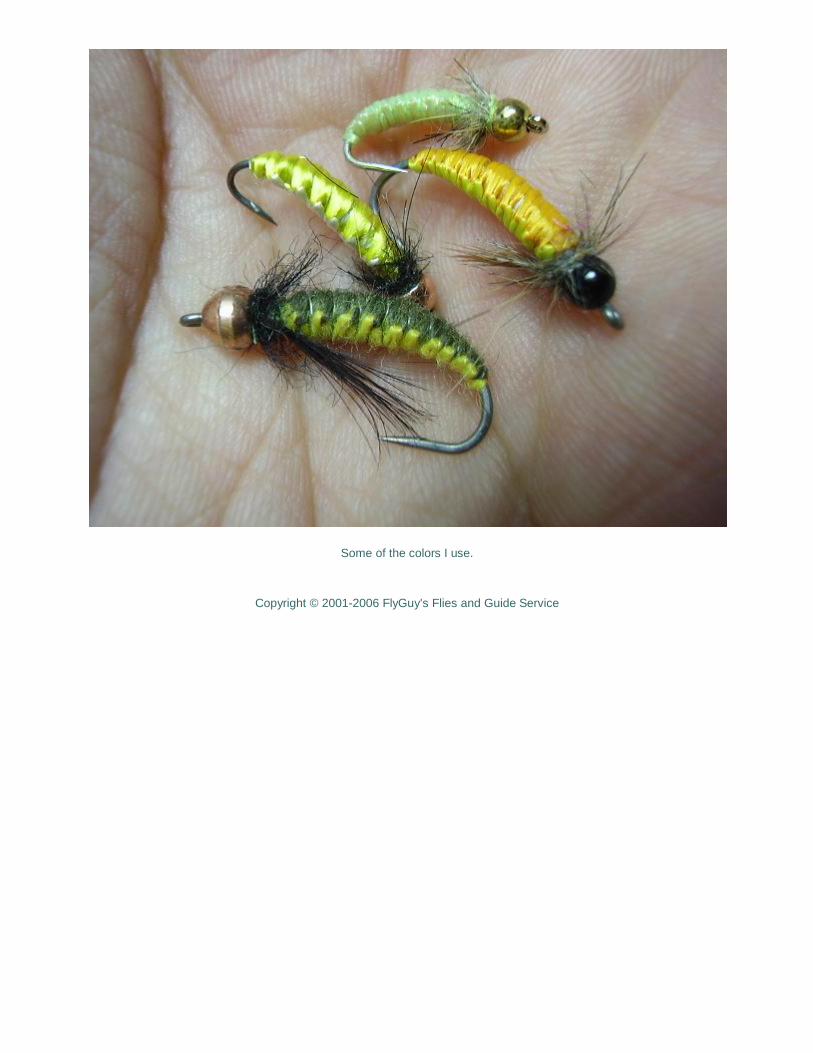
Select the weave material. Here, I am using Uni-Yarn in green olive and pale yellow. You may choose any color you desire, just be sure the tying thread matches them.
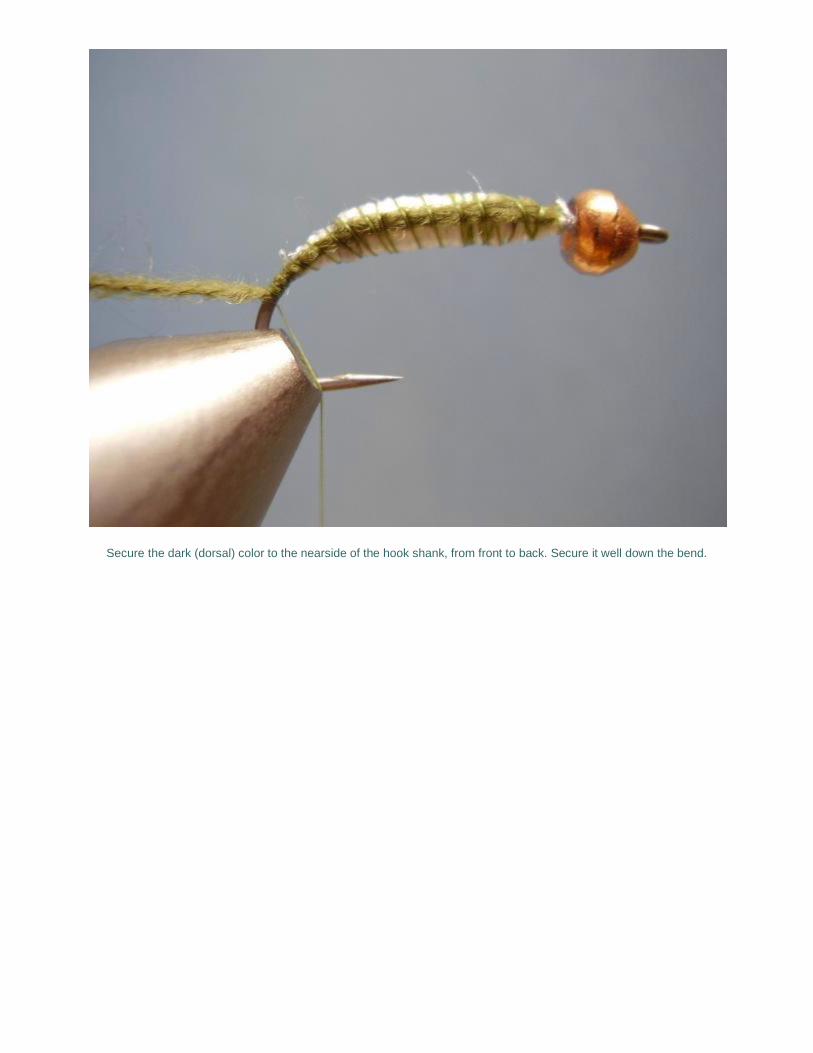
Secure the dark (dorsal) color to the nearside of the hook shank, from front to back. Secure it well down the bend.
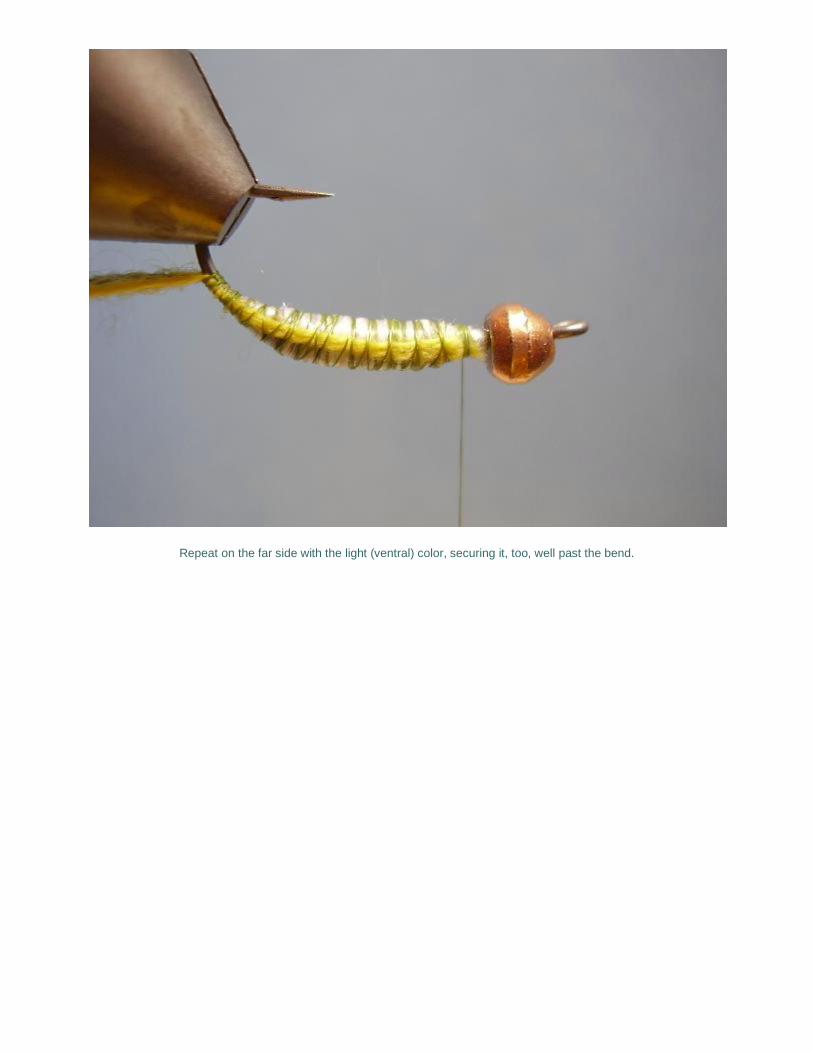
Repeat on the far side with the light (ventral) color, securing it, too, well past the bend.
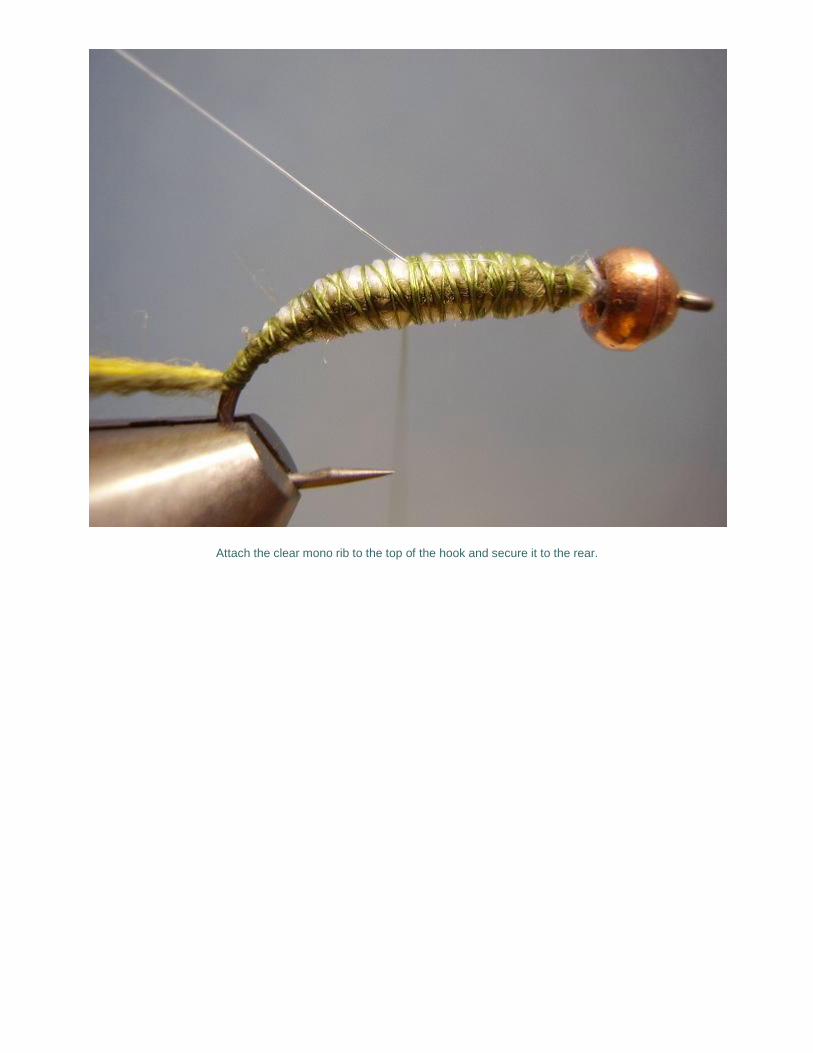
Attach the clear mono rib to the top of the hook and secure it to the rear.
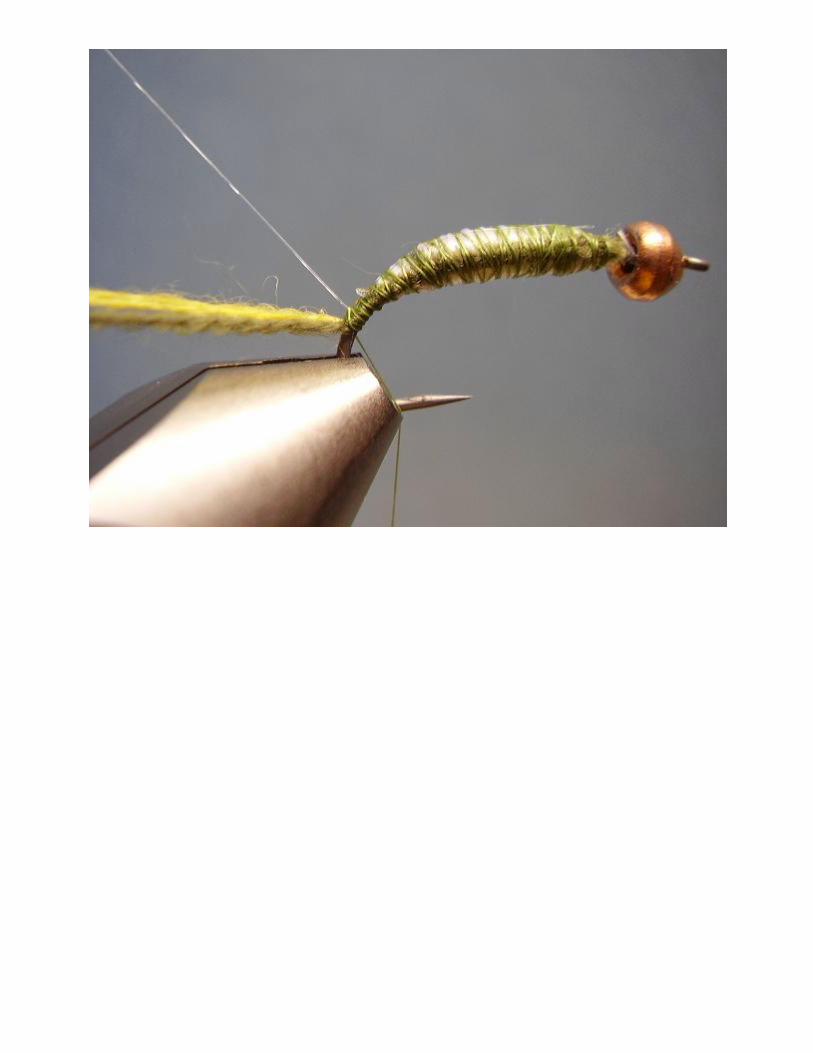
Be sure all three materials are secured to exactly the same location. Then whip-finish and clip the thread.
Click the photo to be taken to my tutorial on the shuttle weave where you will proceed with the actual weave.
Note: Once you reach the step where you knot the material, return to this tutorial!
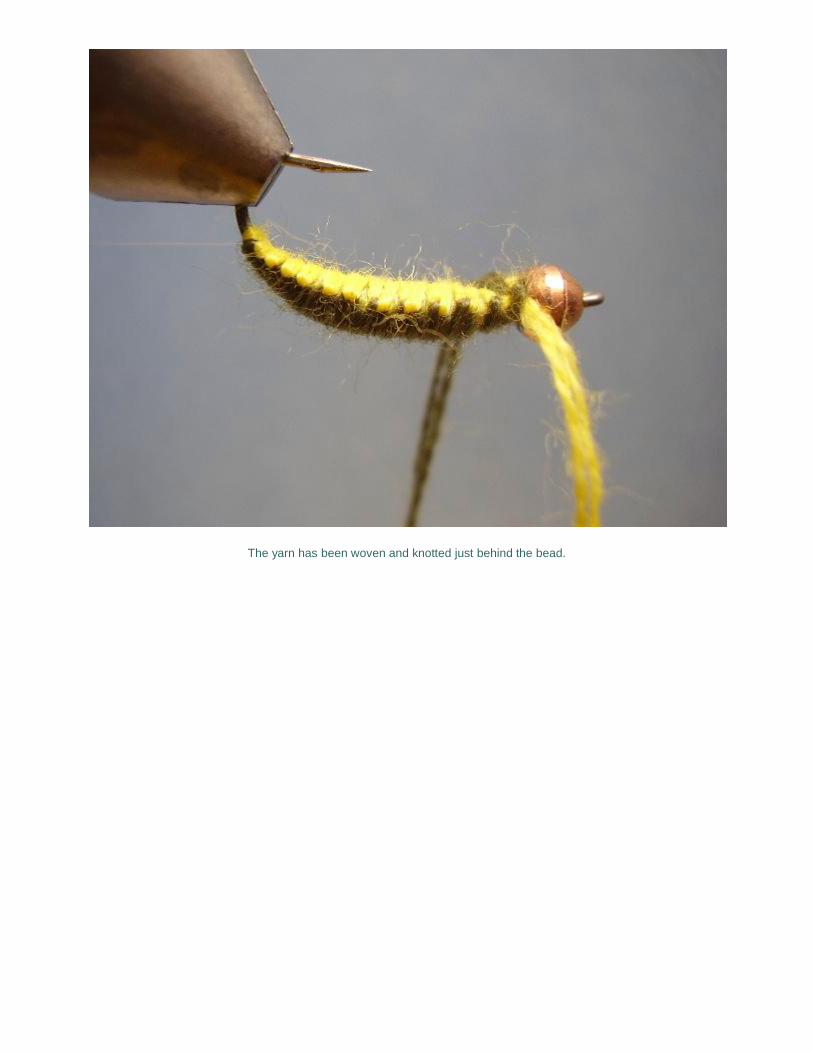
The yarn has been woven and knotted just behind the bead.
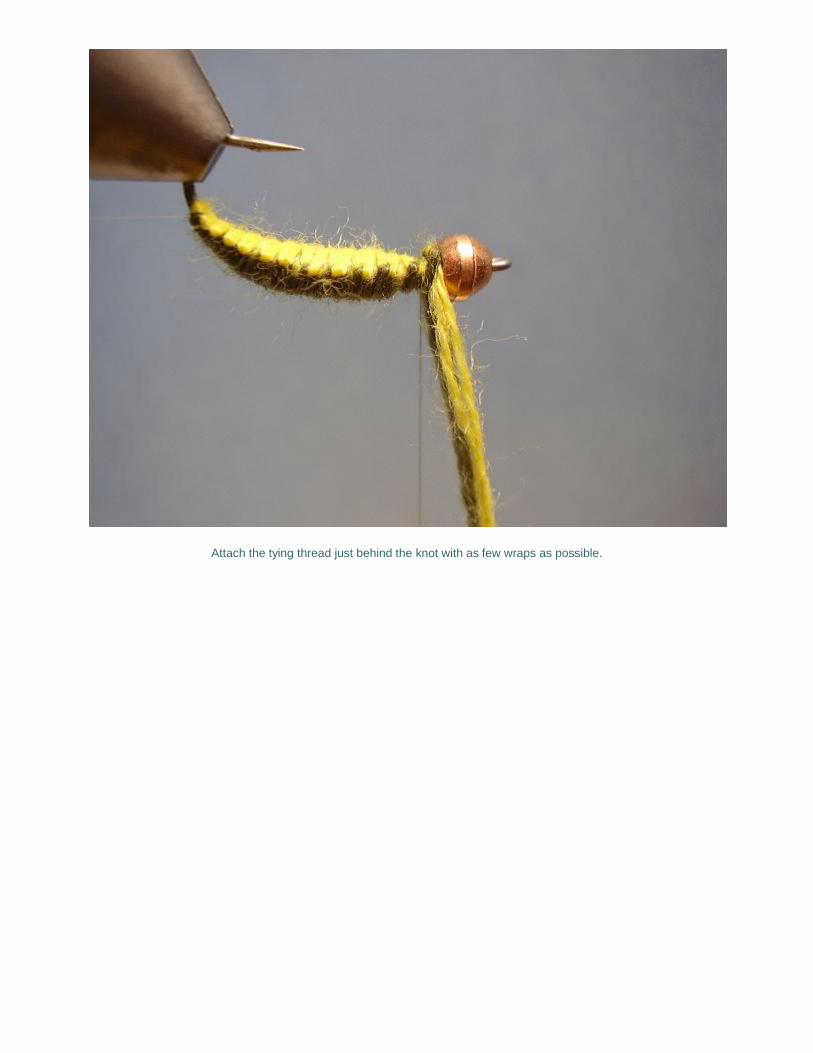
Attach the tying thread just behind the knot with as few wraps as possible.
Untie the knot.
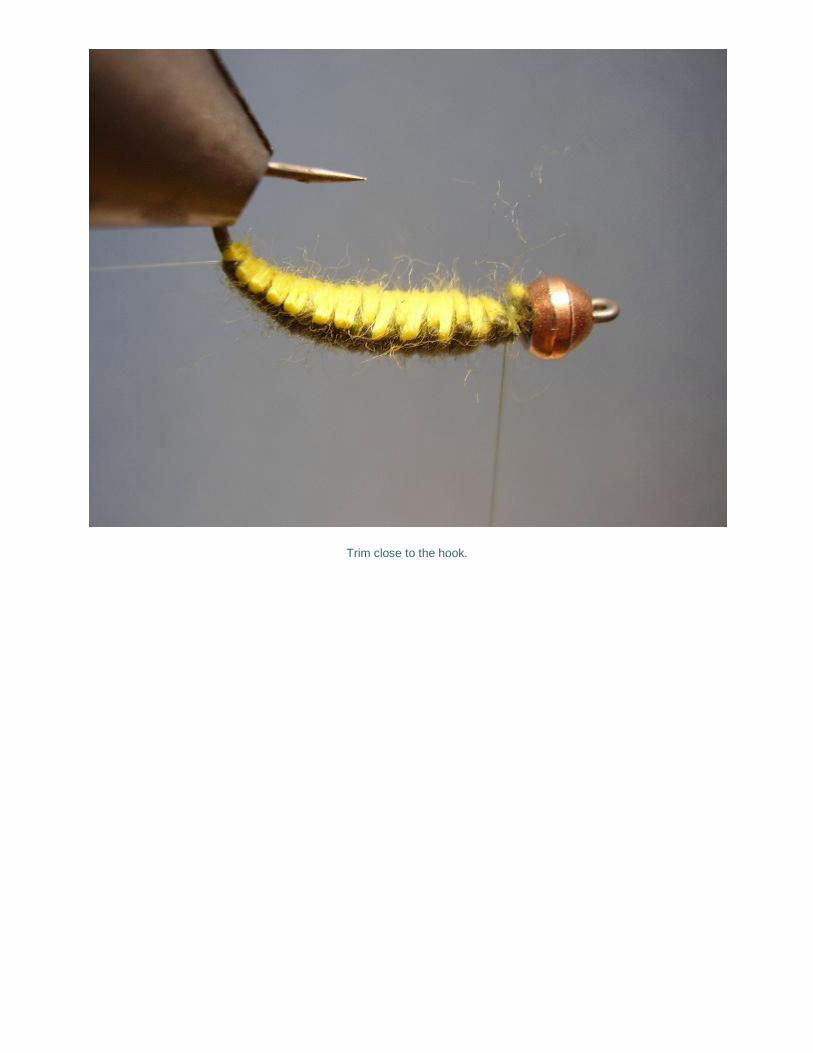
Trim close to the hook.
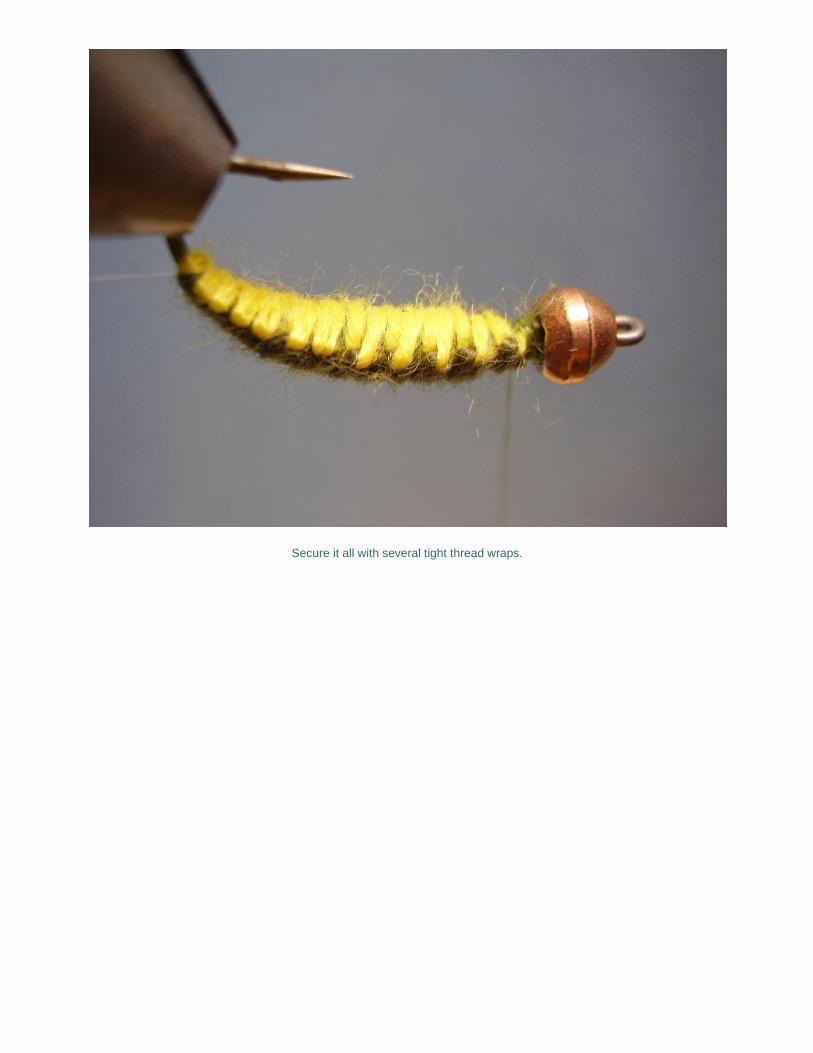
Secure it all with several tight thread wraps.
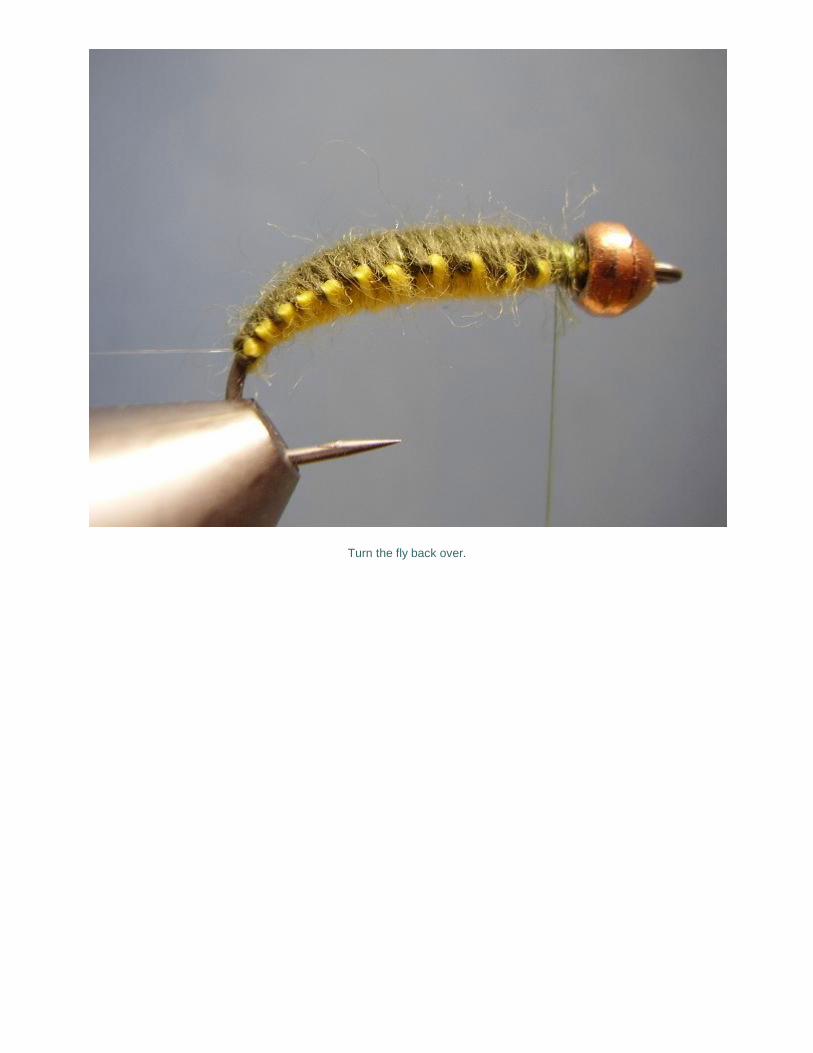
Turn the fly back over.
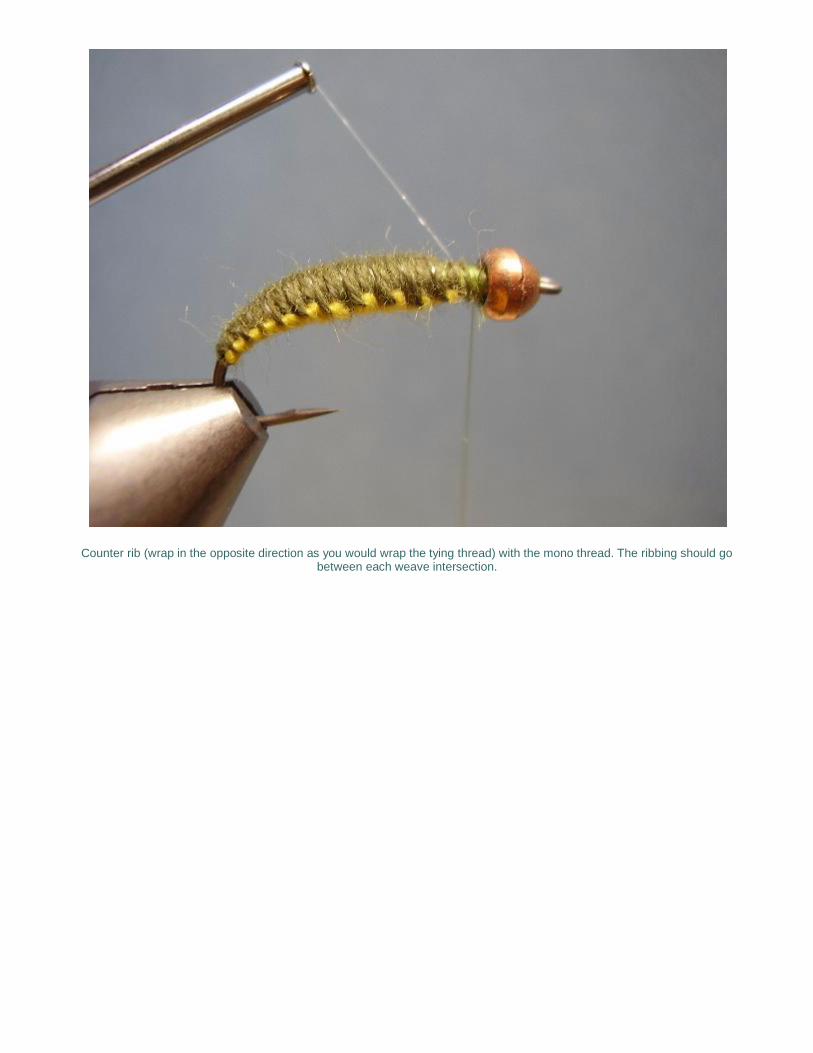
Counter rib (wrap in the opposite direction as you would wrap the tying thread) with the mono thread. The ribbing should go between each weave intersection.
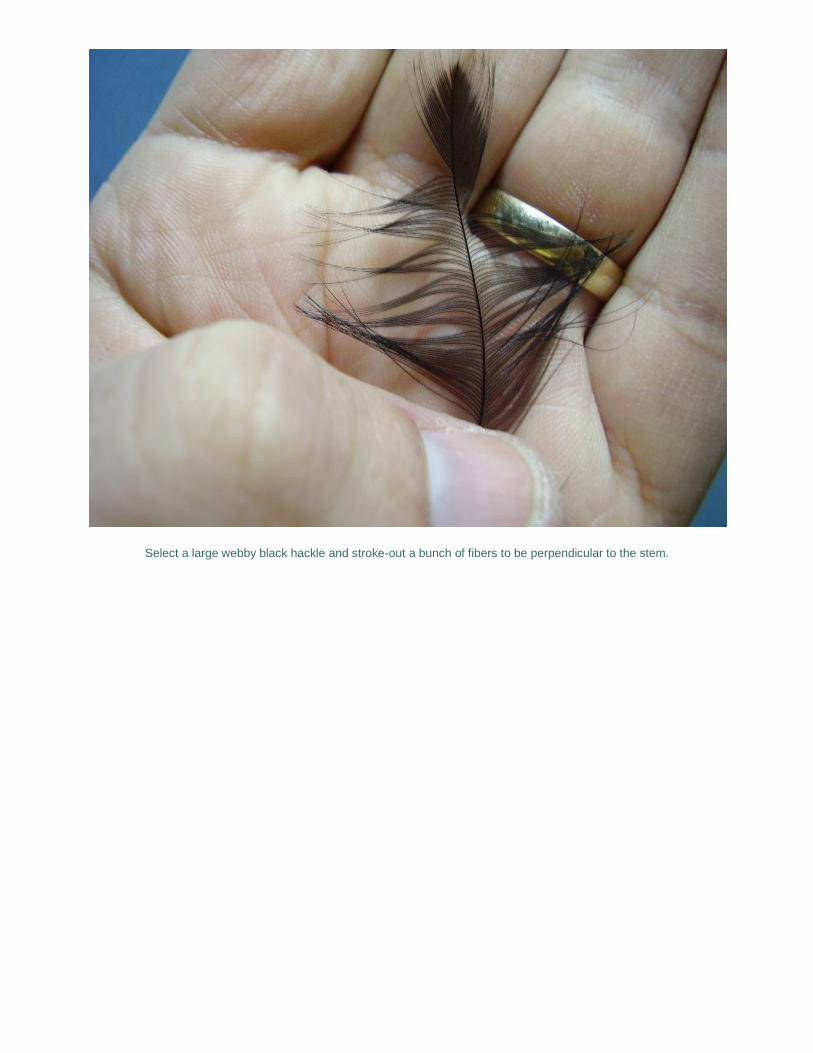
Select a large webby black hackle and stroke-out a bunch of fibers to be perpendicular to the stem.
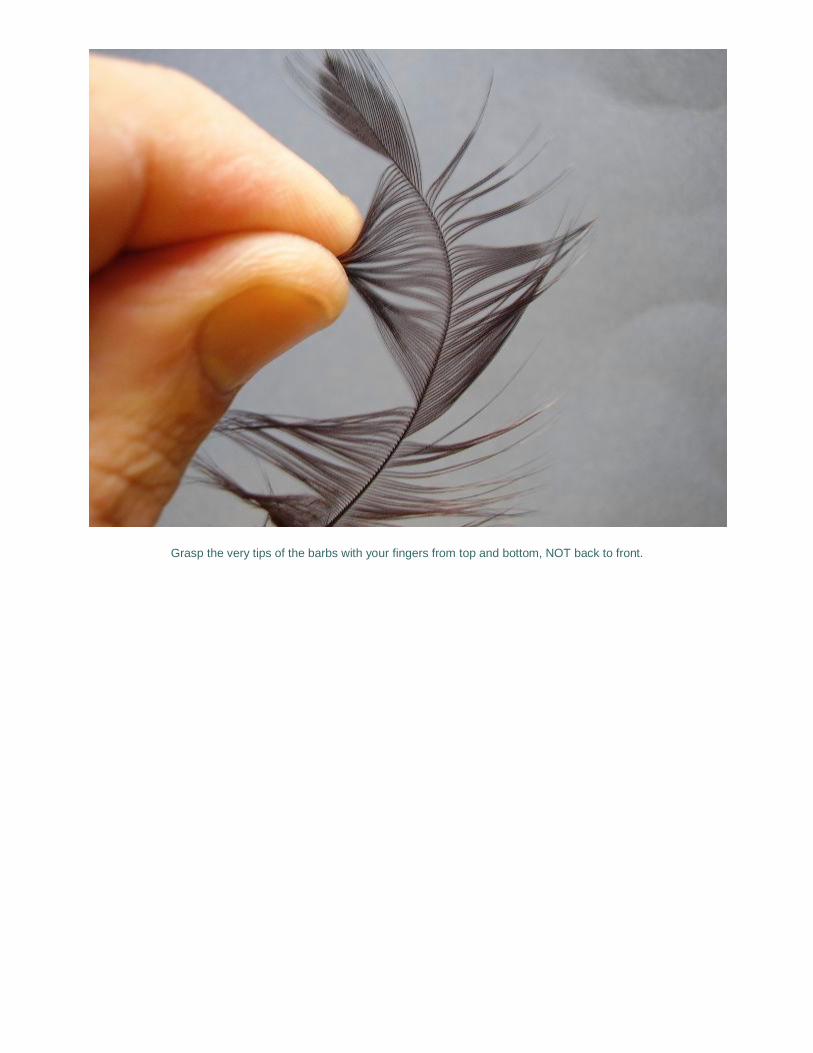
Grasp the very tips of the barbs with your fingers from top and bottom, NOT back to front.
Grasp the tip of the feather with your bobbin hand and snap it quickly TOWARD your chest. This will leave you with an aligned bundle of hackle barbs. If you try to pull the tip to the side you will likely misalign the tips.
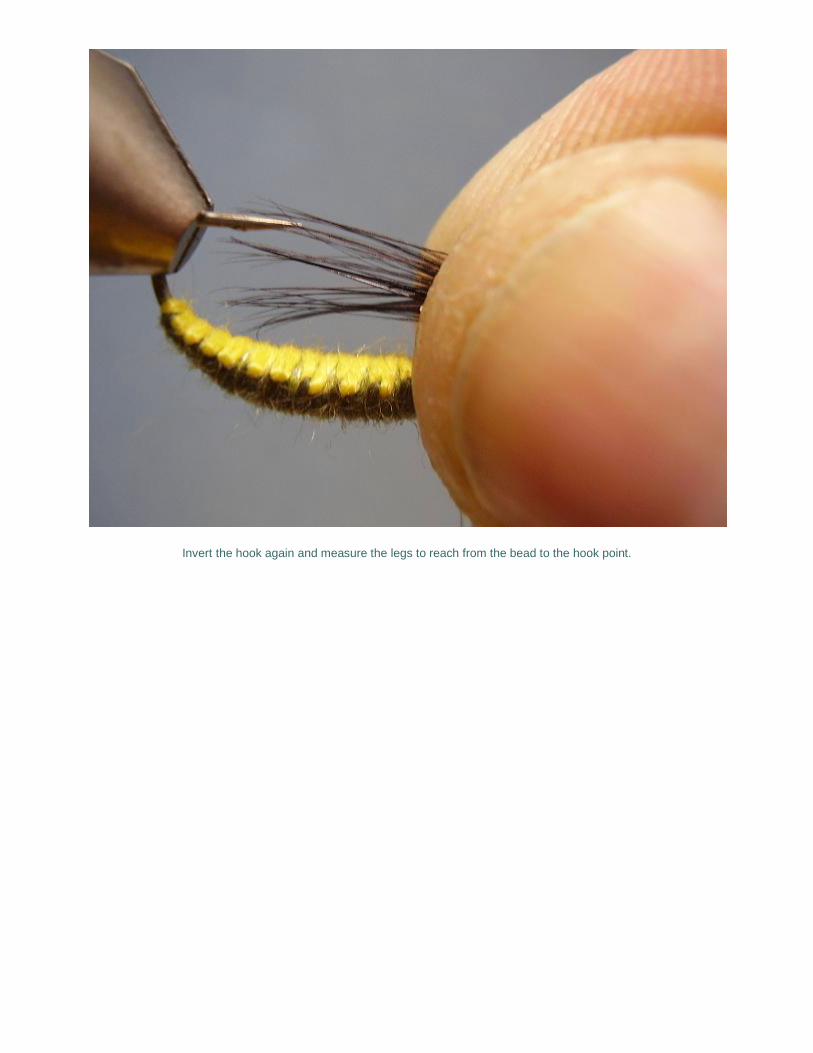
Invert the hook again and measure the legs to reach from the bead to the hook point.
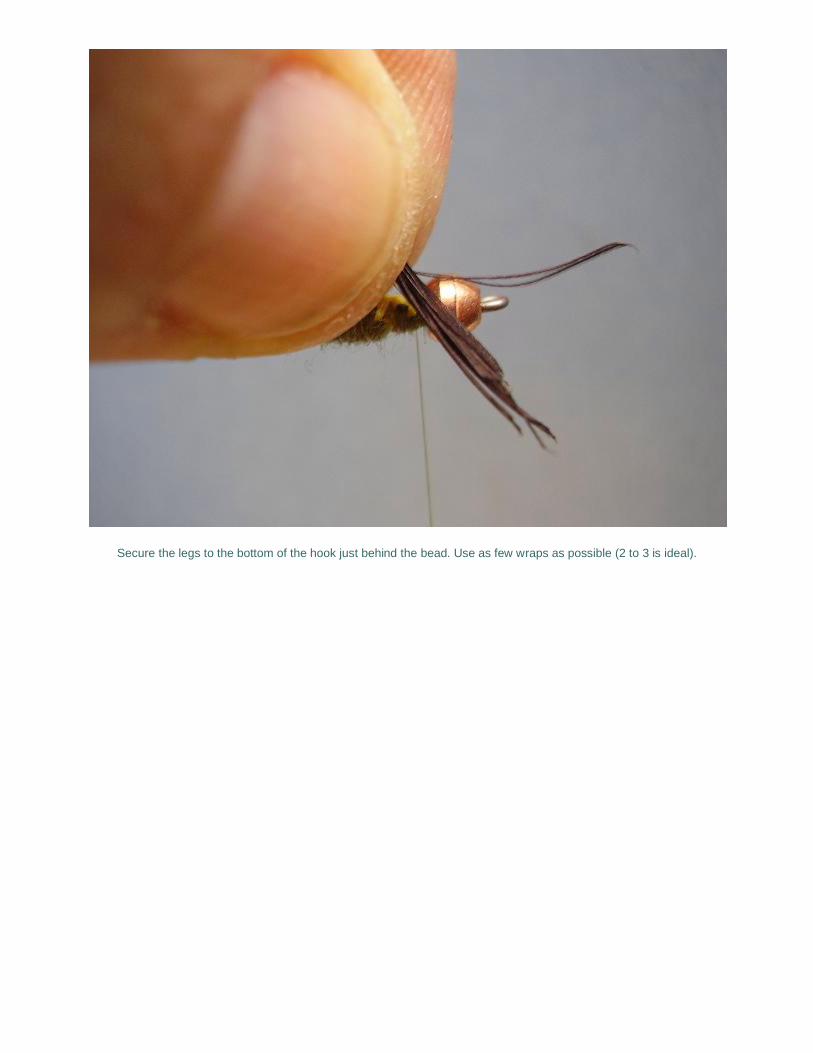
Secure the legs to the bottom of the hook just behind the bead. Use as few wraps as possible (2 to 3 is ideal).
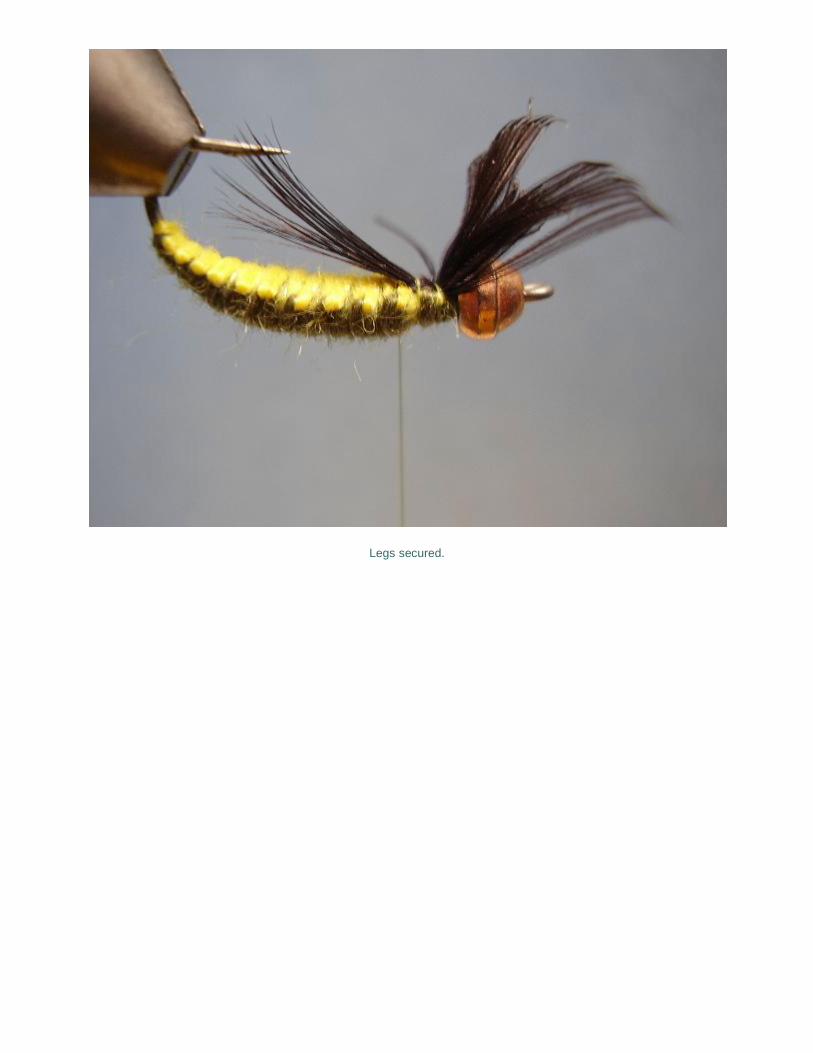
Legs secured.
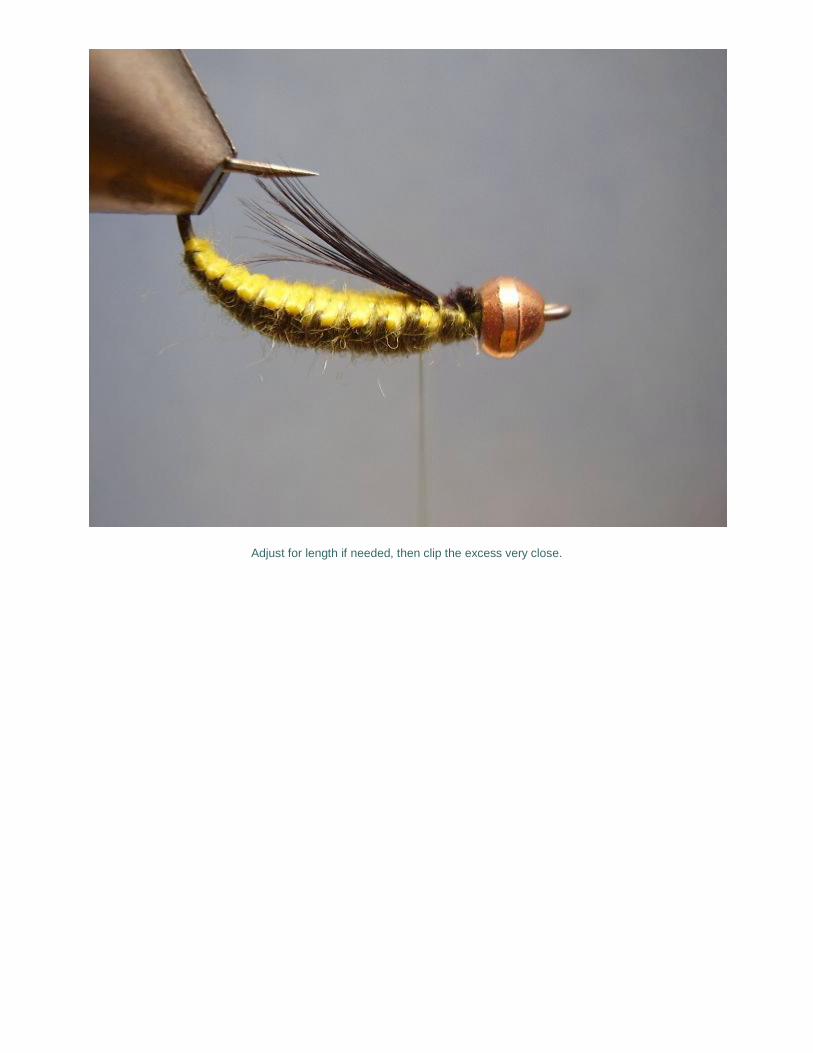
Adjust for length if needed, then clip the excess very close.
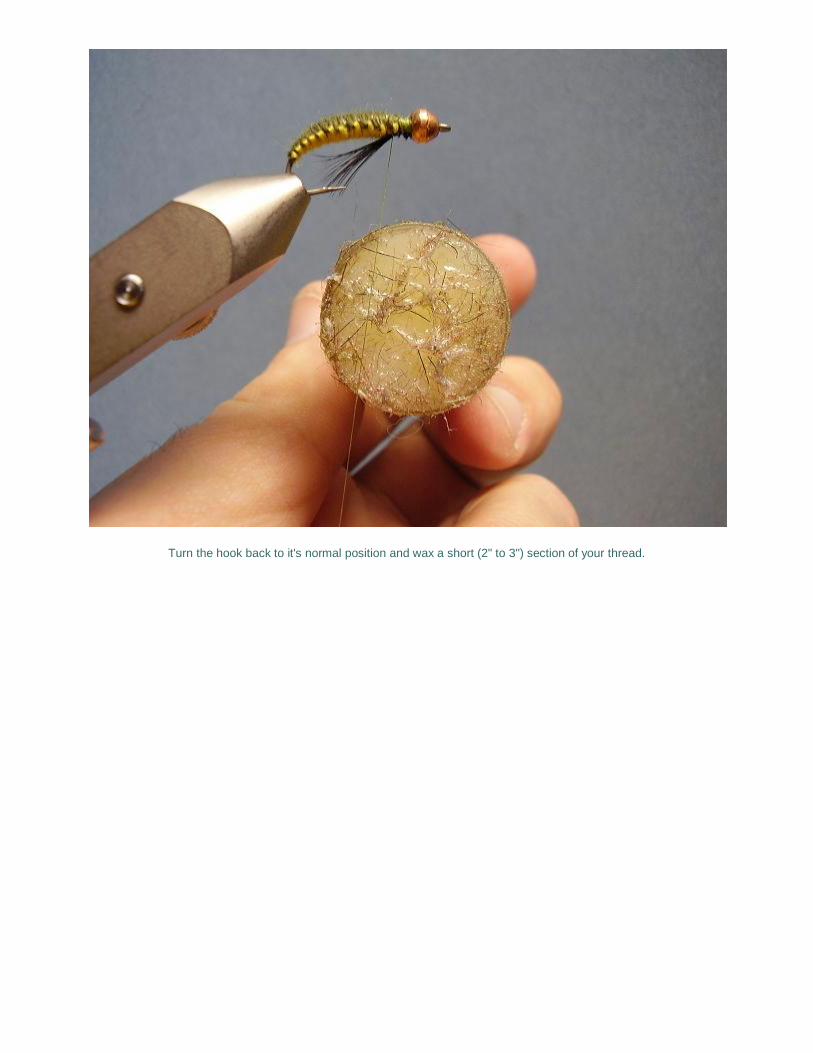
Turn the hook back to it's normal position and wax a short (2" to 3") section of your thread.
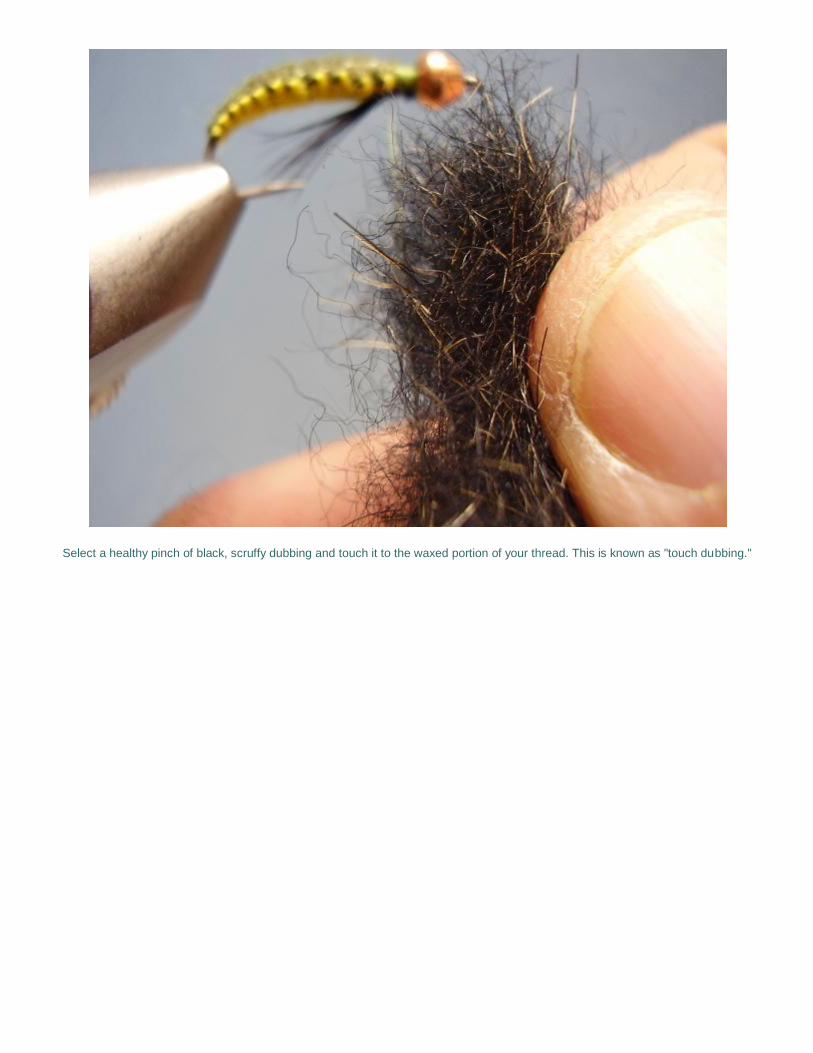
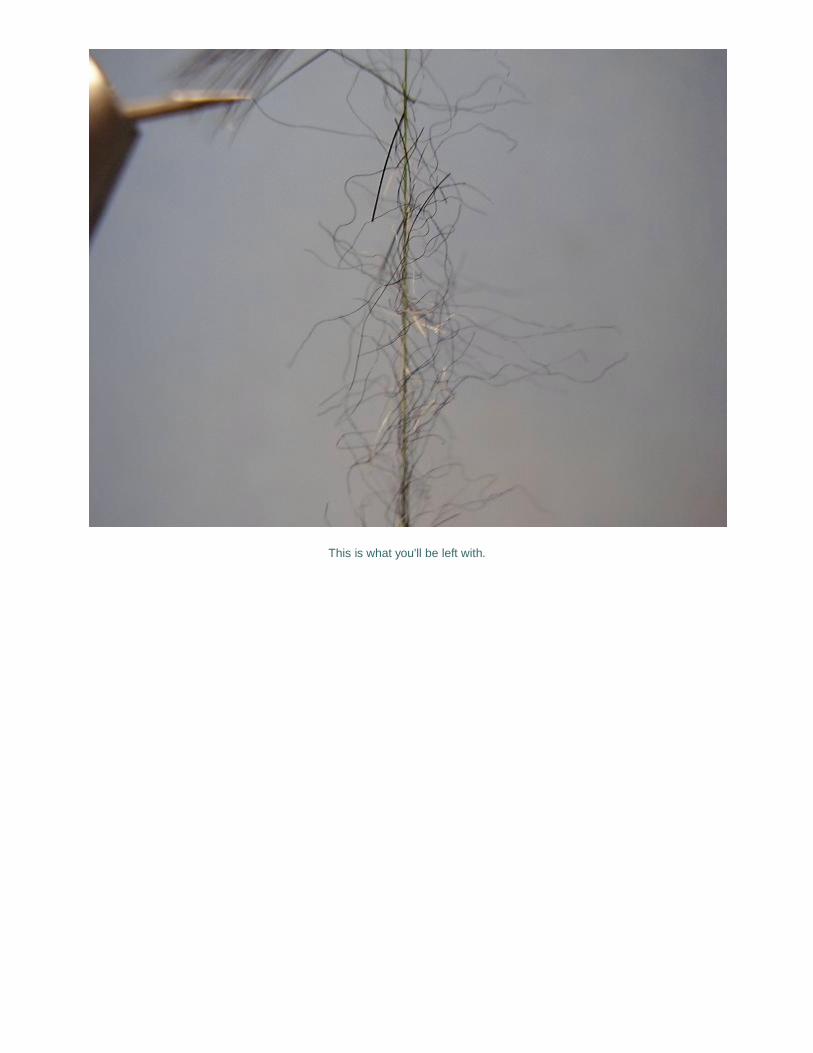
Select a healthy pinch of black, scruffy dubbing and touch it to the waxed portion of your thread. This is known as "touch dubbing."
This is what you'll be left with.
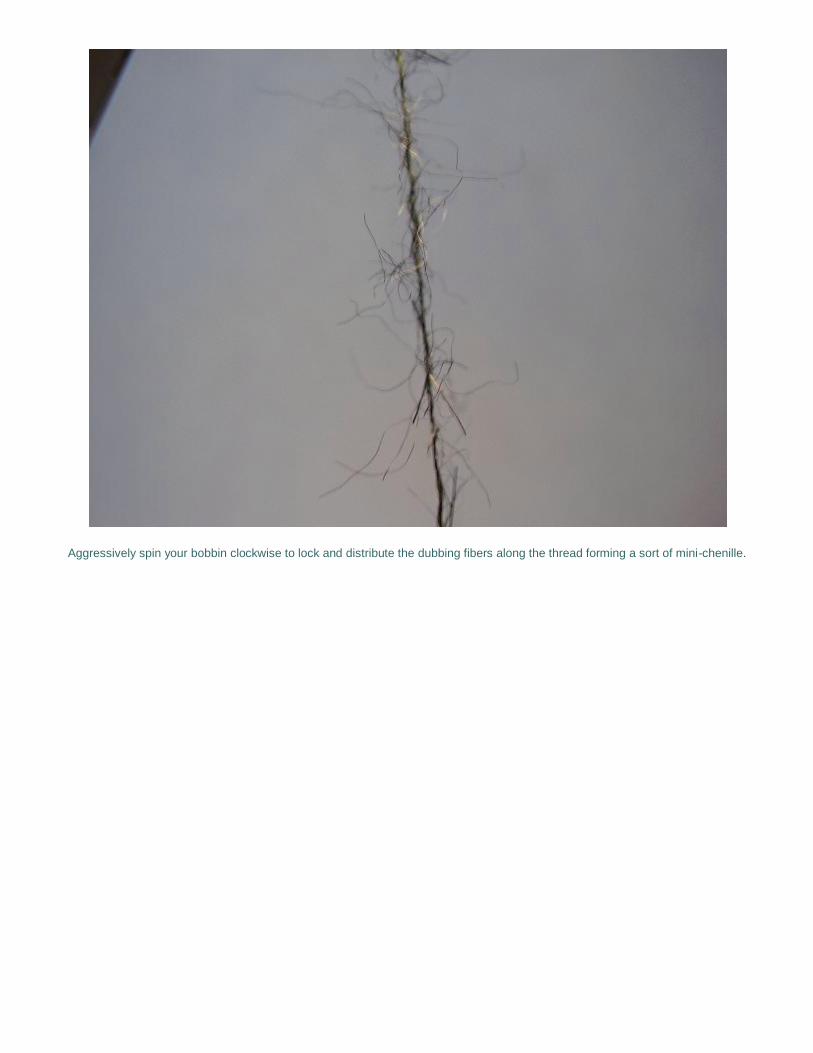
Aggressively spin your bobbin clockwise to lock and distribute the dubbing fibers along the thread forming a sort of mini-chenille.
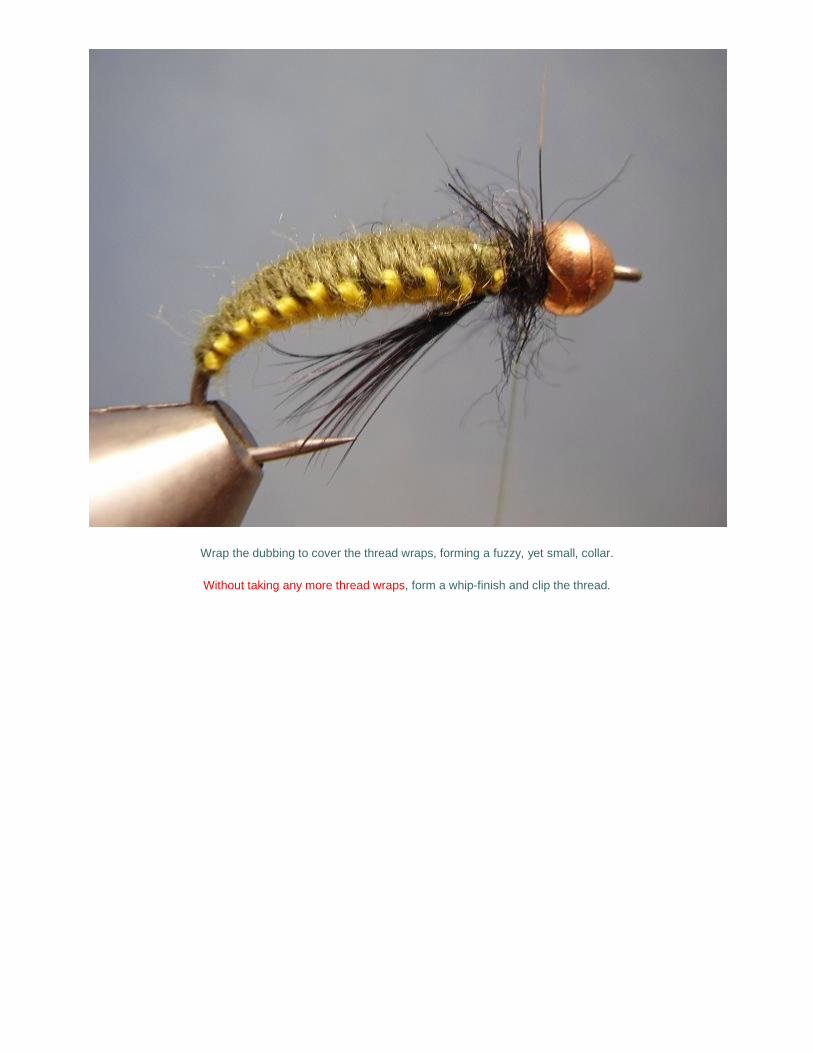
Wrap the dubbing to cover the thread wraps, forming a fuzzy, yet small, collar.
Without taking any more thread wraps, form a whip-finish and clip the thread.