Backup using Quantum vmPRO with Symantec Backup Exec release 2012 Step 1) If the vmPRO appliance name and IP address are not resolved through DNS, update the Windows hosts file to include the IP address and host name of the appliance: Step 2) On the Windows server running the Backup Exec server, create an account with the same name and password as used for the vmPRO server. Typically this is the "sysadmin" account. Make the account a member of Local Administrator's or Domain Admin group. The account allows access to the vmPRO "/export" filesystem without providing a username and password each time. To create a new user in a computer not joined to Active Directory, select Computer Management > Local Users and Groups > Users. Right-click Users and then select New User.
Transcript
Backup using Quantum vmPRO with Symantec Backup Exec release 2012
Step 1)
If the vmPRO appliance name and IP address are not resolved through DNS, update the Windows hosts file to include the IP address and host name of the appliance:
Step 2)
On the Windows server running the Backup Exec server, create an account with the same name and password as used for the vmPRO server. Typically this is the "sysadmin" account. Make the account a member of Local Administrator's or Domain Admin group. The account allows access to the vmPRO "/export" filesystem without providing a username and password each time.
To create a new user in a computer not joined to Active Directory, select Computer Management > Local Users and Groups > Users. Right-click Users and then select New User.
To create a new user in an Active Directory environment, from the domain controller, select Active Directory Users and Computers > Users. Right-click Users and then select New > User.
Step 3)
Open tcp port 135 in the firewall on the vmPRO appliance. To do this, run the following command from the appliance’s console: reg set iptables.ports.backupexec2012.135 1 Step 4)
Start the Symantec Backup Exec 2012 GUI. Select the big yellow button on the top left corner of the GUI, and then select Configuration and Settings > Backup Exec Settings.
Step 5)
From the Settings screen, select Network and Security, and then select Enable selection of user shares.
Step 6)
Select the Backup and Restore tab, and then select the Add icon to add a vmPRO host.
Step 7)
From the Add a Server screen, select File Server, and then click Next.
Step 8)
In the Do you want to establish a trust? screen, select Allow Backup Exec to establish a trust with the servers., and then click Next.
Step 9)
In the Which servers do you want to add? screen, enter the hostname or IP address of the vmPRO appliance. Click Add, and then click Next.
Step 10)
In the Which logon account do you want to use? Screen, click Add/Edit.
Step 11)
In the Select a logon account to use when connecting to this server, click Add.
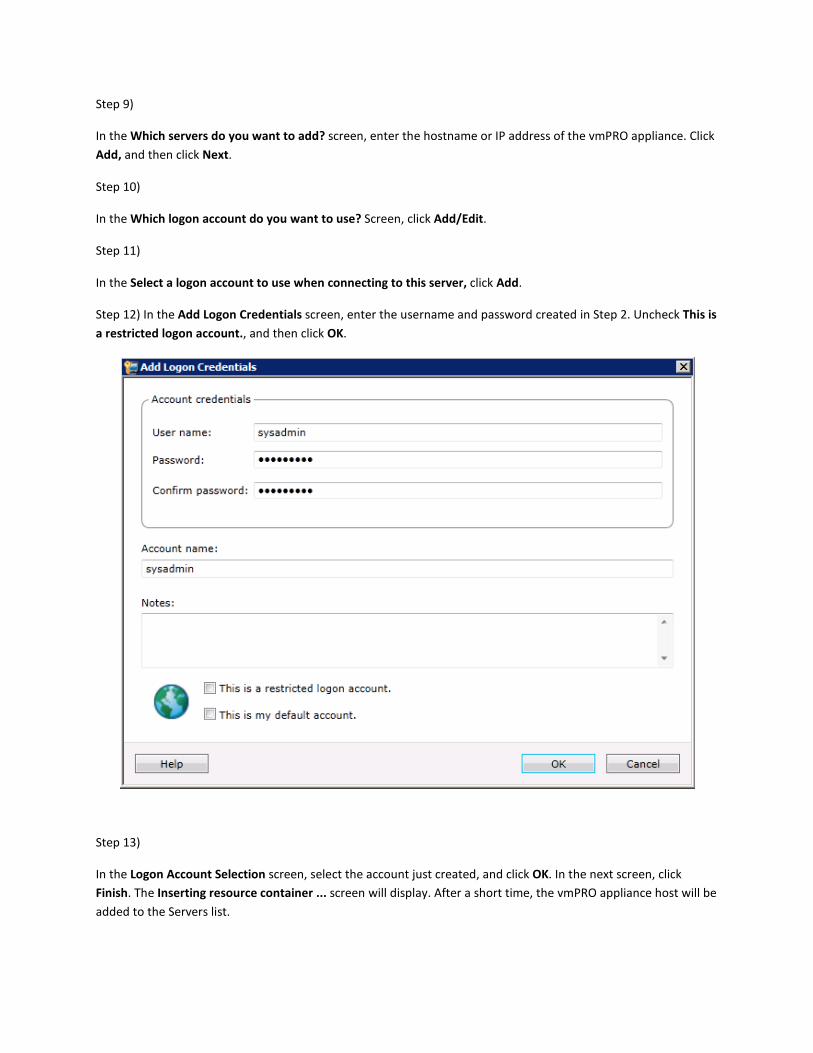
Step 12) In the Add Logon Credentials screen, enter the username and password created in Step 2. Uncheck This is a restricted logon account., and then click OK.
Step 13)
In the Logon Account Selection screen, select the account just created, and click OK. In the next screen, click Finish. The Inserting resource container ... screen will display. After a short time, the vmPRO appliance host will be added to the Servers list.
Step 14)
In the Backup and Restore tab, right click the vmPRO host just added, and then select Backup > Backup Up to Disk or any other appropriate backup type.
Step 15)
In the Backup Properties screen, after some resources are shown on the left pane, click Edit.
Step 16)
From the Backup Selections screen, select export, and then click OK.
Step 17)
The left pane of the Backup Properties screen will now show either Fully selected or Partially selected for export filesystem depending on whether you selected all or a subset of export for backup. Click Edit on the right side of the pane to edit the backup schedule, level, etc...
Step 18)
In the Backup Options screen, setup the backup Schedule, Storage, etc .. as appropriate, but be sure to disable (uncheck) Use snapshot technology by selecting Advanced Open File.
Step 19)
While still in the Backup Options screen, select Files and Folders and for Backup method for files: select By modified time and Back up open files: select With a lock.
Step 20)
To run the backup job now, select Schedule. In the Recurrence drop-down, select Run initial full backup now in addition to the selected schedule, and then click OK.
Step 21)
Click OK again in the Backup Properties window, and the job will run. Otherwise ignore step 19 and click OK to save and exit. The job will run at the scheduled time.
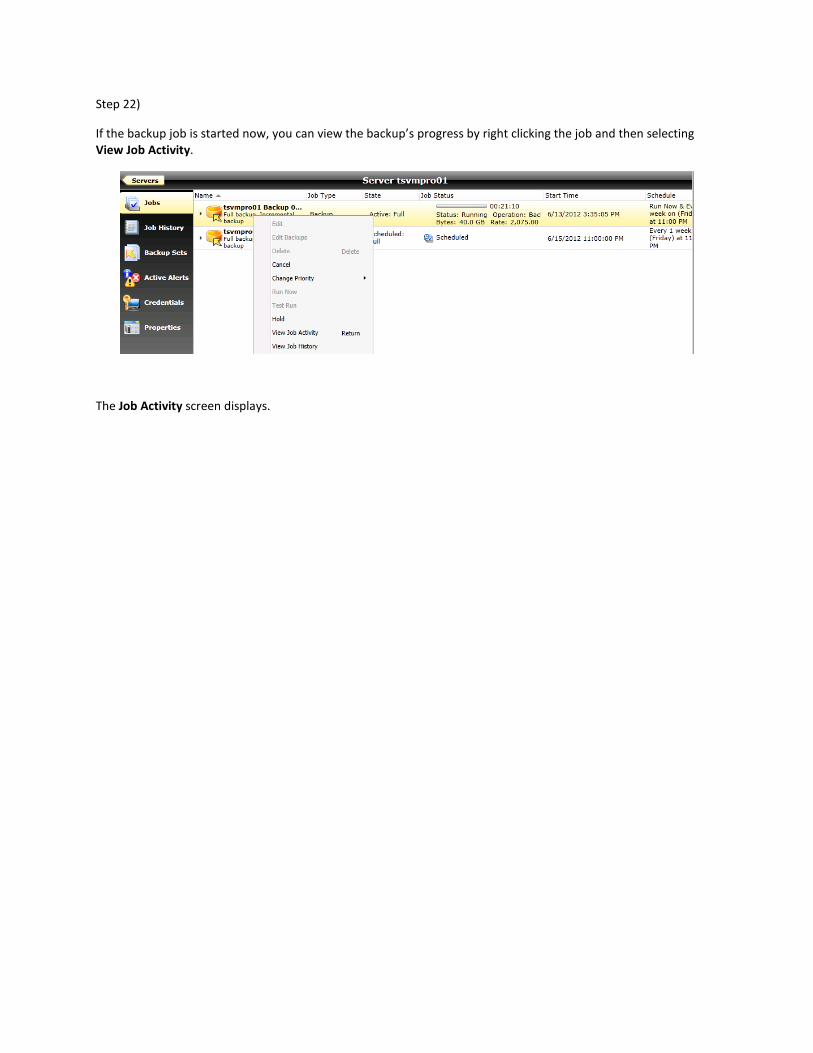
Step 22)
If the backup job is started now, you can view the backup’s progress by right clicking the job and then selecting View Job Activity.
The Job Activity screen displays.
Click Close when you no longer want to monitor the backup’s progress.