21
Basics EdgeBoo k Curriculum Basics of Photography
| Date post: | 24-Dec-2015 |
| Category: |
Documents |
| Upload: | asher-floyd |
| View: | 219 times |
| Download: | 2 times |
BasicsEdgeBook
CurriculumBasics of Photography
BasicsEdgeBook
- Types of cameras- Megapixels- Camera settings and use- Trouble shooting- Exposure and Lighting- Aperture and Camera Speeds- Photo Composition- Balance
Overview:
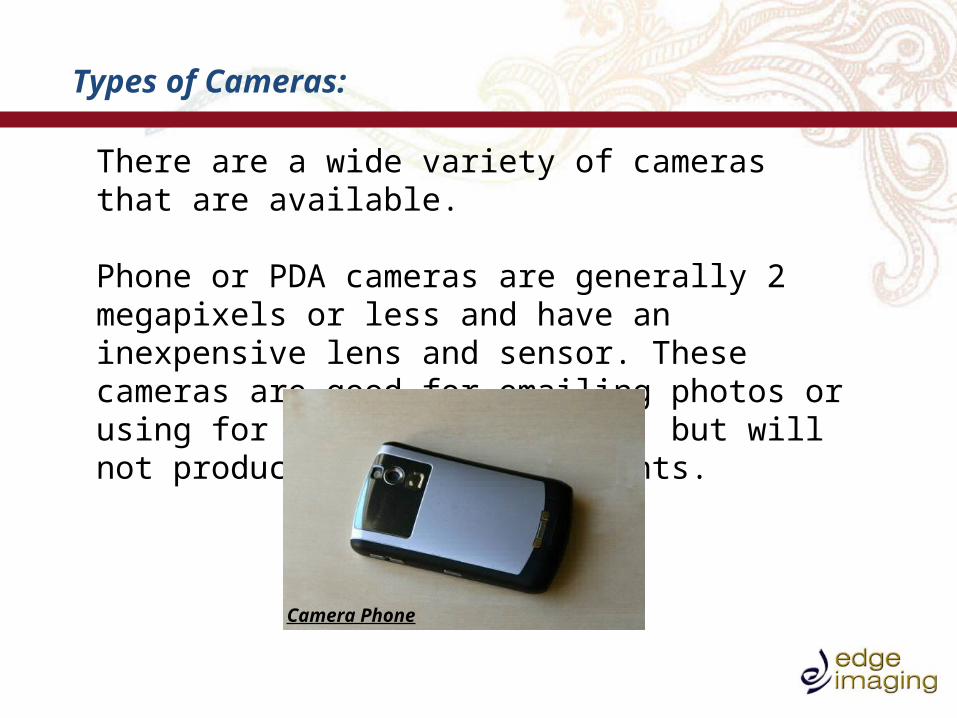
There are a wide variety of cameras that are available.
Phone or PDA cameras are generally 2 megapixels or less and have an inexpensive lens and sensor. These cameras are good for emailing photos or using for personal web pages, but will not produce good quality prints.
Camera Phone
Types of Cameras:

The Single Lens Reflex cameras are generally 10-20 mega pixels,
with a lens that is interchangeable and can produce enlargements
from 2x3in up to 30x40in.
Point and ShootSingle Lens Reflex
The “Point and Shoot” cameras are 3-10 mega pixels and will produce a satisfactory enlargement up to an 8X10.
Types of Cameras:
What is a Mega Pixel?:
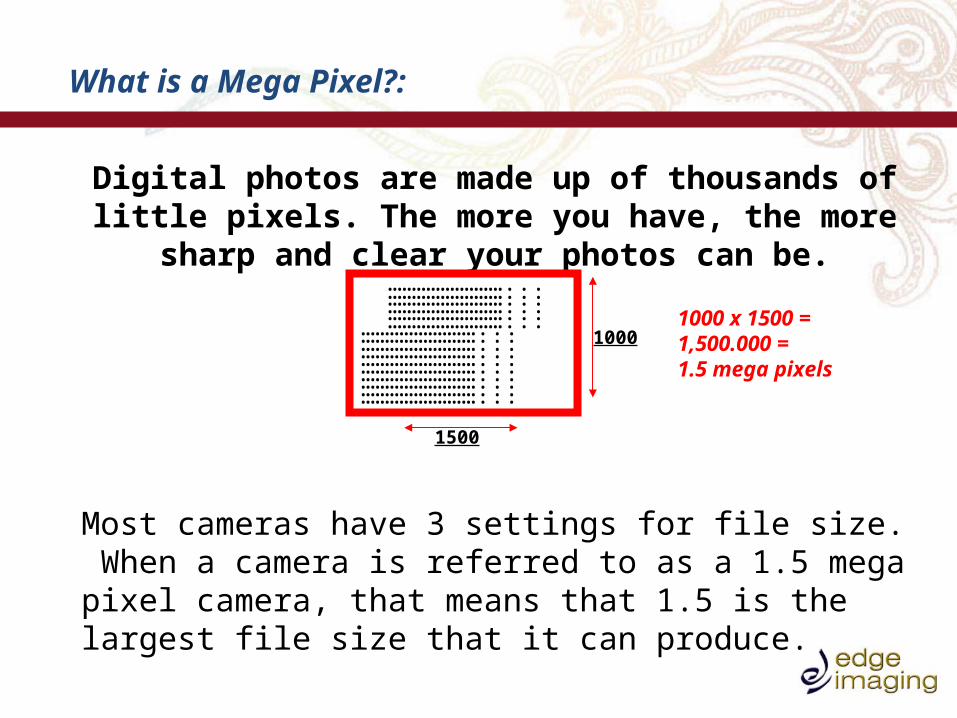
Digital photos are made up of thousands of little pixels. The more you have, the more sharp and clear your photos can be.
Most cameras have 3 settings for file size. When a camera is referred to as a 1.5 mega pixel camera, that means that 1.5 is the largest file size that it can produce.
1500
10001000 x 1500 = 1,500.000 = 1.5 mega pixels
……………………...……………………...……………………...……………………...……………………...……………………...……………………...……………………...……………………...……………………...
……………………...……………………...……………………...……………………...……………………...……………………...
Camera Settings:
Auto Focus:
Using all three of these settings will allow you to concentrate on what you are photographing instead of on camera settings.
Cameras have one or more focus zones or points. These are generally indicated by brackets, boxes or crosshatches.
This setting will automatically set the best possible exposure.
In a case where the scene is too dark, the flash will fire automatically.
Auto Exposure:
Auto Flash:

The first time you use your camera, you will need to set both the date and time. This will help to organize and locate your images.
Check your settings and read your manual to find out what all the icons mean.
If an image is in the process of being stored, do not turn the camera off. If you do, you may loose the image or damage the memory card.
Most shutter buttons have two stages. When you press it halfway down, the camera sets the focus and exposure. Then when you press it all the way down, it takes the photo.
If images in the view finder appear fuzzy, see if it has a diopter and adjust it to see more clearly
Checklist:
1. Place the camera in your right hand and support the body of the camera with your left hand. 2. Adjust the neck strap and always use it to avoid any accidents.3. Stand with your knees slightly bent.4. Keep your elbows close to your chest.5. With your right hand squeeze the shutter gently.6. Don’t block the lens, flash or auto focus port.
How to Hold Your Camera:
Camera seems to be off:
Cannot take a picture:
Photos are too dark:
It may have entered sleep mode in order to preserve battery life. Tap the shutter button to the wake it up.
The batteries are either dead or have been removed.
Perhaps the memory card is full or has been removed from the camera.
Some cameras have a delay between when you press the shutter and when the photo is taken. Timing is everything!!
You then may need a flash to help with the available lighting.
Try holding your camera more steadily or use a tripod.
Camera will not turn on:
Delayed exposure:
Blurry photos:
Trouble Shooting:
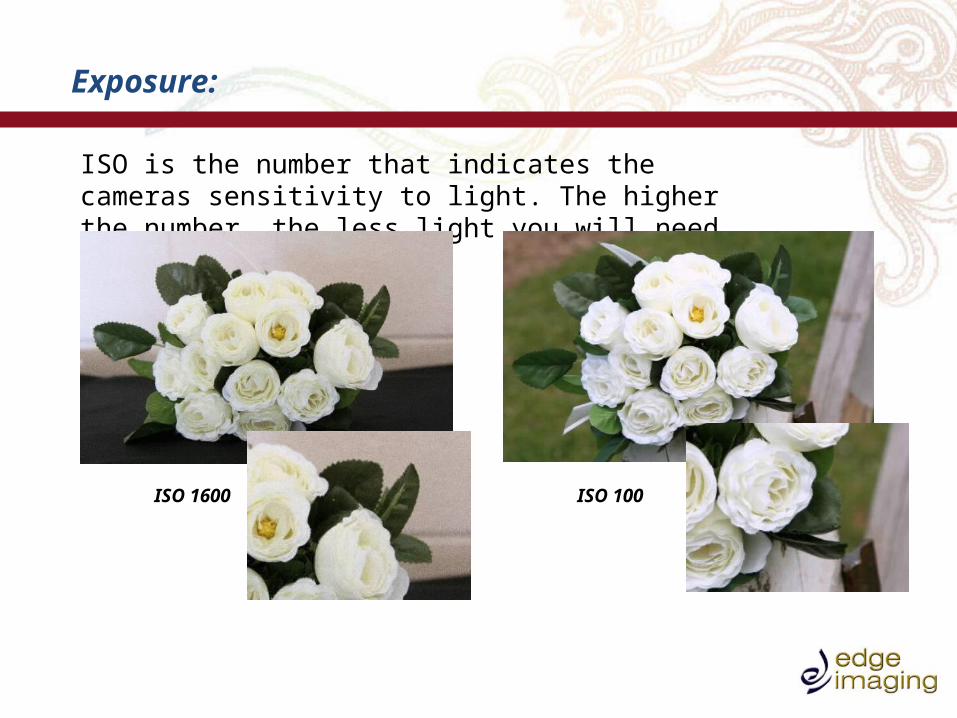
ISO is the number that indicates the cameras sensitivity to light. The higher the number, the less light you will need.
ISO 100ISO 1600
Exposure:
Exposure:
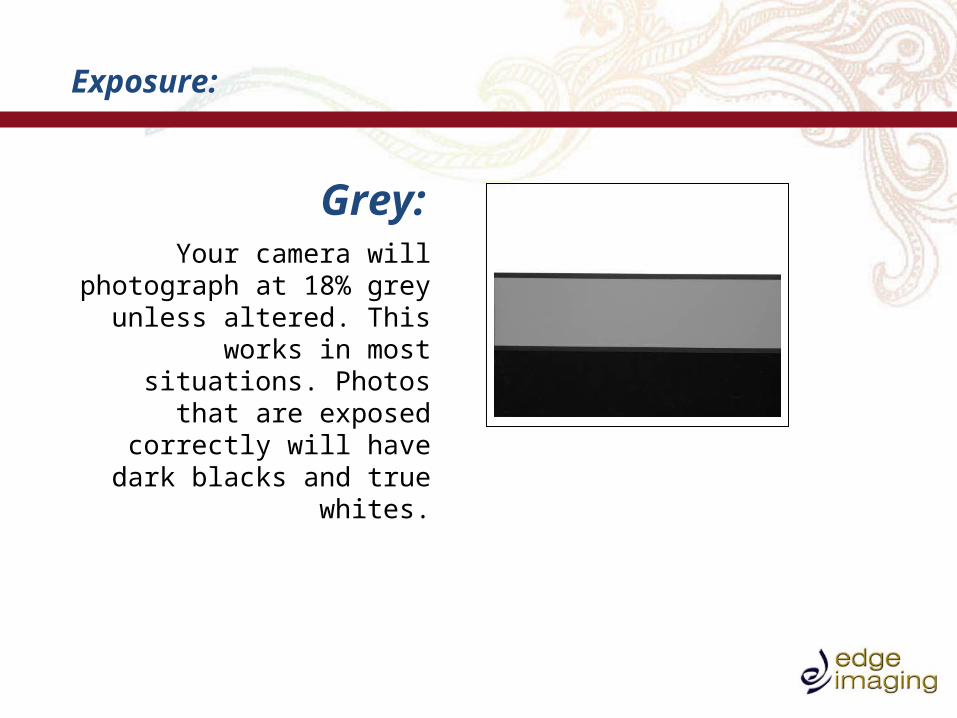
Grey:Your camera will photograph at
18% grey unless altered. This works in most situations. Photos
that are exposed correctly will have dark blacks and true
whites.
Lighting:Light should usually be positioned behind the camera so the subject is well lit. Use flash or fill light such as a reflector to avoid shadows.
Open sun in the middle of the day can create unwanted shadows. Be sure to position your subjects in the shade or use the flash to fill the shadows.
Moving the subjects to the shade with the sunny background can make your subjects too dark. Direct sun can as well make them squint and unflattering.
Sunlight:
Lighting:

Find a spot where your subject and background have equal light but are out of direct sun light.
Open/ Direct Sunny BG Evenly Exposed
Lighting:
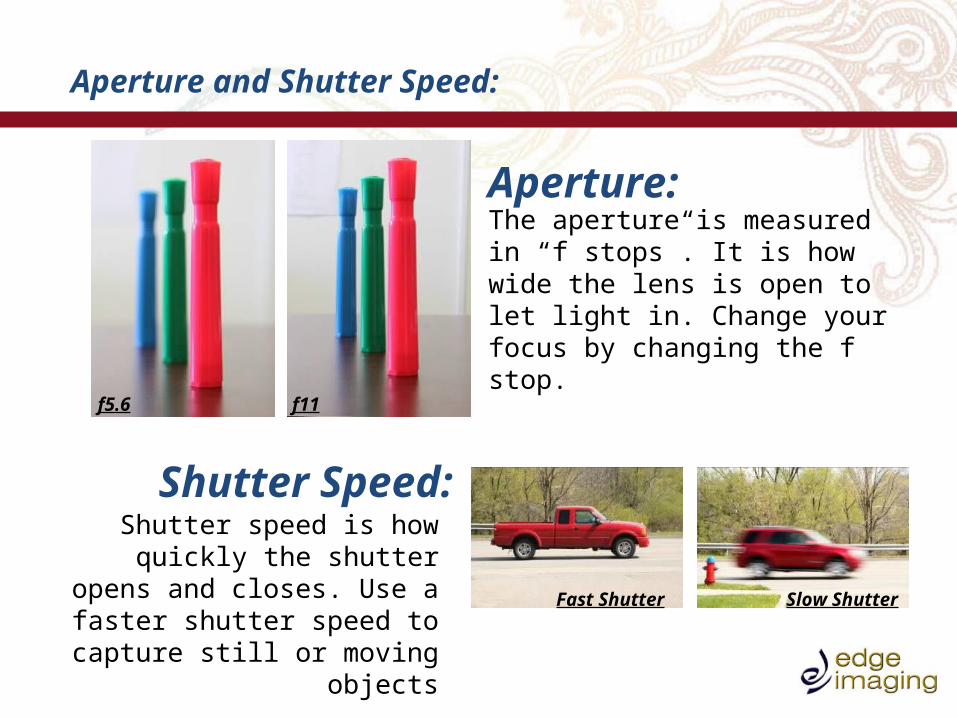
Aperture:The aperture is measured in “f stops”. It is how wide the lens is open to let light in. Change your focus by changing the f stop.
Shutter Speed:Shutter speed is how quickly the shutter opens and closes. Use a
faster shutter speed to capture still or moving objects
f5.6 f11
Fast Shutter Slow Shutter
Aperture and Shutter Speed:
You can help make the photo more effective by planning the shots you want and understanding how to control
composition.
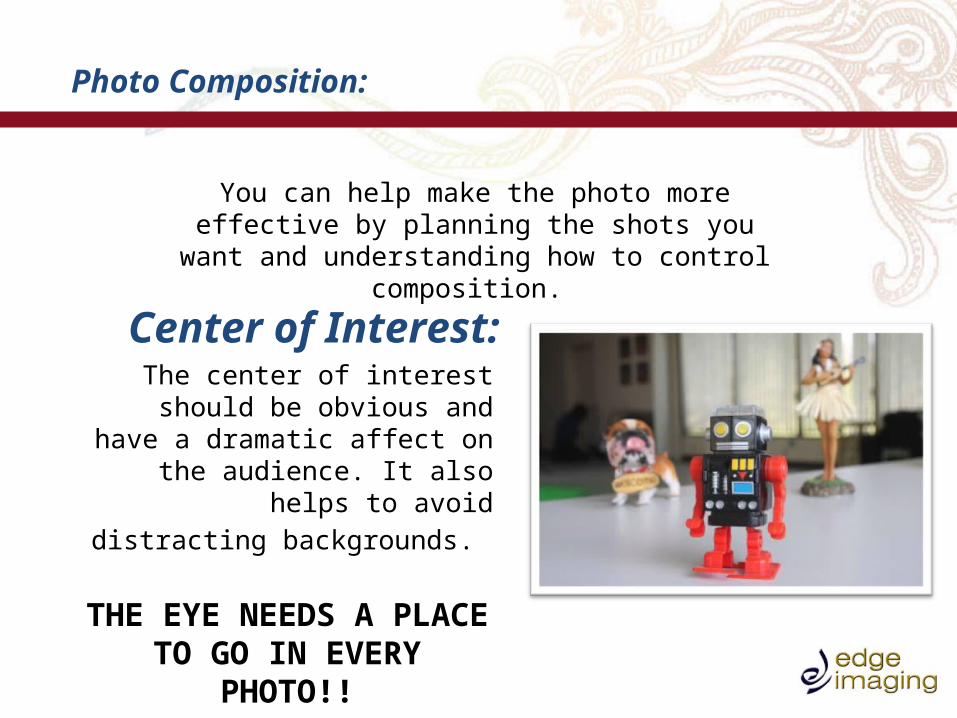
Center of Interest:The center of interest should be
obvious and have a dramatic affect on the audience. It also helps to avoid
distracting backgrounds.
THE EYE NEEDS A PLACE TO GO IN EVERY PHOTO!!
Photo Composition:
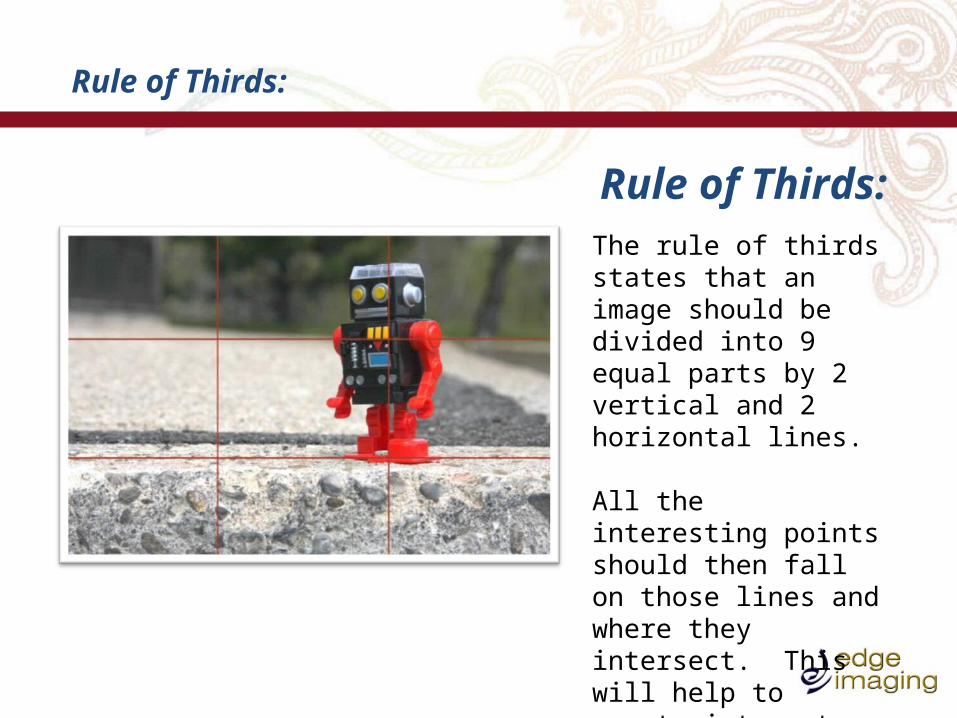
Rule of Thirds:The rule of thirds states that an image should be divided into 9 equal parts by 2 vertical and 2 horizontal lines.
All the interesting points should then fall on those lines and where they intersect. This will help to create interest and tension.
Rule of Thirds:
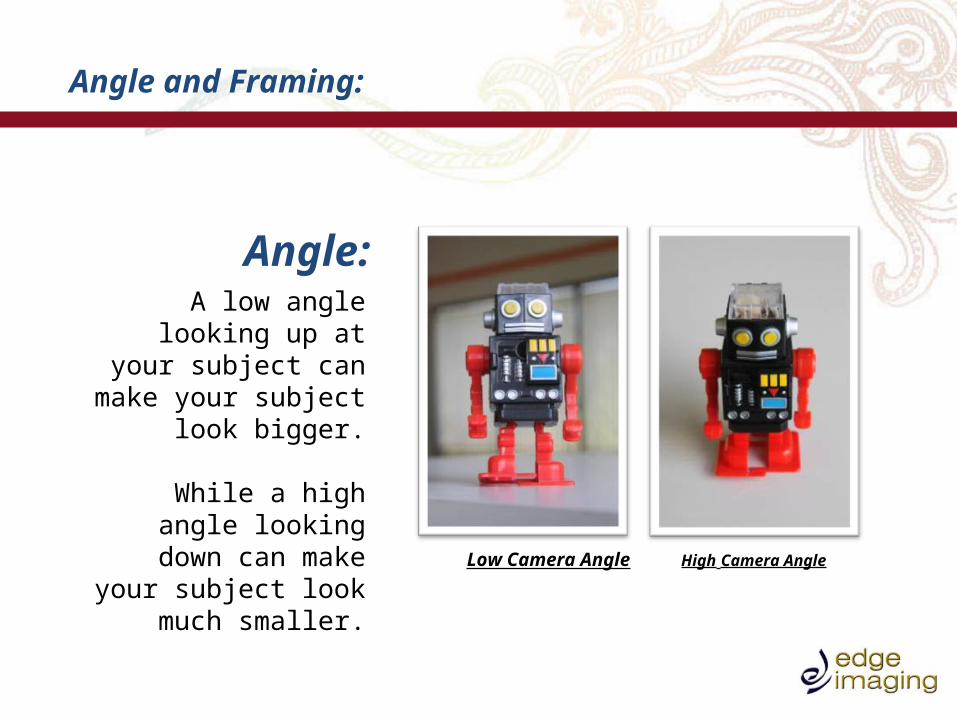
Angle:A low angle looking up at
your subject can make your subject look bigger.
While a high angle looking down can make your subject look much
smaller.Low Camera Angle High Camera Angle
Angle and Framing:

Balance:Balance occurs when all the objects in the photo work together to tell the story.
Balance the groups in a photo, or properly place an individual, to cover the space well.
Balance Unbalance
Balance:
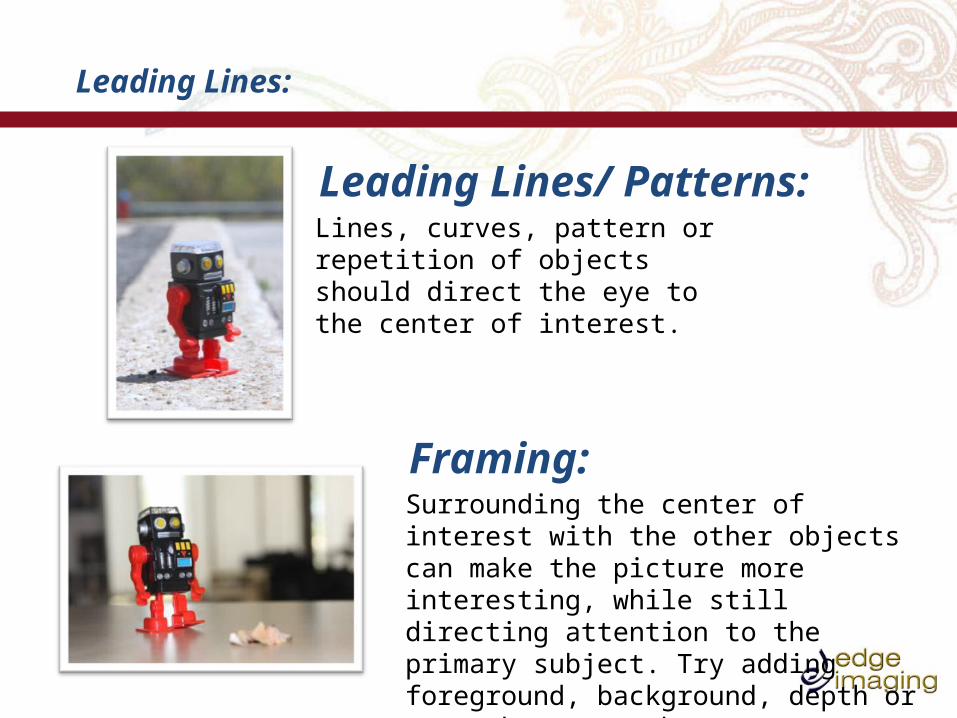
Leading Lines/ Patterns:Lines, curves, pattern or repetition of objects should direct the eye to the center of interest.
Leading Lines:
Framing:Surrounding the center of interest with the other objects can make the picture more interesting, while still directing attention to the primary subject. Try adding foreground, background, depth or atmosphere to enhance your photos.
Vocabulary for Photography:
Candid – Action photos that capture a moment to tell a story. All photographers in your yearbook will be candid besides the group pictures and portraits.
Center of Interest – The subject of the photo and what draws the eyes to the photo.
Coverage – The people and subject in the photo.
Cropping – Making the photo only consist of what is needed for the yearbook.
Dominant Photo – The largest photo on the spread. This should relate directly with the subject matter of the page. It is usually 2 ½ times larger then the others and is the first to be seen on the page.
Group Pictures – Placing a group of people from a specific group to show membership.
Photo Composition – The arrangement of objects in a photo.
Portraits – A picture of an individual. Usually a head shot used for quotes, features or students and graduate pages.
Vocabulary for Photography:


