Blue Check Blue Check Redistribution Redistribution (October 2010) (October 2010) This PowerPoint is designed only for those that have taken the BlueCheck user training in the classroom. Viewing this PowerPoint does not certify you as a BlueCheck User.
Transcript
Blue Check Redistribution Blue Check Redistribution (October 2010)(October 2010)
This PowerPoint is designed only for those that have taken the BlueCheck user training in the classroom. Viewing this PowerPoint does not
certify you as a BlueCheck User.
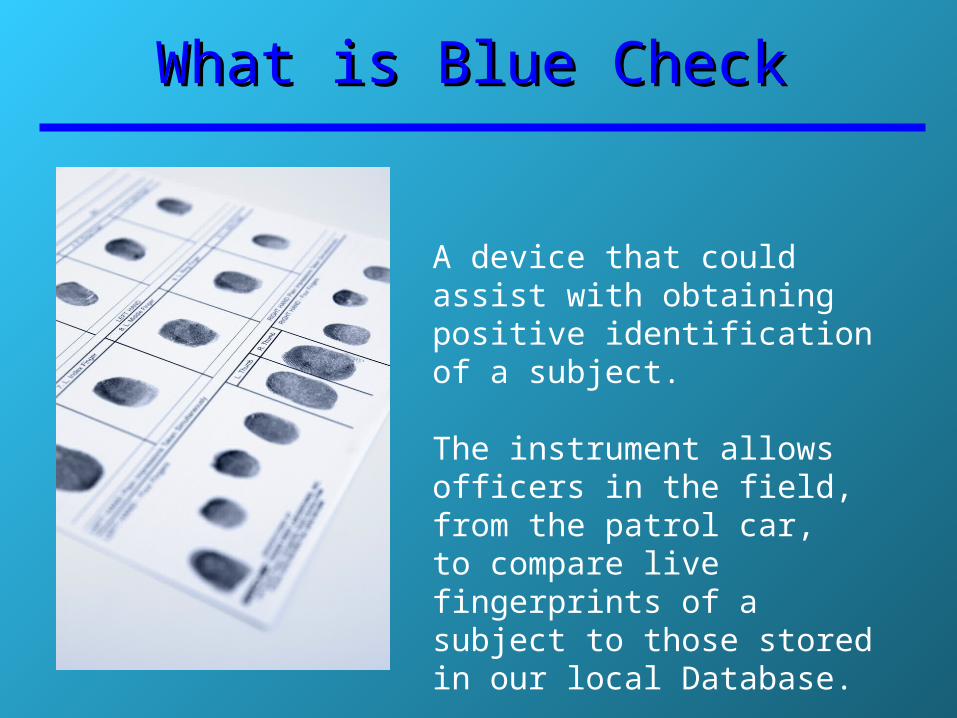
What is Blue CheckWhat is Blue Check
A device that could assist with obtaining positive identification of a subject.
The instrument allows officers in the field, from the patrol car,to compare live fingerprints of a subject to those stored in our local Database.
How Blue Check WorksHow Blue Check Works
The handheld device captures high-quality fingerprint images and uses Bluetooth technology to wirelessly transfer the images to a Web ID application on your laptop and then to a remote AFIS database.
You can receive those results and if there is a match, you can feel confident that you have made a positive identification.
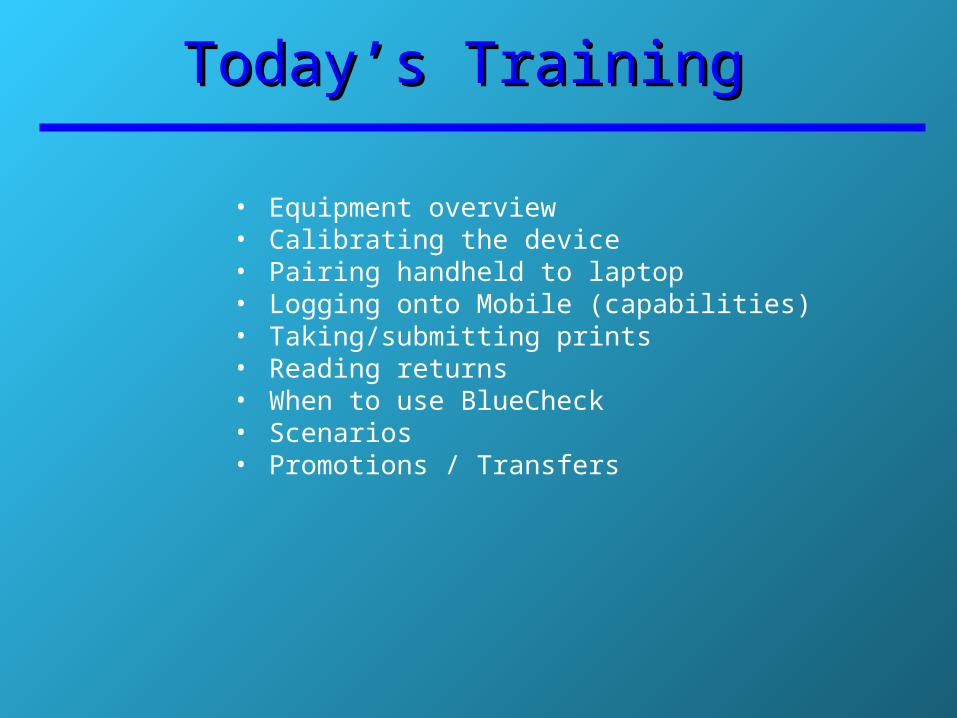
Today’s TrainingToday’s Training
• Equipment overview• Calibrating the device• Pairing handheld to laptop• Logging onto Mobile (capabilities)• Taking/submitting prints• Reading returns• When to use BlueCheck• Scenarios• Promotions / Transfers
Solid green -
Solid green: over 50% charged
Flashing green: less than 50% charged
Flashing red: charge is nearly depleted
3 bars: 9-10 hrs. of operation left
2 bars: 7-9 hrs. left
1 bar: approx. 10 mins. Left
Note: If two bars are displayed, it will shut off after 20 mins. of inactivity. If one bar is displayed, it will shut off after 5 mins. of inactivity.
Charging the battery: Wall Charger or USB cable connected to the bottom of the device.
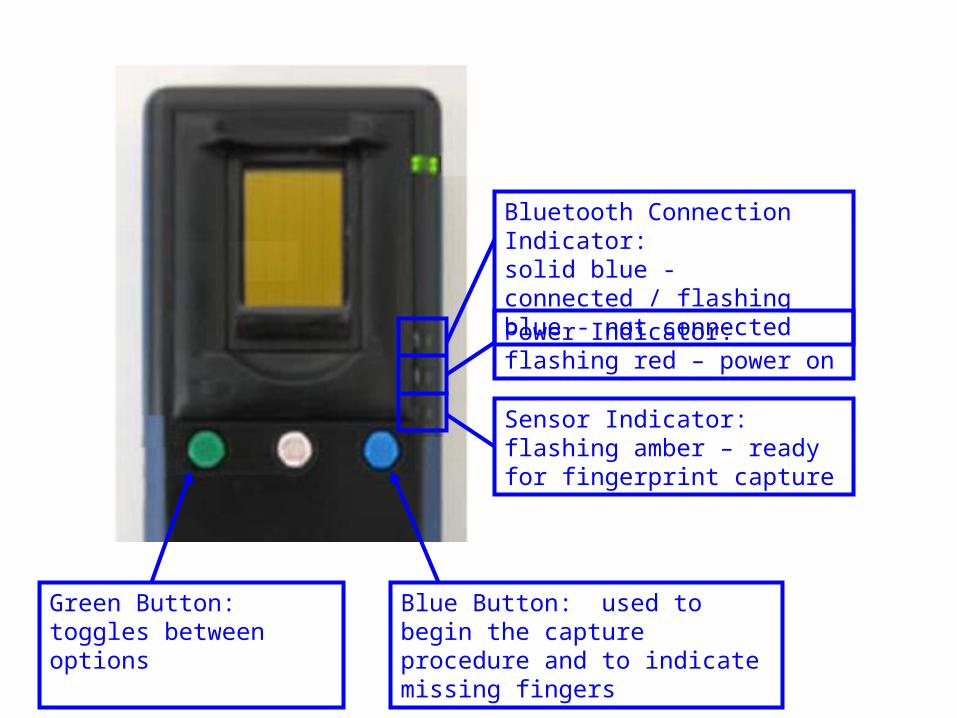
Green Button: toggles between options
Blue Button: used to begin the capture procedure and to indicate missing fingers
Bluetooth Connection Indicator: solid blue - connected / flashing blue - not connected
Sensor Indicator: flashing amber – ready for fingerprint capture
Power Indicator: flashing red – power on
Hold the power button down until you hear a beep.
Once the handheld powers up, CAPTURE will be visible in the display area.
Getting StartedGetting Started
Blinking red indicates that the
power is on.
After powering on, pressing/depressing the next button will allow the user to cycle through the following procedures: capture, calibrate and send (only if you have prints that have not been sent).
1. Turn device on.2. Press the green button above NEXT once, changing the displayed
function to calibrate.
3. Press the blue button above OK once.
Calibrating the DeviceCalibrating the Device
If the device is being used for the first time, it will need to be calibrated.When the device has completed the calibration process, the display will show ‘Calibrate done’. Press the ESC function, then the NEXT function to cycle through to the CAPTURE option.
Pairing the Handheld to the LaptopPairing the Handheld to the Laptop
1. Launch the ‘Pair Bluecheck Device’ icon on the laptop. Do NOT launch the BlueCheck Web ID from the favorites at this time.
2. Ensure that the handheld is powered on. Hold down the green button until ‘Device Pair’ is displayed. The red and blue lights should be
flashing.
3. Press ‘Pair and Auto Configure’ on the laptop. The laptop will search for the Bluetooth connection.
If a connection cannot be made, hold down the green button again and then press ‘Search Again’.
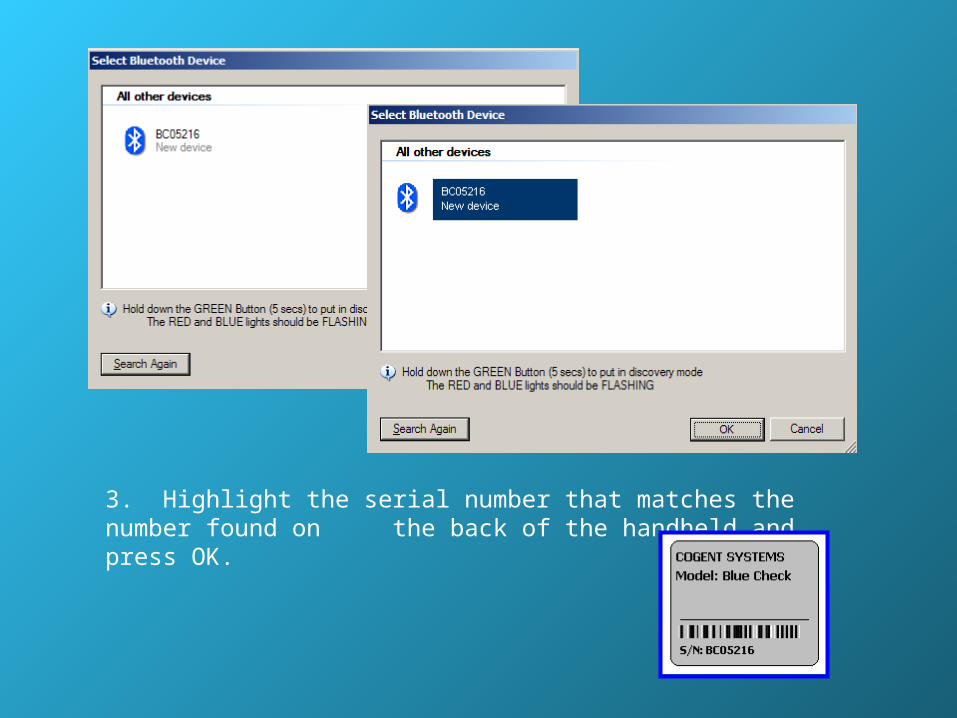
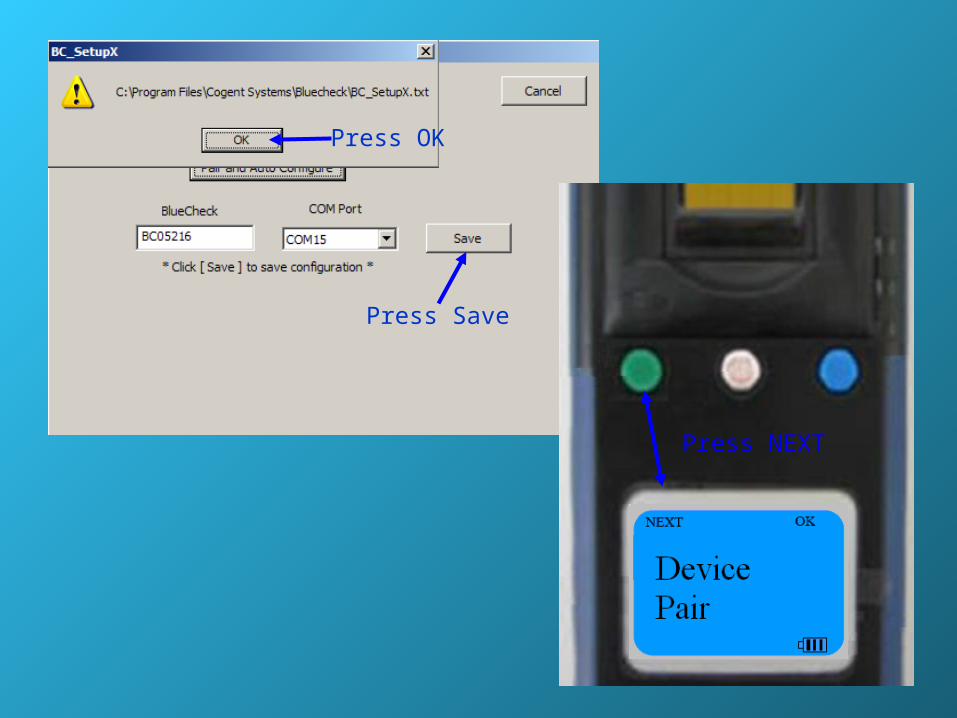
3. Highlight the serial number that matches the number found on the back of the handheld and press OK.
Press Save
Press OK
Press NEXT
Capturing FingerprintsCapturing Fingerprints
1. Launch BlueCheck listed under Favorites2. Ensure that the BlueCheck device is on and connected to
your laptop via Bluetooth
Bluetooth Connection Indicator: solid blue - connected flashing blue - not connected
Power Indicator: flashing red – power on
If you launched the web application before pairing the handheld, you may have to re-launch BlueCheck under your favorites for the application to make the Bluetooth connection.
3. Ensure that CAPTURE is displayed on the handheld. Press the blue button over OK.
4. R Index Please will be displayed. Note: options change to ESC and MISS
5. Place right index finger on fingerprint sensor and hold it down until the device beeps. When captured,
Finger Captured will display.
7. Repeat step five, this time with the left index finger.
6. After a few seconds, L Index Please will be displayed.
8. After the print has been captured, SENDING will be displayed. BlueCheck is sending the prints to Web ID.
9. The message LAUNCHED SEARCH will be displayed while Web ID searches the prints against our local database.
10. If a possible match is found, POSSIBLE HIT will be displayed. If no match is found, NO HIT will be displayed.
If the scanned print is of bad quality, you will get the following message. Simply rescan the same index finger.
If a subject is missing their index finger, select MISS to designate that the finger is missing.
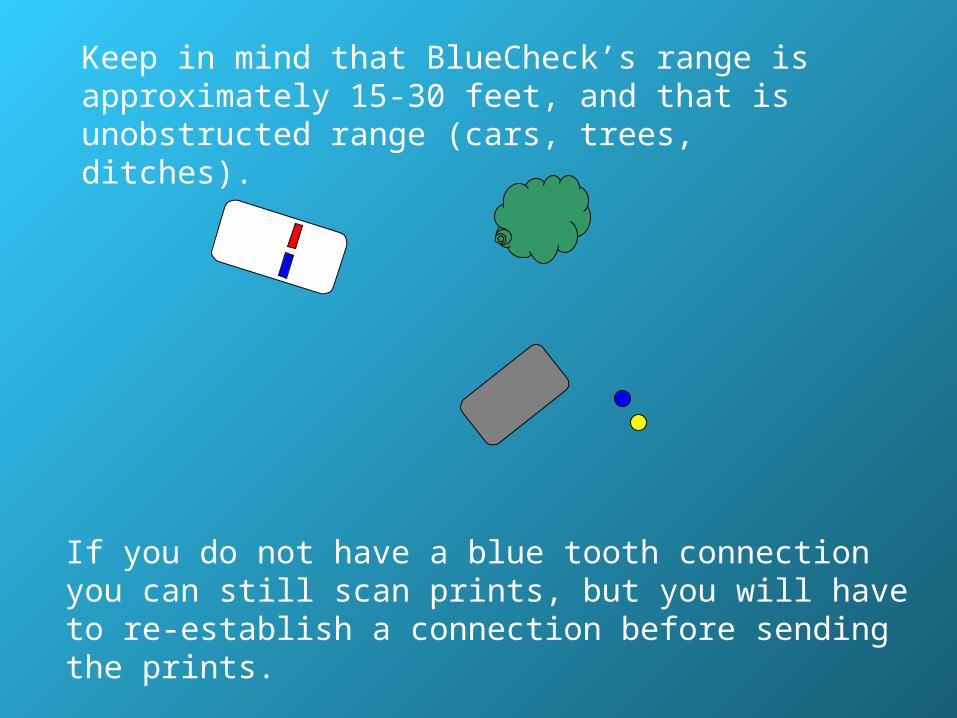
Keep in mind that BlueCheck’s range is approximately 15-30 feet, and that is unobstructed range (cars, trees, ditches).
If you do not have a blue tooth connection you can still scan prints, but you will have to re-establish a connection before sending the prints.
Remember that solid blue means connected and flashing blue means you are not connected to blue tooth.
Press NEXT to cycle past CAPTURE to the SEND option and select OK. This will send the prints. Note that all sent prints will automatically be deleted from the handheld.
You will briefly see the scanned prints.
Reading ReturnsReading Returns
Indicates that the prints are being compared to our local database.
Gray bar indicates searching.
Reading ReturnsReading Returns
Indicates that no match was found.
Green bar indicates no hit.
Indicates a match was found.
Red bar indicates a hit.Yellow bar indicates a server error.
Reading ReturnsReading Returns
Blue arrow indicates which query is being displayed.
Query results will stack up, with newest one always on top.APD No is the same as a CD No.
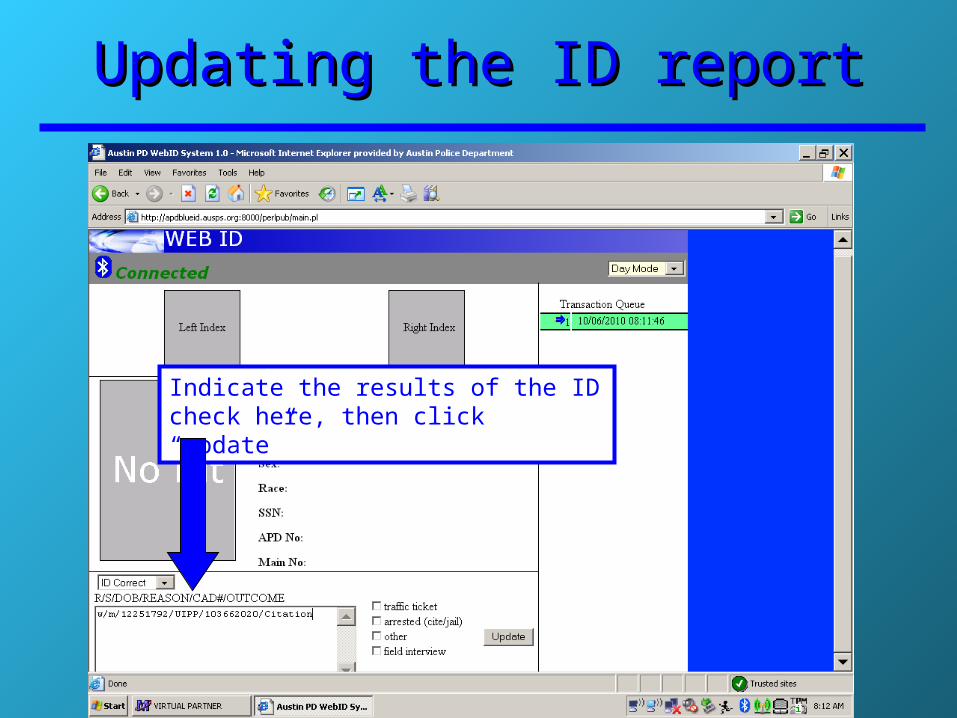
Updating the ID reportUpdating the ID report
Indicate the results of the ID check here, then click “update”
1. Ensure the device is off.2. Press/hold down the On/Off button for 15 seconds. Delete Sets
will be displayed.3. Select YES. The device will cycle through the deleting process
and be complete with CAPTURE is displayed.
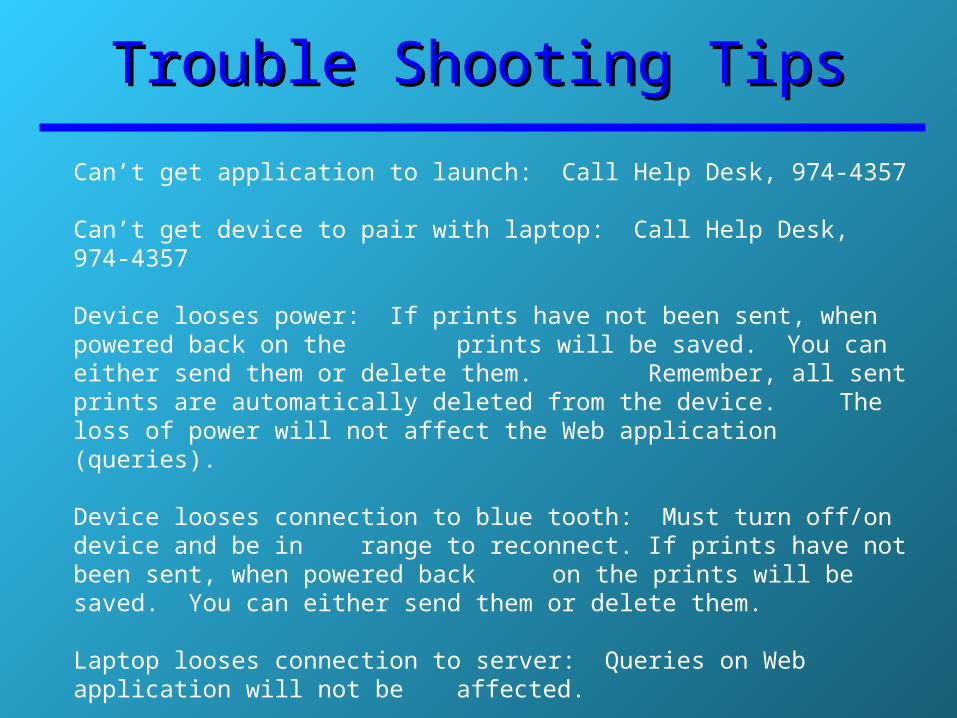
Trouble Shooting TipsTrouble Shooting Tips
Can’t get application to launch: Call Help Desk, 974-4357
Can’t get device to pair with laptop: Call Help Desk, 974-4357
Device looses power: If prints have not been sent, when powered back on the prints will be saved. You can either send them or delete them. Remember, all sent prints are automatically deleted from the device. The loss of power will not affect the Web application (queries).
Device looses connection to blue tooth: Must turn off/on device and be in range to reconnect. If prints have not been sent, when powered back on the prints will be saved. You can either send them or delete them.
Laptop looses connection to server: Queries on Web application will not be affected.
When to Use Blue Check When to Use Blue Check (tentative policy)(tentative policy)
• Officers may use a Mobile Fingerprinting Device in an attempt to positively identify a person in the field. The device may be used when an officer has:1) arrested the person;2) probable cause to arrest the person; or3) “stopped” the person (made a Temporary Investigative Detention) based on
reasonable suspicion that the person may be involved in past, present, or future criminal activity.
• A Mobile Fingerprinting Device may also be used at any time when consent from the subject has been obtained. The consent must be documented by video and audio recording.
• Consent to submitting to the taking of a subject’s fingerprints using a Mobile Fingerprinting Device is implied when the subject is deceased or unconscious. Under implied consent circumstances, the officer must receive supervisor’s approval.
• Only officers that have been trained in the use of the device may use the device.
• Officers shall not use the device on a person that is suspected to be a juvenile.
Summary – When to use Blue CheckSummary – When to use Blue Check
• Officers shall not physically force a person to be fingerprinted.
• When determining identity in a “cite and release” case and after all other normal means are exhausted, short of taking them to ID section.
More Thoughts:
Summary – When to use Blue CheckSummary – When to use Blue Check
More Thoughts:
• Officers assigned the blue check are encouraged to use the device on all arrested persons except when officer safety will be compromised.– * A “hit” only means that the subject has prints on file.
• Its use should be considered a resource citywide if reasonable.
Select Capability When Logging on to MobileSelect Capability When Logging on to Mobile
More Thoughts:
Promotions / TransfersPromotions / Transfers
• The blue check device is a part of the individual officer’s inventory.
• If an officer is promoted or transferred the Blue Check device needs to be turned back into Police Equipment (basement) where it will be REMOVED from the officer’s inventory.
• The Sergeant will than reassign the Blue Check device to another shift member and it will be added to the new officer’s inventory.