Before you start, please read through this pamphlet carefully and
estimate and assemble all the materials you will need for the
project and gather your tools and equipment together. Refer to
the checklist and estimating form on the back panel of the
pamphlet to assist in this preparation.
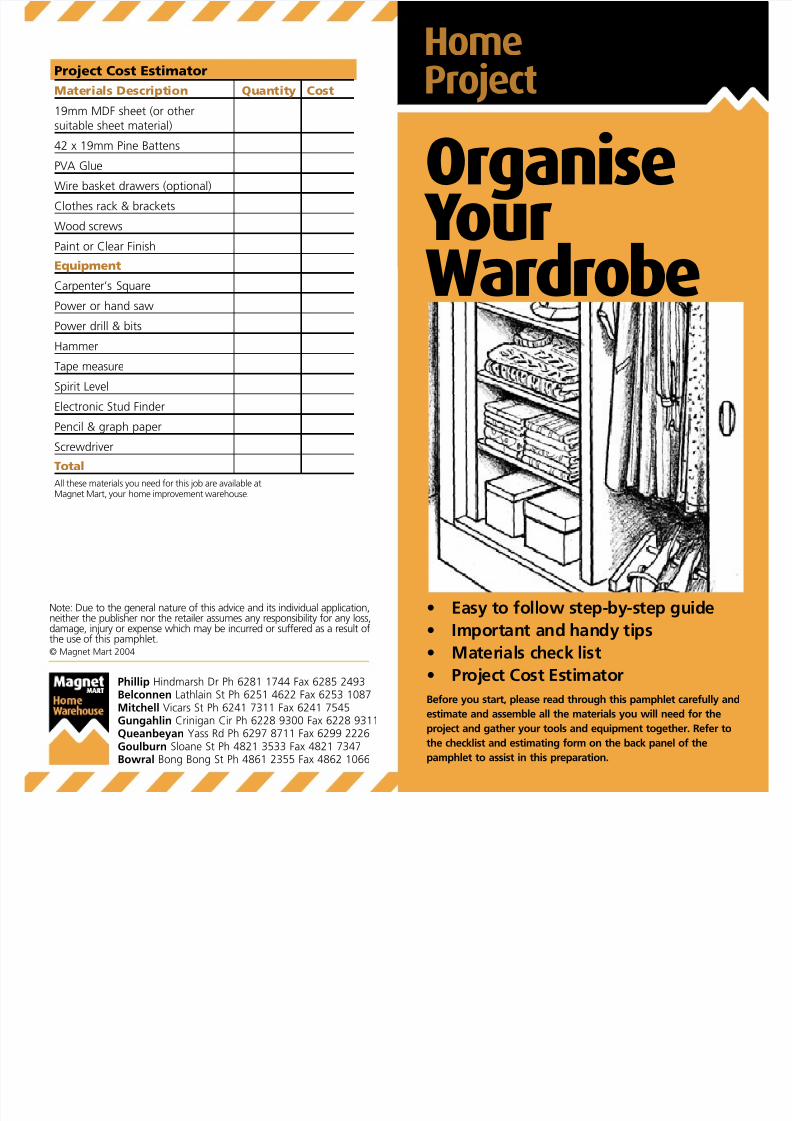
Organise YourWardrobe
Create Space and Order
Wardrobes can easily get out of hand, before you know itwhat was once an orderly and spacious wardrobe can turninto a cluttered mess where everything you need seemspermanently lost. Thankfully, with a little assistance fromMagnet Mart and some basic DIY skills, you can create
order from chaos and re-claim the space in your wardrobe.
There are off-the-shelf solutions available to fix wardrobesand some work extremely well. However, many homeowners seek a cheaper solution to their storage problemsand this brochure provides just that. With some basic toolsand materials you can achieve a customised wardrobe
system tuned to your individual needs.
Clean Out
• Before you start this project, clear out your wardrobeand remove any existing fittings that you will no longeruse. Vacuum so that you have a clean work area.
• It may be helpful to remove the door(s) to yourwardrobe to make it easier to work on the project.Sliding doors usually lift off their track while hingeddoors require you to remove the screws from one leafof the hinges.
Measure Up and Fitting Shelves
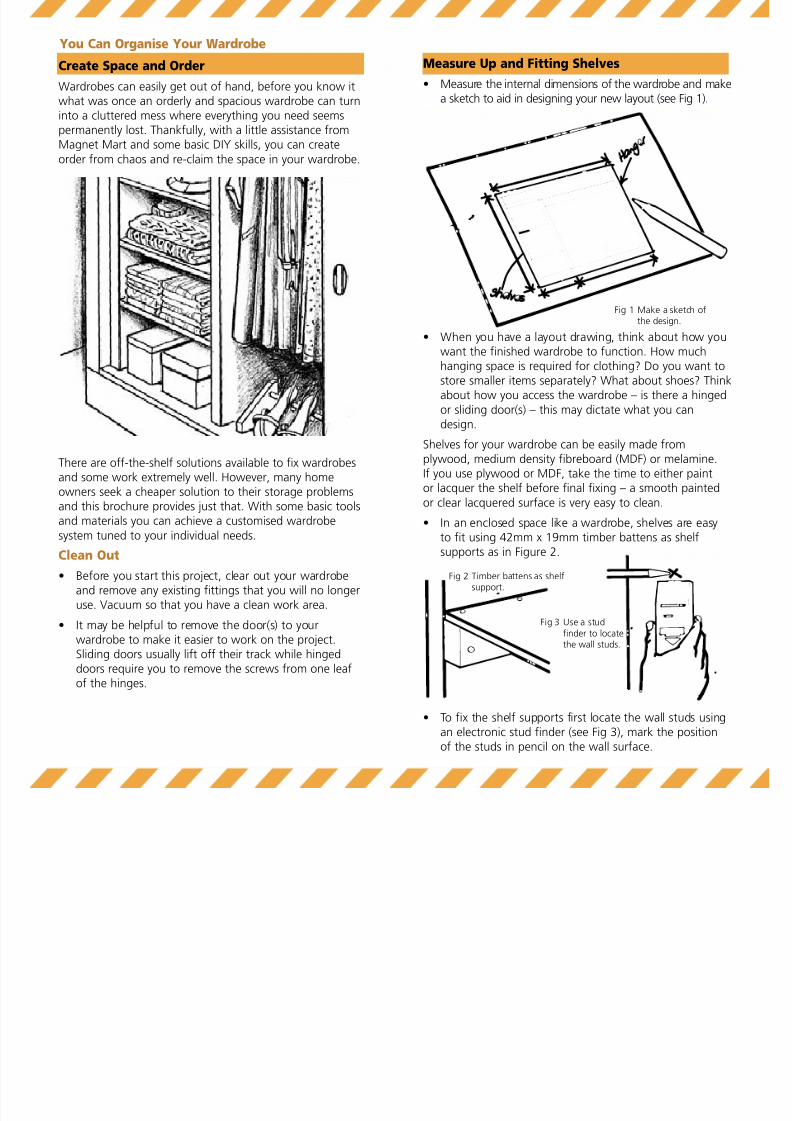
• Measure the internal dimensions of the wardrobe and makea sketch to aid in designing your new layout (see Fig 1).
• When you have a layout drawing, think about how youwant the finished wardrobe to function. How muchhanging space is required for clothing? Do you want tostore smaller items separately? What about shoes? Thinkabout how you access the wardrobe – is there a hinged
or sliding door(s) – this may dictate what you candesign.
Shelves for your wardrobe can be easily made fromplywood, medium density fibreboard (MDF) or melamine.If you use plywood or MDF, take the time to either paintor lacquer the shelf before final fixing – a smooth painted
or clear lacquered surface is very easy to clean.
• In an enclosed space like a wardrobe, shelves are easyto fit using 42mm x 19mm timber battens as shelfsupports as in Figure 2.
• To fix the shelf supports first locate the wall studs usingan electronic stud finder (see Fig 3), mark the positionof the studs in pencil on the wall surface.
You Can Organise Your Wardrobe
Fig 1 Make a sketch ofthe design.
Fig 2 Timber battens as shelfsupport.
Fig 3 Use a studfinder to locatethe wall studs.
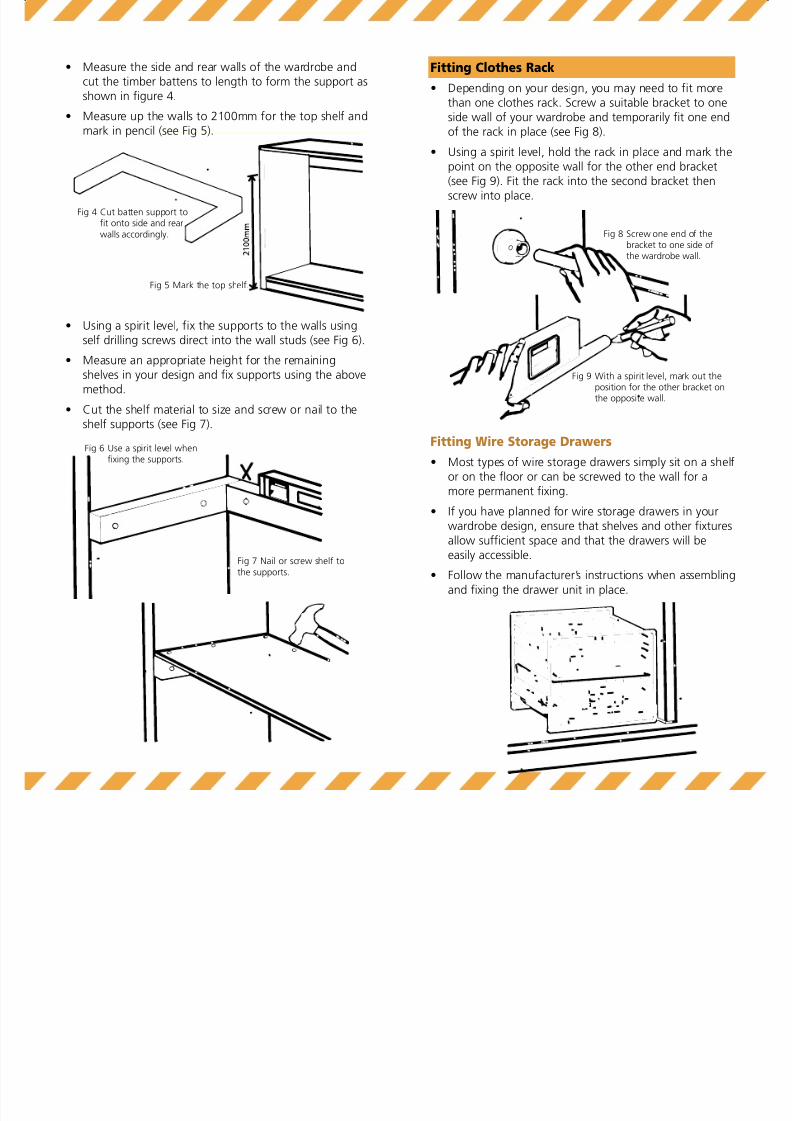
• Measure the side and rear walls of the wardrobe andcut the timber battens to length to form the support asshown in figure 4.
• Measure up the walls to 2100mm for the top shelf andmark in pencil (see Fig 5).
• Using a spirit level, fix the supports to the walls usingself drilling screws direct into the wall studs (see Fig 6).
• Measure an appropriate height for the remainingshelves in your design and fix supports using the abovemethod.
• Cut the shelf material to size and screw or nail to theshelf supports (see Fig 7).
Fitting Clothes Rack
• Depending on your design, you may need to fit morethan one clothes rack. Screw a suitable bracket to oneside wall of your wardrobe and temporarily fit one endof the rack in place (see Fig 8).
• Using a spirit level, hold the rack in place and mark thepoint on the opposite wall for the other end bracket(see Fig 9). Fit the rack into the second bracket thenscrew into place.
Fitting Wire Storage Drawers
• Most types of wire storage drawers simply sit on a shelfor on the floor or can be screwed to the wall for amore permanent fixing.
• If you have planned for wire storage drawers in yourwardrobe design, ensure that shelves and other fixturesallow sufficient space and that the drawers will beeasily accessible.
• Follow the manufacturer’s instructions when assembling
and fixing the drawer unit in place.
Fig 4 Cut batten support tofit onto side and rearwalls accordingly.
Fig 6 Use a spirit level whenfixing the supports.
Fig 7 Nail or screw shelf tothe supports.
Fig 5 Mark the top shelf.
Fig 8 Screw one end of thebracket to one side ofthe wardrobe wall.
Fig 9 With a spirit level, mark out theposition for the other bracket onthe opposite wall.
Making Small Shelf Units
• Part of your wardrobe design may include small shelfunits that can be easily made from 16mm plywood,MDF or melamine. Refer to your sketch for an idea onhow small shelf units may be incorporated into yourdesign.
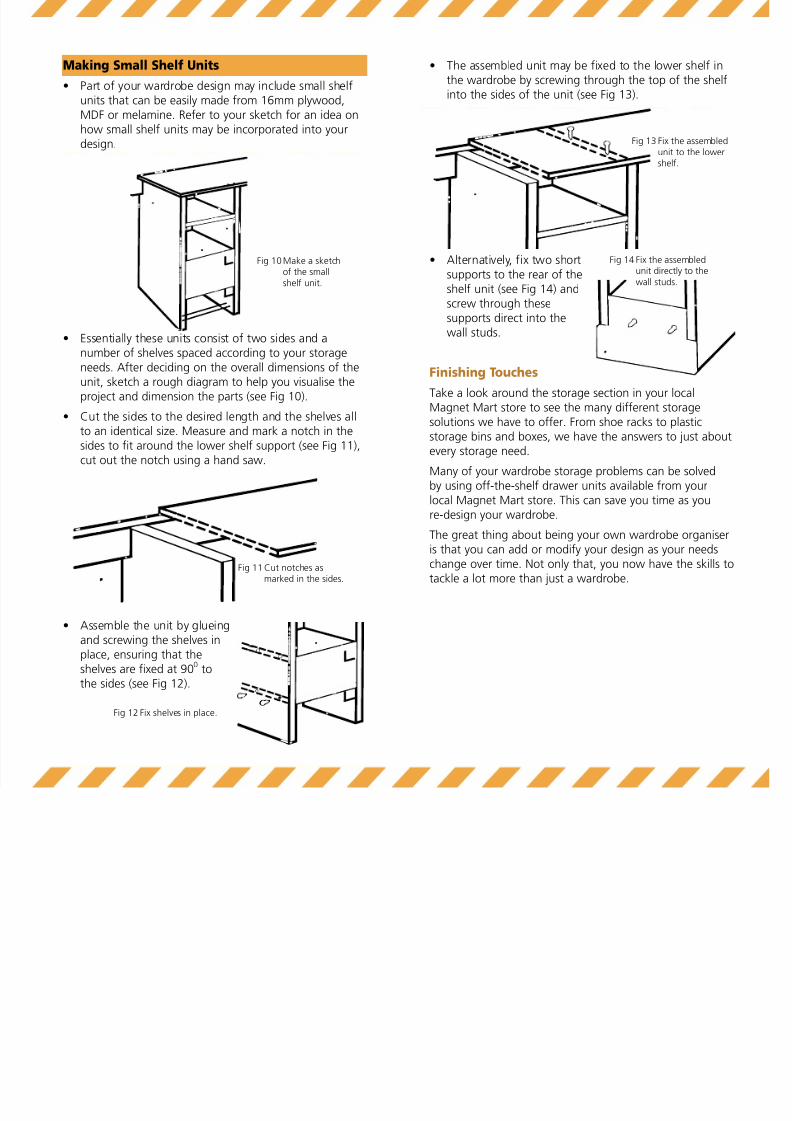
• Essentially these units consist of two sides and anumber of shelves spaced according to your storageneeds. After deciding on the overall dimensions of theunit, sketch a rough diagram to help you visualise theproject and dimension the parts (see Fig 10).
• Cut the sides to the desired length and the shelves allto an identical size. Measure and mark a notch in thesides to fit around the lower shelf support (see Fig 11),cut out the notch using a hand saw.
• Assemble the unit by glueingand screwing the shelves inplace, ensuring that theshelves are fixed at 900 tothe sides (see Fig 12).
• The assembled unit may be fixed to the lower shelf inthe wardrobe by screwing through the top of the shelfinto the sides of the unit (see Fig 13).
• Alternatively, fix two shortsupports to the rear of theshelf unit (see Fig 14) andscrew through thesesupports direct into thewall studs.
Finishing Touches
Take a look around the storage section in your localMagnet Mart store to see the many different storagesolutions we have to offer. From shoe racks to plasticstorage bins and boxes, we have the answers to just aboutevery storage need.
Many of your wardrobe storage problems can be solvedby using off-the-shelf drawer units available from yourlocal Magnet Mart store. This can save you time as youre-design your wardrobe.
The great thing about being your own wardrobe organiseris that you can add or modify your design as your needschange over time. Not only that, you now have the skills totackle a lot more than just a wardrobe.
Fig 10 Make a sketchof the smallshelf unit.
Fig 13 Fix the assembledunit to the lowershelf.
Fig 14 Fix the assembledunit directly to thewall studs.