14
Camtasia Workflow Creating Instructional Videos with Camtasia Studio
| Date post: | 02-Jan-2016 |
| Category: |
Documents |
| Upload: | vasilis-julius |
| View: | 47 times |
| Download: | 0 times |
Camtasia Workflow
Creating Instructional Videos withCamtasia Studio

What Is Workflow?
Workflow is the process of steps you follow to get a task done efficiently.
This presentation steps you through the process of creating an instructional video with Camtasia.
This is the process I have evolved over the past few years based on fairly extensive use of Camtasia.
I am always open to learning better ways of doing things, however, so if you know of a better way, please let me know!

Storyboard
You begin by planning your video sequence. Video professionals call this storyboarding.
I create my storyboards with PowerPoint.Because the Camtasia player has a green skin, I
created a PowerPoint theme based on that same shade of green.

Record a Slide with Narration
Use Camtasia to make the PowerPoint window be what gets recorded.
It works best if you set the window to 1024 by 768.Use the Camtasia Recorder to record the slide
with your narration.Make sure your microphone gain is turned up, but
not so high as to distort.

Review the Recorded Slide
After you record something, Camtasia provides a playback window that lets you review it.
You can delete the recording if you do not like it, or you can save it for future use.
When I save a clip, I begin the filename with a number, so the file manager will display my clips in sequence.
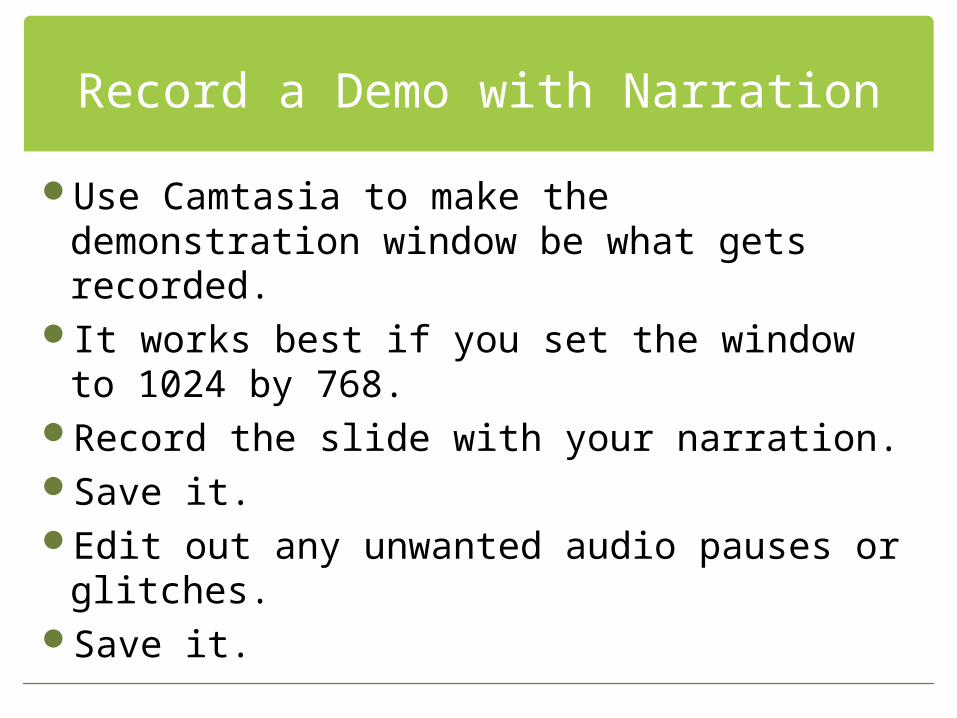
Record a Demo with Narration
Use Camtasia to make the demonstration window be what gets recorded.
It works best if you set the window to 1024 by 768.Record the slide with your narration.Save it.Edit out any unwanted audio pauses or glitches.Save it.
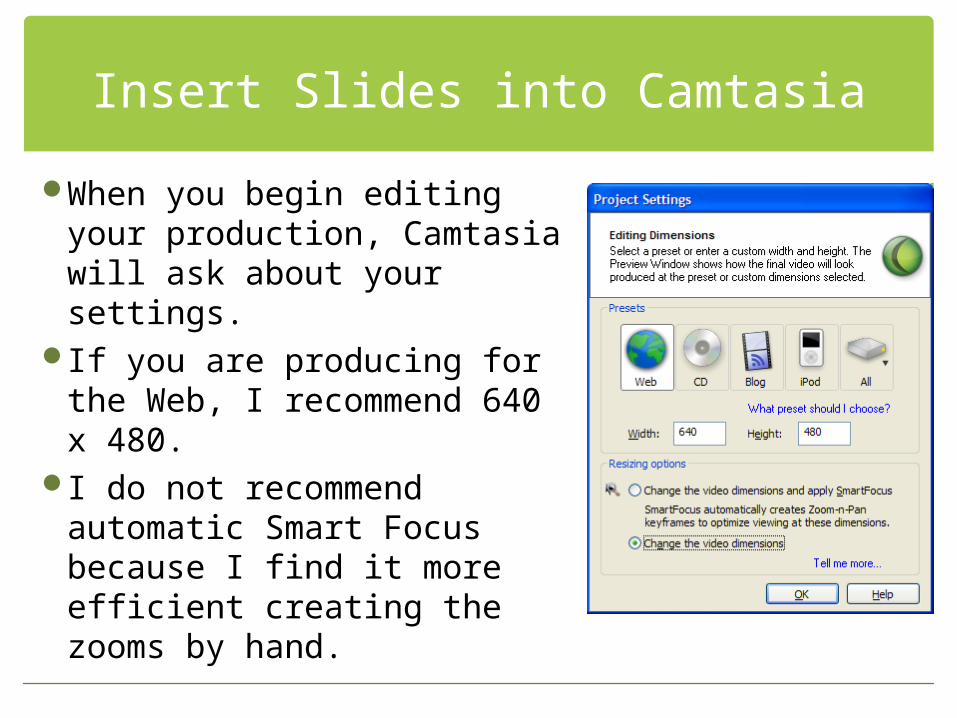
Insert Slides into Camtasia
When you begin editing your production, Camtasia will ask about your settings.
If you are producing for the Web, I recommend 640 x 480.
I do not recommend automatic Smart Focus because I find it more efficient creating the zooms by hand.

Using the Clip Bin
If you right-click the Clip Bin and choose Import Media, you can import all of the clips you created for use in this production.

Delete Pauses and Glitches
On the timeline, you can delete all the pauses and glitches in your production. The timeline’s “zoom in” and “zoom out” features are very helpful here.

Add Transitions
The transitions I found to work best are:1. The gradient wipe, which I put before each slide.
2. The wheel, which I put before each demonstration.
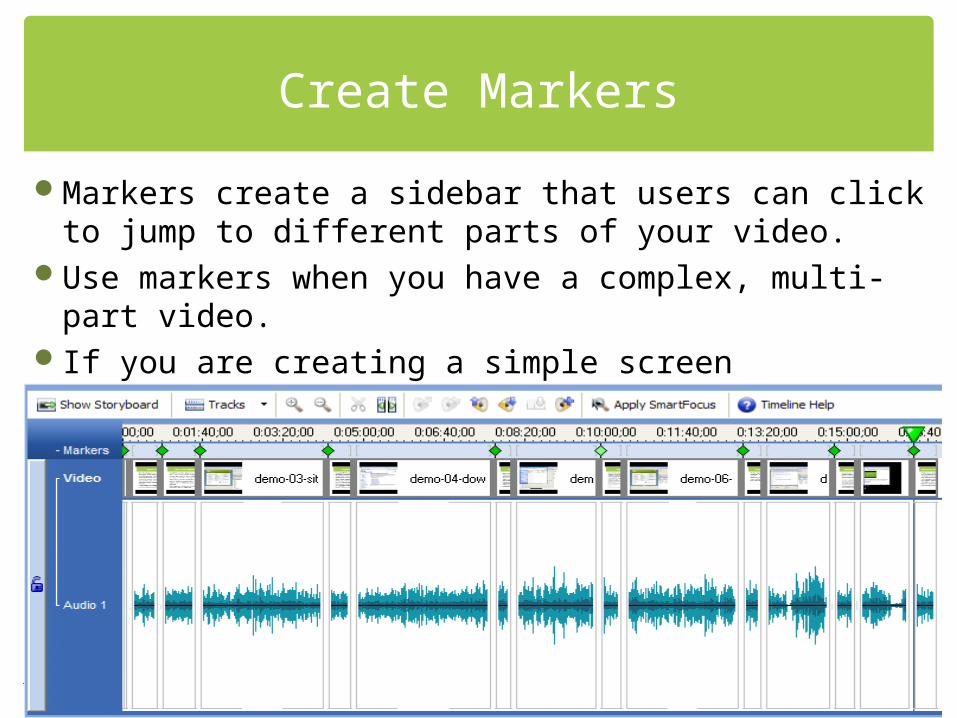
Create Markers
Markers create a sidebar that users can click to jump to different parts of your video.
Use markers when you have a complex, multi-part video.If you are creating a simple screen recording, on the other
hand, you will not need markers.

Create Pans and Zooms
Pans and Zooms enable you to focus on the part of the screen to which you want to draw the viewer’s attention.
Zooms are especially helpful when the text is small and you want to make it more readable.
It helps to pre-arrange the window positions to make any popout windows appear within the frame of the zoom you have onscreen.
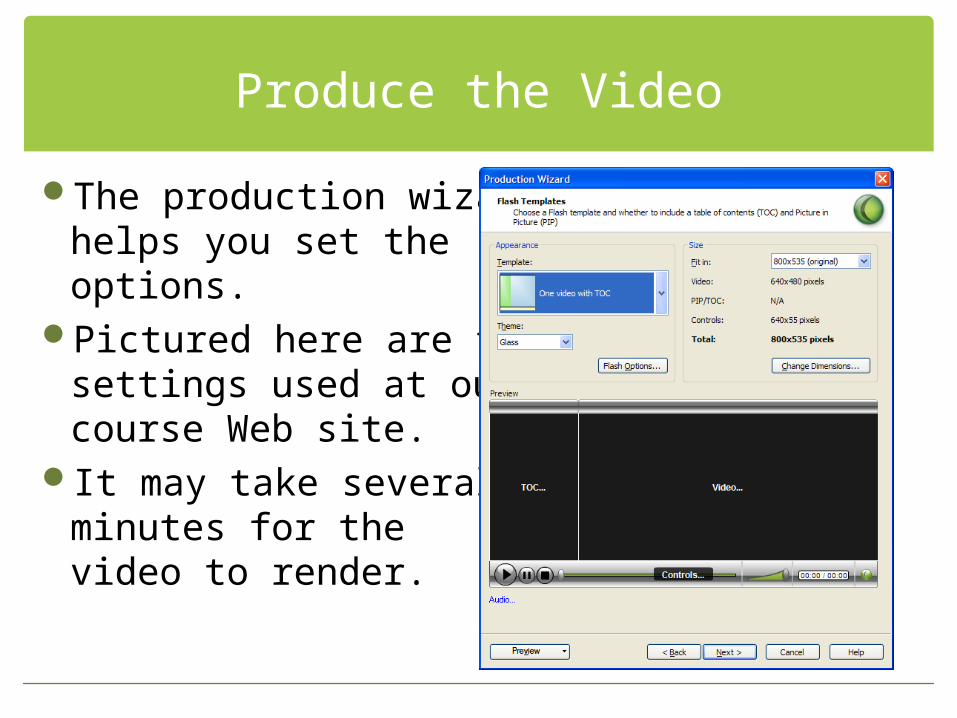
Produce the Video
The production wizardhelps you set theoptions.
Pictured here are thesettings used at ourcourse Web site.
It may take severalminutes for thevideo to render.

Publish to the Web
After you complete the video, your last step is to publish it to the Web.
Happily, Camtasia creates the Web folder for you.After you publish it to your Web site, you should
audition your video by browsing to its HTTP address and making sure it plays okay out on the Web.


