4
ABPM 7100 CARDIO PERFECT AMBULATORY BLOOD PRESSURE MONITORING QUICK START GUIDE
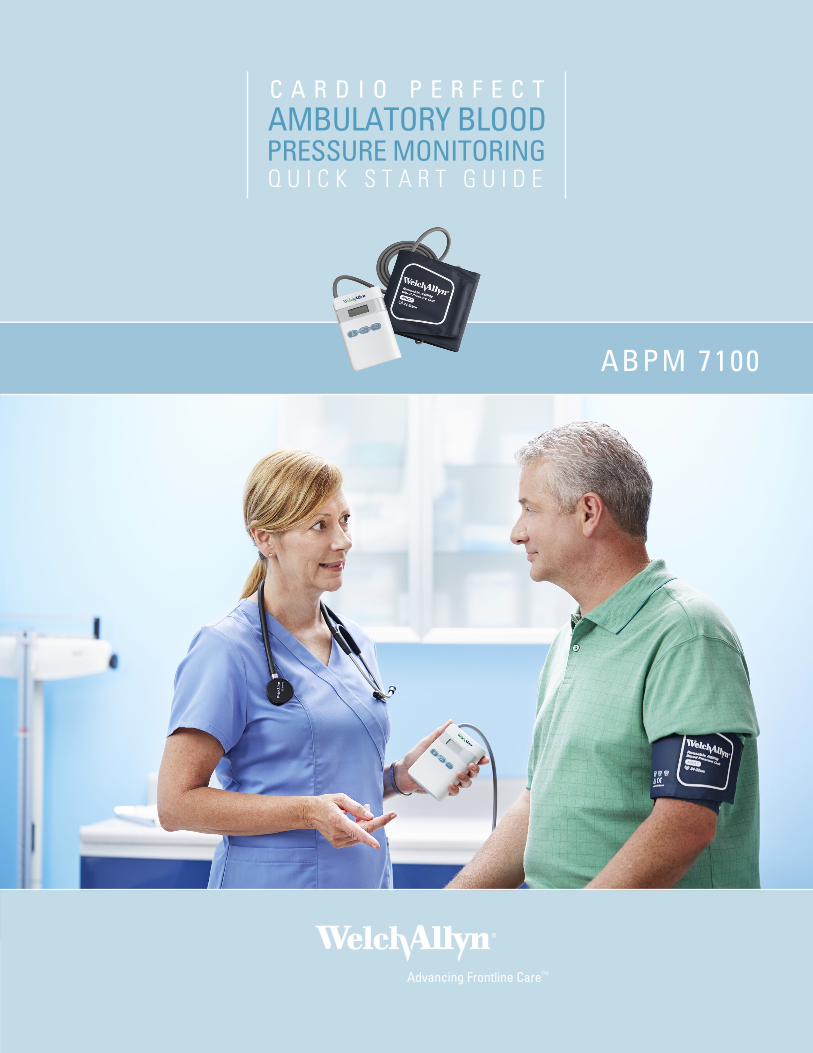
ABPM 7100
C A R D I O P E R F E C TAMBULATORY BLOODPRESSURE MONITORINGQ U I C K S T A R T G U I D E

SOFTWARE INSTALLThis Quick start guide is intended for use with CardioPerfect Workstation version 1.6.6 or higher. Before you start, install the CardioPerfect Workstation software and ABPM 7100 driver. See the Welch Allyn CardioPerfect Workstation Installation Guide for installation instructions.
PROGRAM YOUR DEVICECONNECT DEVICE TO A COMPUTER 1. Install two fresh AA batteries into the ABPM 7100 device.2. Connect the PC interface cable to the USB port on the computer.
Note To avoid repeating the device configuration steps, use the same USB port (Com port) when connecting the device to the PC.
3. Connect the other end to the ABPM 7100 device.
4. Press and hold the On/Off button for two seconds to turn on the device. “CO” appears on the device screen indicating the device is connected.
COMMUNICATE WITH THE DEVICE1. On the PC, right-click on (My) Computer. 2. Select Properties. 3. Click on Device Manager. (For Windows XP, Device Manager is
located on the Hardware tab.) 4. Double click Ports (Com & LPT) and note the Prolific USB-to-
Serial Com port number. You will need this number in the next steps.
5. Open the CardioPerfect Workstation Software and log in. 6. Navigate to the Advanced tab by selecting File > Settings... >
Ambulatory blood pressure > Advanced. Choose the correct Com port number in the ABPM 7100 drop down menu.
7. Click OK to accept the change.
SETUP NEW PATIENT1. Click Patient, to enter a new patient. 2. Fill in the Patient card and click OK.
Note To select a patient from the database: In the Patients tab, enter the patient name or number into the search box and then select Go. Select the patient for whom you want to record the test.
PROGRAM YOUR DEVICE1. Click on ABP . 2. If prompted, select ABPM 7100 and click OK.3. Select Protocol, Referring Physician, etc. and click OK. The device
is now programmed with the patient information.4. Disconnect the PC interface cable from the device.
DEVICE SAFETY For complete directions for use, warnings and cautions, please consult your user manual located on the software CD.
The cuffs and the tube are made from electrically nonconductive material and protect the device from the effects of a defibrillator discharge.
CAUTION Ensure the tube cannot be kinked or compressed when patient is resting or sleeping.
CAUTION During a defibrillator discharge the device must not be allowed to touch the patient. The device can be damaged from the discharge and give inaccurate measurements.
CAUTION The device fulfills the requirements of EMC standards. However, it should not be exposed to strong electromagnetic fields.
CAUTION The device should not be used at the same time as high-frequency surgical equipment.
CAUTION If liquids enter the device, remove the device from use until it has been properly dried, inspected, and tested by qualified service personnel.
DEVICE BUTTONSNote To stop a measurement, press any button.
Start button • Starts the automatic protocol
• Triggers a measurement in addition to the automatic protocol
Event button Records an event and triggers an additional measurement.
Day/Night button Patient presses immediately before going to sleep and upon waking.
On/Off button Turns on or off device, press for two seconds.
SIZING CHARTNote Correct cuff fit is extremely important for accurate measurement.
CUFF SIZE ARM CIRCUMFERENCEREUSABLE SLEEVE CUFFS
Child Cuff 14-20 cm
Small Adult Cuff 20- 24 cm
Adult Cuff 24- 32 cm
Adult Plus Cuff 32- 38 cm
Large Adult Cuff 38- 55 cm
PREPARE YOUR PATIENTFIT YOUR PATIENT WITH THE DEVICE AND CUFF
WARNING Strangulation risk: The cuff tube and shoulder strap can wrap around the patient’s neck. When used on children, the device must only be applied in children with special care and under permanent supervision. When used on adults, caution should be taken.
WARNING Use only Welch Allyn approved accessories, and use them according to the manufacturer’s directions for use. Using unapproved accessories with the recorder can affect patient and operator safety and can compromise product performance and accuracy.
WARNING Patient Injury risk. Do not place the cuff on any area where circulation is compromised. Instruct the patient to remove the cuff immediately and notify the doctor if they are experiencing pain, swelling, redness or numbness in the limb where the cuff is placed as this may indicate compromised circulation.
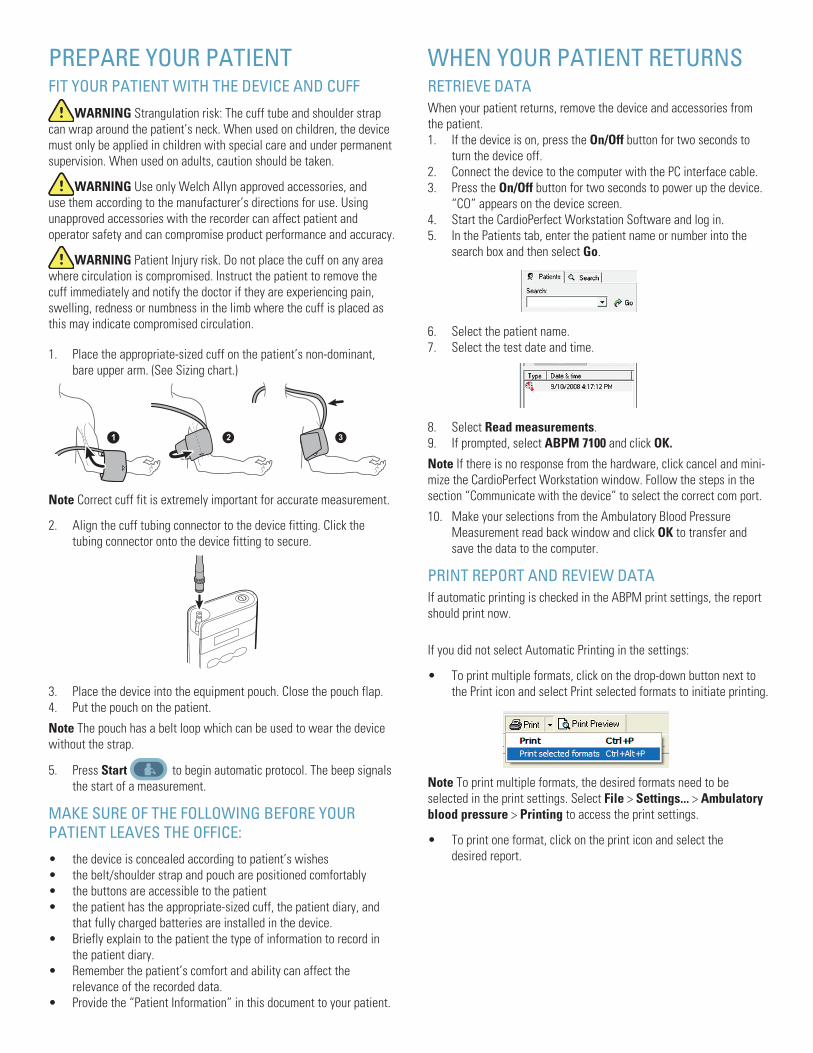
1. Place the appropriate-sized cuff on the patient’s non-dominant, bare upper arm. (See Sizing chart.)
Note Correct cuff fit is extremely important for accurate measurement.
2. Align the cuff tubing connector to the device fitting. Click the tubing connector onto the device fitting to secure.
3. Place the device into the equipment pouch. Close the pouch flap.4. Put the pouch on the patient.
Note The pouch has a belt loop which can be used to wear the device without the strap.
5. Press Start to begin automatic protocol. The beep signals the start of a measurement.
MAKE SURE OF THE FOLLOWING BEFORE YOUR PATIENT LEAVES THE OFFICE:
• the device is concealed according to patient’s wishes• the belt/shoulder strap and pouch are positioned comfortably• the buttons are accessible to the patient• the patient has the appropriate-sized cuff, the patient diary, and
that fully charged batteries are installed in the device.• Briefly explain to the patient the type of information to record in
the patient diary.• Remember the patient’s comfort and ability can affect the
relevance of the recorded data.• Provide the “Patient Information” in this document to your patient.
WHEN YOUR PATIENT RETURNS RETRIEVE DATAWhen your patient returns, remove the device and accessories from the patient.1. If the device is on, press the On/Off button for two seconds to
turn the device off.2. Connect the device to the computer with the PC interface cable.3. Press the On/Off button for two seconds to power up the device.
“CO” appears on the device screen. 4. Start the CardioPerfect Workstation Software and log in. 5. In the Patients tab, enter the patient name or number into the
search box and then select Go.
6. Select the patient name. 7. Select the test date and time.
8. Select Read measurements.9. If prompted, select ABPM 7100 and click OK.
Note If there is no response from the hardware, click cancel and mini-mize the CardioPerfect Workstation window. Follow the steps in the section “Communicate with the device” to select the correct com port.
10. Make your selections from the Ambulatory Blood Pressure Measurement read back window and click OK to transfer and save the data to the computer.
PRINT REPORT AND REVIEW DATAIf automatic printing is checked in the ABPM print settings, the report should print now.
If you did not select Automatic Printing in the settings:
• To print multiple formats, click on the drop-down button next to the Print icon and select Print selected formats to initiate printing.
Note To print multiple formats, the desired formats need to be selected in the print settings. Select File > Settings... > Ambulatory blood pressure > Printing to access the print settings.
• To print one format, click on the print icon and select the desired report.
PATIENT INFORMATION Ambulatory blood pressure monitoring (ABPM) takes numerous reading of your blood pressure over a 24-hour period or longer. It provides accurate and reliable information and can give you and your doctor a truer picture of your blood pressure than occasional visits and readings taken at your doctor’s office.
DEVICE BUTTONSPress Event to start a measurement if you are feeling an unusual event.
Press Start to start a measurement if instructed to do so by your doctor.
Press Day/Night immediately before going to sleep and upon waking.
If you are feeling or experiencing pain, swelling, redness or numbness in the limb where the cuff is placed, remove the cuff immediately and notify your doctor.
PATIENT DO’S & DON’TS
DO• Position the device in such a way that the tube cannot be compressed.• Record time, symptom/mood and activity/position in the patient diary.• Keep cuff arm motionless during readings.• Keep vehicle driving and travel to a minimum.• Bring the patient diary with you upon return to your doctor.
DON’T• Remove the cuff unless you are experiencing pain, swelling, redness or numbness in the limb
where the cuff is placed, or unless you are instructed to do so by your doctor. (It is expected that you may experience some mild to moderate discomfort during a blood pressure measurement.)
• Get the device wet.• Swim, shower, or bathe during recording.• Remove batteries from the device.• Operate equipment or power tools. Vibrations may disrupt the device reading.
80019438 Ver. C©2014, Welch Allyn, Inc.Welch Allyn Technical Support:www.welchallyn.com/supportwww.welchallyn.com


