AMC Basic School Supplementary Training Material October 2014 Page 1 Changes to AMC Basic School Instruction The AMC Basic School Manual is in the process of being updated to reflect most current standard practices in the recreational rock climbing industry. In lieu of the new revised manual, this document is intended to communicate the changes that AMC is adopting for the upcoming AMC Basic Outdoor Rock Climbing School in October, 2014. Most significantly, new techniques are being adopted for belaying and rappelling as taught by the AMGA in current Single Pitch Instructor (SPI) training and certification. Additional reference material includes the Falcon Guide titled “Toproping” by Bob Gaines. Stopper Knot The stopper knot has been simplified to be a simple grapevine knot at the end of a rope. See figure 1. Closing the System Always use a stopper knot to “close the system” in a belay or rappel set up whenever the end of the rope is free, i.e. not tied into another climber or otherwise tied into the system. This ensures that under no circumstances can the rope run completely through the belay or rappel device. Bottom Belay Top Rope Configuration – Climbing Calls In the bottom belay set up the communication is simpler than a top belay situation. The climber and belayer start out near each other, facilitating easy partner checks. The belayer can observe when the climber is “ready” and can pull the rope until all the slack to the climber is removed. At that point, the climbing calls commence: Climber: “On Belay?” Belayer: “Belay On” Climber: “Climbing” Belayer: “Climb On” Note: The Climber initiates all the climbing calls in both the bottom belay and top belay situations. This is a slight change from previous instruction, but simplifies communication. All other climbing calls – “off belay”, “belay off”, “slack”, “up rope”, “take” or “tension”, “ready to lower”, “lowering”, etc. remain unchanged. Figure 1. Stopper Knot
Transcript
AMC Basic School Supplementary Training Material October 2014
Page 1
Changes to AMC Basic School Instruction
The AMC Basic School Manual is in the process of being updated to reflect most current standard practices in the
recreational rock climbing industry. In lieu of the new revised manual, this document is intended to communicate
the changes that AMC is adopting for the upcoming AMC Basic Outdoor Rock Climbing School in October, 2014.
Most significantly, new techniques are being adopted for belaying and rappelling as taught by the AMGA in current
Single Pitch Instructor (SPI) training and certification. Additional reference material includes the Falcon Guide
titled “Toproping” by Bob Gaines.
Stopper Knot
The stopper knot has been simplified to be a
simple grapevine knot at the end of a rope. See
figure 1.
Closing the System
Always use a stopper knot to “close the system”
in a belay or rappel set up whenever the end of
the rope is free, i.e. not tied into another
climber or otherwise tied into the system. This
ensures that under no circumstances can the
rope run completely through the belay or rappel
device.
Bottom Belay Top Rope Configuration – Climbing Calls
In the bottom belay set up the communication is simpler than a top belay situation. The climber and
belayer start out near each other, facilitating easy partner checks. The belayer can observe when the
climber is “ready” and can pull the rope until all the slack to the climber is removed. At that point, the
climbing calls commence:
Climber: “On Belay?” Belayer: “Belay On”
Climber: “Climbing” Belayer: “Climb On”
Note: The Climber initiates all the climbing calls in both the bottom belay and top belay situations.
This is a slight change from previous instruction, but simplifies communication. All other climbing calls
– “off belay”, “belay off”, “slack”, “up rope”, “take” or “tension”, “ready to lower”, “lowering”, etc.
remain unchanged.
Figure 1. Stopper Knot
AMC Basic School Supplementary Training Material October 2014
Page 2
Belaying
Use the PBUS (Pull, Brake, Under, Slide) method for belaying. This method essentially keeps the brake
at least partially on throughout the belay motion and also eliminates the “right” vs “left” hand distinction
since the brake motion is essentially “down”. Discontinue teaching the old-school “pinch” technique
currently illustrated in the AMC manual. See figures 2.
Figure 2. PBUS Belay Method
Figure 2a. Brake on.
(note – resting position of brake
hand is too close to belay device) Figure 2b. Pull Figure 2c. Brake
Figure 2e. Slide Figure 2f. Reset and ready
for next climber move Figure 2d. Under
AMC Basic School Supplementary Training Material October 2014
Page 3
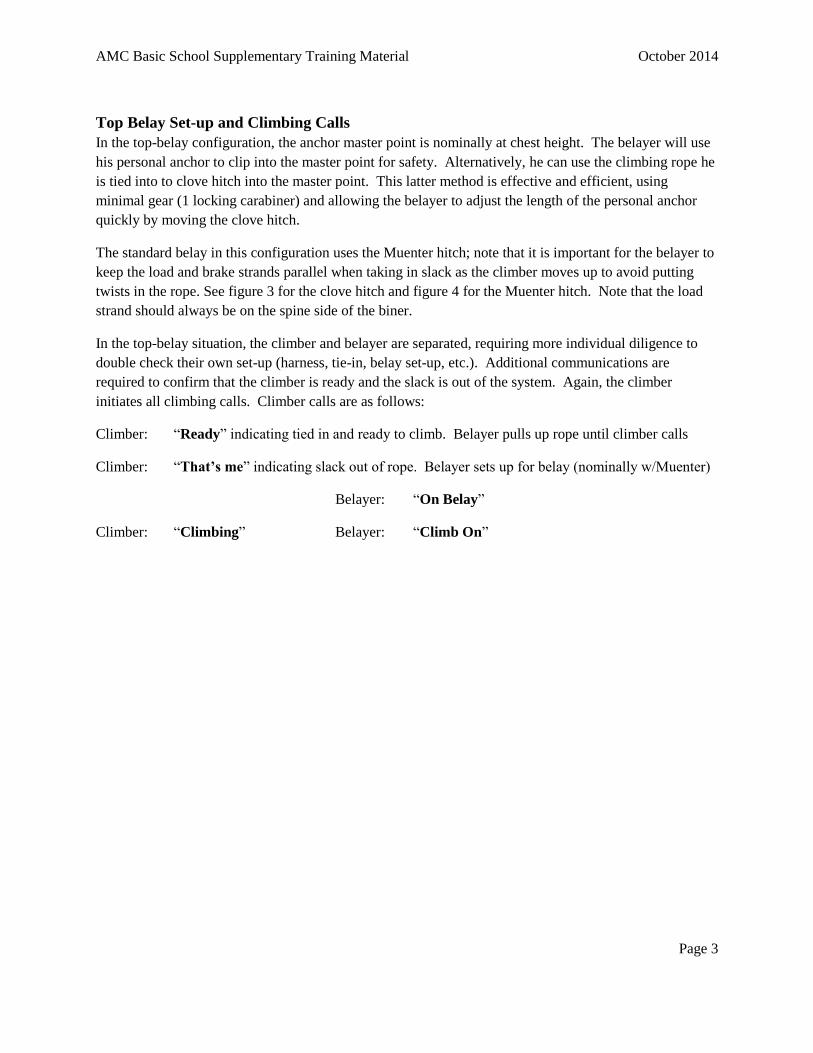
Top Belay Set-up and Climbing Calls
In the top-belay configuration, the anchor master point is nominally at chest height. The belayer will use
his personal anchor to clip into the master point for safety. Alternatively, he can use the climbing rope he
is tied into to clove hitch into the master point. This latter method is effective and efficient, using
minimal gear (1 locking carabiner) and allowing the belayer to adjust the length of the personal anchor
quickly by moving the clove hitch.
The standard belay in this configuration uses the Muenter hitch; note that it is important for the belayer to
keep the load and brake strands parallel when taking in slack as the climber moves up to avoid putting
twists in the rope. See figure 3 for the clove hitch and figure 4 for the Muenter hitch. Note that the load
strand should always be on the spine side of the biner.
In the top-belay situation, the climber and belayer are separated, requiring more individual diligence to
double check their own set-up (harness, tie-in, belay set-up, etc.). Additional communications are
required to confirm that the climber is ready and the slack is out of the system. Again, the climber
initiates all climbing calls. Climber calls are as follows:
Climber: “Ready” indicating tied in and ready to climb. Belayer pulls up rope until climber calls
Climber: “That’s me” indicating slack out of rope. Belayer sets up for belay (nominally w/Muenter)
Belayer: “On Belay”
Climber: “Climbing” Belayer: “Climb On”
AMC Basic School Supplementary Training Material October 2014
Page 4
Clove Hitch in Master Point
When the belayer is tied into the climbing rope at a top belay anchor, as is the case if he just led the
previous pitch, he can use his climbing rope as a personal anchor by clove hitching it into the master point
of the anchor as illustrated in figure 3. Only one locking carabiner is required to establish the personal
anchor which can be easily adjusted in length by moving the clove hitch.
Figure 3. Clove Hitch
AMC Basic School Supplementary Training Material October 2014
Page 5
Muenter Hitch in Master Point
Use the Muenter hitch in a high master point to belay a climber in a top belay situation. Alternatively, a
variety of self-locking belay devices such as the Black Diamond ATC Guide can be used. However, for
simplicity, we will only use the Muenter for the top-belay in this class. See figure 4 to tie the Muenter
hitch in the master point locking carabiner. The climber strand (load) is nearest the spine of the locking
carabiner and the loop is made with the brake strand. Make sure that you keep the brake strand parallel
with the load strand when taking in slack as the climber moves up or when lowering a climber to avoid
putting twists in the rope.
Figure 4. Muenter Hitch
AMC Basic School Supplementary Training Material October 2014
Page 6
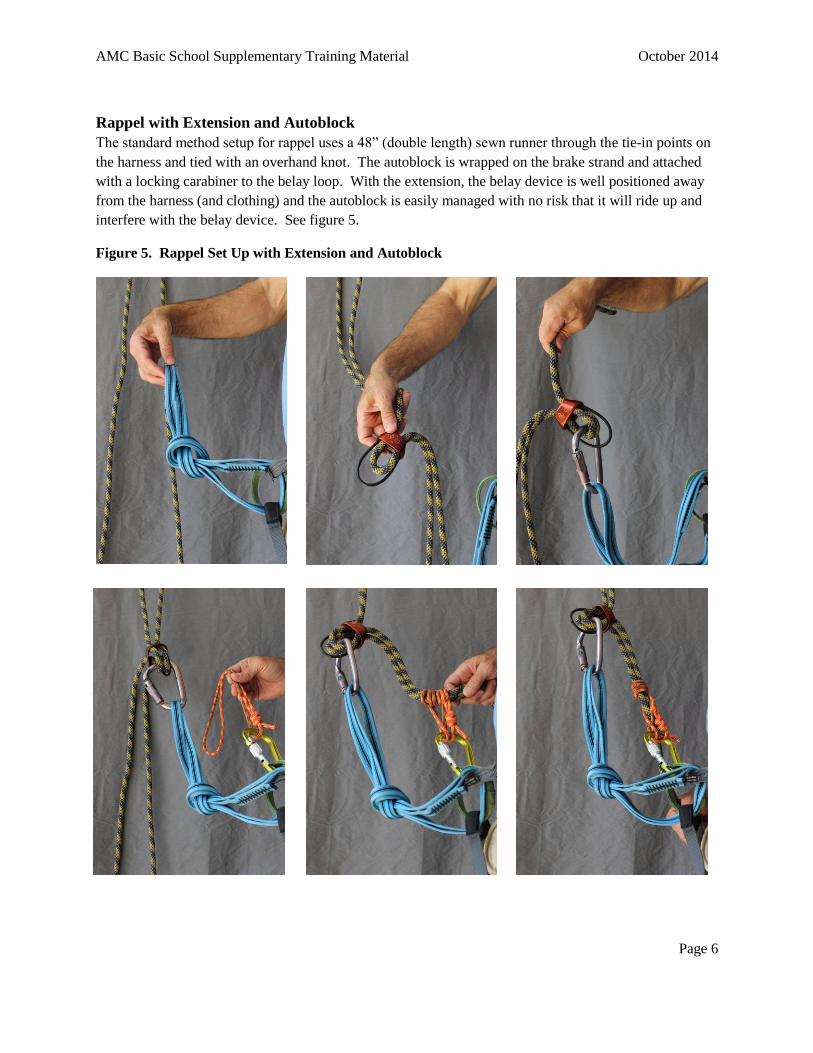
Rappel with Extension and Autoblock
The standard method setup for rappel uses a 48” (double length) sewn runner through the tie-in points on
the harness and tied with an overhand knot. The autoblock is wrapped on the brake strand and attached
with a locking carabiner to the belay loop. With the extension, the belay device is well positioned away
from the harness (and clothing) and the autoblock is easily managed with no risk that it will ride up and
interfere with the belay device. See figure 5.
Figure 5. Rappel Set Up with Extension and Autoblock