21
classroom numbers {printables} by: A Cupcake for the Teacher acupcakefortheteacher.blogspot.com

classroom numbers {printables}
by: A Cupcake for the Teacher
acupcakefortheteacher.blogspot.com

1
6
2
7
3
4 5
8
9 +acupcakefortheteacher

16
11
12 10
13
14 15
17 18 +acupcakefortheteacher

26
22
19 20
23
24
21
25 27 +acupcakefortheteacher

28
29 30
31
32 33
34 35 36 +acupcakefortheteacher
43 44 45
41
37 38 39
40 42
+acupcakefortheteacher

46 47 48
53
49 50 51
52 54 +acupcakefortheteacher

58
55 56 57
59 60
61 62 63 +acupcakefortheteacher

70 71 72
68
64 65 66
67 69
+acupcakefortheteacher

73
74 75
76 77 78
79 80 81 +acupcakefortheteacher

85 86 87
83
82 84
88
89 90 +acupcakefortheteacher

91 92 93
94 95 96
98
97 99 +acupcakefortheteacher

100
I am HERE today.
I am not HERE today.
I am in the bathroom.
I am with the nurse.
pick me!
library sticks
+acupcakefortheteacher
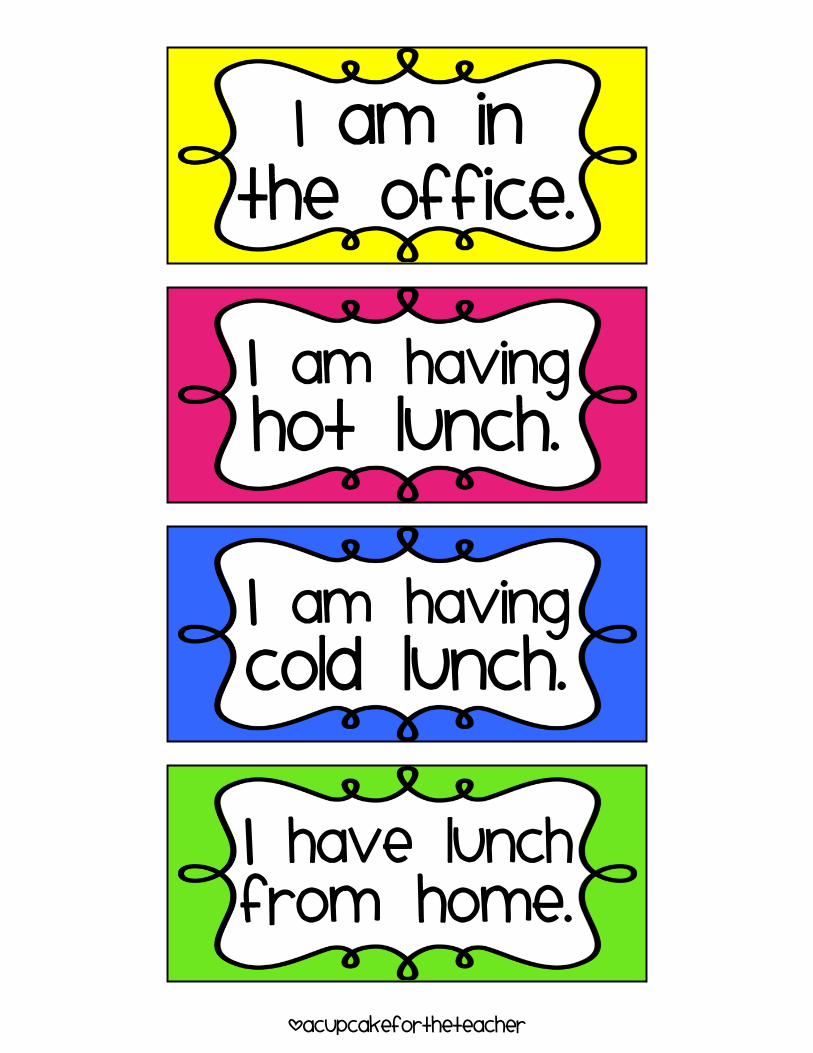
I am in the office.
I have lunch
from home.
I am having
cold lunch.
I am having
hot lunch.
+acupcakefortheteacher

Attendance Board

To make the attendance board, you will need: - two baking sheets {or any magnetic surface} - laminator {optional} - 2” circle punch {optional} - class numbers set - “I’m here/not here” labels
To assemble:
{1} Print class numbers set and “I’m here/not here” labels on cardstock. {2} Punch pieces out using a 2” circle punch OR simply cut them carefully with a scissor. {3} Laminate all pieces for durability {you don’t have to, but they will certainly last longer if you do!}. {4} Add mini magnets to the back of all pieces {5} Set up the board! *You can also make a lunch board or a “Where
am I?” board the same way!!*

“Pick me!” Pot
+acupcakefortheteacher

pick me!
To make the “pick me” pot, you will need: - clay pot {the one that’s about 3”} - popsicle sticks - hot glue - laminator {optional} - 2” circle punch {optional} - class numbers set - “pick me” label ---------->
To assemble: {1} Print class numbers set and “pick me” label on white cardstock. {2} Punch pieces out using a 2” circle punch OR simply cut them carefully with a scissor. {3} Laminate all pieces for durability {you don’t have to, but they will certainly last longer if you do!}. {4} Hot glue the numbers onto popsicle sticks. I used green to resemble flower stems. {5} Hot glue “pick me” label to the front of
the pot. Done!!
+acupcakefortheteacher
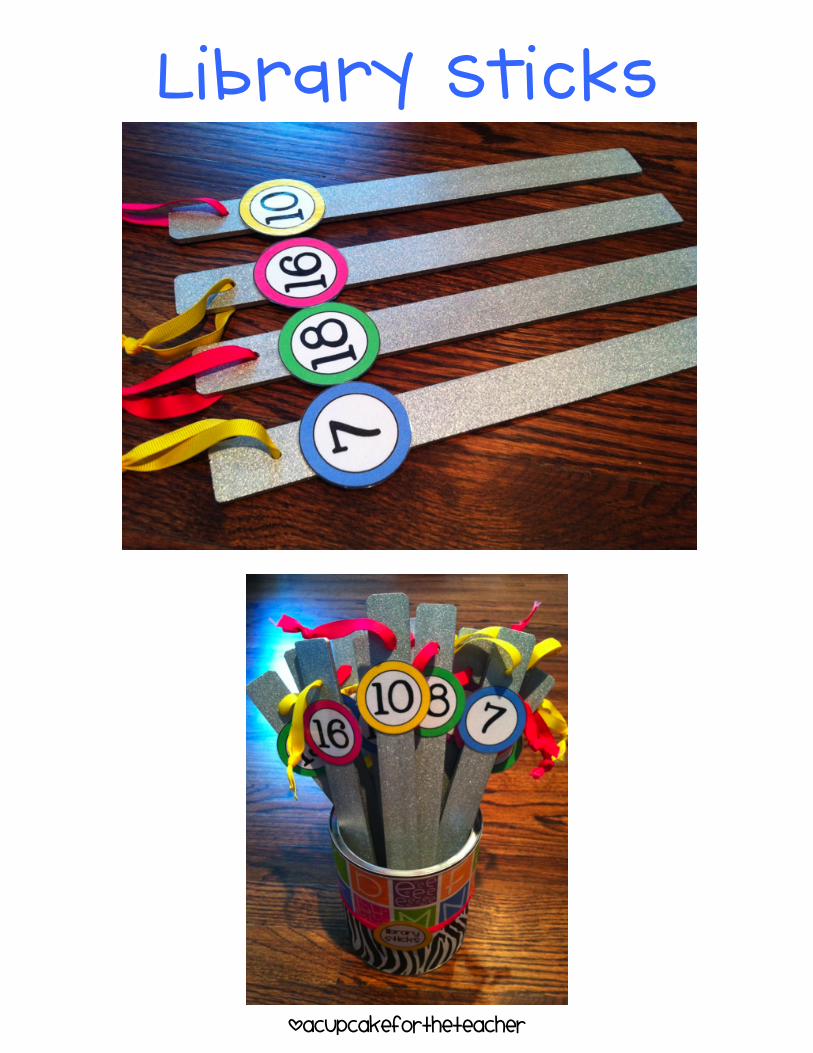
Library Sticks
+acupcakefortheteacher

To make the library sticks, you will need: - paint stir sticks {you can get them FREE at Home Depot} - spray paint in the color of your choice - drill {optional} - ribbon {optional} - laminator {optional} - 2” circle punch {optional} - class numbers set - library sticks label--------->
library sticks
To assemble: {1} Drill tiny holes in the stir sticks IF you want to attach ribbon. {2} Spray paint stir sticks. Let dry. {3} Tie on ribbon, if desired. {4} Prepare class numbers and library label following steps #1-3 from the “pick me” pot directions {5} Hot glue the numbers onto stir sticks. {5} Hot glue library label to the front of a
container. Done!!
+acupcakefortheteacher

If you have any questions, please email me at [email protected]
For more sweet ideas, crafts, & more, visit my teaching blog!
{All ideas featured in this unit are mine unless otherwise stated. Please be
respectful of the content. Please do not copy or sell these ideas as yours. Intended
for single classroom use only.}
© A Cupcake for the Teacher
Graphics/Fonts: Goodness & Fun at MyGrafico.com


