CND Holiday Charmed 2013 Nail Looks Print these instructions out and take them to your salon! CND Peppermint Sparkle CND SUPPLIES ✦CND Shellac Base Coat ✦CND Shellac Colors: ✦Scarlet Letter ✦Ice Vaper ✦CND Shellac Top Coat ✦CND Additive in Silver Frost Pigment Effect ✦CND ProSeries Gel Oval Brush ✦CND UV Lamp ART SUPPLIES ✦Detail Brush ✦Swarovski Crystals ✦99% Isopropyl Alcohol INSTRUCTIONS 1. P.R.E.P. the natural nail. (For details see our “CND Shellac” Step-by-Steps.) 2. Apply a thin layer of CND Shellac Base Coat and cure for 10 seconds in the CND UV Lamp. 3. Apply two layers of CND Shellac Ice Vapor. Cure each layer for two minutes. 4. Apply a thin layer of Shellac Scarlet Letter diagonally across the nail. Cure for two minutes. 5. Dip the tip of a dry Gel Flat Oval Brush into Additives Silver Frost and lightly burnish around cuticle and extension edge into the Ice Vapor. 6. Apply a thin layer of CND Shellac Top Coat. DO NOT CURE. 7. Place a Swarovski crystal at the upper left center of the Scarlet Letter color. Cure for two minutes. 8. (Optional.) Using a detail brush, carefully encase the edges of the crystal with a thin layer of CND Shellac Top Coat. Cure for two minutes. 9. Wipe with 99% Isopropyl Alcohol to remove top film.
Transcript
CND Holiday Charmed 2013 Nail Looks
Print these instructions out and take them to your salon!
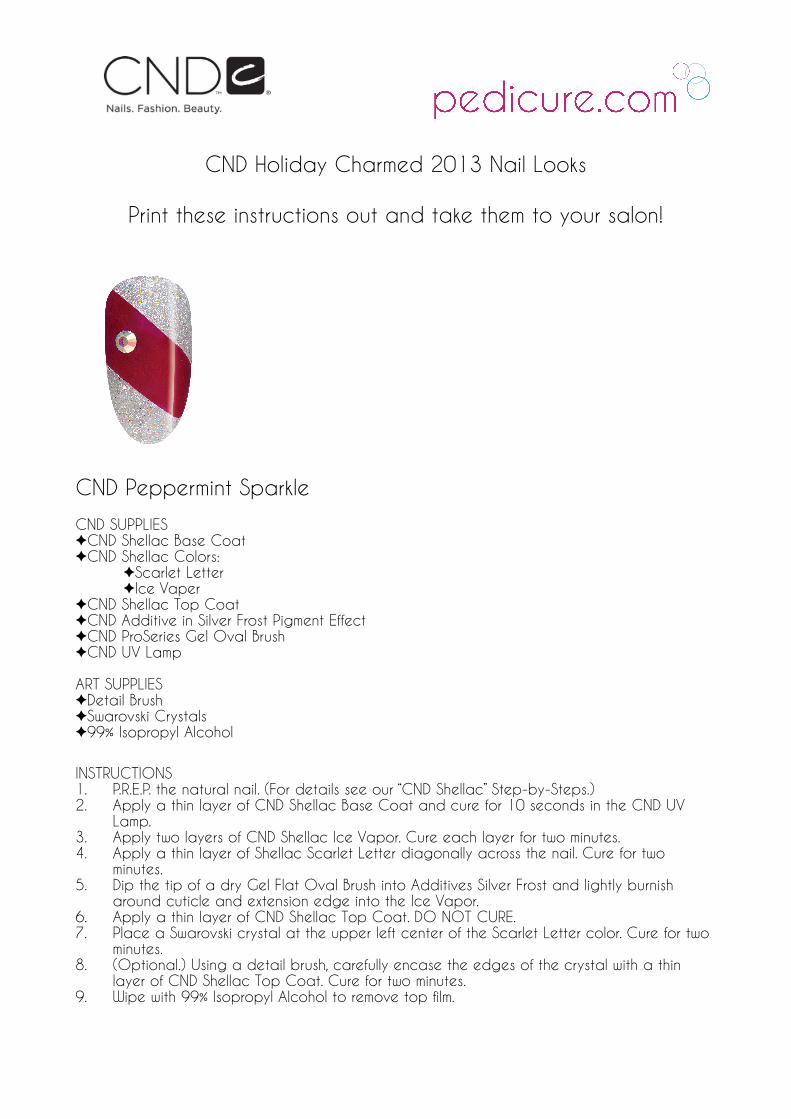
CND Peppermint Sparkle
CND SUPPLIES ✦CND Shellac Base Coat ✦CND Shellac Colors:
✦Scarlet Letter✦Ice Vaper
✦CND Shellac Top Coat✦CND Additive in Silver Frost Pigment Effect ✦CND ProSeries Gel Oval Brush ✦CND UV Lamp
ART SUPPLIES✦Detail Brush ✦Swarovski Crystals ✦99% Isopropyl Alcohol
INSTRUCTIONS 1. P.R.E.P. the natural nail. (For details see our “CND Shellac” Step-by-Steps.) 2. Apply a thin layer of CND Shellac Base Coat and cure for 10 seconds in the CND UV
Lamp. 3. Apply two layers of CND Shellac Ice Vapor. Cure each layer for two minutes. 4. Apply a thin layer of Shellac Scarlet Letter diagonally across the nail. Cure for two
minutes. 5. Dip the tip of a dry Gel Flat Oval Brush into Additives Silver Frost and lightly burnish
around cuticle and extension edge into the Ice Vapor. 6. Apply a thin layer of CND Shellac Top Coat. DO NOT CURE. 7. Place a Swarovski crystal at the upper left center of the Scarlet Letter color. Cure for two
minutes. 8. (Optional.) Using a detail brush, carefully encase the edges of the crystal with a thin
layer of CND Shellac Top Coat. Cure for two minutes. 9. Wipe with 99% Isopropyl Alcohol to remove top film.
CND Gleaming Garland
CND SUPPLIES ✦Brisa Lite Removable Top Coat ✦Brisa Lite Removable Sculpting Gel Clear ✦Brisa Lite Removable Base Coat ✦CND Performance Forms Clear ✦CND Additives:
ART SUPPLIES ✦Swarovski Crystals ✦Spatula or Orangewood Stick ✦Detail Brush ✦Mixing Tray ✦99% Isopropyl Alcohol
INSTRUCTIONS 1. P.E.P. the natural nail and apply a CND Clear Performance Form. Apply a Brisa Lite Clear
Gel enhancement and finish with the 180 side of the Blizzard File. (For details, see our “Brisa Lite Removable Gel Enhancements Sculpted on a Form” Step-by-Step.)
2. Mix Additives and Brisa Lite Clear Gel on a mixing tray to create the design’s colors. Gently stir together using a spatula or an orangewood stick until thoroughly mixed. Use a slow, steady motion to avoid creating bubbles. To maintain the integrity of the enhancement never mix more than 30% Additives to any gel blend.
3. Silver - 3 parts Brisa Lite Sculpting Gel Clear - 1 part Additives Icicles Effect 4. Apply a thin layer of Silver mixture to the entire nail. Cure for two minutes in the CND UV
Lamp. 5. Dip the tip of a dry Gel Flat Oval Brush into Additives Gilded Gleam and lightly burnish
into 2/3 of the nail, starting at the cuticle line, leaving the extension edge silver. Clean brush thoroughly. 6.
6. Apply a thin layer of Brisa Lite Removable Top Coat. 7. Apply Swarovski crystals in desired pattern into wet Top Coat and cure for two minutes. 8. (Optional) Using a detail brush, encase the edges of the crystals with Brisa Lite
Removable Top Coat. Cure for two minutes. 9. Wipe with 99% Isopropyl Alcohol to remove top film.
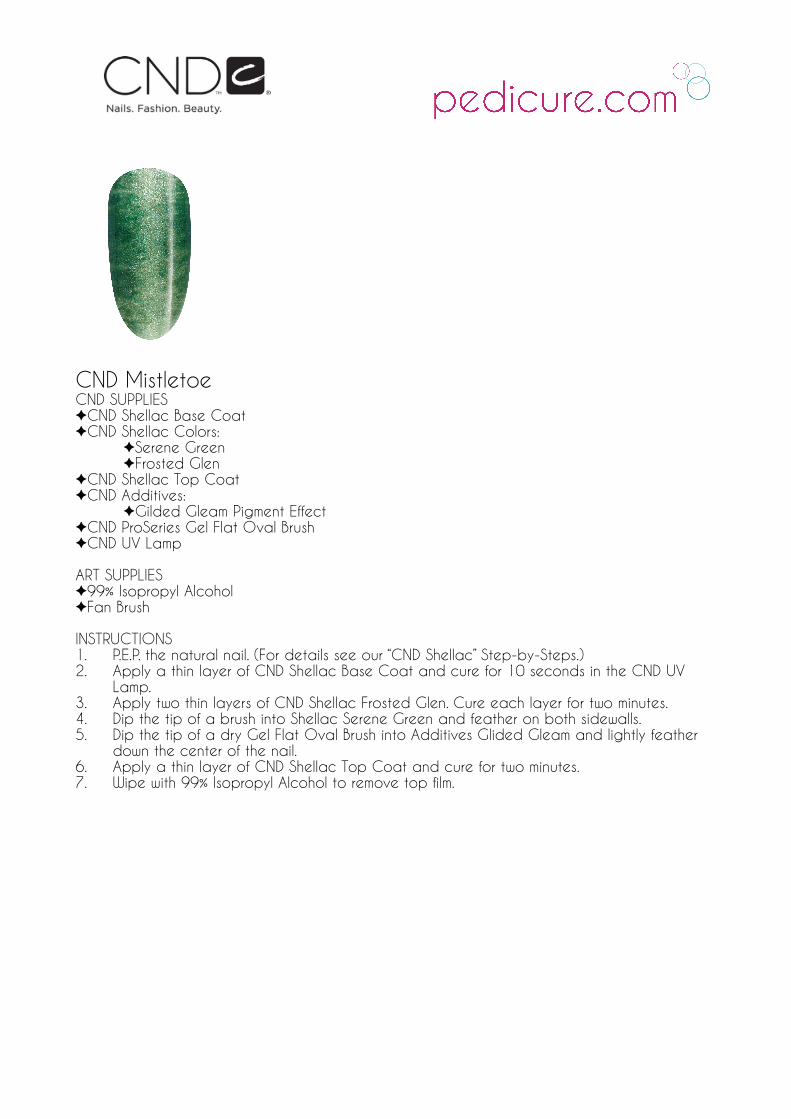
CND MistletoeCND SUPPLIES ✦CND Shellac Base Coat ✦CND Shellac Colors:
INSTRUCTIONS 1. P.E.P. the natural nail. (For details see our “CND Shellac” Step-by-Steps.) 2. Apply a thin layer of CND Shellac Base Coat and cure for 10 seconds in the CND UV
Lamp. 3. Apply two thin layers of CND Shellac Frosted Glen. Cure each layer for two minutes. 4. Dip the tip of a brush into Shellac Serene Green and feather on both sidewalls. 5. Dip the tip of a dry Gel Flat Oval Brush into Additives Glided Gleam and lightly feather
down the center of the nail. 6. Apply a thin layer of CND Shellac Top Coat and cure for two minutes. 7. Wipe with 99% Isopropyl Alcohol to remove top film.
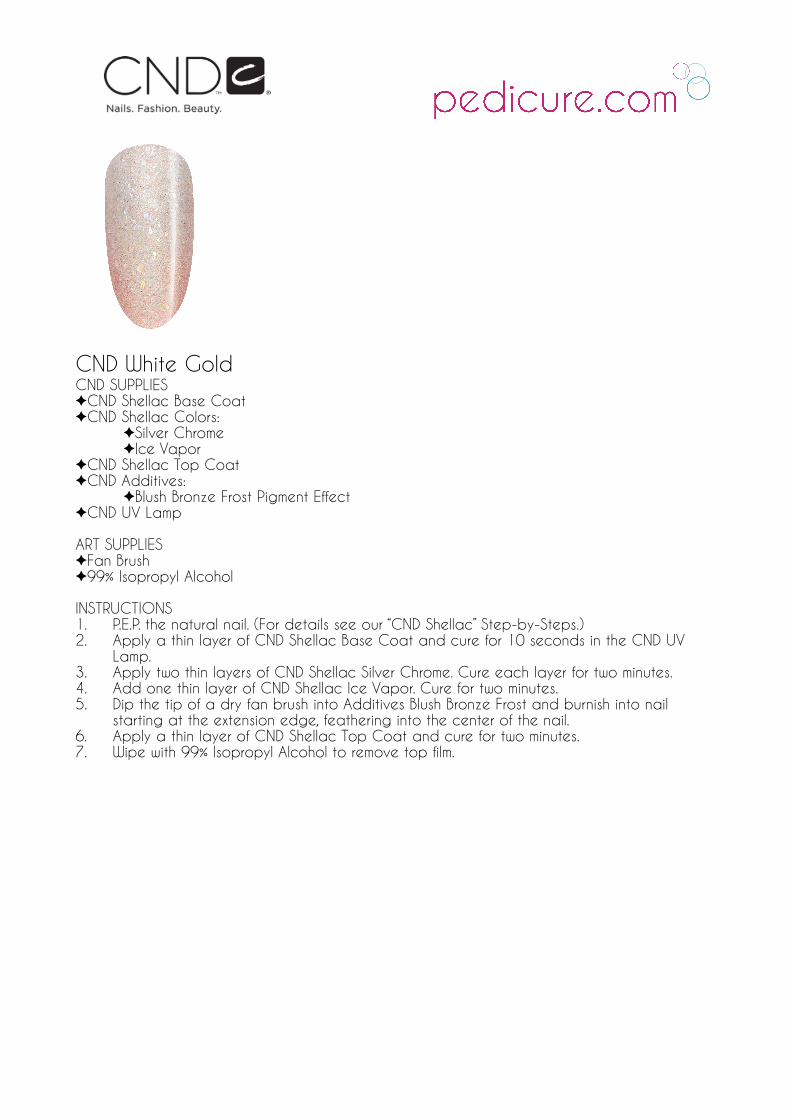
CND White GoldCND SUPPLIES ✦CND Shellac Base Coat ✦CND Shellac Colors:
✦Silver Chrome✦Ice Vapor
✦CND Shellac Top Coat✦CND Additives:
✦Blush Bronze Frost Pigment Effect✦CND UV Lamp
ART SUPPLIES✦Fan Brush✦99% Isopropyl Alcohol
INSTRUCTIONS 1. P.E.P. the natural nail. (For details see our “CND Shellac” Step-by-Steps.) 2. Apply a thin layer of CND Shellac Base Coat and cure for 10 seconds in the CND UV
Lamp. 3. Apply two thin layers of CND Shellac Silver Chrome. Cure each layer for two minutes. 4. Add one thin layer of CND Shellac Ice Vapor. Cure for two minutes. 5. Dip the tip of a dry fan brush into Additives Blush Bronze Frost and burnish into nail
starting at the extension edge, feathering into the center of the nail. 6. Apply a thin layer of CND Shellac Top Coat and cure for two minutes. 7. Wipe with 99% Isopropyl Alcohol to remove top film.
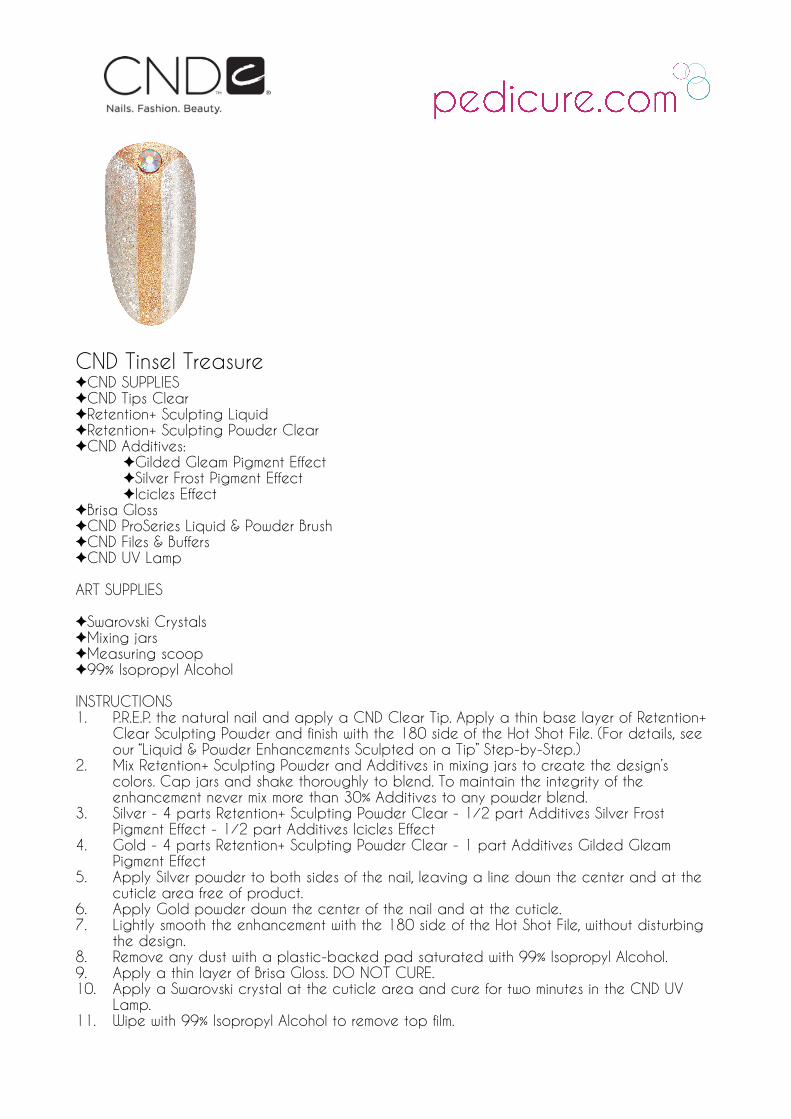
INSTRUCTIONS 1. P.R.E.P. the natural nail and apply a CND Clear Tip. Apply a thin base layer of Retention+
Clear Sculpting Powder and finish with the 180 side of the Hot Shot File. (For details, see our “Liquid & Powder Enhancements Sculpted on a Tip” Step-by-Step.)
2. Mix Retention+ Sculpting Powder and Additives in mixing jars to create the design’s colors. Cap jars and shake thoroughly to blend. To maintain the integrity of the enhancement never mix more than 30% Additives to any powder blend.
3. Silver - 4 parts Retention+ Sculpting Powder Clear - 1⁄2 part Additives Silver Frost Pigment Effect - 1⁄2 part Additives Icicles Effect
4. Gold - 4 parts Retention+ Sculpting Powder Clear - 1 part Additives Gilded Gleam Pigment Effect
5. Apply Silver powder to both sides of the nail, leaving a line down the center and at the cuticle area free of product.
6. Apply Gold powder down the center of the nail and at the cuticle. 7. Lightly smooth the enhancement with the 180 side of the Hot Shot File, without disturbing
the design. 8. Remove any dust with a plastic-backed pad saturated with 99% Isopropyl Alcohol. 9. Apply a thin layer of Brisa Gloss. DO NOT CURE. 10. Apply a Swarovski crystal at the cuticle area and cure for two minutes in the CND UV
Lamp. 11. Wipe with 99% Isopropyl Alcohol to remove top film.

![Rock the [nail product]Vote! · 2019-02-05 · favorite polish/nail color 1. OPI Products: Nail Lacquer 2. Essie: Nail Lacquer collection 3. China Glaze: Nail Lacquer 4. CND: Nail](https://static.documents.pub/doc/80x56/5f1ec1d9d40da55eed45b4f4/rock-the-nail-productvote-2019-02-05-favorite-polishnail-color-1-opi-products.jpg)


