74
A PRACTICAL INTRODUCTION TO CONTAINER SECURITY Bob Kozdemba Principal Domain Architect Dan Walsh Senior Consulting Engineer May 2017
A PRACTICAL INTRODUCTION TO CONTAINER SECURITY
Bob KozdembaPrincipal Domain Architect
Dan WalshSenior Consulting Engineer
May 2017
A Practical Introduction to Container Security
ABSTRACT
Linux containers provide convenient application packing and run-time isolation in multi-tenant environments. However, the security implications of running containerized applications is often taken for granted. For example, today it is very easy to pull Docker images from the internet and run them in the enterprise without examining their content and authenticity. In this lab, you'll complete a series of hands on exercises aimed at understanding the concepts, challenges and best practices associated with deploying containers in a secure fashion.
A Practical Introduction to Container Security
OVERVIEW/PREREQUISITES
This lab session is a low-level, hands-on introduction to container security using Red Hat Enterprise Linux 7. It can be delivered by an instructor or consumed as a series of self paced exercises.
The prerequisites include:● Fundamental user and administrative Red Hat Enterprise Linux concepts ● Basic text editing skills using vim or nano● An introductory knowledge of Docker is helpful.
A Practical Introduction to Container Security
COURSE OUTLINE
● Lab 0: Environment● Lab 1: Configuration● Lab 2: Authorization● Lab 3: Isolation● Lab 4: SELinux and Containers● Lab 5: Inspecting Content● Lab 5a: Trust and Signing● Lab 6: The Atomic Scanner● Lab 7: Custom Scanners
A Practical Introduction to Container Security
LAB 0: ENVIRONMENT
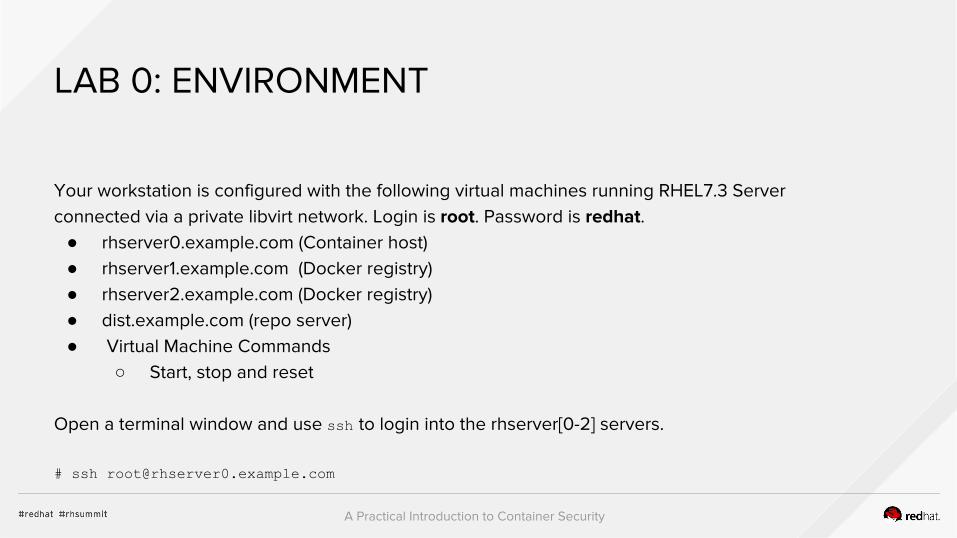
Your workstation is configured with the following virtual machines running RHEL7.3 Server connected via a private libvirt network. Login is root. Password is redhat.
● rhserver0.example.com (Container host)● rhserver1.example.com (Docker registry)● rhserver2.example.com (Docker registry)● dist.example.com (repo server)● Virtual Machine Commands
○ Start, stop and reset
Open a terminal window and use ssh to login into the rhserver[0-2] servers.
# ssh [email protected]
A Practical Introduction to Container Security
LAB 1: CONFIGURATIONOverview
During this lab you will configure rhserver1 and rhserver2 as docker registries. Most of the remaining lab exercises will be performed on the rhserver0 server.
A Practical Introduction to Container Security
LAB 1: CONFIGURATIONDocker registry and firewall
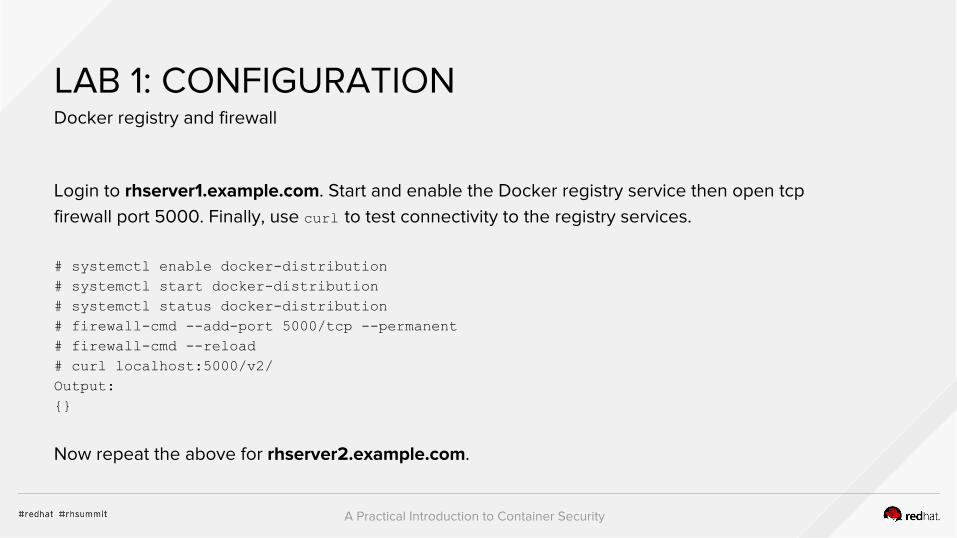
Login to rhserver1.example.com. Start and enable the Docker registry service then open tcp firewall port 5000. Finally, use curl to test connectivity to the registry services.
# systemctl enable docker-distribution# systemctl start docker-distribution# systemctl status docker-distribution# firewall-cmd --add-port 5000/tcp --permanent# firewall-cmd --reload# curl localhost:5000/v2/Output:{}
Now repeat the above for rhserver2.example.com.
A Practical Introduction to Container Security
LAB 1: CONFIGURATIONDocker service
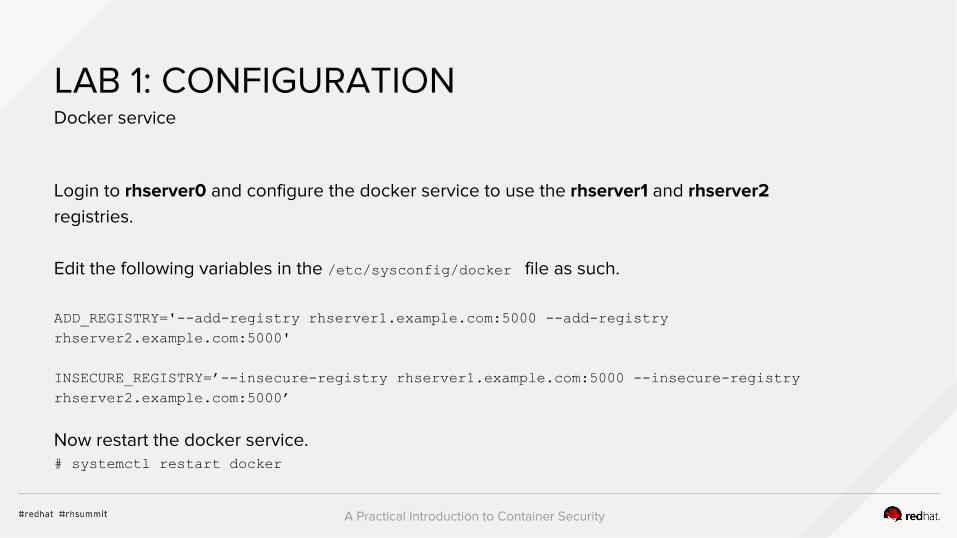
Login to rhserver0 and configure the docker service to use the rhserver1 and rhserver2 registries.
Edit the following variables in the /etc/sysconfig/docker file as such.
ADD_REGISTRY='--add-registry rhserver1.example.com:5000 --add-registry rhserver2.example.com:5000'
INSECURE_REGISTRY=’--insecure-registry rhserver1.example.com:5000 --insecure-registry rhserver2.example.com:5000’
Now restart the docker service.# systemctl restart docker
A Practical Introduction to Container Security
LAB 1: CONFIGURATIONTesting the registry
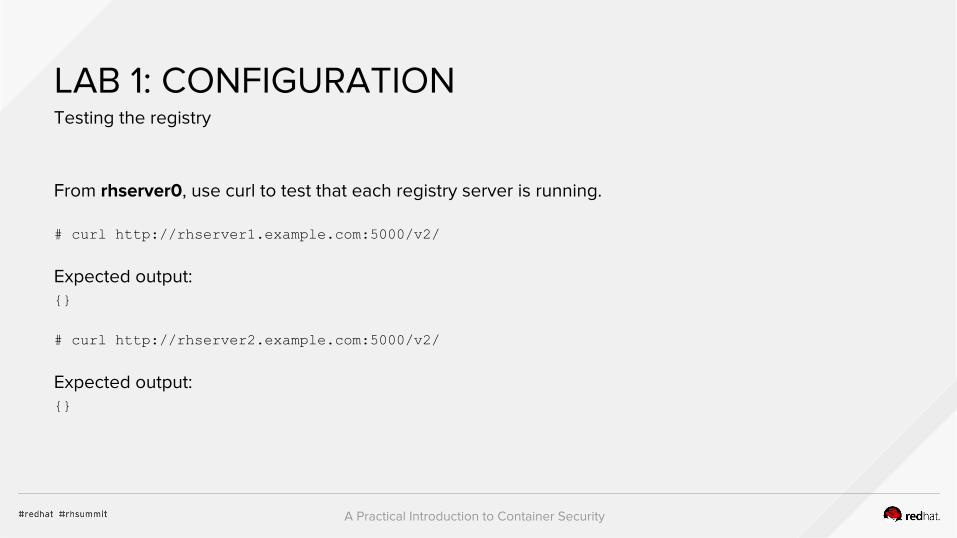
From rhserver0, use curl to test that each registry server is running.
# curl http://rhserver1.example.com:5000/v2/
Expected output:{}
# curl http://rhserver2.example.com:5000/v2/
Expected output:{}
A Practical Introduction to Container Security
LAB 1: CONFIGURATIONTagging and pushing images to a remote registry
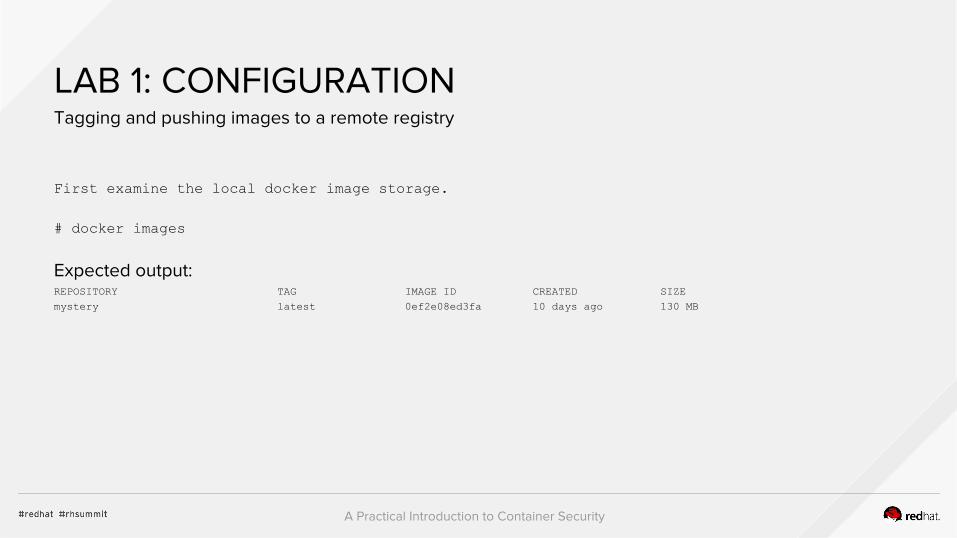
First examine the local docker image storage.
# docker images
Expected output:REPOSITORY TAG IMAGE ID CREATED SIZEmystery latest 0ef2e08ed3fa 10 days ago 130 MB
A Practical Introduction to Container Security
LAB 1: CONFIGURATIONTagging and pushing images to a remote registry
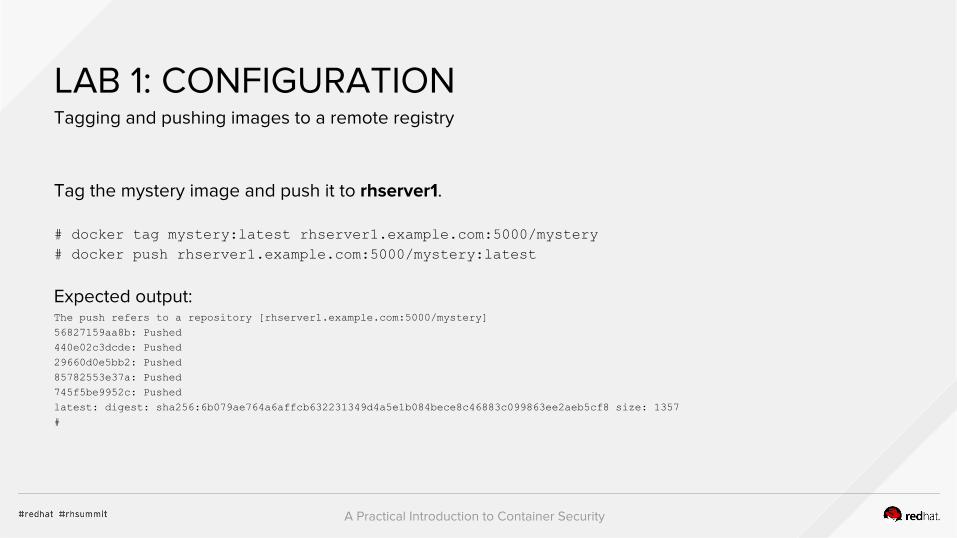
Tag the mystery image and push it to rhserver1.
# docker tag mystery:latest rhserver1.example.com:5000/mystery# docker push rhserver1.example.com:5000/mystery:latest
Expected output:The push refers to a repository [rhserver1.example.com:5000/mystery]56827159aa8b: Pushed 440e02c3dcde: Pushed 29660d0e5bb2: Pushed 85782553e37a: Pushed 745f5be9952c: Pushed latest: digest: sha256:6b079ae764a6affcb632231349d4a5e1b084bece8c46883c099863ee2aeb5cf8 size: 1357#
A Practical Introduction to Container Security
LAB 1: CONFIGURATIONPulling images from a remote registry
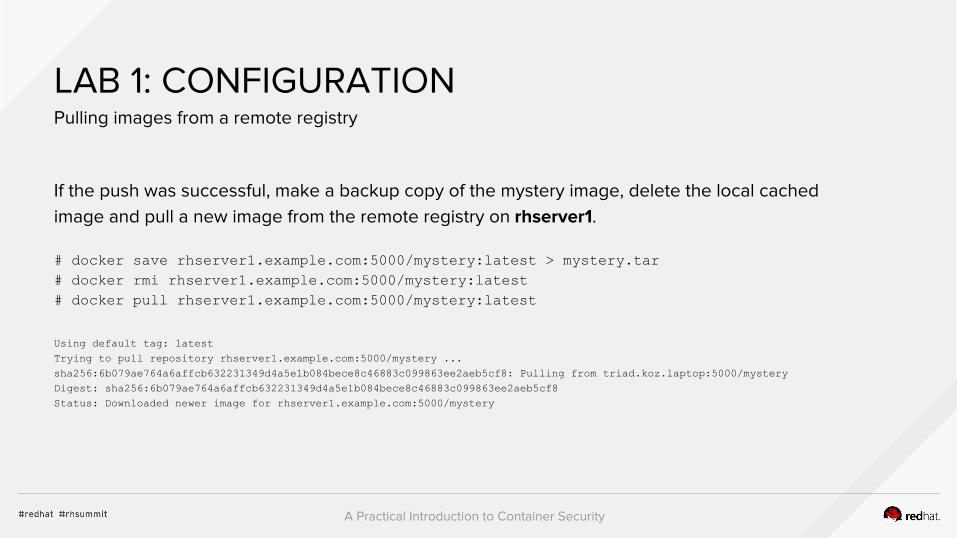
If the push was successful, make a backup copy of the mystery image, delete the local cached image and pull a new image from the remote registry on rhserver1.
# docker save rhserver1.example.com:5000/mystery:latest > mystery.tar# docker rmi rhserver1.example.com:5000/mystery:latest# docker pull rhserver1.example.com:5000/mystery:latest
Using default tag: latestTrying to pull repository rhserver1.example.com:5000/mystery ... sha256:6b079ae764a6affcb632231349d4a5e1b084bece8c46883c099863ee2aeb5cf8: Pulling from triad.koz.laptop:5000/mysteryDigest: sha256:6b079ae764a6affcb632231349d4a5e1b084bece8c46883c099863ee2aeb5cf8Status: Downloaded newer image for rhserver1.example.com:5000/mystery
A Practical Introduction to Container Security
LAB 2: AUTHORIZATIONOverview
The Docker software that ships with RHEL has the ability to block remote registries. For example, in a production environment you might want to prevent users from pulling random containers from the public internet by blocking Docker Hub (docker.io). During this lab you will configure docker on rhserver0 to block the registry on rhserver2, then try to pull or run the image from the blocked registry.
A Practical Introduction to Container Security
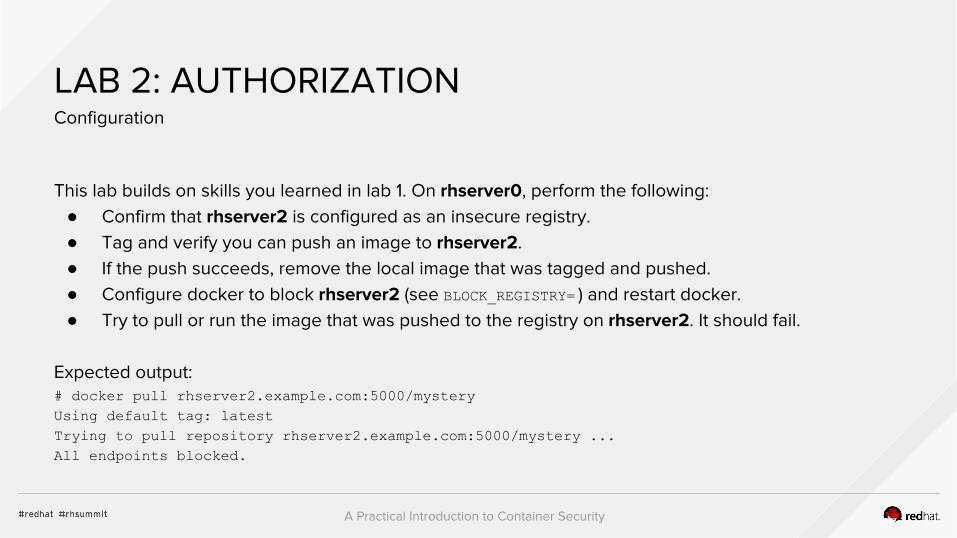
LAB 2: AUTHORIZATIONConfiguration
This lab builds on skills you learned in lab 1. On rhserver0, perform the following:● Confirm that rhserver2 is configured as an insecure registry.● Tag and verify you can push an image to rhserver2.● If the push succeeds, remove the local image that was tagged and pushed.● Configure docker to block rhserver2 (see BLOCK_REGISTRY= ) and restart docker.● Try to pull or run the image that was pushed to the registry on rhserver2. It should fail.
Expected output:# docker pull rhserver2.example.com:5000/mysteryUsing default tag: latestTrying to pull repository rhserver2.example.com:5000/mystery ... All endpoints blocked.

A Practical Introduction to Container Security
LAB 3: ISOLATIONOverview
Containers provide a certain degree of process isolation via kernel namespaces. In this lab, we’ll examine the capabilities of a process running in a containerized namespace. We’ll begin by running a container and looking at it’s capabilities.
A Practical Introduction to Container Security
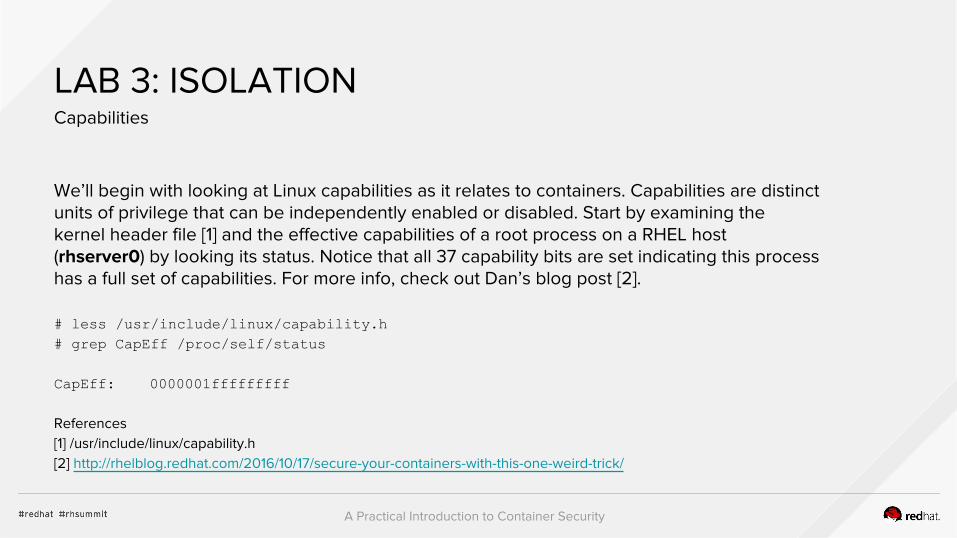
LAB 3: ISOLATIONCapabilities
We’ll begin with looking at Linux capabilities as it relates to containers. Capabilities are distinct units of privilege that can be independently enabled or disabled. Start by examining the kernel header file [1] and the effective capabilities of a root process on a RHEL host (rhserver0) by looking its status. Notice that all 37 capability bits are set indicating this process has a full set of capabilities. For more info, check out Dan’s blog post [2].
# less /usr/include/linux/capability.h# grep CapEff /proc/self/status
CapEff: 0000001fffffffff
References[1] /usr/include/linux/capability.h[2] http://rhelblog.redhat.com/2016/10/17/secure-your-containers-with-this-one-weird-trick/
A Practical Introduction to Container Security
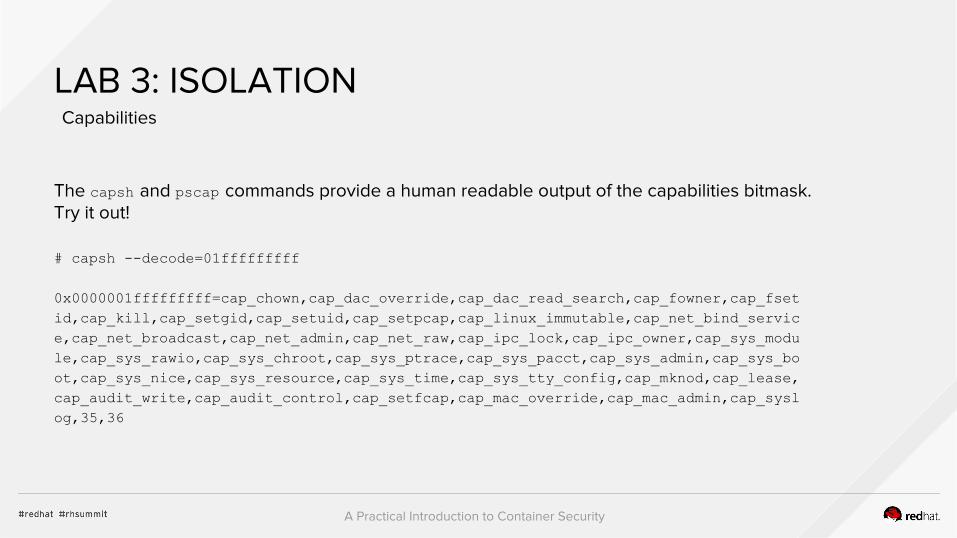
LAB 3: ISOLATIONCapabilities
The capsh and pscap commands provide a human readable output of the capabilities bitmask. Try it out!
# capsh --decode=01fffffffff
0x0000001fffffffff=cap_chown,cap_dac_override,cap_dac_read_search,cap_fowner,cap_fsetid,cap_kill,cap_setgid,cap_setuid,cap_setpcap,cap_linux_immutable,cap_net_bind_service,cap_net_broadcast,cap_net_admin,cap_net_raw,cap_ipc_lock,cap_ipc_owner,cap_sys_module,cap_sys_rawio,cap_sys_chroot,cap_sys_ptrace,cap_sys_pacct,cap_sys_admin,cap_sys_boot,cap_sys_nice,cap_sys_resource,cap_sys_time,cap_sys_tty_config,cap_mknod,cap_lease,cap_audit_write,cap_audit_control,cap_setfcap,cap_mac_override,cap_mac_admin,cap_syslog,35,36
A Practical Introduction to Container Security
LAB 3: ISOLATIONCapabilities
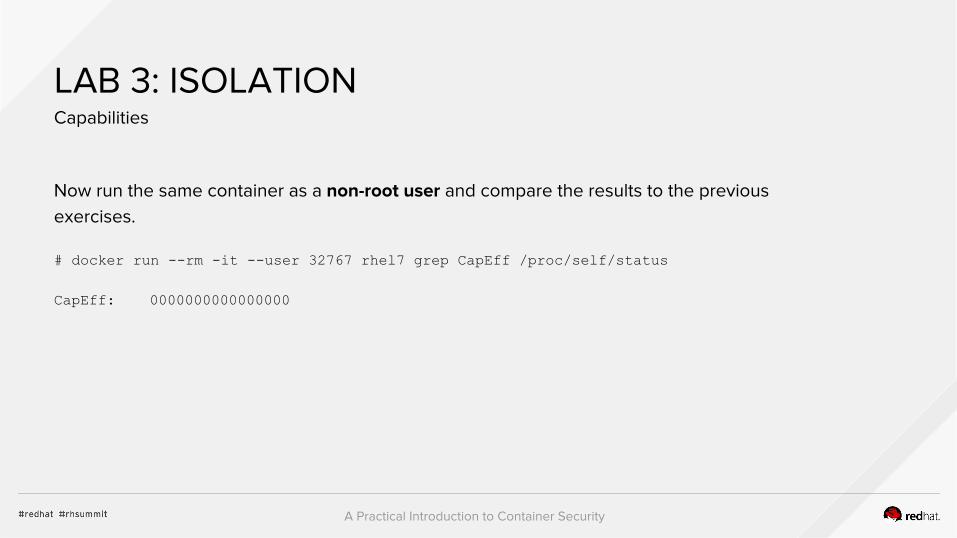
Now run the same container as a non-root user and compare the results to the previous exercises.
# docker run --rm -it --user 32767 rhel7 grep CapEff /proc/self/status
CapEff: 0000000000000000
A Practical Introduction to Container Security
LAB 3: ISOLATIONCapabilities
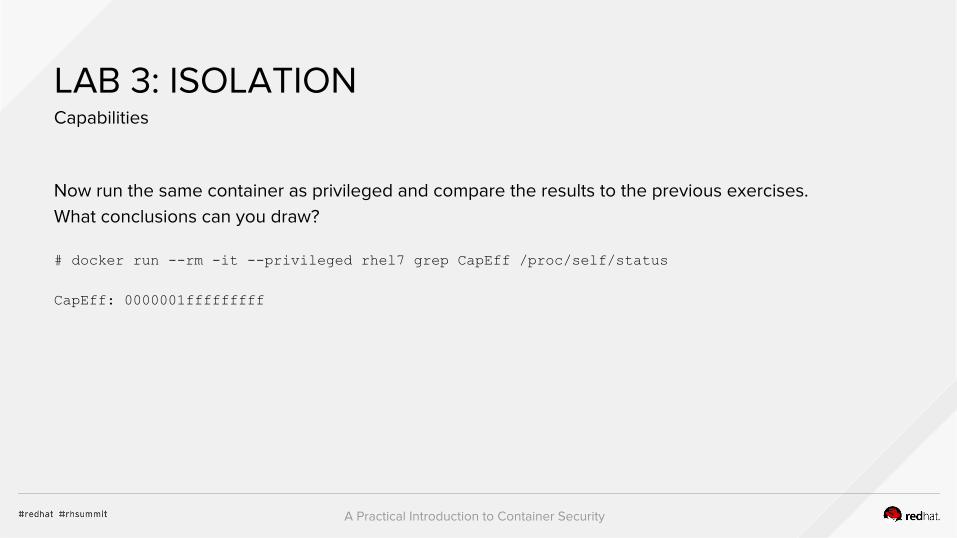
Now run the same container as privileged and compare the results to the previous exercises. What conclusions can you draw?
# docker run --rm -it --privileged rhel7 grep CapEff /proc/self/status
CapEff: 0000001fffffffff
A Practical Introduction to Container Security
LAB 3: ISOLATIONCapabilities
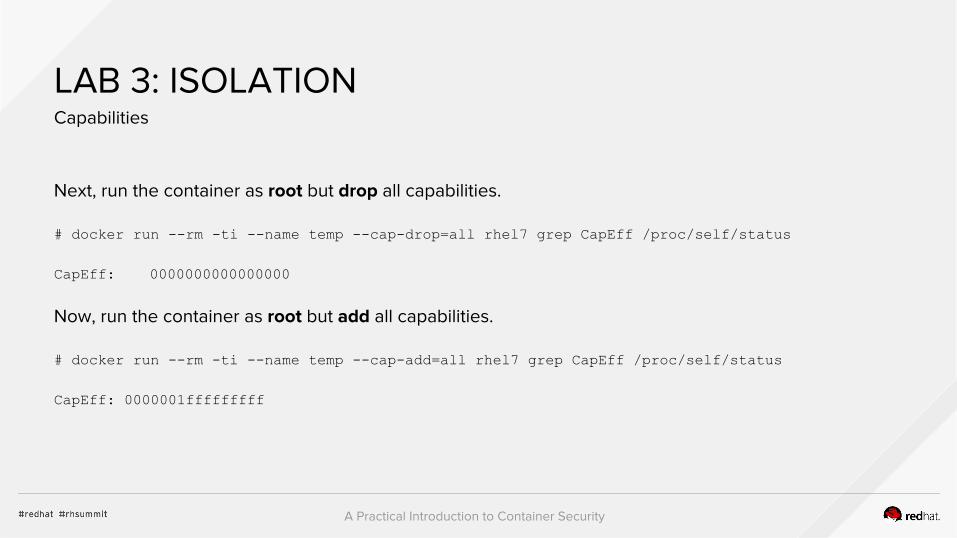
Next, run the container as root but drop all capabilities.
# docker run --rm -ti --name temp --cap-drop=all rhel7 grep CapEff /proc/self/status
CapEff: 0000000000000000
Now, run the container as root but add all capabilities.
# docker run --rm -ti --name temp --cap-add=all rhel7 grep CapEff /proc/self/status
CapEff: 0000001fffffffff
A Practical Introduction to Container Security
LAB 3: ISOLATIONCapabilities
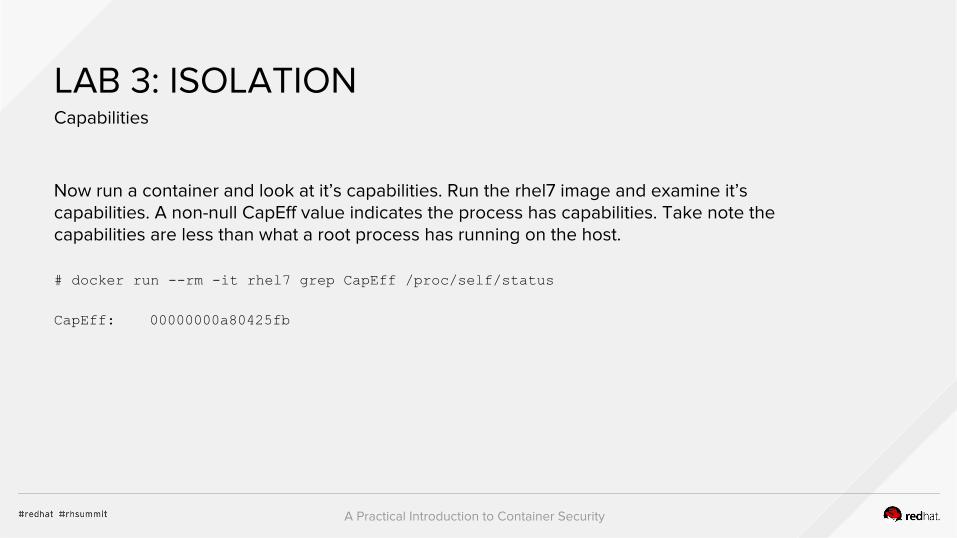
Now run a container and look at it’s capabilities. Run the rhel7 image and examine it’s capabilities. A non-null CapEff value indicates the process has capabilities. Take note the capabilities are less than what a root process has running on the host.
# docker run --rm -it rhel7 grep CapEff /proc/self/status
CapEff: 00000000a80425fb
A Practical Introduction to Container Security
LAB 3: ISOLATIONCapabilities Challenge #1
How could you determine which capabilities docker drops from a process running in a container? One solution is presented on the next slide.
A Practical Introduction to Container Security
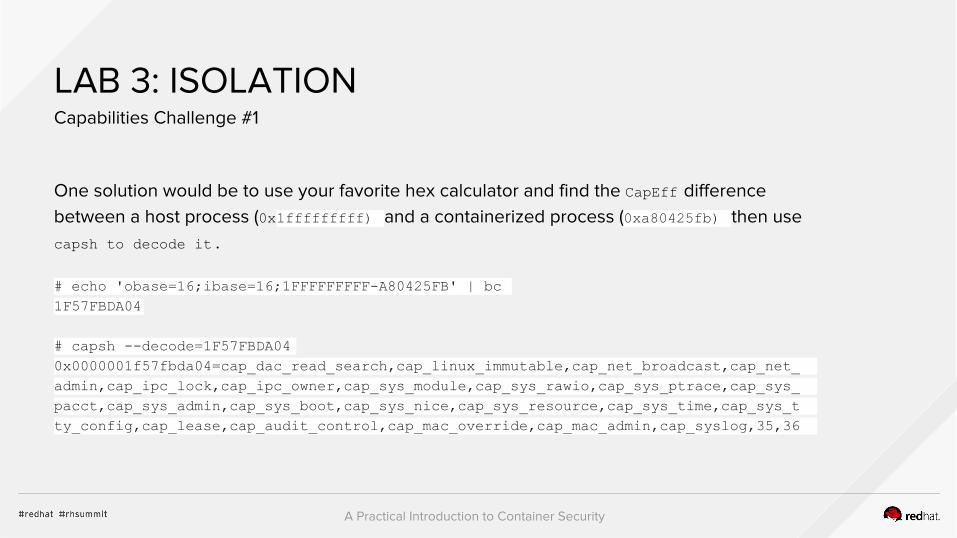
LAB 3: ISOLATIONCapabilities Challenge #1
One solution would be to use your favorite hex calculator and find the CapEff difference between a host process (0x1fffffffff) and a containerized process (0xa80425fb) then use capsh to decode it .
# echo 'obase=16;ibase=16;1FFFFFFFFF-A80425FB' | bc1F57FBDA04
# capsh --decode=1F57FBDA04 0x0000001f57fbda04=cap_dac_read_search,cap_linux_immutable,cap_net_broadcast,cap_net_admin,cap_ipc_lock,cap_ipc_owner,cap_sys_module,cap_sys_rawio,cap_sys_ptrace,cap_sys_pacct,cap_sys_admin,cap_sys_boot,cap_sys_nice,cap_sys_resource,cap_sys_time,cap_sys_tty_config,cap_lease,cap_audit_control,cap_mac_override,cap_mac_admin,cap_syslog,35,36
A Practical Introduction to Container Security
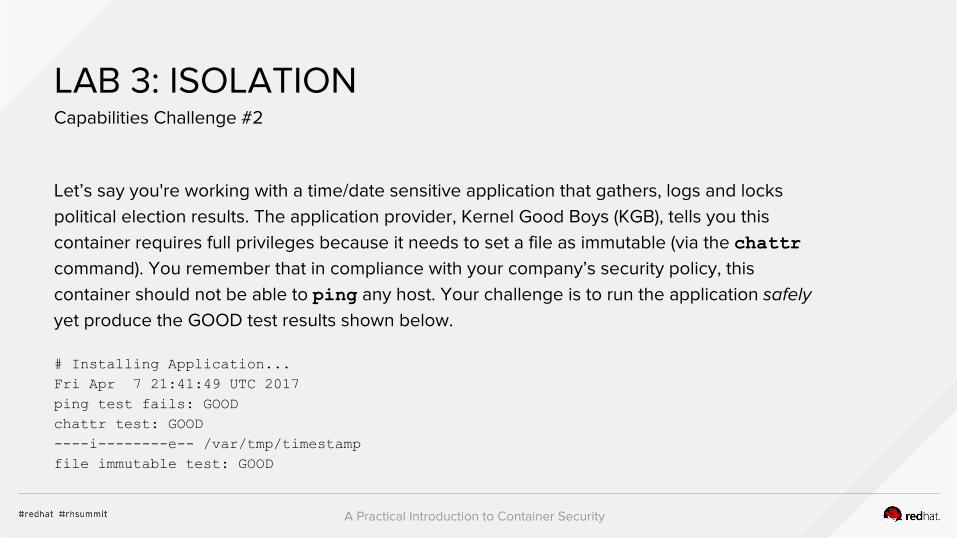
LAB 3: ISOLATIONCapabilities Challenge #2
Let’s say you're working with a time/date sensitive application that gathers, logs and locks political election results. The application provider, Kernel Good Boys (KGB), tells you this container requires full privileges because it needs to set a file as immutable (via the chattr command). You remember that in compliance with your company’s security policy, this container should not be able to ping any host. Your challenge is to run the application safely yet produce the GOOD test results shown below.
# Installing Application...Fri Apr 7 21:41:49 UTC 2017ping test fails: GOODchattr test: GOOD----i--------e-- /var/tmp/timestampfile immutable test: GOOD
A Practical Introduction to Container Security
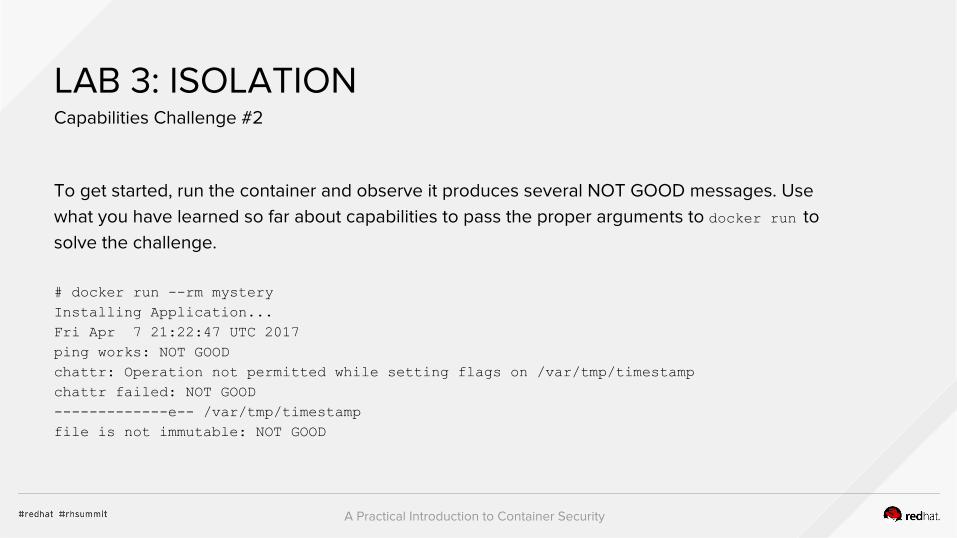
LAB 3: ISOLATIONCapabilities Challenge #2
To get started, run the container and observe it produces several NOT GOOD messages. Use what you have learned so far about capabilities to pass the proper arguments to docker run to solve the challenge.
# docker run --rm mysteryInstalling Application...Fri Apr 7 21:22:47 UTC 2017ping works: NOT GOODchattr: Operation not permitted while setting flags on /var/tmp/timestampchattr failed: NOT GOOD-------------e-- /var/tmp/timestampfile is not immutable: NOT GOOD
A Practical Introduction to Container Security
LAB 3: ISOLATIONCapabilities Challenge #2
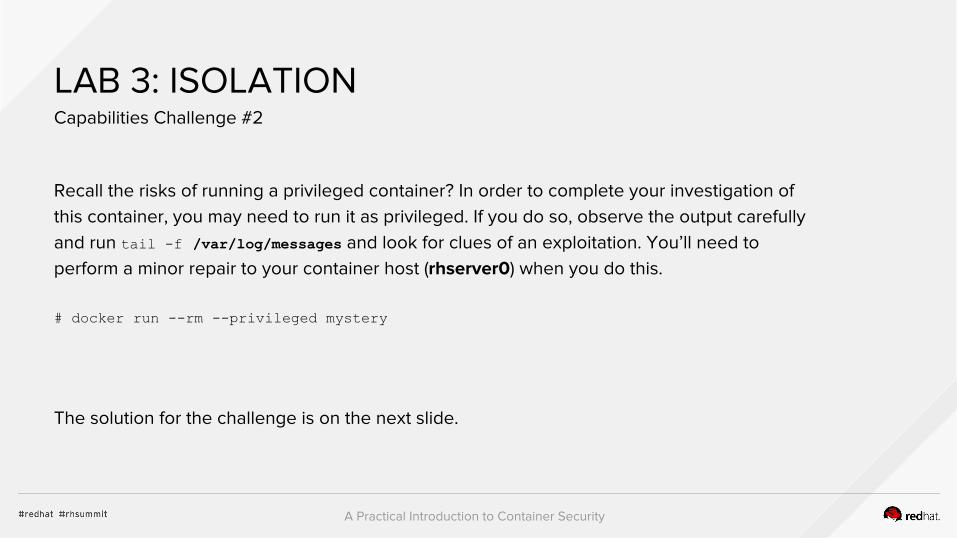
Recall the risks of running a privileged container? In order to complete your investigation of this container, you may need to run it as privileged. If you do so, observe the output carefully and run tail -f /var/log/messages and look for clues of an exploitation. You’ll need to perform a minor repair to your container host (rhserver0) when you do this.
# docker run --rm --privileged mystery
The solution for the challenge is on the next slide.
A Practical Introduction to Container Security
LAB 3: ISOLATIONCapabilities Challenge #2
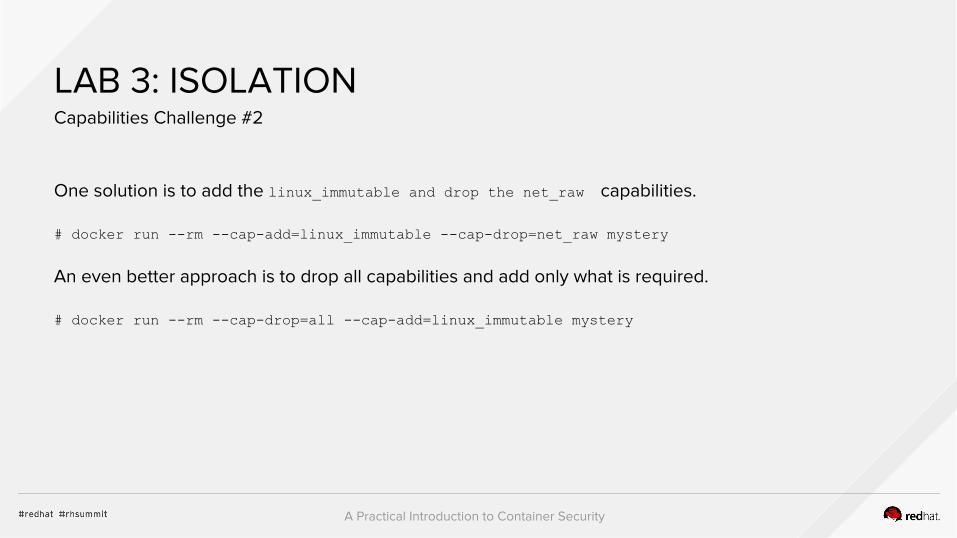
One solution is to add the linux_immutable and drop the net_raw capabilities. # docker run --rm --cap-add=linux_immutable --cap-drop=net_raw mystery
An even better approach is to drop all capabilities and add only what is required.
# docker run --rm --cap-drop=all --cap-add=linux_immutable mystery
A Practical Introduction to Container Security
LAB 3: ISOLATIONCapabilities Challenge #3
Suppose a container had a legitimate reason to change the date (ntpd, license testing, etc) How would you allow a container to change the date on the host? What capabilities are needed to allow this? One solution is on the next slide.
A Practical Introduction to Container Security
LAB 3: ISOLATIONCapabilities Challenge #3
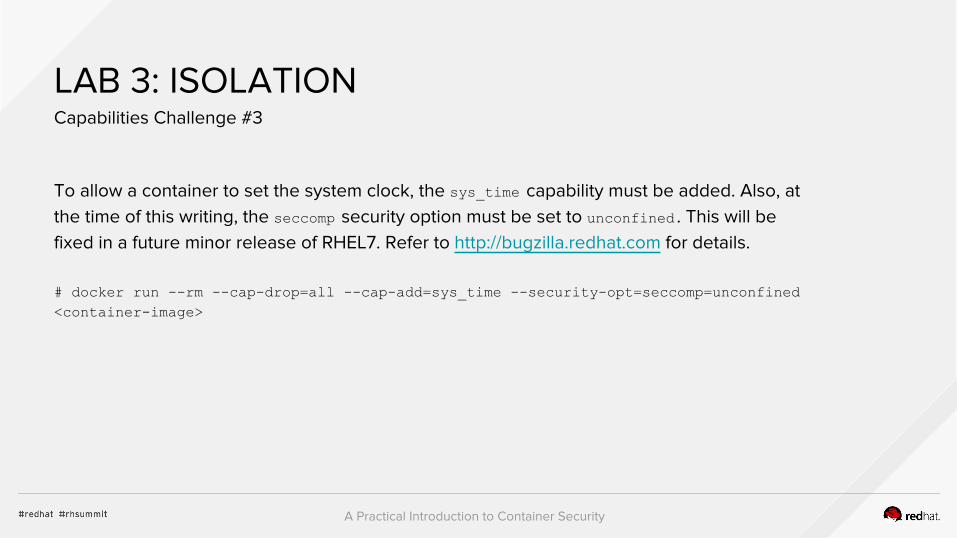
To allow a container to set the system clock, the sys_time capability must be added. Also, at the time of this writing, the seccomp security option must be set to unconfined . This will be fixed in a future minor release of RHEL7. Refer to http://bugzilla.redhat.com for details.
# docker run --rm --cap-drop=all --cap-add=sys_time --security-opt=seccomp=unconfined <container-image>
A Practical Introduction to Container Security
LAB 4: SELINUXOverview
In this section, we’ll cover the basics of SELinux and containers. SELinux policy prevents a lot of break out situations where the other security mechanisms fail. By default, Docker processes are labeled with svirt_lxc_net_t and they are prevented from doing (almost) all SELinux operations. But processes within containers do not know that they are running within a container. SELinux-aware applications are going to attempt to do SELinux operations, especially if they are running as root. With SELinux on Docker, we write a policy that says that the container process running as svirt_lxc_net_t can only read/write files with the svirt_sandbox_file_t label.

A Practical Introduction to Container Security
LAB 4: SELINUX!namespaced
Since we do not want these SELinux aware apps failing, it was decided to make libselinux lie to the container processes. The libselinux library checks if /sys/fs/selinux is mounted onto the system and whether it is mounted read/write. If /sys/fs/selinux is not mounted read/write, libselinux will report to calling applications that SELinux is disabled.
To demonstrate this, run the following command on rhserver0 which attempts to execute an selinux operation:
# docker run --rm rhel7 id -Z
id: --context (-Z) works only on an SELinux-enabled kernel
A Practical Introduction to Container Security
LAB 4: SELINUX!namespaced
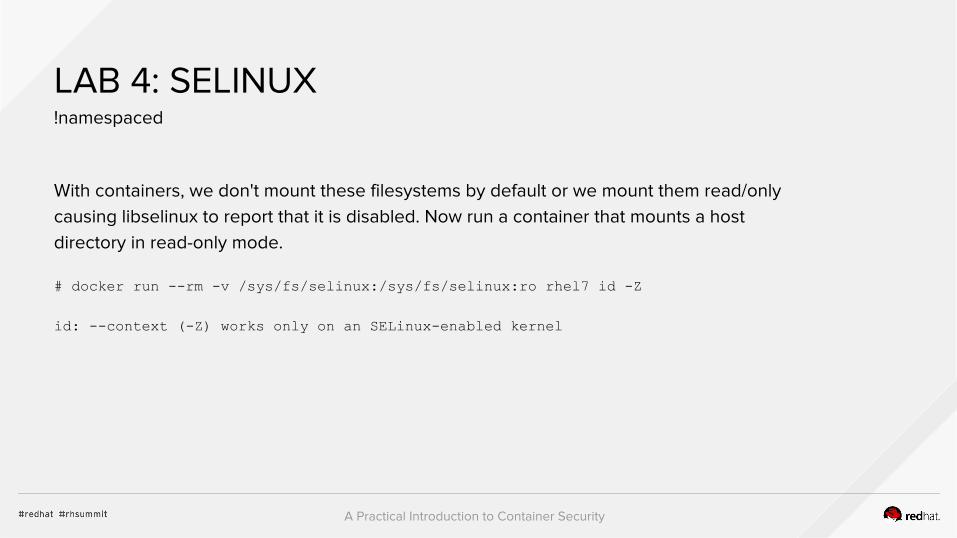
With containers, we don't mount these filesystems by default or we mount them read/only causing libselinux to report that it is disabled. Now run a container that mounts a host directory in read-only mode.
# docker run --rm -v /sys/fs/selinux:/sys/fs/selinux:ro rhel7 id -Z
id: --context (-Z) works only on an SELinux-enabled kernel
A Practical Introduction to Container Security
LAB 4: SELINUX!namespaced
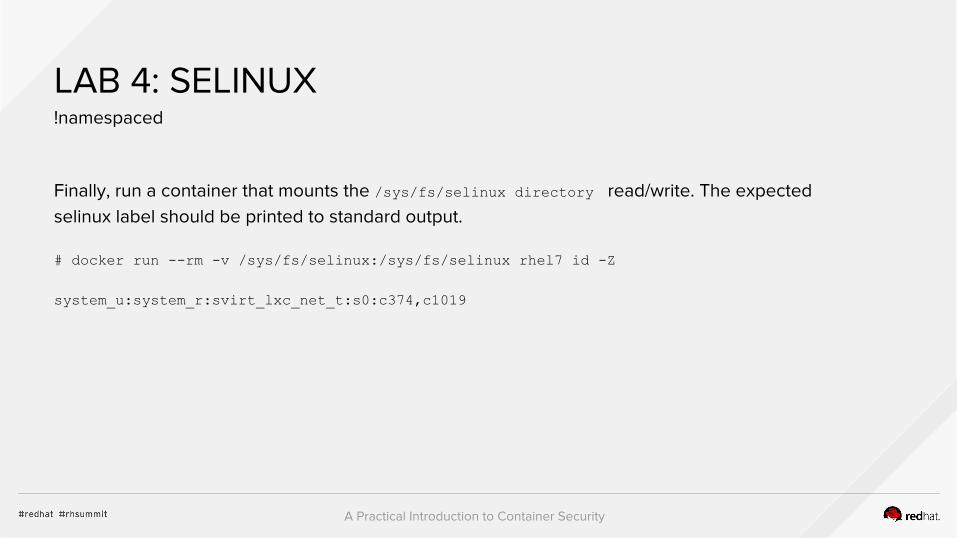
Finally, run a container that mounts the /sys/fs/selinux directory read/write. The expected selinux label should be printed to standard output.
# docker run --rm -v /sys/fs/selinux:/sys/fs/selinux rhel7 id -Z
system_u:system_r:svirt_lxc_net_t:s0:c374,c1019
A Practical Introduction to Container Security
LAB 4: SELINUXBind Mounts
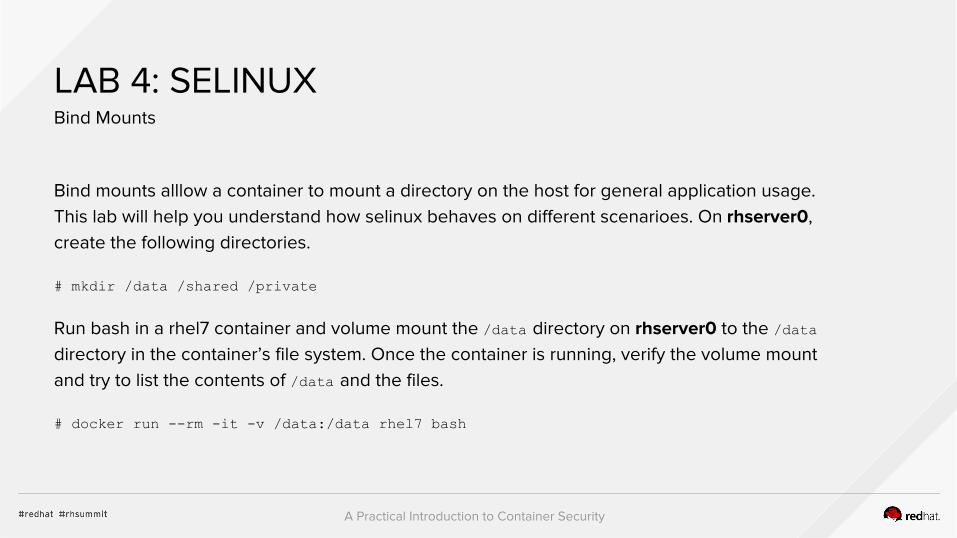
Bind mounts alllow a container to mount a directory on the host for general application usage. This lab will help you understand how selinux behaves on different scenarioes. On rhserver0, create the following directories.
# mkdir /data /shared /private
Run bash in a rhel7 container and volume mount the /data directory on rhserver0 to the /data directory in the container’s file system. Once the container is running, verify the volume mount and try to list the contents of /data and the files.
# docker run --rm -it -v /data:/data rhel7 bash
A Practical Introduction to Container Security
LAB 4: SELINUXBind Mounts
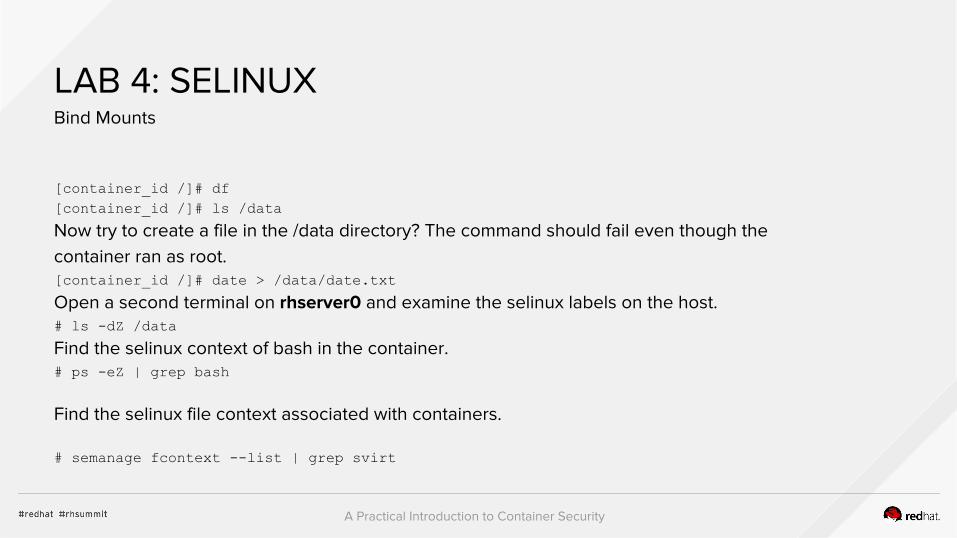
[container_id /]# df[container_id /]# ls /data
Now try to create a file in the /data directory? The command should fail even though the container ran as root.[container_id /]# date > /data/date.txt
Open a second terminal on rhserver0 and examine the selinux labels on the host.# ls -dZ /data
Find the selinux context of bash in the container.# ps -eZ | grep bash
Find the selinux file context associated with containers.
# semanage fcontext --list | grep svirt

A Practical Introduction to Container Security
LAB 4: SELINUXBind Mounts
Notice the bash prompt changes when you enter the container’s namespace. Did the mount succeed? How can you check?
Can you examine the /data directory? How would you troubleshoot this issue?
Try running sealert -a /var/log/audit/audit.log > /tmp/my-selinux-error-solutions.txt on rhserver0 then enter the container and try creating a file in /data as did you before. The sealert tool with analyze the audit.log and reveal some clues about the problem. Have a look at the /tmp/my-selinux-error-solutions.txt to find out more.
A Practical Introduction to Container Security
LAB 4: SELINUXBind Mounts
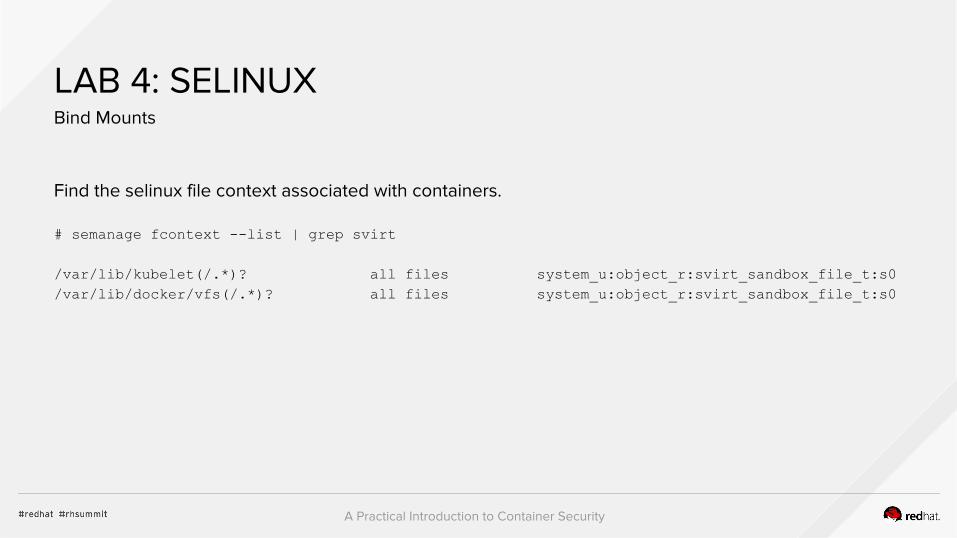
Find the selinux file context associated with containers.
# semanage fcontext --list | grep svirt
/var/lib/kubelet(/.*)? all files system_u:object_r:svirt_sandbox_file_t:s0 /var/lib/docker/vfs(/.*)? all files system_u:object_r:svirt_sandbox_file_t:s0
A Practical Introduction to Container Security
LAB 4: SELINUXBind Mounts
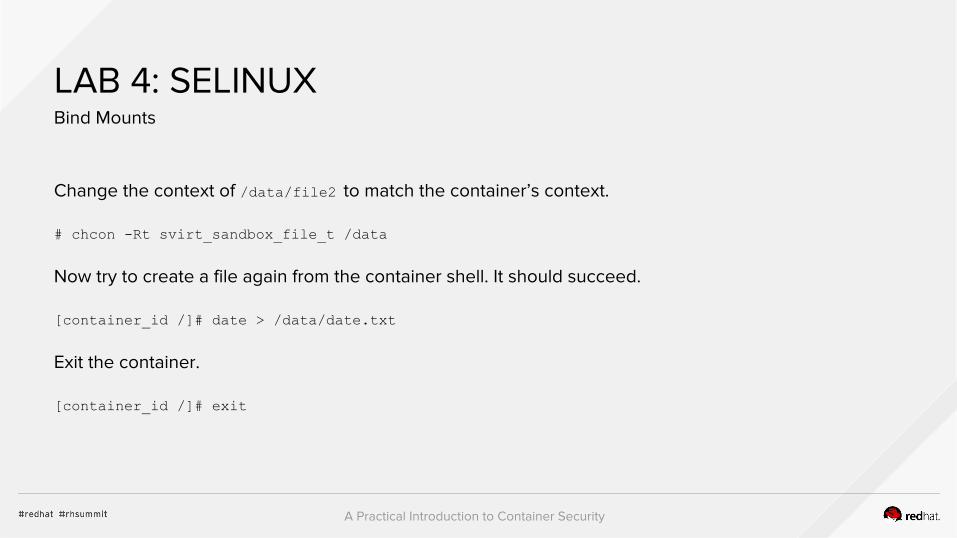
Change the context of /data/file2 to match the container’s context.
# chcon -Rt svirt_sandbox_file_t /data
Now try to create a file again from the container shell. It should succeed.
[container_id /]# date > /data/date.txt
Exit the container.
[container_id /]# exit
A Practical Introduction to Container Security
LAB 4: SELINUXPrivate Mounts
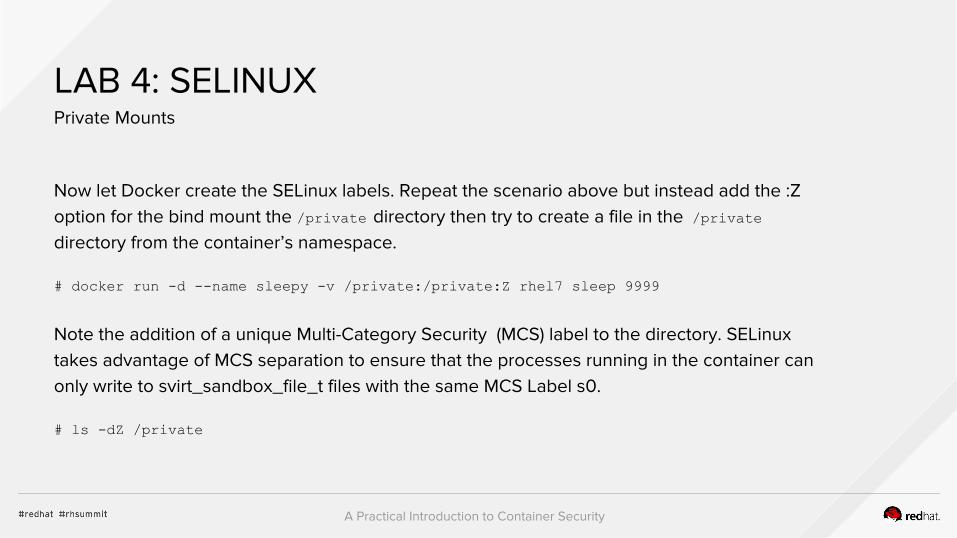
Now let Docker create the SELinux labels. Repeat the scenario above but instead add the :Z option for the bind mount the /private directory then try to create a file in the /private directory from the container’s namespace.
# docker run -d --name sleepy -v /private:/private:Z rhel7 sleep 9999
Note the addition of a unique Multi-Category Security (MCS) label to the directory. SELinux takes advantage of MCS separation to ensure that the processes running in the container can only write to svirt_sandbox_file_t files with the same MCS Label s0.
# ls -dZ /private
A Practical Introduction to Container Security
LAB 4: SELINUXShared Mounts
Repeat the scenario above but instead add the :z option for the bind mount then try to create a file in the /shared directory from the container’s namespace.
# docker run -d --name sleepy -v /shared:/shared:z rhel7 sleep 9999
On rhserver0, notice the SELinux label on the shared directory.
# ls -dZ /shared
A Practical Introduction to Container Security
LAB 4: SELINUXRead-Only Containers
Imagine a scenario where an application gets compromised. The first thing the bad guy wants to do is to write an exploit into the application, so that the next time the application starts up, it starts up with the exploit in place. If the container was read-only it would prevent leaving a backdoor in place and be forced to start the cycle from the beginning.
Docker added a read-only feature but it presents challenges since many applications need to write to temporary directories like /run or /tmp and when these directories are read-only, the apps fail. Red Hat’s approach leverages tmpfs. It's a nice solution to this problem because it eliminates data exposure on the host. As a best practice, run all applications in production with this mode.
A Practical Introduction to Container Security
LAB 4: SELINUXRead-Only Containers
Run a read-only container and specify a few writable file systems using the --tmpfs option. # docker run --rm -ti --name test --read-only --tmpfs /run --tmpfs /tmp rhserver1.example.com:5000/rhel7 bash
Now, try to the following. What fails and what succeeds? Why?
[container_id /]# mkdir /newdir[container_id /]# mkdir /run/newdir
A Practical Introduction to Container Security
LAB 5: INSPECTING CONTENTOverview
Docker images can easily be pulled from any public registry and run on a container host but is this good practice? Do we trust this image and what are its contents? A better approach would be to inspect and scan the image first. The atomic command that ships with RHEL7 Server provides complete scanning functionality for images.
A Practical Introduction to Container Security
LAB 5: INSPECTING CONTENTAtomic diff
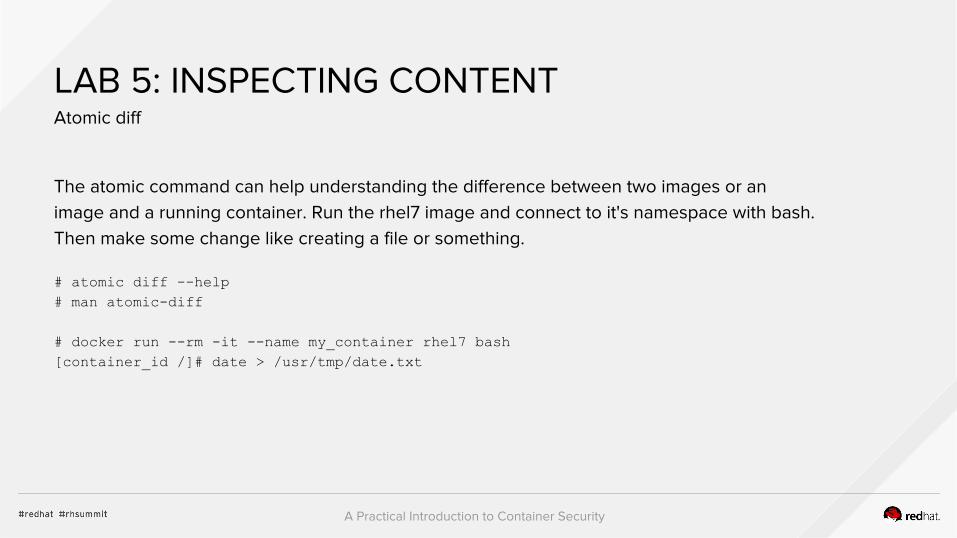
The atomic command can help understanding the difference between two images or an image and a running container. Run the rhel7 image and connect to it's namespace with bash. Then make some change like creating a file or something.
# atomic diff --help# man atomic-diff
# docker run --rm -it --name my_container rhel7 bash[container_id /]# date > /usr/tmp/date.txt
A Practical Introduction to Container Security
LAB 5: INSPECTING CONTENTAtomic diff
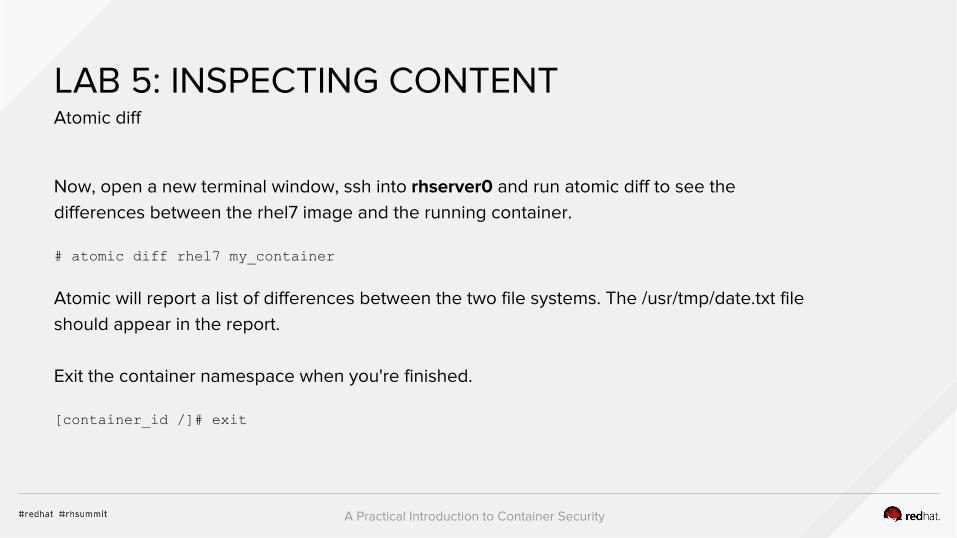
Now, open a new terminal window, ssh into rhserver0 and run atomic diff to see the differences between the rhel7 image and the running container.
# atomic diff rhel7 my_container
Atomic will report a list of differences between the two file systems. The /usr/tmp/date.txt file should appear in the report.
Exit the container namespace when you're finished.
[container_id /]# exit
A Practical Introduction to Container Security
LAB 5: INSPECTING CONTENTAtomic mount
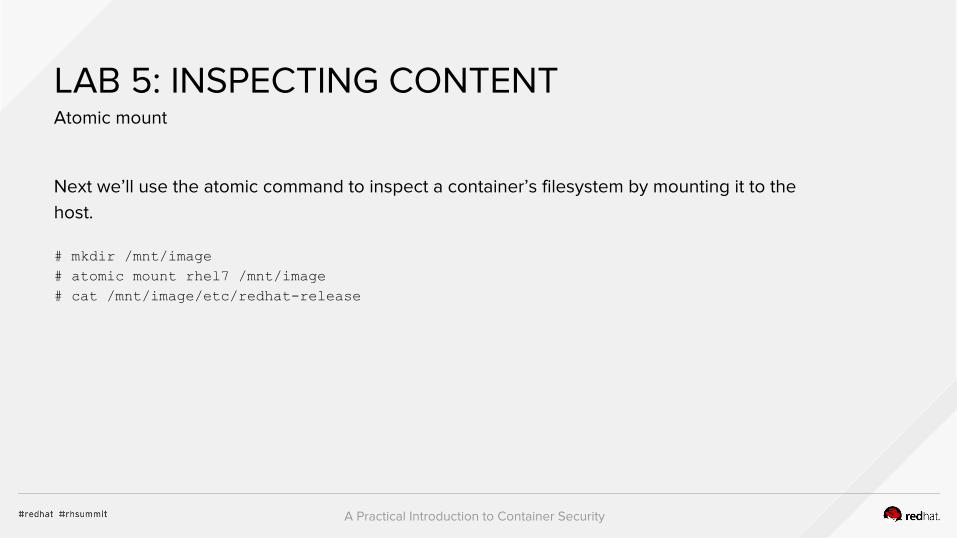
Next we’ll use the atomic command to inspect a container’s filesystem by mounting it to the host.
# mkdir /mnt/image# atomic mount rhel7 /mnt/image# cat /mnt/image/etc/redhat-release
A Practical Introduction to Container Security
LAB 5: INSPECTING CONTENTAtomic mount
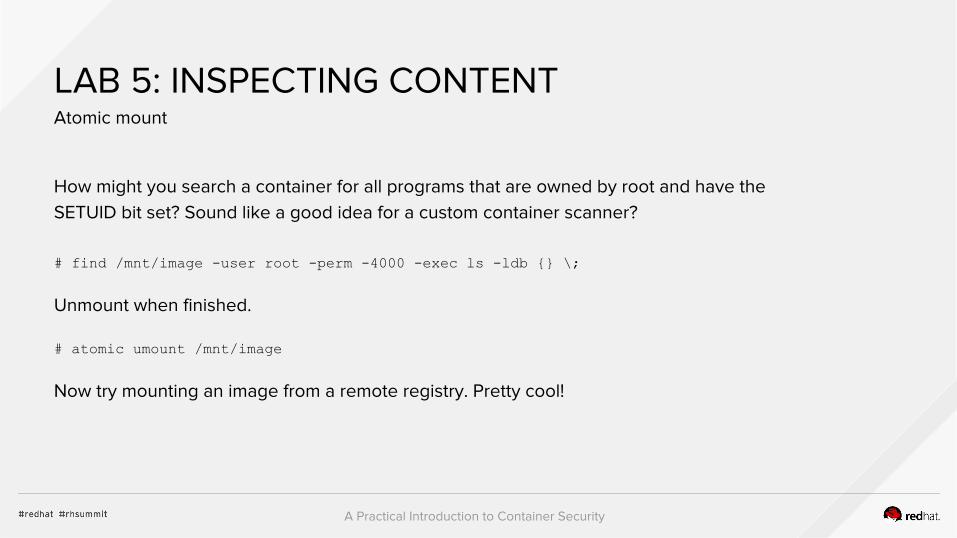
How might you search a container for all programs that are owned by root and have the SETUID bit set? Sound like a good idea for a custom container scanner?
# find /mnt/image -user root -perm -4000 -exec ls -ldb {} \;
Unmount when finished.
# atomic umount /mnt/image
Now try mounting an image from a remote registry. Pretty cool!
A Practical Introduction to Container Security
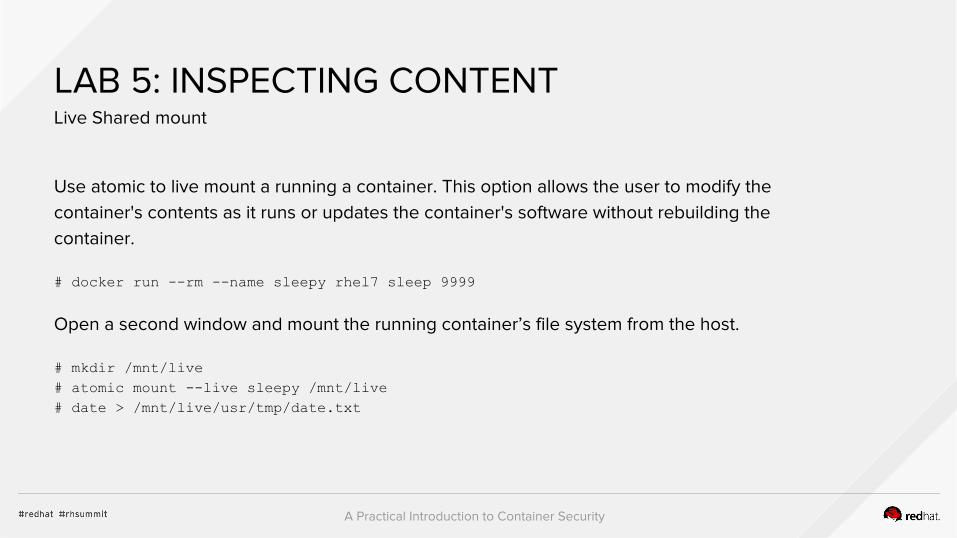
LAB 5: INSPECTING CONTENTLive Shared mount
Use atomic to live mount a running a container. This option allows the user to modify the container's contents as it runs or updates the container's software without rebuilding the container.
# docker run --rm --name sleepy rhel7 sleep 9999
Open a second window and mount the running container’s file system from the host.
# mkdir /mnt/live# atomic mount --live sleepy /mnt/live# date > /mnt/live/usr/tmp/date.txt
A Practical Introduction to Container Security
LAB 5: INSPECTING CONTENTLive Shared mount
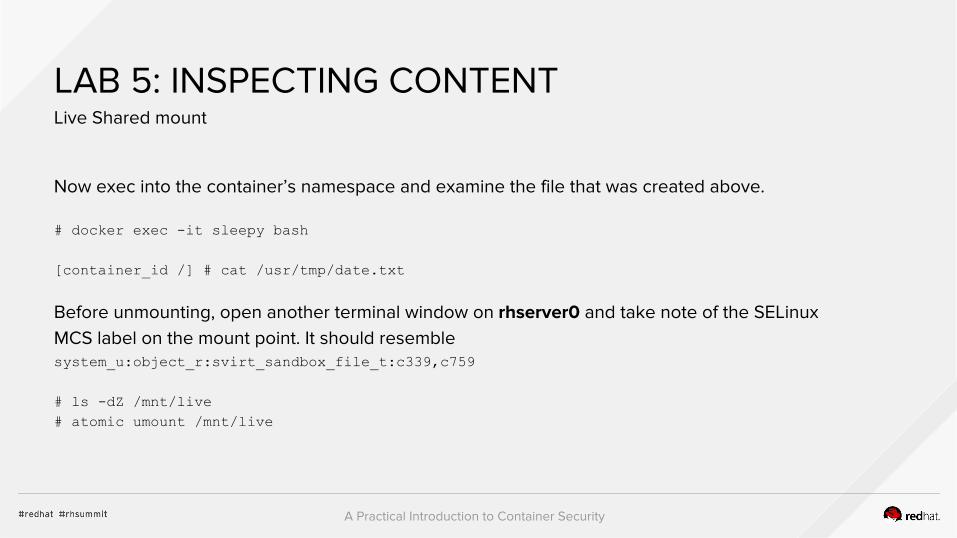
Now exec into the container’s namespace and examine the file that was created above.
# docker exec -it sleepy bash
[container_id /] # cat /usr/tmp/date.txt
Before unmounting, open another terminal window on rhserver0 and take note of the SELinux MCS label on the mount point. It should resemble system_u:object_r:svirt_sandbox_file_t:c339,c759
# ls -dZ /mnt/live# atomic umount /mnt/live
A Practical Introduction to Container Security
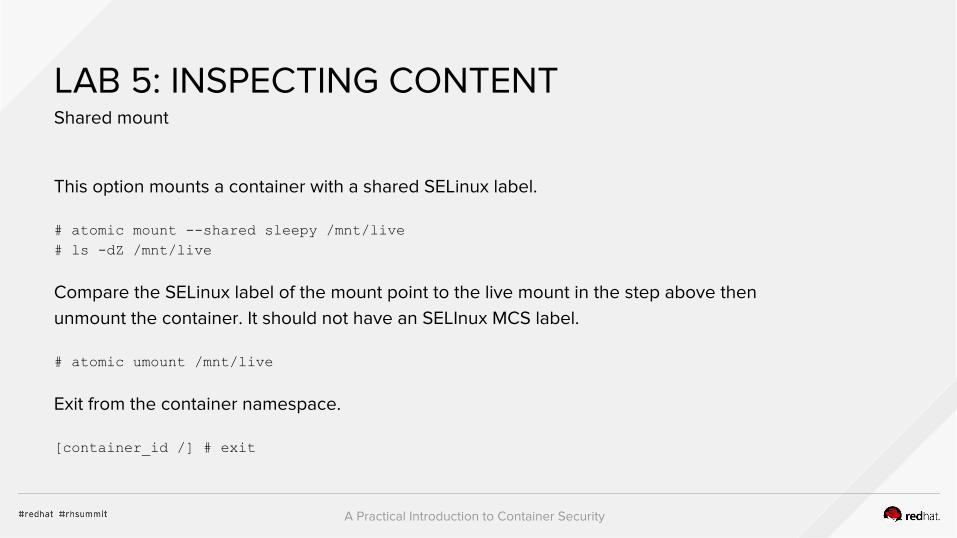
LAB 5: INSPECTING CONTENTShared mount
This option mounts a container with a shared SELinux label.
# atomic mount --shared sleepy /mnt/live# ls -dZ /mnt/live
Compare the SELinux label of the mount point to the live mount in the step above then unmount the container. It should not have an SELInux MCS label.
# atomic umount /mnt/live
Exit from the container namespace.
[container_id /] # exit
A Practical Introduction to Container Security
LAB 5: INSPECTING CONTENTatomic images
Have a look at the atomic-images man page to read about it’s useful commands then experiment by inspecting an image from a remote registry. Below is an example to get you started.
# atomic images version rhserver1.example.com:5000/mystery
A Practical Introduction to Container Security
LAB 5: INSPECTING CONTENTInspecting images with Skopeo
Skopeo is an additional tool that can perform image operations on remote registries. Run the skopeo command from rhserver0 and inspect one of the images that you pushed to the registry on rhserver1.
# skopeo --tls-verify=false inspect docker://<remote-registry-host:port>/<image>
A Practical Introduction to Container Security
LAB 5a: TRUST AND SIGNINGImage signing configuration
Edit /etc/sysconfig/docker and set --signature-verification=true then restart the docker service.
# systemctl restart docker
A Practical Introduction to Container Security
LAB 5a: TRUST AND SIGNINGImage signing configuration
A pair of gpg keys have been created for you. However, if you’d like to create your own set of gpg keys, perform the following on rhserver0. In case you're interested, the rngd program feeds random numbers to the kernel’s entropy pool and will speed up the key generation process.
# yum install rng-tools# rngd -r /dev/urandom --verbose# gpg --gen-key
A Practical Introduction to Container Security
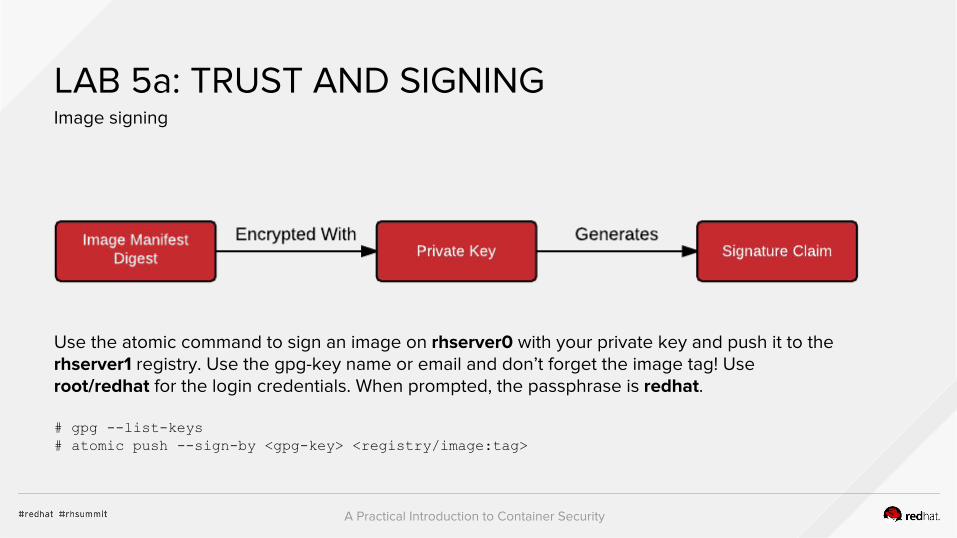
LAB 5a: TRUST AND SIGNINGImage signing
Use the atomic command to sign an image on rhserver0 with your private key and push it to the rhserver1 registry. Use the gpg-key name or email and don’t forget the image tag! Use root/redhat for the login credentials. When prompted, the passphrase is redhat.
# gpg --list-keys# atomic push --sign-by <gpg-key> <registry/image:tag>
A Practical Introduction to Container Security
LAB 5a: TRUST AND SIGNINGImage signing
Confirm the claim signature was created.
# ls -R /var/lib/atomic/sigstore
A Practical Introduction to Container Security
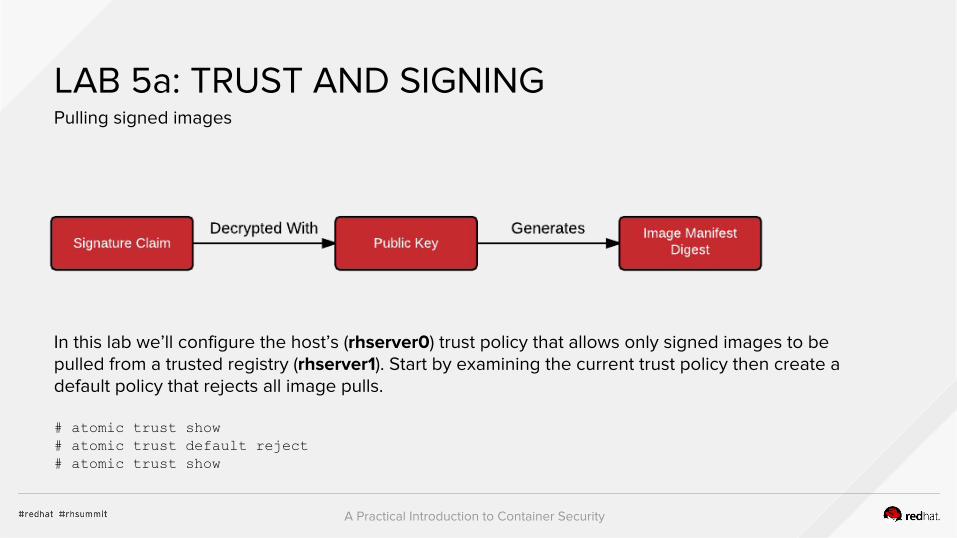
LAB 5a: TRUST AND SIGNINGPulling signed images
In this lab we’ll configure the host’s (rhserver0) trust policy that allows only signed images to be pulled from a trusted registry (rhserver1). Start by examining the current trust policy then create a default policy that rejects all image pulls.
# atomic trust show# atomic trust default reject# atomic trust show
A Practical Introduction to Container Security
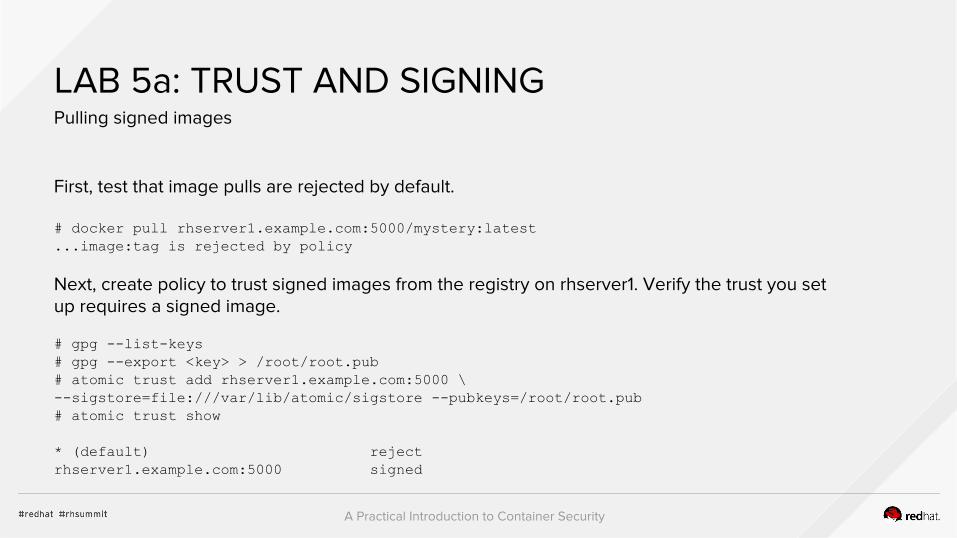
LAB 5a: TRUST AND SIGNINGPulling signed images
First, test that image pulls are rejected by default.
# docker pull rhserver1.example.com:5000/mystery:latest...image:tag is rejected by policy
Next, create policy to trust signed images from the registry on rhserver1. Verify the trust you set up requires a signed image.
# gpg --list-keys# gpg --export <key> > /root/root.pub# atomic trust add rhserver1.example.com:5000 \ --sigstore=file:///var/lib/atomic/sigstore --pubkeys=/root/root.pub# atomic trust show
* (default) reject rhserver1.example.com:5000 signed
A Practical Introduction to Container Security
LAB 5a: TRUST AND SIGNINGPulling signed images
Now try the pull the signed image from rhserver1 again and it should succeed.
# docker pull rhserver1.example.com:5000/mystery:latest
A Practical Introduction to Container Security
LAB 6: THE ATOMIC SCANNEROverview
Before containers are run, it makes good sense to be able to scan container images for known vulnerabilities and configuration problems before they are deployed in the enterprise. RHEL’s atomic scan command can help with this. Additionally, a number of container scanning tools that integrate with Red Hat products are available through third parties such as BlackDuck and TwistLock.
A Practical Introduction to Container Security
LAB 6: THE ATOMIC SCANNEROpenSCAP Scanner
Get started by running the built-in atomic scanner that ships with RHEL.
# atomic scan --help# atomic scan --list
Scan the rhel7 image using the default scanner. This will use the default scan type (more about that later). Also scan the mystery image and compare the outputs.
# atomic scan rhel7
# atomic scan mystery
A Practical Introduction to Container Security
LAB 6: THE ATOMIC SCANNEROpenSCAP Scanner
In addition to container images, running containers can also be scanned. For example, scan the sleepy container that maybe still running from the previous lab.
How would you scan all running containers on a given host?
Try running the scanner on an image in one of the remote registries.
A Practical Introduction to Container Security
LAB 6: THE ATOMIC SCANNEROpenSCAP Scanner
Look at the contents of the /var/lib/atomic/openscap directory on the rhserver0 host and you should see the scanner’s results. The scanner runs as a container and writes the results in the host’s file system using a bind mount. The scanning tools do not run as privileged containers but they are able to mount up a read-only rootfs along with a writeable directory on the host’s file system so the scanner can write the output. You’ll lean more about this feature in the final lab.
# ls -R /var/lib/atomic/openscap/
A Practical Introduction to Container Security
LAB 6: THE ATOMIC SCANNERScan Types
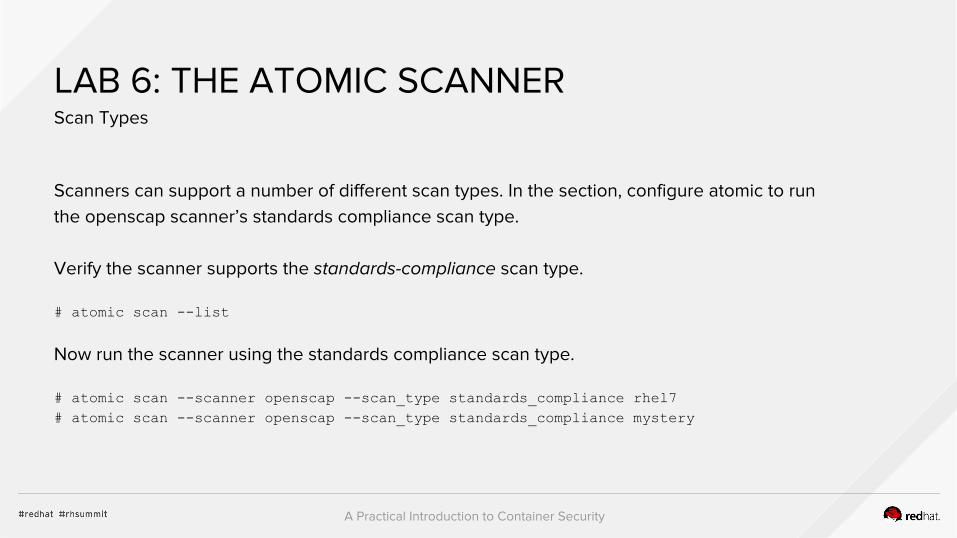
Scanners can support a number of different scan types. In the section, configure atomic to run the openscap scanner’s standards compliance scan type.
Verify the scanner supports the standards-compliance scan type.
# atomic scan --list
Now run the scanner using the standards compliance scan type.
# atomic scan --scanner openscap --scan_type standards_compliance rhel7# atomic scan --scanner openscap --scan_type standards_compliance mystery
A Practical Introduction to Container Security
LAB 7: CUSTOM SCANNERSOverview
The atomic scanner was designed with a pluggable architecture to allow developers to write custom scanners using any programming language supported by RHEL. Adding a scanner plugin involves the following:
● Make atomic aware of your plug-in.● Ensure the plugin obtains the proper input from the /scanin directory. ● Ensure the plugin writes the results to the /scanout directory.
A Practical Introduction to Container Security
LAB 7: CUSTOM SCANNERSInstalling a custom scanner
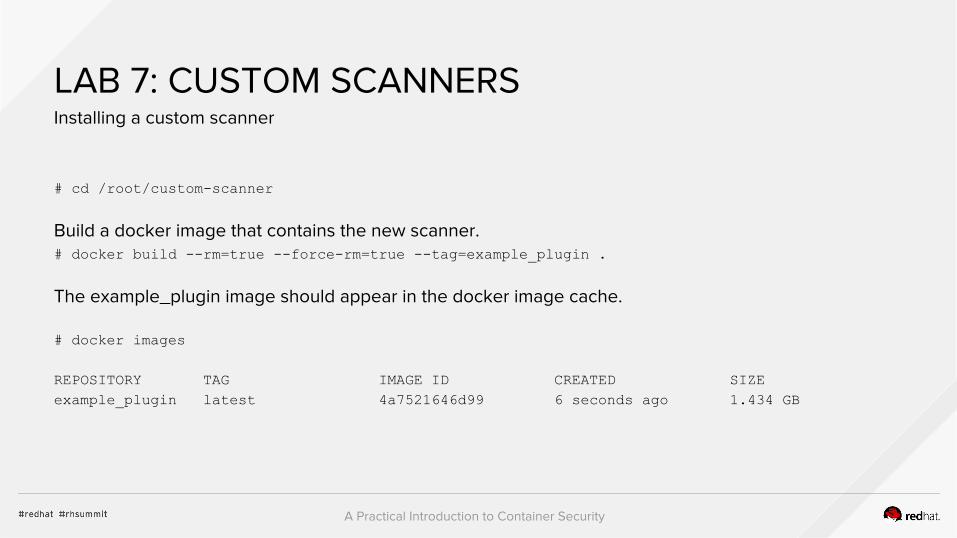
# cd /root/custom-scanner
Build a docker image that contains the new scanner.# docker build --rm=true --force-rm=true --tag=example_plugin .
The example_plugin image should appear in the docker image cache.
# docker images
REPOSITORY TAG IMAGE ID CREATED SIZEexample_plugin latest 4a7521646d99 6 seconds ago 1.434 GB
A Practical Introduction to Container Security
LAB 7: CUSTOM SCANNERSInstalling a custom scanner
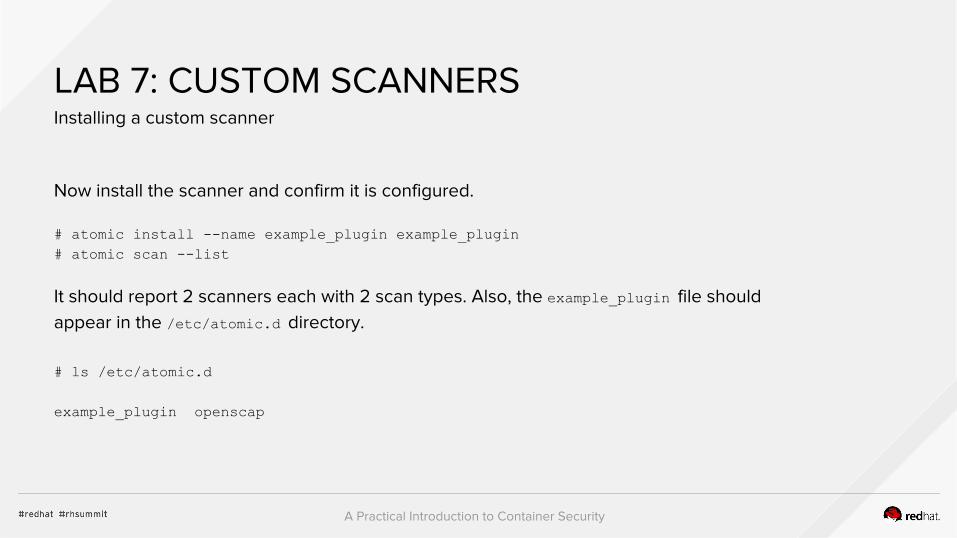
Now install the scanner and confirm it is configured.
# atomic install --name example_plugin example_plugin# atomic scan --list
It should report 2 scanners each with 2 scan types. Also, the example_plugin file should appear in the /etc/atomic.d directory.
# ls /etc/atomic.d
example_plugin openscap
A Practical Introduction to Container Security
LAB 7: CUSTOM SCANNERSInstalling a custom scanner
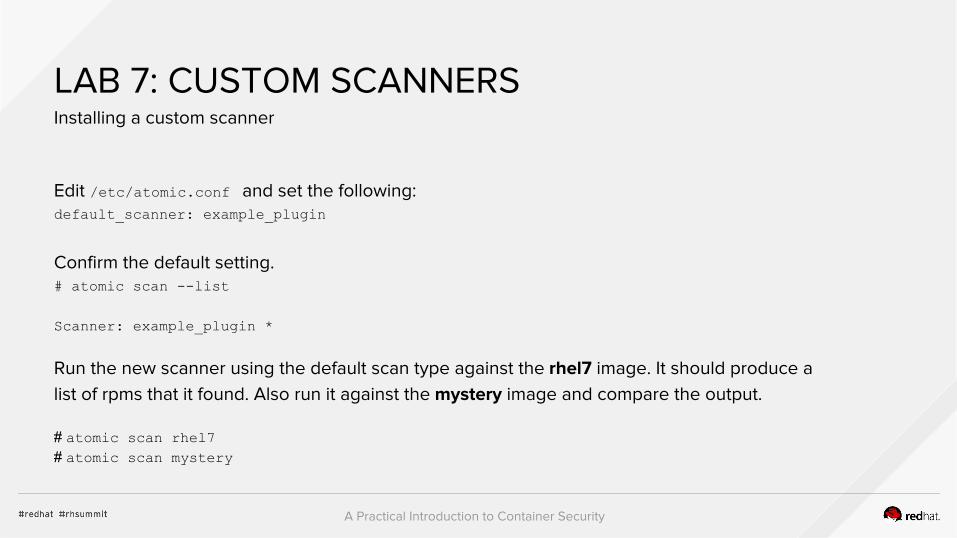
Edit /etc/atomic.conf and set the following:default_scanner: example_plugin
Confirm the default setting.# atomic scan --list
Scanner: example_plugin *
Run the new scanner using the default scan type against the rhel7 image. It should produce a list of rpms that it found. Also run it against the mystery image and compare the output.
# atomic scan rhel7# atomic scan mystery
A Practical Introduction to Container Security
LAB 7: CUSTOM SCANNERSInstalling a custom scanner
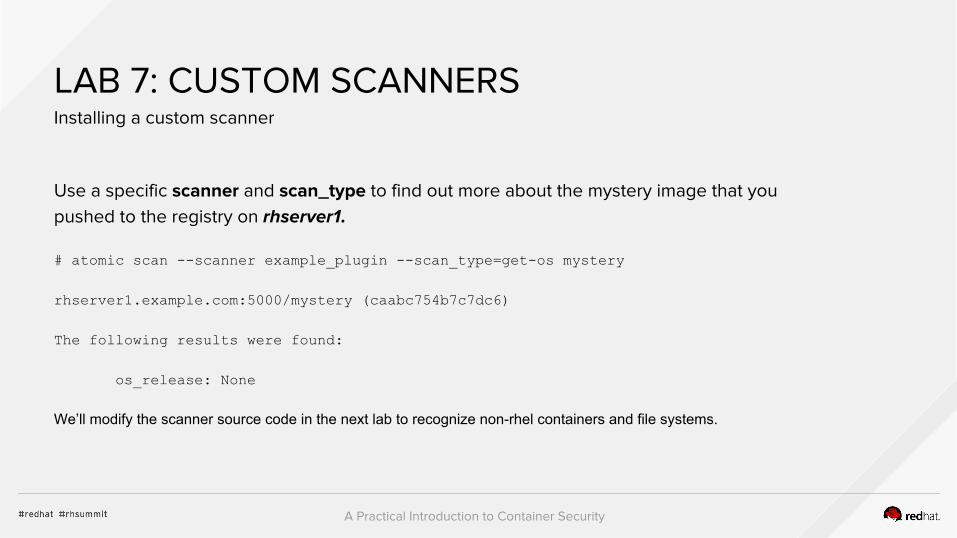
Use a specific scanner and scan_type to find out more about the mystery image that you pushed to the registry on rhserver1.
# atomic scan --scanner example_plugin --scan_type=get-os mystery
rhserver1.example.com:5000/mystery (caabc754b7c7dc6)
The following results were found:
os_release: None
We’ll modify the scanner source code in the next lab to recognize non-rhel containers and file systems.
A Practical Introduction to Container Security
LAB 7: CUSTOM SCANNERSWriting a custom scanner
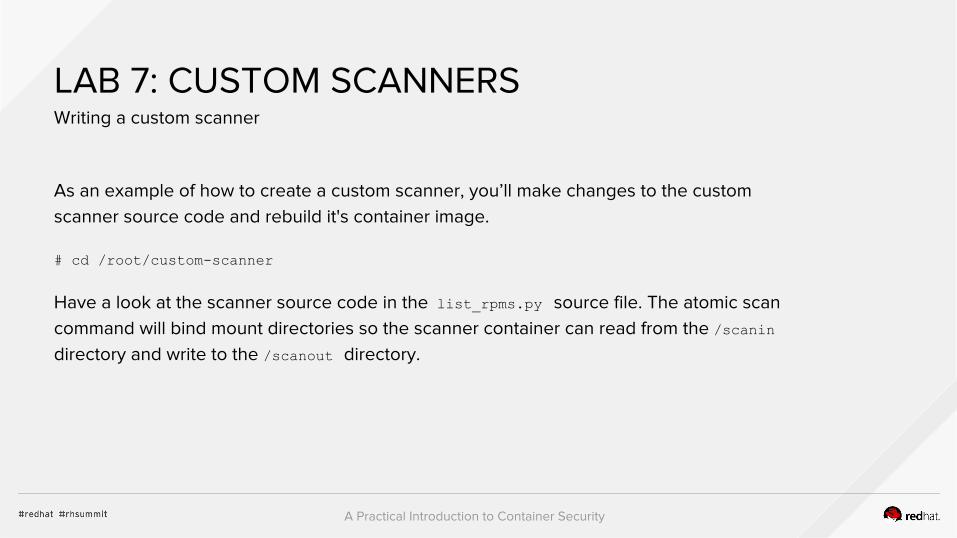
As an example of how to create a custom scanner, you’ll make changes to the custom scanner source code and rebuild it's container image.
# cd /root/custom-scanner
Have a look at the scanner source code in the list_rpms.py source file. The atomic scan command will bind mount directories so the scanner container can read from the /scanin directory and write to the /scanout directory.
A Practical Introduction to Container Security
LAB 7: CUSTOM SCANNERSWriting a custom scanner
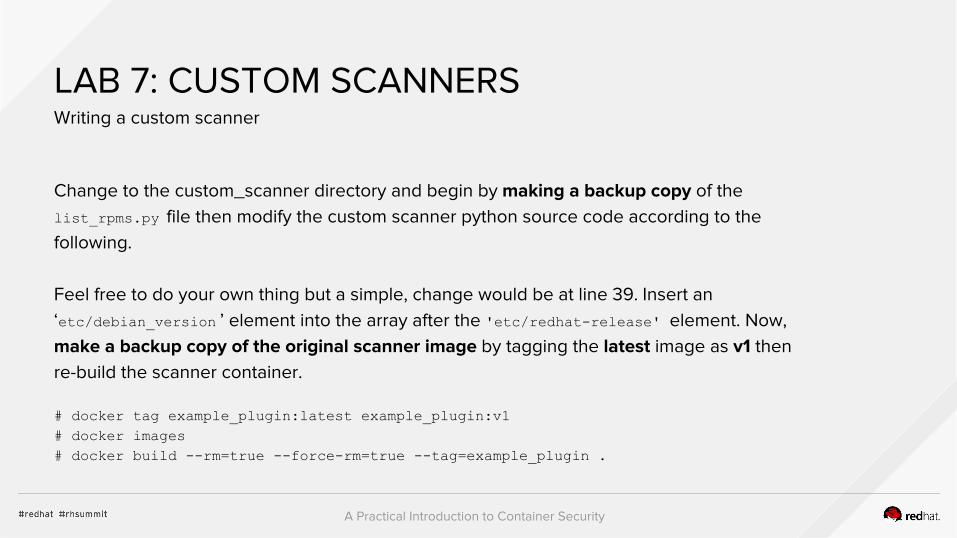
Change to the custom_scanner directory and begin by making a backup copy of the list_rpms.py file then modify the custom scanner python source code according to the following.
Feel free to do your own thing but a simple, change would be at line 39. Insert an ‘etc/debian_version ’ element into the array after the 'etc/redhat-release' element. Now, make a backup copy of the original scanner image by tagging the latest image as v1 then re-build the scanner container.
# docker tag example_plugin:latest example_plugin:v1# docker images# docker build --rm=true --force-rm=true --tag=example_plugin .
A Practical Introduction to Container Security
LAB 7: CUSTOM SCANNERSWriting a custom scanner
Now run the modified example_plugin scanner on the mystery image again. If everything worked, the scanner should help you solve the mystery.
# atomic scan --scanner example_plugin --scan_type=get-os mystery
A Practical Introduction to Container Security
LAB 7: CUSTOM SCANNERSExtra Credit
This concludes the lab on container security. We hope you had fun and learned something in the process. Thanks for attending and please complete the course survey so we can improve this course for next year.
Bob and Dan
CUSTOMIZATION INSTRUCTIONS
To make a copy of this deck for your use, go to "File" > "Make a copy" > and save to your own Google Drive.
PRESENTATION RESOURCESFor help getting started with presentations, check out the official Red Hat Presentation Guide. For more information about speaking at Red Hat Summit, reference the presenter's guide.
NEED HELP?If you have any questions about your session content or using the speaker resource center, contact your theme captain or [email protected].


