45
Contra Costa County CERT Program Unit 4 – Emergency Medical Operations Part 2 Released: 18 August 2011 Released: 18 August 2011
| Date post: | 16-Jan-2016 |
| Category: |
Documents |
| Upload: | dana-booker |
| View: | 220 times |
| Download: | 0 times |

Contra Costa County CERT Program
Unit 4 – Emergency Medical Operations Part 2Released: 18 August 2011Released: 18 August 2011

Visual 4.2
Community Emergency Response Team
Personal safety is ALWAYS the number one priority Work as a team Wear personal protective equipment…gloves, helmet,
goggles, N95 mask and boots
The CERT goal is to do the
Greatest Good for the Greatest Number Hope for the best but plan for the worst

Visual 4.3
Unit Objectives
Personal Protection Take appropriate
sanitation measures to help protect public health
Perform head-to-toe patient assessments
Establish Treatment Areas Treating injuries
(Warning: some graphic pictures)

Visual 4.4
Public Health Considerations
Maintain proper hygiene
Maintain proper sanitation
Purify water (if necessary)
Prevent spread of disease

Visual 4.5
Steps to Maintain Hygiene
Wash hands frequently using soap and water for at least 12 to 15 seconds use alcohol based sanitizer if soap and water not available
Wear non-latex gloves; change or disinfect after each patient 1 part bleach to 10 parts water for 30 seconds
Wear N95 mask and goggles
Keep dressings sterile
Avoid contact with body fluids
If it’s wet or sticky and it’s not yours
DON’T TOUCH IT!

Visual 4.6
Maintaining Sanitation
Control disposal of bacterial sources by putting waste products in plastic bags Tie off and mark as medical waste
Bury or bag human waste
Visual 4.7
Water Purification
Boil for 1 minute or
Use Water Purification Tablets or
Use ⅛ tsp of bleach per gallon of clear water Use ¼ tsp of bleach per gallon of cloudy water
no soaps or scents in bleach 4% to 6% sodium hypochlorite
Let solution stand for 30 minutes
If that solution does not smell or taste of bleach, add another ⅛ tsp of bleach and let solution stand for another 15 minutes before using

Visual 4.8
Disaster Medical Operations
Triage
Transport
Treatment
Morgue
Supply
Functions:

Visual 4.9
Disaster Medical Operations
Select site and set up treatment area as soon as injured victims are confirmed
When determining best location(s) for treatment area, consider:
Safety of rescuers and victims
Most effective use of resources

Visual 4.10
In a safe area
Close to but upwind, upstream and uphill from the hazard zones
Accessible by transportation vehicles
Expandable
Establishing Treatment Areas
Site selected should be:
TREATMENT SITE
Hazard
Wind

Visual 4.11
Establishing Treatment Areas
“Immediates” need immediate attention Transport “Immediates” to a higher level of
medical care if possible
Assign treatment leader to each treatment area

Visual 4.12
Documentation in Treatment Areas
Available identifying information name, phone number, address, etc……..
Description age, sex, body build, approximate height and
weight clothing
Injuries the victim sustained
Treatment and actions taken
Transfer location
Visual 4.13
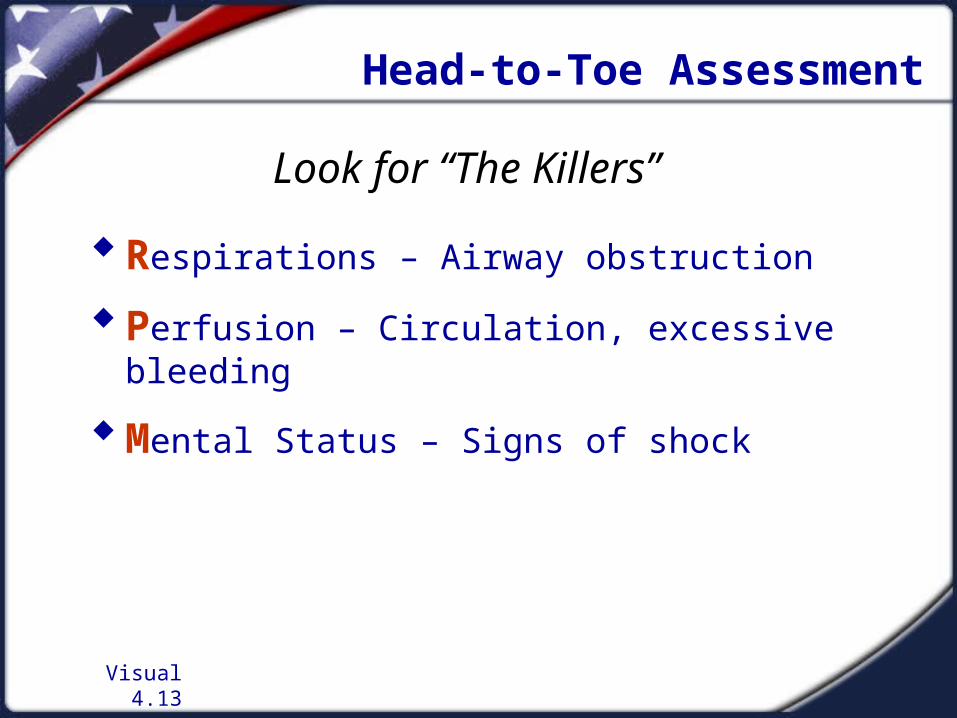
Head-to-Toe Assessment
Respirations – Airway obstruction
Perfusion – Circulation, excessive bleeding
Mental Status – Signs of shock
Look for “The Killers”

Visual 4.14
Indicators of Injury
Bruising
Swelling
Severe pain
Disfigurement
Provide immediate treatment
for life-threatening injuries!
Visual 4.15
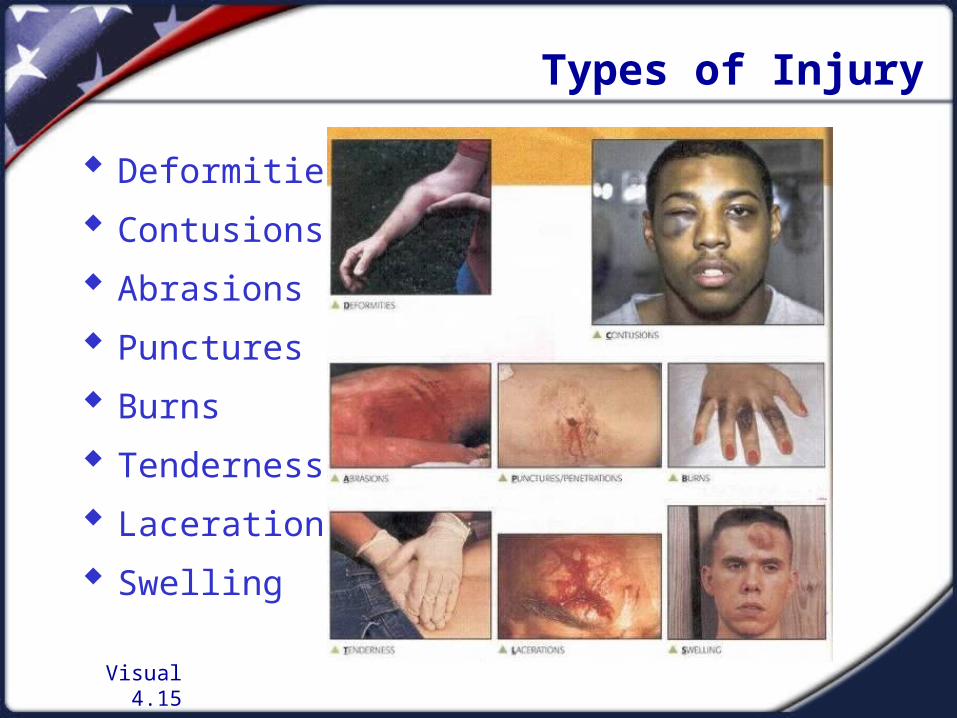
Types of Injury
Deformities
Contusions
Abrasions
Punctures
Burns
Tenderness
Lacerations
Swelling
Visual 4.16
Conducting Head-To-Toe Assessment
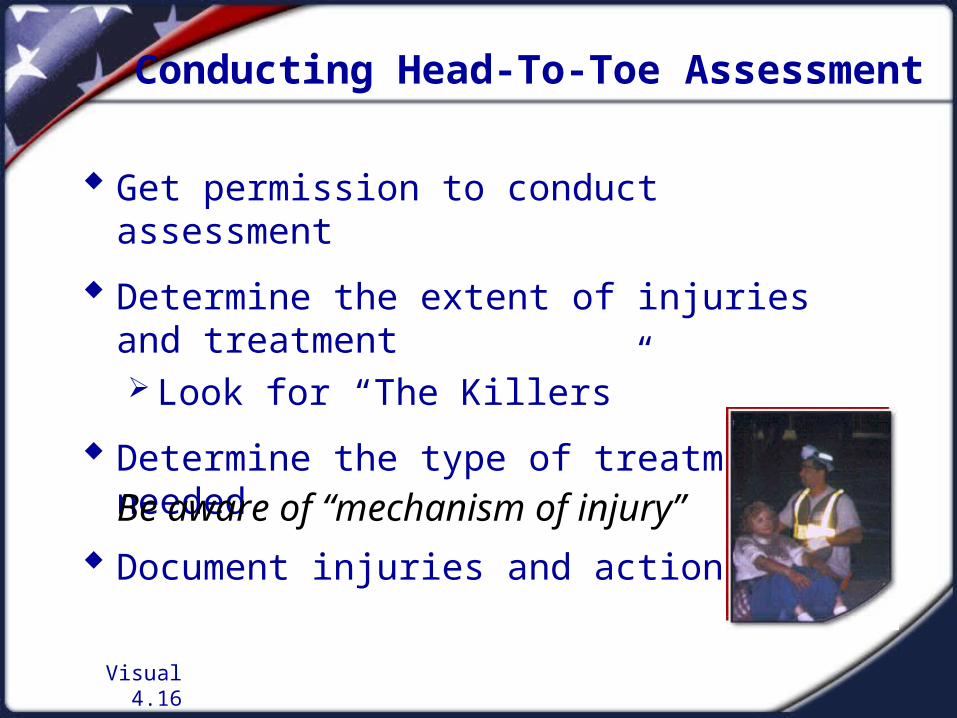
Get permission to conduct assessment
Determine the extent of injuries and treatment Look for “The Killers”
Determine the type of treatment needed
Document injuries and actions taken
Be aware of “mechanism of injury”
Visual 4.17
Head-to-Toe Assessment
Look for medical identification
Conduct on all victims, even those who seem to be alright
Children are assessed Toe-to-Head
Everyone gets a tag
Verbal assessment
Hands-on assessment look, listen and feel for anything unusual
Victim has the right to refuse treatment
Visual 4.18
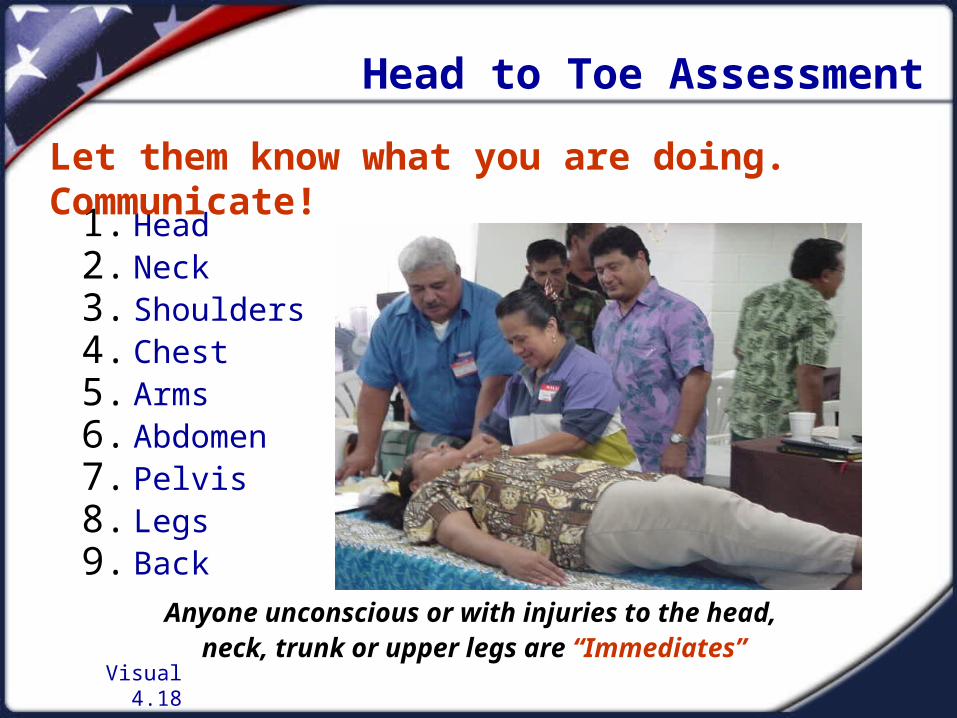
Head to Toe Assessment
1. Head2. Neck3. Shoulders4. Chest5. Arms6. Abdomen7. Pelvis8. Legs9. Back
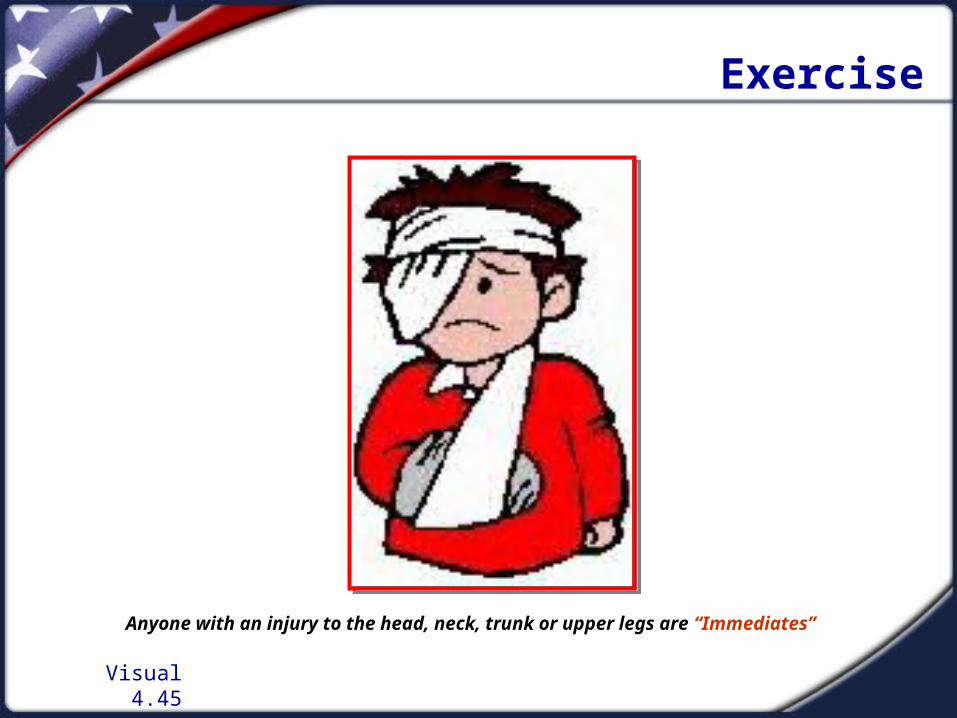
Anyone unconscious or with injuries to the head, neck, trunk or upper legs are “Immediates”
Let them know what you are doing. Communicate!

Visual 4.19
Symptoms
Change in consciousness
Inability to move one or more body parts
Severe pain or pressure in the head, neck or back
Tingling or numbness in extremities
Difficulty breathing or seeing
Heavy bleeding, bruising or deformity of the head or spine
Blood or fluid in the nose or ears
Bruising behind the ears “Raccoon” eyes (bruising
around the eyes) “Uneven” pupils Seizures Nausea or vomiting Victim found under collapsed
building materials or heavy debris
Signs of a closed-head, neck or spinal injury
Minimize movement of head, neck and spine

Visual 4.20
Layers of Skin
Epidermis - First Degree
Dermis - Second Degree
Subcutaneous layer - Third Degree

Visual 4.21
Treating Burns
Remove victim from burning source
Cool the burned area no more than 15% or approximately one arm at
a time
Cover with sterile cloth to reduce infection risk
Elevate burned extremity higher than heart
No ice, antiseptics, ointments, butter, etc…
Extra caution with infants, young children or elderly

Visual 4.22
Treating Chemical Burns
Remove cause of burn & affected clothing/jewelry
If irritant is dry, gently brush away as much as possible Always brush away from eyes, victim, and you
Flush with lots of cool running water
Apply cool, wet compress to relieve pain
Cover wound loosely with dry, sterile or clean dressing
Treat for shock if appropriate

Visual 4.23
Inhalation Burns
Sudden loss of consciousness
Evidence of respiratory distress or upper airway obstruction
Soot around mouth or nose
Singed facial hair
Burns around face or neck
Visual 4.24
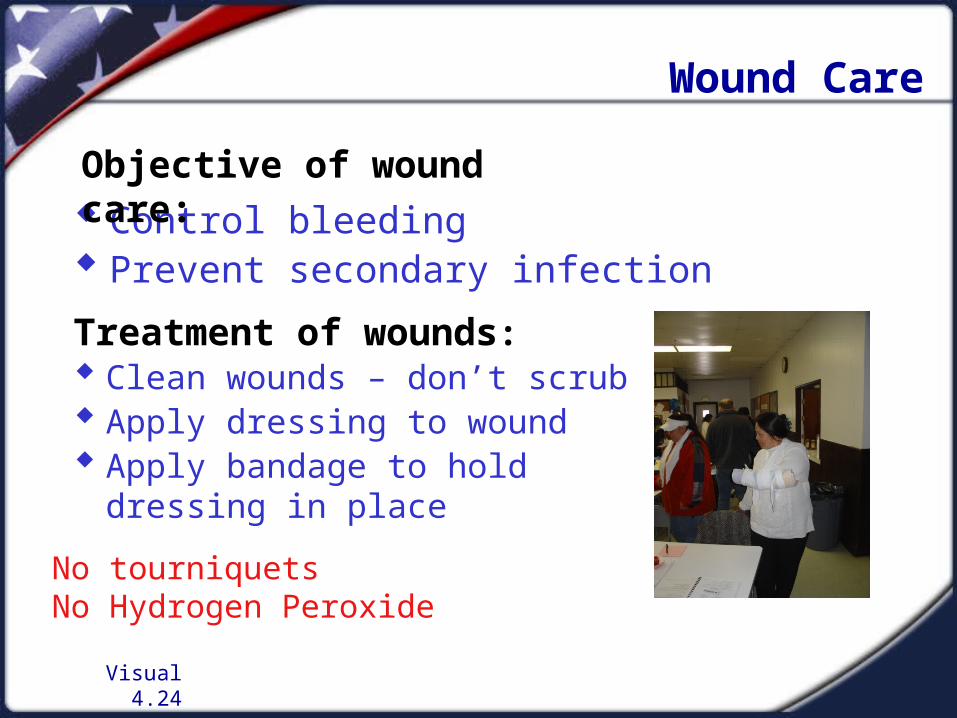
Wound Care
Control bleeding Prevent secondary infection
Objective of wound care:
Treatment of wounds: Clean wounds – don’t scrub Apply dressing to wound Apply bandage to hold
dressing in placeNo tourniquetsNo Hydrogen Peroxide
Visual 4.25
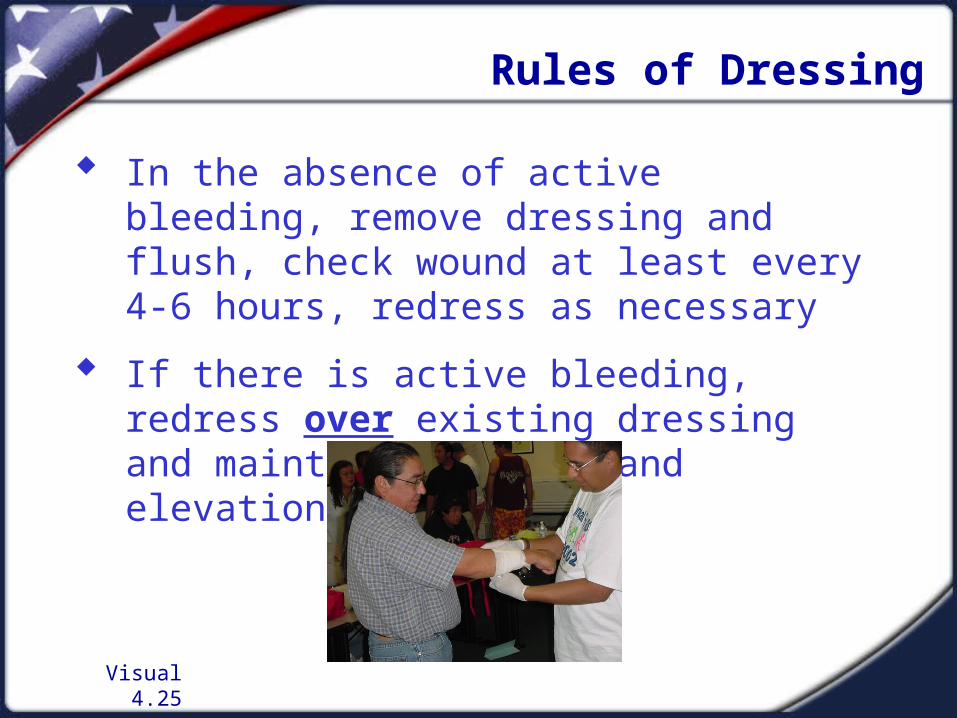
Rules of Dressing
In the absence of active bleeding, remove dressing and flush, check wound at least every 4-6 hours, redress as necessary
If there is active bleeding, redress over existing dressing and maintain pressure and elevation

Visual 4.26
Signs of Infection
Swelling around wound site
Discoloration
Discharge from wound
Red striations from wound site
Visual 4.27
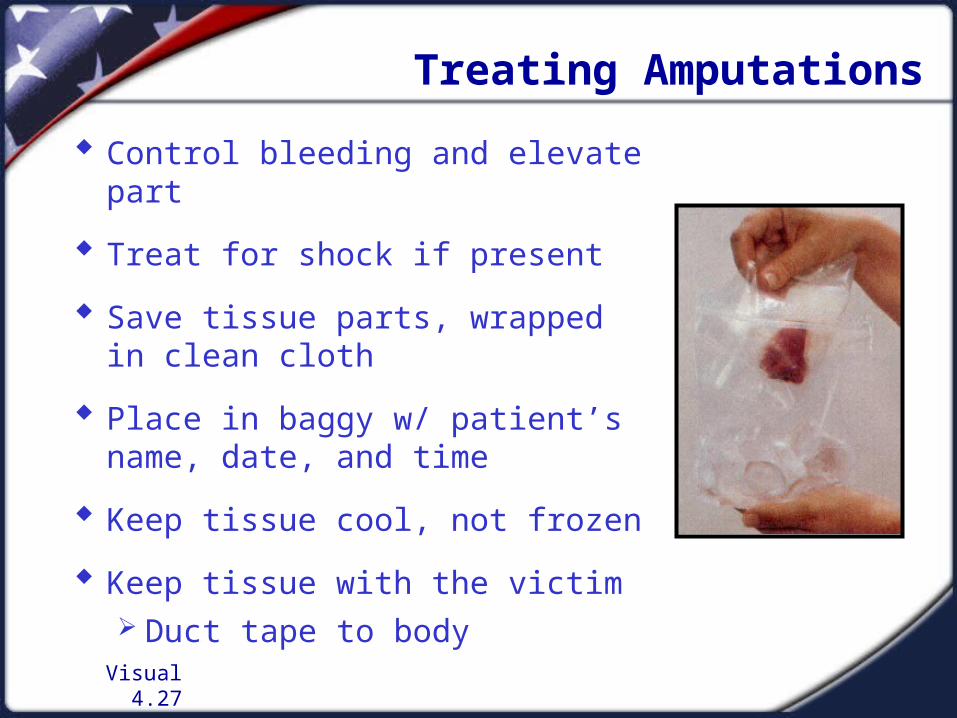
Treating Amputations
Control bleeding and elevate part
Treat for shock if present
Save tissue parts, wrapped in clean cloth
Place in baggy w/ patient’s name, date, and time
Keep tissue cool, not frozen
Keep tissue with the victim Duct tape to body
Visual 4.28
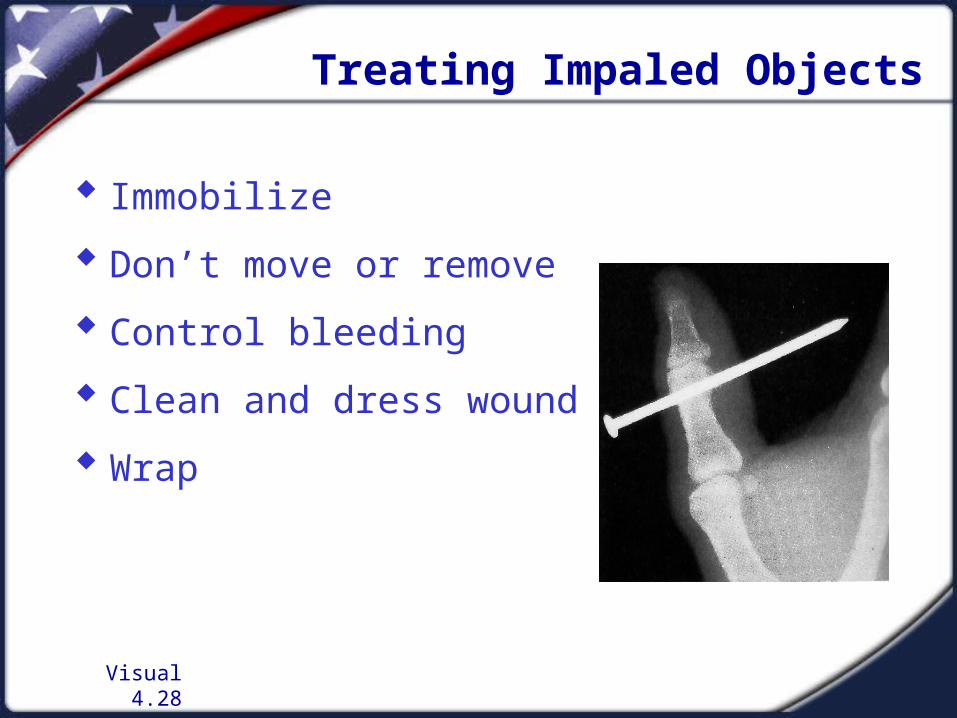
Treating Impaled Objects
Immobilize
Don’t move or remove
Control bleeding
Clean and dress wound
Wrap
Visual 4.29
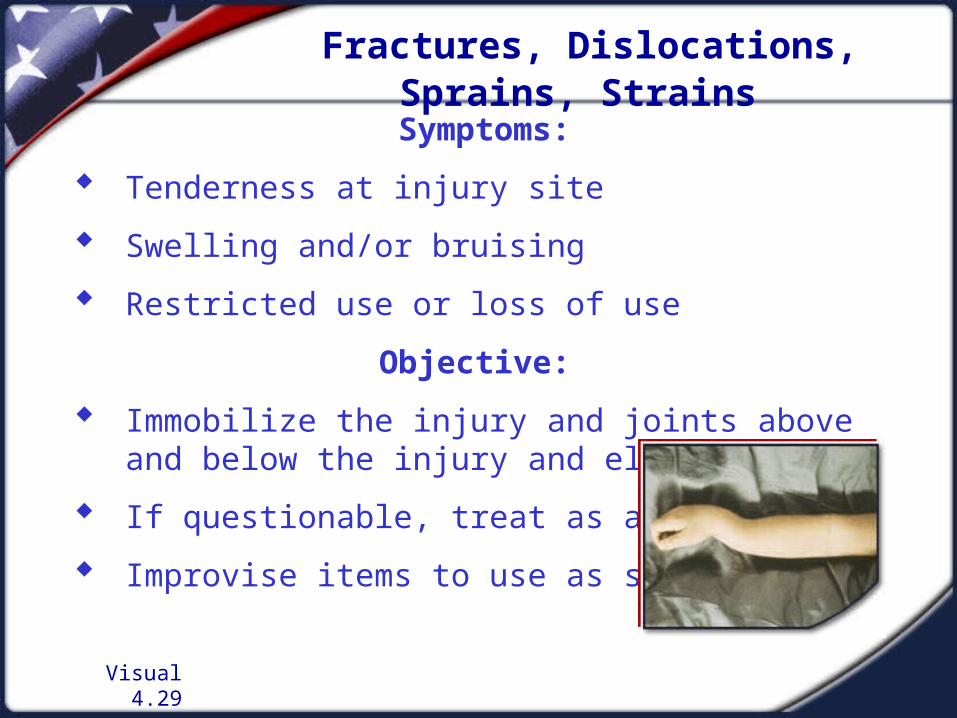
Fractures, Dislocations, Sprains, Strains
Symptoms:
Tenderness at injury site
Swelling and/or bruising
Restricted use or loss of use
Objective:
Immobilize the injury and joints above and below the injury and elevate
If questionable, treat as a fracture
Improvise items to use as splints

Visual 4.30
Guidelines for Splinting
Support the injured area
Assess color, warmth and sensation
Splint injury in the position that you find it
Don’t try to realign bones
Immobilize above and below the injury
After splinting, recheck for color, warmth, and sensation below the injury site
All fracture & suspected fractures require splinting
Visual 4.31
Dislocations
Dislocation is injury to ligaments around joint So severe that it permits separation of
bone from its normal position in joint
Treatment Immobilize; do NOT relocate Check PMS before and after splinting/
immobilization
Visual 4.32
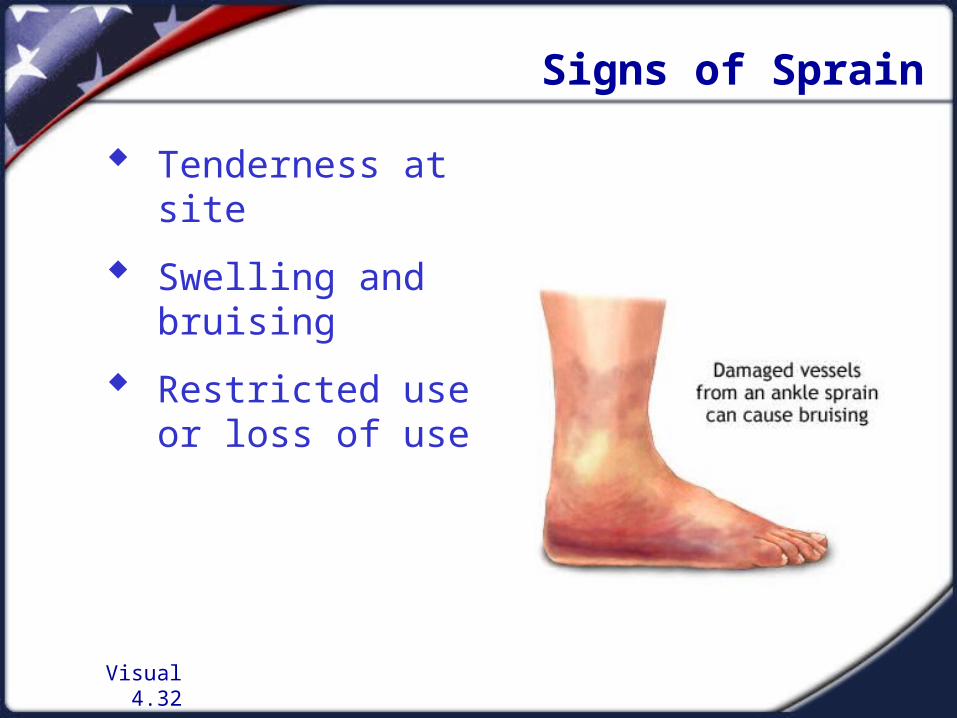
Signs of Sprain
Tenderness at site
Swelling and bruising
Restricted useor loss of use
Visual 4.33
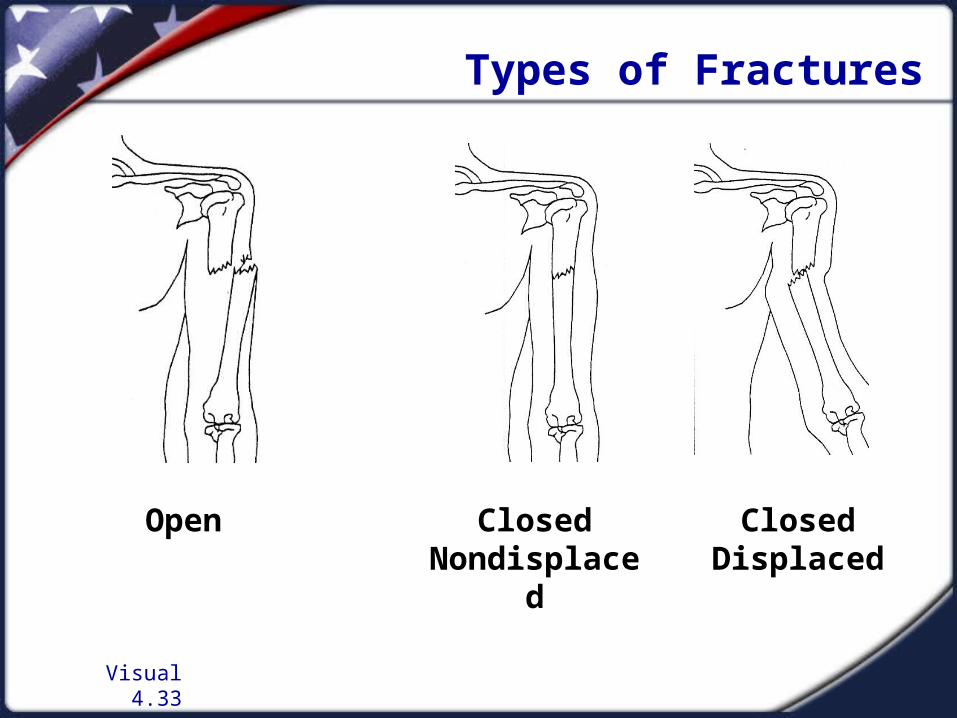
Types of Fractures
Open Closed Nondisplaced
Closed Displaced
Visual 4.34
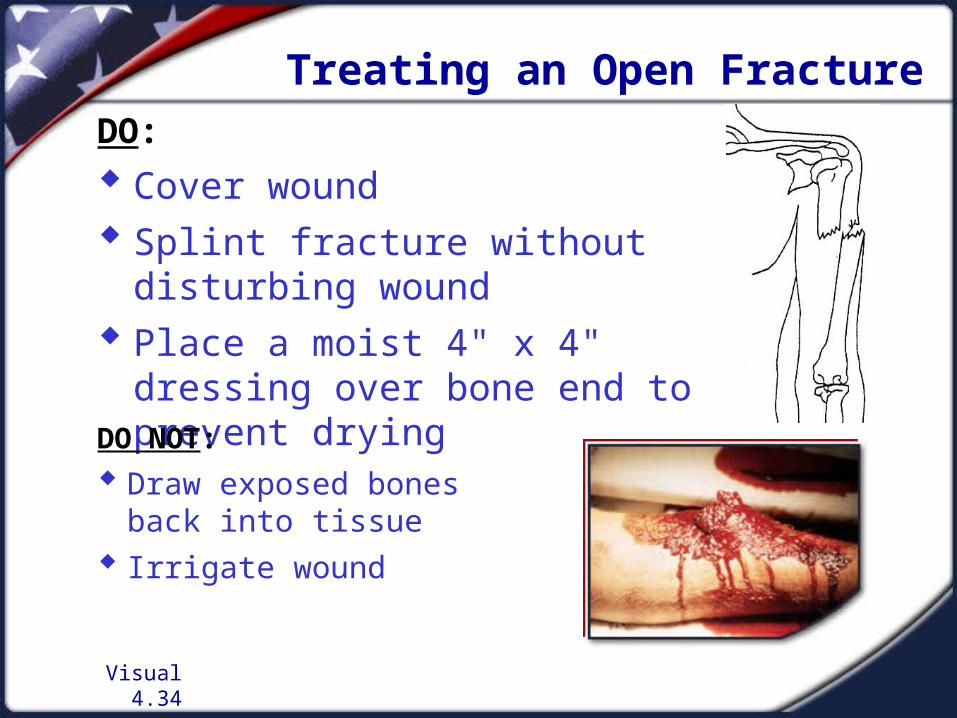
Treating an Open FractureDO:
Cover wound Splint fracture without disturbing
wound Place a moist 4" x 4" dressing over
bone end to prevent dryingDO NOT:
Draw exposed bones back into tissue
Irrigate wound

Visual 4.35
Nasal Bleeding
Causes: blunt force, skull fracture, non-trauma related conditions
Blood loss can lead to shock
Victims may become nauseated and vomit if they swallow blood
Treating Nasal Bleeding
Pinch the nostrils together, lean forward
Put pressure on the upper lip just under the nose

Visual 4.36
Bites and Stings
If bite or sting is suspected, and situation is non-emergency: Remove stinger if still present by scraping
edge of credit card or other stiff, straight-edged object across stinger
Wash site thoroughly with soap and water Place ice on site for 10 minutes on and 10
minutes off

Visual 4.37
Anaphylaxis
Check airway and breathing
Calm individual
Remove constrictive clothing and jewelry
Find and help administer victim’s Epi-pen
Watch for signs of shock and treat appropriately

Visual 4.38
Symptoms of HypOthermia
Primary signs and symptoms: A body temperature of 95o Fahrenheit
(35o Celsius) or less Redness or blueness of the skin Numbness accompanied by shivering
Later stages of Hypothermia:
Slurred speech
Unpredictable behavior
Listlessness and confusion
Visual 4.39
Treating HypOthermia
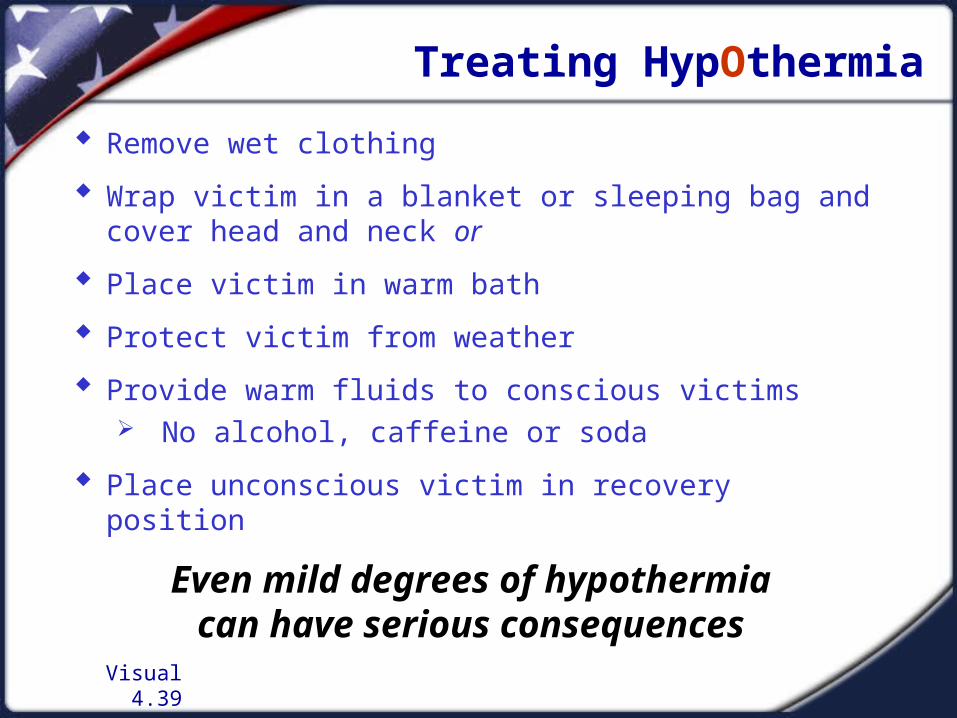
Remove wet clothing
Wrap victim in a blanket or sleeping bag and cover head and neck or
Place victim in warm bath
Protect victim from weather
Provide warm fluids to conscious victims No alcohol, caffeine or soda
Place unconscious victim in recovery position
Even mild degrees of hypothermia can have serious consequences

Visual 4.40
Symptoms of Frostbite
Skin discoloration
Burning or tingling sensation
Partial or complete numbness
Visual 4.41
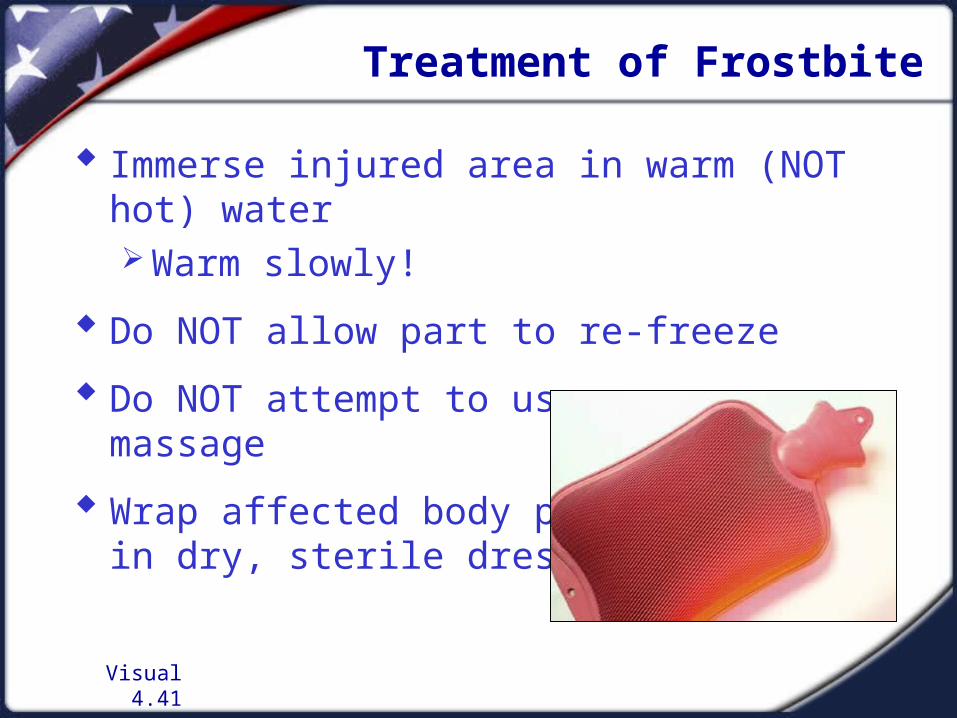
Treatment of Frostbite
Immerse injured area in warm (NOT hot) water Warm slowly!
Do NOT allow part to re-freeze
Do NOT attempt to use massage
Wrap affected body parts in dry, sterile dressing

Visual 4.42
Symptoms of HypERthermia
Heat Exhaustion Heat StrokeHeavy sweating Body Temperature over 103˚FPaleness Red, hot, dry skin (no
sweating)Muscle cramps Rapid, strong pulseWeakness Throbbing headacheTiredness DizzinessDizziness or headache NauseaNausea or vomiting ConfusionFainting Unconsciousness
Heat Stroke is the most severe form of hyperthermia and is a life-threatening emergency!
Visual 4.43
Treating HypERthermia
Get victim to a cool place / air conditioned if you can
Cool victim as rapidly as possible Immerse in cool water / shower / garden hose In low humidity, wrap in wet sheet and fan the
victim vigorously
Monitor body temperature until it drops to 101-102˚F
Give exhaustion victim fluids to drink unless nauseated, cramping or losing consciousness (no caffeine, alcohol or soda).
No fluids for stroke victims!
Transport Immediately!
Visual 4.44
Unit Summary
Public health concerns
Organization of disaster medical operations
Conducting head-to-toe assessments
Bandaging and splinting
Treating other injuries and conditions
Written START Triage Exercise
Visual 4.45
Exercise
Anyone with an injury to the head, neck, trunk or upper legs are “Immediates”


