22
Convex and Concave Lenses Refracting Light Through Transparent Media (press F5 now to view in presentation mode)
| Date post: | 17-Dec-2015 |
| Category: |
Documents |
| Upload: | carmel-harrington |
| View: | 217 times |
| Download: | 0 times |

Convex and Concave Lenses
Refracting Light Through Transparent Media
(press F5 now to view in presentation mode)

Types of Lenses
• Lenses are used in our everyday lives• They are in microscopes, telescopes,
binolculars, cameras (even the ones in cell phones)
• A lens is a curved transparent material that is smooth and regularly shaped so that when light strikes it, the light refracts in a predictable and useful way

Types of Lenses (cont’d)
• There are two types of lenses you will examine in this lesson– Convex or Converging Lenses: light
rays are focussed through a focal point– Concave or Diverging Lenses: light
rays are spread out from a focal point
• The following diagrams will demonstrate these properties

Types of Lenses (cont’d)
focal point,F
convex lens(side profile)
focal point,F’
concave lens(side profile)
focal point,F'
focal point,F

Lens Terminology
• Similar to mirrors, there is a principal axis that is an imaginary horizontal line drawn through the optical centre of the lens
• The axis of symmetry is an imaginary vertical line drawn through the optical centre of the lens
• The exact centre of the lens is called the optical centre

Lens Terminology (cont’d)
convex lens(side profile)
concave lens(side profile)
principalaxis
principalaxis
axisof symmetry
axisof symmetry
optical centre
optical centre

Lens Terminology (cont’d)
There are two principal focuses– The focal point where the light either
comes to a focus or appears to diverge from a focus is given the symbol F
– On the opposite side is the focal point on the other side of the lens is given the symbol F′• The following slide illustrates this more
clearly

Lens Terminology (cont’d)
focal point,F
convex lens(side profile)
concave lens(side profile)
focal point,F’
focal point,F'
focal point,F
Rays appear to be coming from focal
point, F.
Rays go through focal point, F.
Focal points on the opposite side
are called, F’
Focal points on the opposite side
are called, F’

Lens Terminology (cont’d)
• The focal length, f, is the distance from the axis of symmetry to the principal focus– Since the light behaves the same way
travelling in either direction through the lens, both types of thin lenses have two equal focal lengths.

Lens Terminology (cont’d)
convex lens(side profile)
concave lens(side profile)
principalaxis
principalaxis
focal point,F
focal point,F’
focal point,F'
f
ff
f
focal point,F
Concave or Diverging Lenses
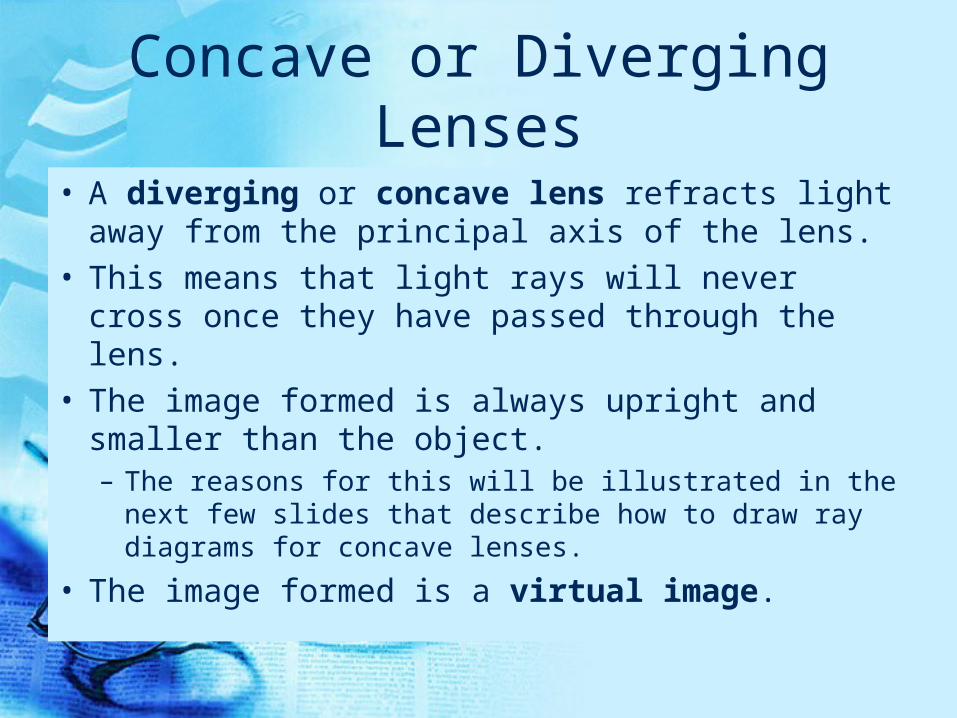
• A diverging or concave lens refracts light away from the principal axis of the lens.
• This means that light rays will never cross once they have passed through the lens.
• The image formed is always upright and smaller than the object.– The reasons for this will be illustrated in the
next few slides that describe how to draw ray diagrams for concave lenses.
• The image formed is a virtual image.

If someone looked through the lens they would see the arrow on the other side, right side up and smaller.
Ray Diagrams for Concave or Diverging Lenses
concave lens(side profile)
principalaxis F’F
1. The first ray is drawn from the object to the axis of symmetry
2. The first ray continues on an angle that is in line with the focal point, F.
3. A dotted line is used to show the continuation of the refracted ray back to the focal point.
4. A second ray is drawn from the object through the optical centre of the lens. 5. Where the dotted line and the
second ray intersect is the position of the virtual image.
Notice how the image that is formed is smaller and a virtual image
object virtualimage

Ray Diagrams for Concave or Diverging Lenses (cont’d)
• Go to www.explorelearning.com and login• Go to the “Ray Tracing (Lenses)” Gizmo to
see how moving the object closer to the focal point makes it bigger.– Choose concave lens in the lens options– Move around the focal point to observe what
happens to the lens and the image that is formed.
– Notice how they use three rays instead of two

Convex or Converging Lenses
• A convex or converging lens refracts light towards the principal axis.
• This means that all light rays focus though a single focal point.
• Images formed by a convex lens depend on where the object sits relative to the focal point, F’.– Convex lenses can form both real and virtual
images
• The following slides will illustrate how to draw ray diagrams for convex lenses.

Ray Diagrams for Concave or Converging Lenses
concave lens(side profile)
principalaxis FF’
1. The first ray is drawn from the object to the axis of symmetry.
2. The first ray continues on an angle that runs through the focal point, F.
3. A second ray is drawn from the object through the focal point, F’ to the axis of symmetry.
4. The second ray continues on, parallel to the principal axis
Notice how the image that is inverted and a real image
5. Where the two rays cross is the location of the image.
object
realimage

Ray Diagrams for Concave or Converging Lenses (cont’d)
concave lens(side profile)
principalaxis FF’
1. The first ray is drawn from the object to the axis of symmetry.
2. The first ray continues on an angle that runs through the focal point, F.
3. A second ray is drawn from the object through the focal point, F’ to the axis of symmetry.
4. The second ray continues on, parallel to the principal axis
Let’s look at what happens if the object is closer to the focal point, F’
5. Where the two rays cross is the location of the image.
object
realimage
Compared with the previous example, the real image formed is much larger.

Ray Diagrams for Concave or Converging Lenses (cont’d)
concave lens(side profile)
principalaxis FF’
1. The first ray is drawn from the object to the axis of symmetry.
2. The first ray continues on an angle that runs through the focal point, F.
3. A dotted line is drawn back from the first ray.
4. A second ray is drawn from the object to the axis of symmetry in line with the focal point, F’. The line is refracted parallel to the principal axis
Let’s look at what happens if the object is closer to the lens than focal point, F’.
5. A dotted line is drawn back from the intersection between the second ray the axis of symmetry
object
virtualimage
6. Where the two dotted line cross, is where the virtual image is formed.
Notice that the image formed is upright and a virtual image.
If someone looked through the lens they would see the arrow on the other side, right side up and larger.

Ray Diagrams for Concave or Diverging Lenses (cont’d)
• Go to www.explorelearning.com and login• Go to the “Ray Tracing (Lenses)” Gizmo to
see how moving the object closer to the focal point makes it bigger.– Choose convex lens in the lens options– Move around the focal point to observe what
happens to the lens and the image that is formed.
– Notice how they use three rays instead of two

Thin Lens Equation
• The distance of the object from the lens, do, the distance of the image from the lens, di, and the focal length of a lens, f, can all be related using the Thin Lens Equation.
io ddf
111
• Go to page 455 – 457 of the textbook to see examples of calculations involving the thin lens equation.
Draw Ray Diagrams
• Go to the word document for this lesson and print out the ray diagram pages.
• Complete the ray diagrams for the concave and convex lenses.– You only need to do rays for the tip of
the arrow, just like you learned in the previous slides.

Quick Lab
• Go to page 459 and perform the Quick Lab
• Read the instructions carefully.• Answer questions 10 and 11.

Questions from the Textbook
• Answer Questions 1, 2, 5, 6, 8 and 10 on page 462 of the textbook.


