29
“How to create and manage a Web Application” Microsoft Azure Tutorial
| Date post: | 11-Feb-2017 |
| Category: |
Technology |
| Upload: | lee-stott |
| View: | 474 times |
| Download: | 0 times |

“How to create and manage a Web Application”
Microsoft Azure Tutorial

Microsoft Azure Web App Guide
The following guide shows a step by step creation of an ASP.NET Web Application and how to host it on “App Service Web Apps” on Microsoft Azure, using Visual Studio 2013 or Visual Studio 2013 for Web Express. After completing this guide, you will have created a simple web application running on Azure.
What we are about to see:
How to create a simple web application running on Microsoft Azure using Visual Studio
How to easily make and apply changes to an already published web application
How to use the Azure Portal (https://portal.azure.com) to monitor and manage your applications
Getting Ready
Before we can start, you need to make sure that you have everything you need installed on your PC:
Microsoft Azure SDK
Visual Studio 2013 (Community or Web Express)
Note: Depending on the number of SDK’s already installed on your PC, the installation of the above might take from several minutes to an hour, on maybe more.
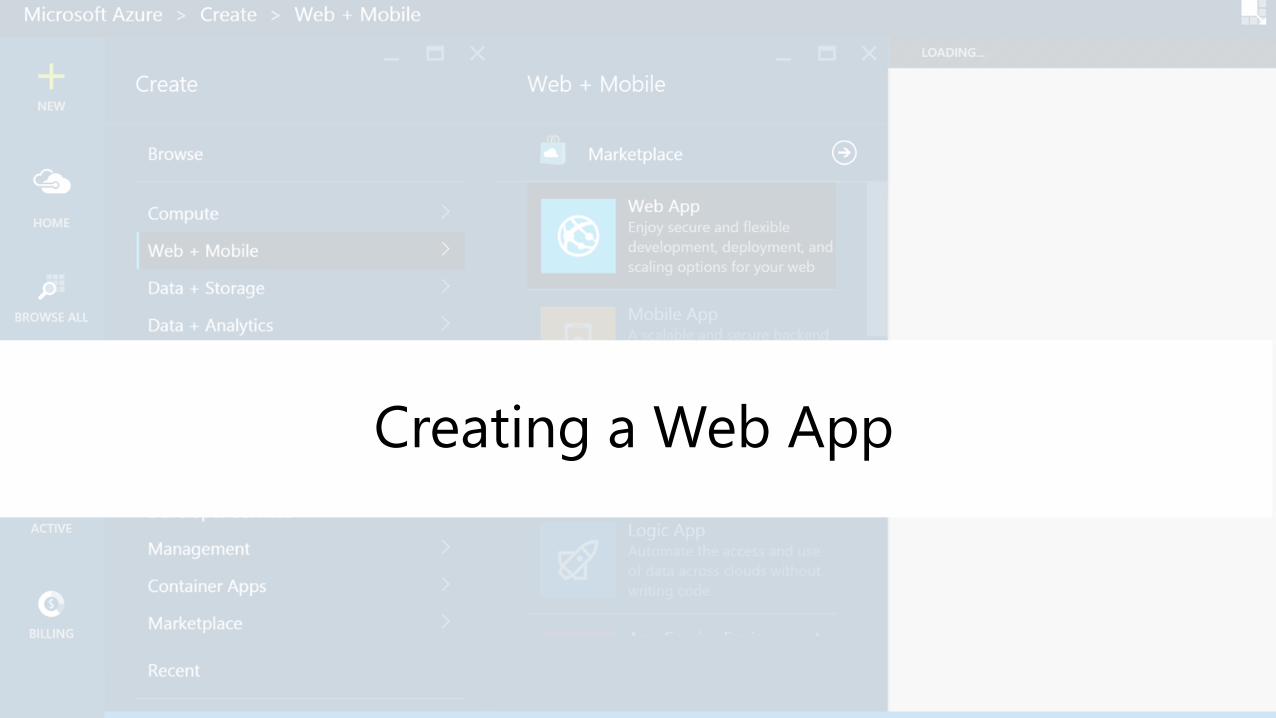
Creating a Web App

Creating a Web App

Creating a Web App
Open Visual Studio. From the menu above select: File > NewProject
At the window that pops-up, select C# > Web > ASP.NET WebApplication. Make sure that you have selected .ΝΕΤ Framework 4.5
Unselect the box Add Application Insights to Project (we will use a separate tutorial for that)
Give your application a name at the field Name [MyExample] and then click OK

Creating a Web App

Creating a Web App
At the New ASP.NET Project wizard select MVC. You can also work with ASP.NET Web Forms by choosing Web Forms
By clicking the button Change Authentication, you can disable the user authentication for your app. In this tutorial, we will not use an authentication method

Creating a Web App

Creating a Web App
At the New ASP.NET Project wizard, do not change any settings at the Microsoft Azure section, just click ΟΚ. Leaving the default settings means that Visual Studio will publish your website to Azure
After clicking OK, a window will pop-up and ask you to sign in to your Azure Account, using your Microsoft ID and Password

Creating a Web App

Creating a Web App
After you successfully sign in to your account, you need to configure the settings for your application. You can do that at the Configure Microsoft Azure Web App Settings window. At this window, you can change your application name, select a service plan and resource group for it (or create a new one) and set the region and the database center you want to use to host your web app
If this is the first time that you create a web app on Azure, you will need to create a service plan and a resource group, which you can use later for your other apps as well
Note: You can choose to create your own name for the app, but it needs to be unique for the domain azurewebsites.net. The default name that Visual Studio suggests is a good way to go, since it is always unique. Azure is going to use that name for the URL of your application

Creating a Web App
At the App Service Plan menu, click Create new App Service plan and then enter your plan name. This will be used to host your web application
At the Recourse Group menu, click Create new Resource Group and then enter your group name
At the Region menu, select the Region (Datacenter area) you want your app to be hosted
At this tutorial, we will not use a database, so leave the Database server menu to No Database. Then click OK

Creating a Web App
After Visual Studio finishes creating your project, you will be able to see your web app to the Solution Explorer
The Azure App Service Activity window must show that your application is published and ready
At this point, you will be able to see
your application at the Server
Explorer, under Azure/App Service

Publish Your Web App

Publish Your Web App
In order to make sure that everything works, you can upload your site to Azure before you start editing it. To do that just go to the Azure App Service Activity window and click on Publish MyExample to this Web App now

Publish Your Web App
When the Publish Web wizard shows up, go to the Connection Tab and choose Validate Connection to make sure that Visual Studio is able to connect to Azure in order to upload your project
When the validation is done, a green check mark will appear. Then click Next

Publish Your Web App
To the Settings Tab just click Next
Note: The Configuration menu gives you the opportunity to set a Debug Build for remote debugging. We won’t be using that for this tutorial

Publish Your Web AppAt the Preview Tab
select Start Preview if you want to check the files before uploading them
When done, click Publish and Visual Stuio will start uploading your site to Azure
Publish Your Web App
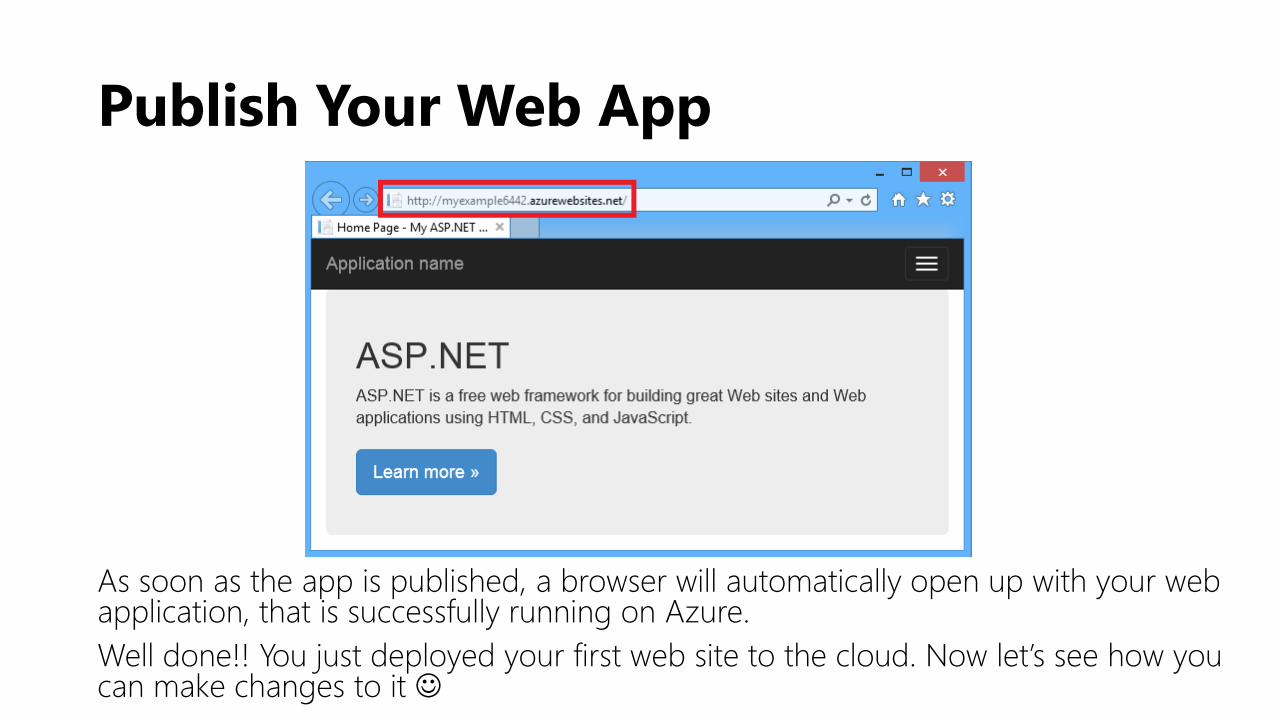
As soon as the app is published, a browser will automatically open up with your web application, that is successfully running on Azure.
Well done!! You just deployed your first web site to the cloud. Now let’s see how you can make changes to it

Modify Your Web App

Modify Your Web App
In order to change your application, that now looks like the default ASP.NET app, you need to go to the Solution Explorer on Visual Studio and select the page you want to edit
In this case, open the Views/Home/Index.cshtml page by double-clicking on it and change the <h1> attribute by adding some text. Then click CTRL+F5 to see the changes locally

Modify Your Web App
If everything is OK, a new tab will open and you will be able to see the changes you made.
Note: the http://localhost url means that your app is running locally and the changes haven’t been uploaded to Azure yet

Modify Your Web App
In order to commit to those changes, go back to the Solution Explorer on Visual Studio, right click on the Project and select Publish
A Publish Web wizard will show up, just click Publish (since you have already configured the settings the first time, so you don’t need to do it again)

Modify Your Web App
A browser opens up again and this time you can see the changes committed to your published web app.
Note: The URL changed back to your selected name instead of localhost
Tip: You can activate the Web One Click Publish Toolbar so you can publish your apps easier. Select View > Toolbars > Web One Click Publish.

Manage Your Web App Through the Azure Portal
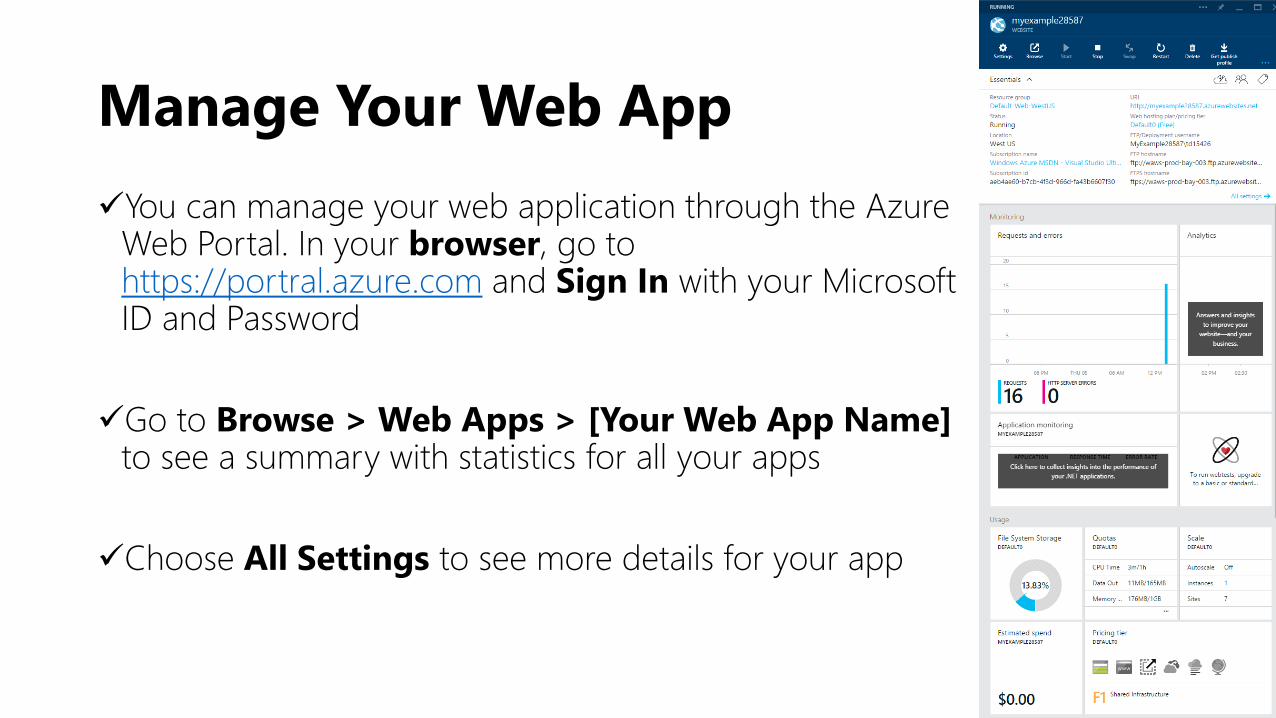
Manage Your Web App
You can manage your web application through the Azure Web Portal. In your browser, go to https://portral.azure.com and Sign In with your Microsoft ID and Password
Go to Browse > Web Apps > [Your Web App Name] to see a summary with statistics for all your apps
Choose All Settings to see more details for your app
Manage Your Web App
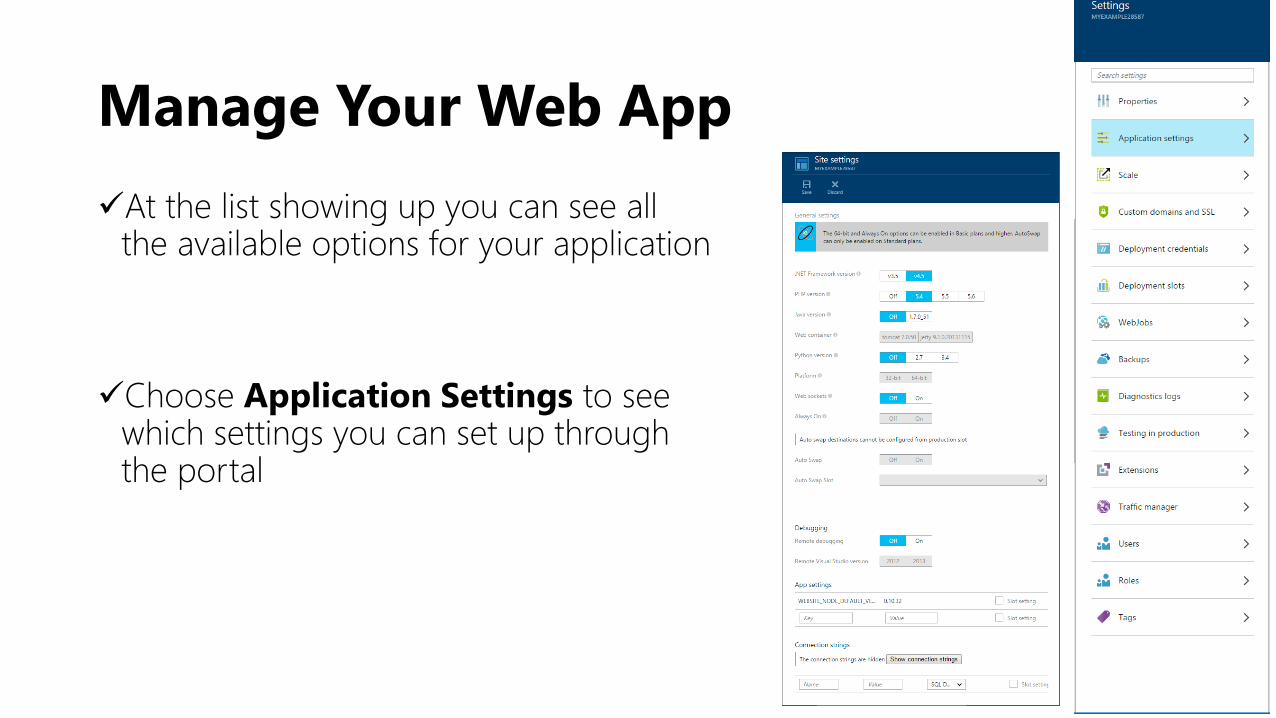
At the list showing up you can see all the available options for your application
Choose Application Settings to see which settings you can set up through the portal

Thank you @lee_stott http://imagine.Microsoft.com


