STEP THREE Determine Goals and Actions By Bo Beaulieu Purdue Center for Rural Development Purdue University Lori Garkovich Community and Leadership Development University of Kentucky Rachel Welborn Southern Rural Development Center Mississippi State University
Transcript
STEP THREEDetermine Goals and Actions
By Bo BeaulieuPurdue Center for Rural Development
Purdue University
Lori Garkovich Community and Leadership Development
University of Kentucky
Rachel Welborn Southern Rural Development Center
Mississippi State University
This facilitator’s guide outlines the content, activities, and handouts that should be used to teach this section. Refer to this document for detailed guidance on how to deliver
STEP ThreeDetermine Goals and ActionsBefore Starting Step Three…Prior to moving on to Step Three, the core and planning teams should complete these activities from Step Two:
Complete the Vulnerability Assessment process from Step Two.
Step Three Overview In this section, the community will identify goals and actions that will be incorporated into its disaster preparedness plan.
ObjectivesIn Step Three, participants will:
Learn about scenario planning, a process that can help you imagine how hazards/threats could play out in your community.
Test the scenario planning process by conducting a tabletop exercise that deals with a major flood impacting a community.
Explore the elements of SMART goals Based on the scenario planning process:
• Create SMART goals that respond to your key hazards (using the document that provides a complete listing of the Emergency Support Functions, or ESFs, that might be most relevant in preparing for or responding to this hazard).
• Outline actions that will be important to help accomplish your goals.
Estimated Time to Complete Step Three Activities Two hours plus additional time to complete the worksheets and homework in preparation for Step Four.
Determine Goals and ActionsIn Step Three your local planning team will be introduced to the elements of a scenario plan and will be asked to work through a table top exercise that simulates a community being impacted by a major flood (or other relevant scenario). This scenario planning activity will help the team gain valuable experiences in identifying areas of vulnerability in your community, especially in terms of your emergency operational plans. As a team, you will be asked to: (1) assess what could happen in the event of a major hazard or threat in your community; (2) brainstorm ways to address the key hazard; (3) explore various options to address the disaster and select the most viable goals; and (4) determine the specific actions that should be pursued in order for your community to be able to prepare for and respond to major hazards/threats in the future.
Once your planning team has worked through the scenario planning, they will learn the ingredients for developing SMART goals. The planning team will then brainstorm key goals related to FEMA’s 15 Emergency Support Functions (ESF), and write SMART goals for each selected ESF. The planning team will then develop a list of actions that will support each goal. Once these revisions are completed, they will be shared and discussed with the planning team. Final refinements to the goals and actions will be completed prior to the beginning of the Step Four team session.
Advance Preparation
Two Weeks Prior
Follow up with local point persono Confirm final counto Discuss any questions/concerns that may have surfaced
Send out a reminder emailo Confirm date, time, locationo Go over what they should expect, their responsibilities
Confirm food and beverages, if being provided, with local point person Double check logistical arrangements Print handouts (See “Supplies Needed” below) Add your contact information to the final slide in PowerPoint “ReadyCommunity – Step Three”
Day of EventArrive at meeting place at least 45 minutes prior to meeting in order to:
Set up PowerPoint equipment. Have the first slide displayed as participants arrive. Arrange tables and chairs so that participants can be face-to-face. A U-shape works well with the
projector screen in the opening of the U. Prepare a sign-in table so that you can ensure you have accurate contact information for all
Handout 1 – Flood Scenario Worksheet (The facilitator will need the accompanying Flood Scenario Facilitator Guide)Handout 2 – Emergency Support Functions DescriptionsHandout 3 – Writing SMART GoalsHandout 4 – Example ESF goal and Action WorksheetHandout 5 – ESF Goal and Action WorksheetFlood Scenario – Facilitator’s GuideComputerProjectorScreen or blank wallExtension cordFlip chart & easelMarkersSign in sheetNametags and name tents (unless all participants are well acquainted)CalendarMap of county/community
Support DocumentsComprehensive Planning Guide (CPG 101)
ResourcesFlood scenario is adapted from: http://www.epa.gov/watersecurity/tools/trainingcd/Simple/Source/Scenario-8/SSc8-0.pdf.
Conducting an Energy Emergency Tabletop Exercise in Your State: A Step-By-Step Guidehttp://www.naruc.org/Grants/docs/Tabletop%20Step%20By%20Step%20Guide.pdf
FEMA, 2003. Developing the Mitigation Plan: Identifying Mitigation Actions and Implementation Strategies. State and Local Mitigation Planning How-to Guide. FEMA 366-3 (April).
FEMA, 2010. Emergency Planning. Independent Study 235.a (May).
Sempier, T.T., D.L. Swann, R. Emmer, S.H. Sempier, and M. Schneider. 2010. Coastal Community Resilience Index: A Community Self-Assessment. MASGP-08-014.
Display the Welcome Slide so participants see it when they enter the room.
Welcome participants and allow time for introductions if participants are not already acquainted.
Warm up: Ask each NEW person to share the following information:
Name (If they are not already acquainted)
One thing that they think would make responding to a disaster hard (tell them to name something in one or two words – fast)
Introduce today’s session.
Many of us have been part of efforts at work, in our civic or social organizations, or in other venues to develop goals and actions. Doing so is a good bit harder than most of us think, but the material covered today will provide your team with the tools to build solid goals and supporting actions that will help your community to be well prepared and capable of responding to future hazards or threats.
Remind participants of where they are within the process. Now that they have formed the team and examined their current situation, they are ready to get to work identifying goals and actions that form the framework of the plan.
Facilitator Note: The word “objective” is used in place of the word “action” in the CPG 101 guide. However, ReadyCommunity adopts the word “action” instead as most people will find it easier to understand.
Supplies/Materials
Estimated Time1 min.
Slide 3Overview
In this step, your team will: Learn how to use a scenario to start
the planning process Based on the scenario planning
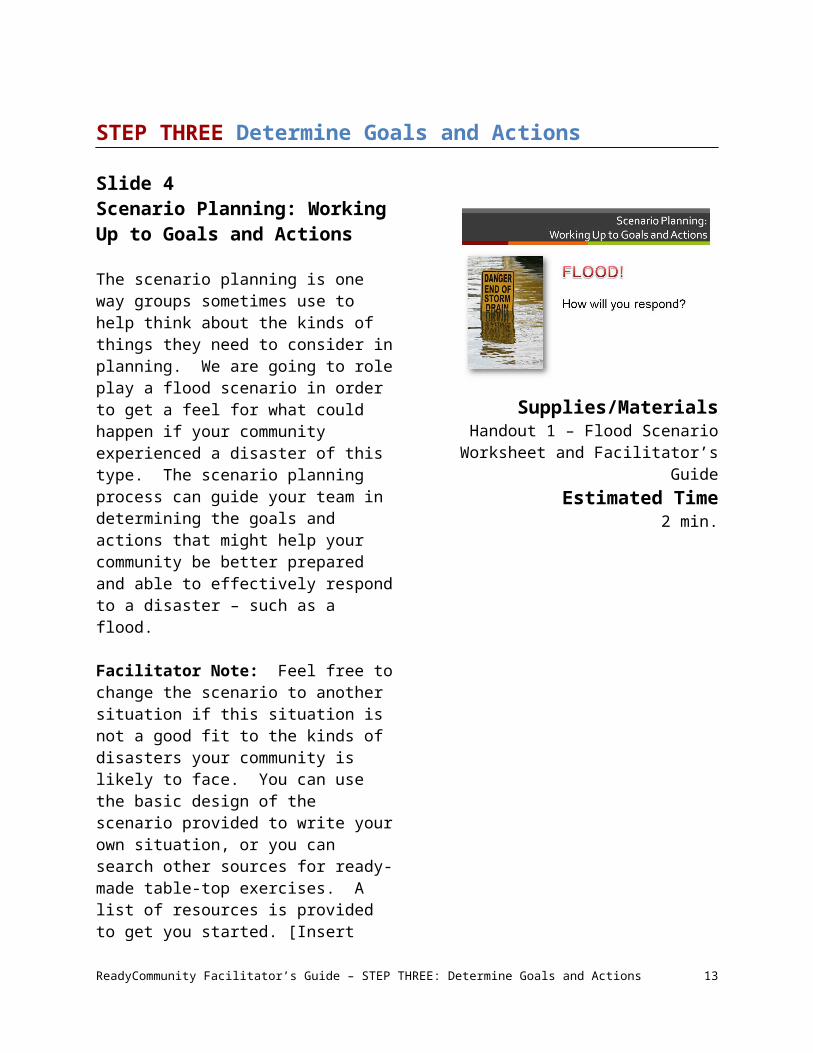
Slide 4Scenario Planning: Working Up to Goals and Actions
The scenario planning is one way groups sometimes use to help think about the kinds of things they need to consider in planning. We are going to role play a flood scenario in order to get a feel for what could happen if your community experienced a disaster of this type. The scenario planning process can guide your team in determining the goals and actions that might help your community be better prepared and able to effectively respond to a disaster – such as a flood.
Facilitator Note: Feel free to change the scenario to another situation if this situation is not a good fit to the kinds of disasters your community is likely to face. You can use the basic design of the scenario provided to write your own situation, or you can search other sources for ready-made table-top exercises. A list of resources is provided to get you started. [Insert handout info on facilitator’s guide on this page]
Also, this scenario provided has multiple cascading events. Feel free to shorten the number of events or adapt them to help participants relate to the situation and/or to respond to time constraints. Be sure to make appropriate adjustments to the participant handout to reflect any changes you make to the basic scenario.
Supplies/MaterialsHandout 1 – Flood Scenario Worksheet and
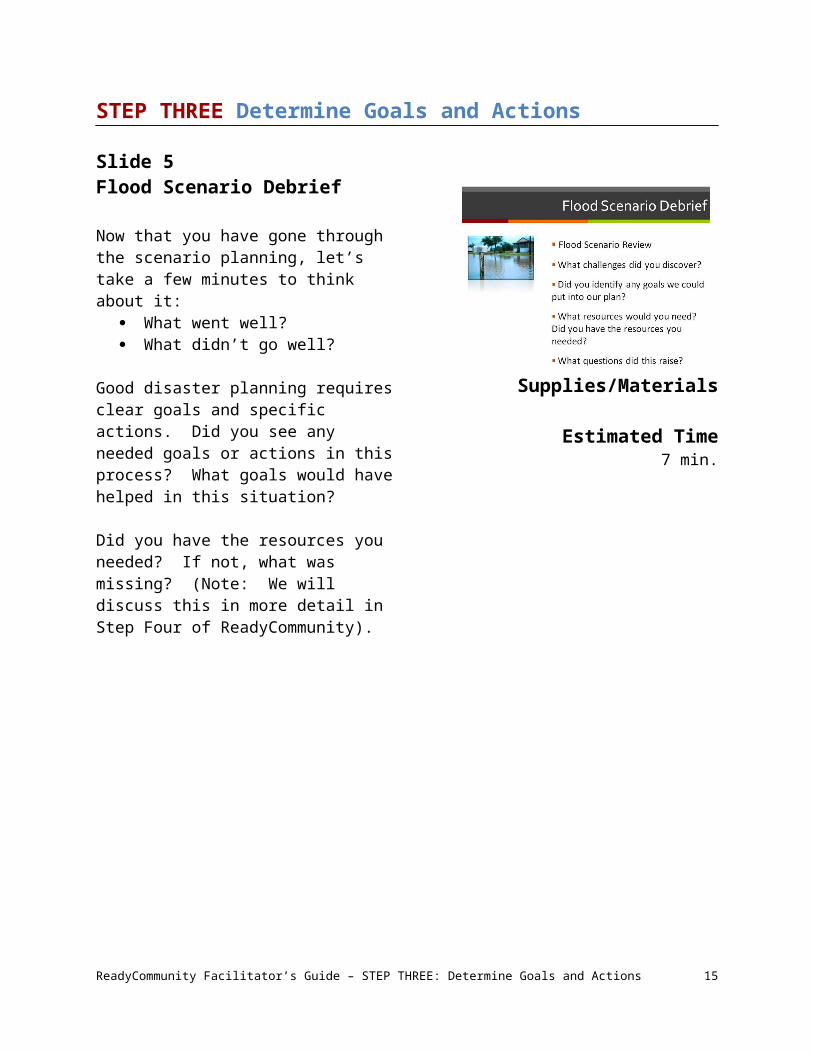
Now that you have gone through the scenario planning, let’s take a few minutes to think about it:
What went well? What didn’t go well?
Good disaster planning requires clear goals and specific actions. Did you see any needed goals or actions in this process? What goals would have helped in this situation?
Did you have the resources you needed? If not, what was missing? (Note: We will discuss this in more detail in Step Four of ReadyCommunity).
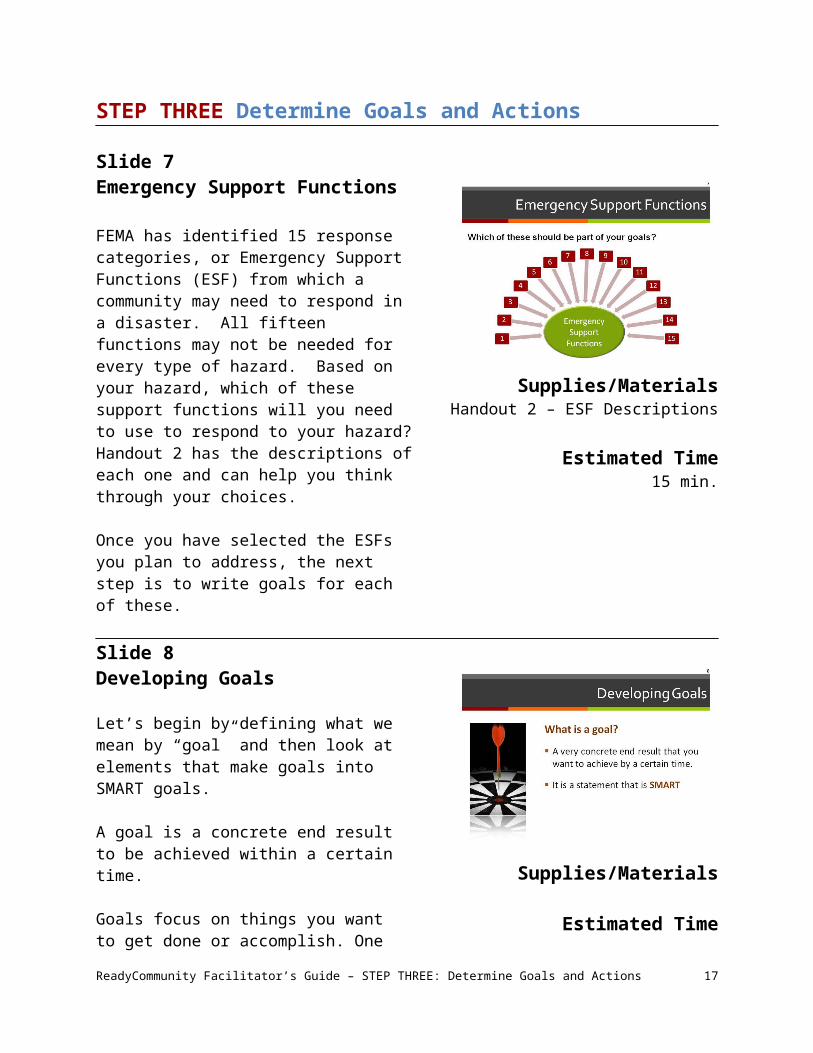
FEMA has identified 15 response categories, or Emergency Support Functions (ESF) from which a community may need to respond in a disaster. All fifteen functions may not be needed for every type of hazard. Based on your hazard, which of these support functions will you need to use to respond to your hazard? Handout 2 has the descriptions of each one and can help you think through your choices.
Once you have selected the ESFs you plan to address, the next step is to write goals for each of these.
Supplies/MaterialsHandout 2 – ESF Descriptions
Estimated Time15 min.
Slide 8Developing Goals
Let’s begin by defining what we mean by “goal” and then look at elements that make goals into SMART goals.
A goal is a concrete end result to be achieved within a certain time.
Goals focus on things you want to get done or accomplish. One of the best ways to build strong goals is to make sure they are SMART.
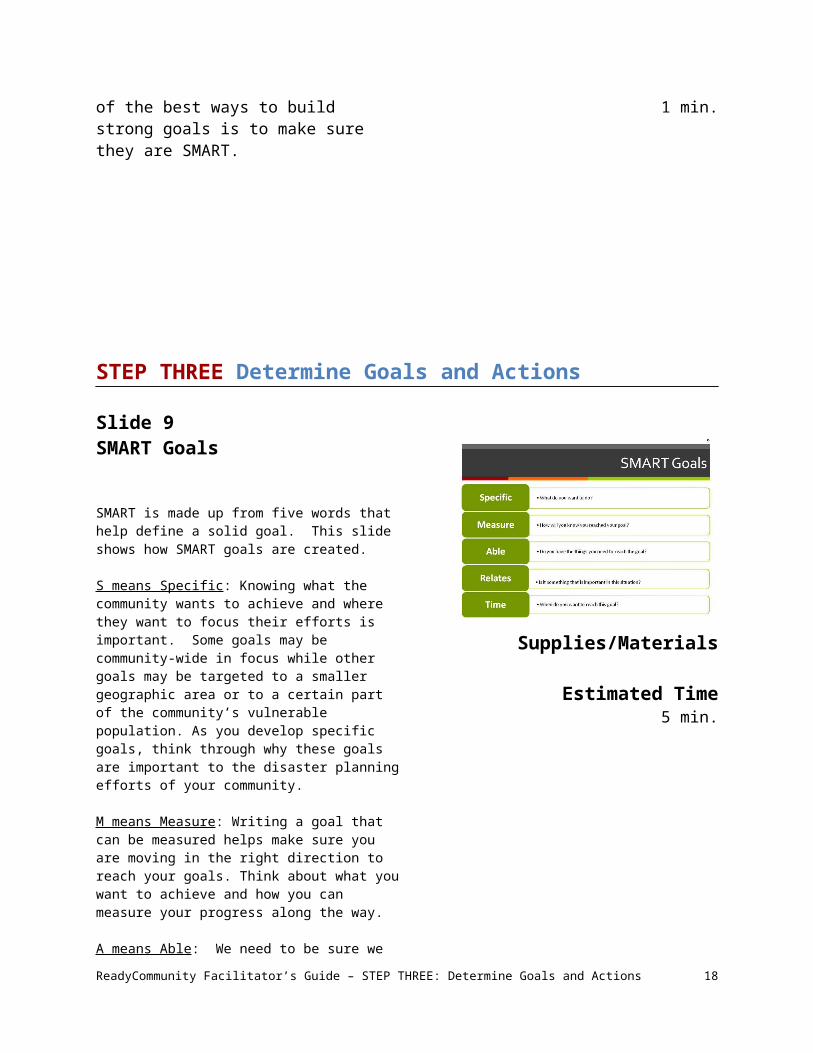
SMART is made up from five words that help define a solid goal. This slide shows how SMART goals are created.
S means Specific: Knowing what the community wants to achieve and where they want to focus their efforts is important. Some goals may be community-wide in focus while other goals may be targeted to a smaller geographic area or to a certain part of the community’s vulnerable population. As you develop specific goals, think through why these goals are important to the disaster planning efforts of your community.
M means Measure: Writing a goal that can be measured helps make sure you are moving in the right direction to reach your goals. Think about what you want to achieve and how you can measure your progress along the way. A means Able: We need to be sure we have what we need to reach a goal. Are there things that might get in the way that we need to consider? Avoid embracing goals at odds with the current or anticipated resources that will be available in your community. Consider goals that align with the resources of your community. These resources could be people, volunteer groups, local institutions, or physical resources. R means Relates: Is the goal something that the community really needs to do? Since your community may have a lot of goals related to disaster preparation, thinking about the importance and relevance of each goal is vital. Consider whether each goal will bring value tothe community at large, or at least to a segment of the community that may be especially vulnerable to the hazards your community is facing.
T means Time: Having timelines for each of your goals is important. If you don’t have target dates or timeframes, then you are likely going to muddle along, having no clear idea of what actions need to be taken and by when. In order to keep things on track, build a timeline of when your team goals are to be completed.
We want to share with you an example of a goal that is “not so SMART.” The goal focuses on the response of the local volunteer fire department, something that is important in small towns or cities without full-time paid fire department staff. But many of the SMART elements are missing from the first example.
At the bottom of the slide, this goal has been changed to have the five parts of a SMART goal. Take a look at the five labels to see different parts of the goal. Keep in mind that a goal does not have to be long or complicated to have SMART parts.
Supplies/Materials
Estimated Time1 min.
Slide 11SMART Goal: Example
Now it is your turn. Here is a goal about telling people in a flood prone area about the need to evacuate. The first statement fails to meet the conditions of being a SMART goal. However, the second statement is SMART. See if you can identify each of the SMART elements.
Facilitator note: This can be done in small groups or individually allowing time to report back, or together as a whole group, depending on the size of the whole group. Use Handout 3.
Specific: telling persons in the county’s flood-prone areaMeasure: 100%, within 4 hoursAble: County level, within a defined areaRelates: People in flood zoneTime: Within four hours of the order
Facilitator Note: Have blank flip chart paper available for participants. Once they identify the ESFs they want to address, write each one at the top of a separate flip chart sheet (one ESF per sheet). Ask each person to pick an ESF that he/she wants to tackle (individually or in small groups). After everyone has selected an ESF, instruct the group of people assigned to each of the ESFs to write a SMART goal related to that specific function. After each team has completed its assignment, ask a representative of each ESF team to share the goal they developed. Ask the other participants to provide feedback on ways to refine each of the ESF goals.
Supplies/Materials
Estimated Time5 min.
Slide 13Moving From Goals to Actions
The next step is to come up with actions to reach goals.
Activity: have group think about sample goal (100% of persons in county’s flood prone area will be notified within 4 hours of an evacuation order release) and brainstorm what they would do. List answers on the flip chart.
If participants are stuck, use Handout 4 as a guide.
Supplies/MaterialsMarkers
Flip ChartHandout 4 – EXAMPLE ESF Goal and Action
Handout 5 – ESF Goal and Action WorksheetWorksheet
Working in the same teams that developed the SMART goal(s) for specific ESFs, have each group develop a list of actions (not specific steps) that will be needed to reach the goal. Once each group has a good working draft, allow time to share with the others who are part of the larger team.
Facilitator Note: When using Handout 3, be sure the participants are developing big picture actions in the “Action” section and not specific steps. We will discuss the specific steps needed to achieve the goals in Step 4.
Supplies/MaterialsHandout 3 – ESF Goal and Action Worksheet
MarkersFlip chart
Estimated Time15 min.
Slide 15Finish Goals and Actions
Have each group finish SMART goals and actions before the next meeting. Since Step 4 builds on the information generated in Step 3, cleaning up any “fuzzy” or unclear items before the next session will help the group make progress. Polished versions of Handout 3 should then be shared and discussed at the beginning part of the upcoming Step 4 session.
Supplies/MaterialsHandout 3 – ESF Goal and Action Worksheet
Take a few moments at the end of this session to answer any questions about the day’s work or any work assignments before the next meeting. Also, be sure to announce the time, date, and location for the next meeting.
Supplies/Materials
Estimated Time15 min.
Slide 17Contact Information
Thank participants for coming.
Be sure to include your contact information as well as the local point person’s contact information so that all participants can stay connected to the planning process.