30
DIAPERING STEPS TO REDUCE THE SPREAD OF DISEASE REBECCA WEBB, RN CHILD CARE HEALTH CONSULTANT LINCOLN TRAIL DISTRICT HEALTH DEPARTMENT
| Date post: | 14-Dec-2015 |
| Category: |
Documents |
| Upload: | quentin-finkel |
| View: | 214 times |
| Download: | 0 times |
DIAPERING STEPS TO REDUCE THE SPREAD OF DISEASE
REBECCA WEBB, RNCHILD CARE HEALTH CONSULTANT
LINCOLN TRAIL DISTRICT HEALTH DEPARTMENT
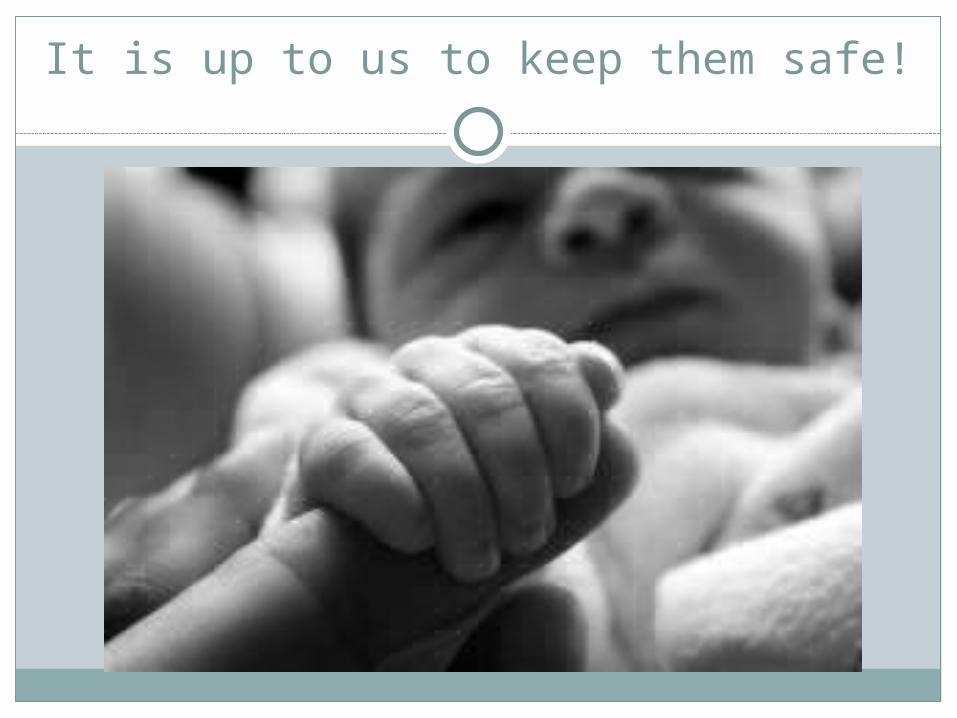
It is up to us to keep them safe!

Germs
Rotavirus Norovirus Hepatitis
Salmonella Shigella Campylobacter
Giardia Pinworm
Diapering Guidelines
Change diapers and training pants only in the designated diapering area.
Separate diapering area from food storage, preparation & eating areas.
Dispose of soiled diapers and training pants properly.
Wash hands (staff and children) after diapering.Do not allow pacifiers, toys, baby bottles, or
food in diapering area.
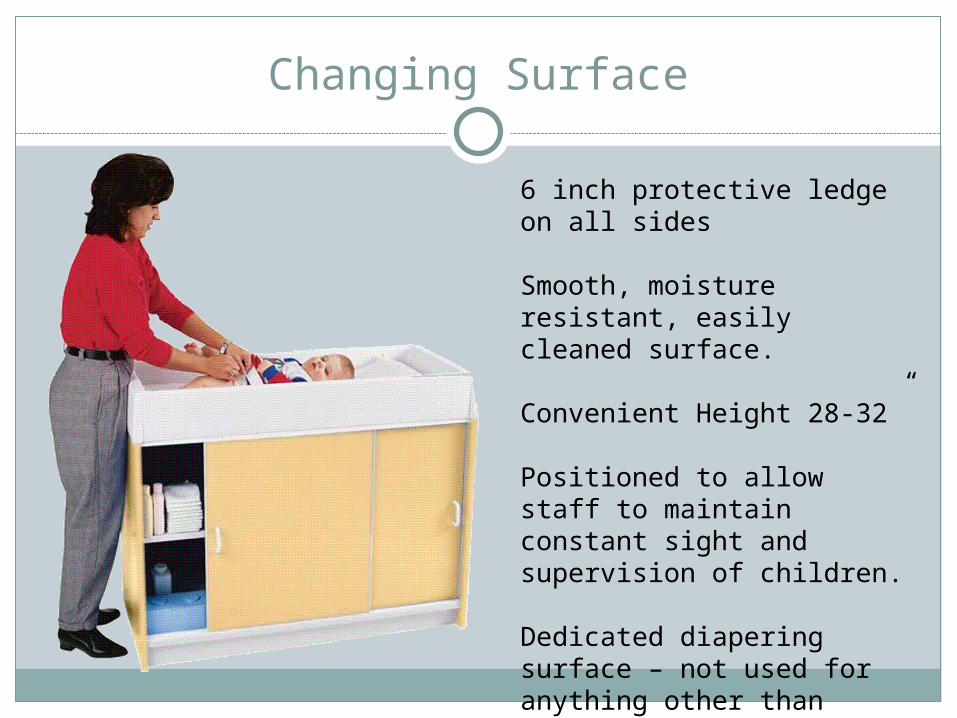
Changing Surface
6 inch protective ledge on all sides
Smooth, moisture resistant, easily cleaned surface.
Convenient Height 28-32”
Positioned to allow staff to maintain constant sight and supervision of children.
Dedicated diapering surface – not used for anything other than diapering.

Changing Table Requirements
Changing tables should meet the following requirements:
1.Have impervious, nonabsorbent, smooth surfaces that do not trap soil and are easily disinfected;
2. Be sturdy and stable to prevent tipping over;3. Be at a convenient height for use by
caregivers/teachers4. Be equipped with railings or barriers that
extend at least six inches above the change surface
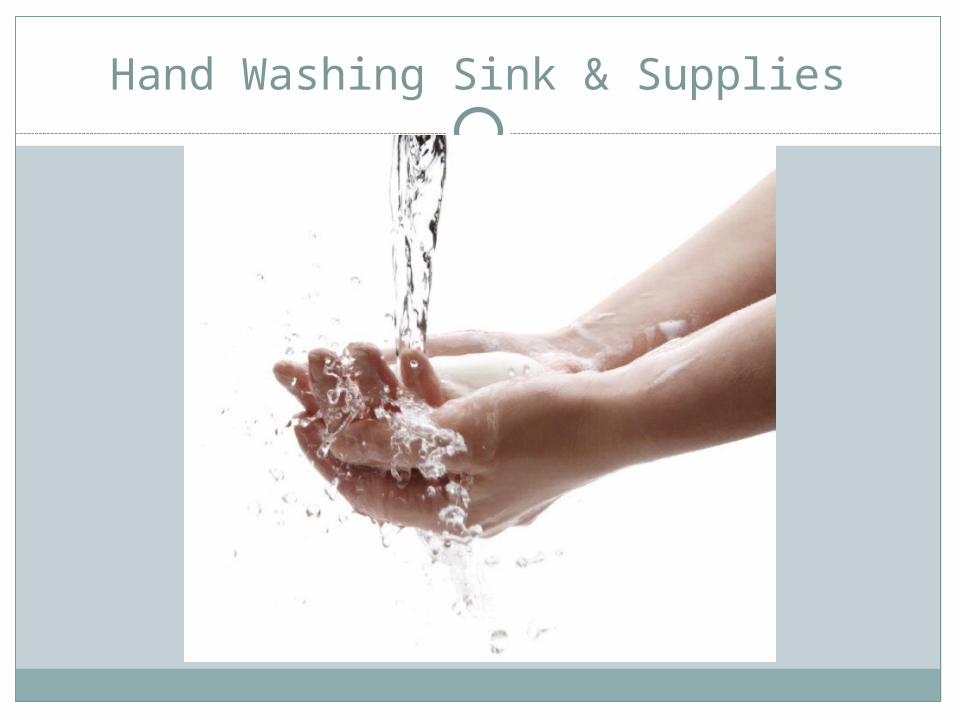
Hand Washing Sink & Supplies
Diapers

Disposable Gloves
Disposable Wipes

Skin Care Items
Plastic Bags
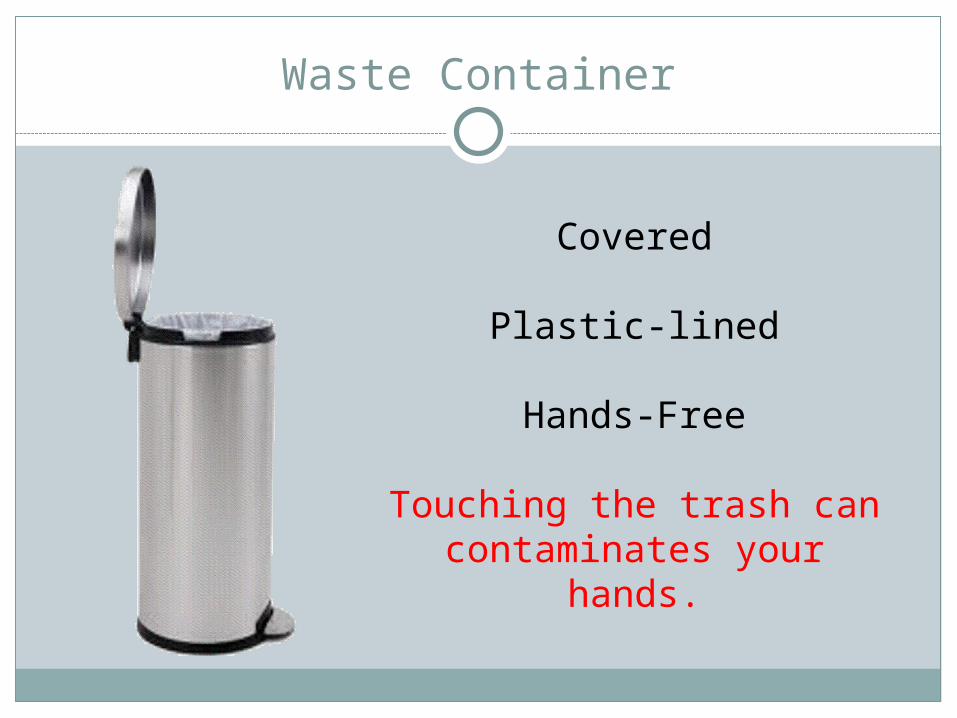
Waste Container
Covered
Plastic-lined
Hands-Free
Touching the trash can contaminates your hands.

Labeling, Cleaning, and Disposal of Waste and Diaper Containers
Each waste and diaper container should be labeled to show its intended contents.
The containers should be cleaned daily to keep them free from build-up of soil and odor.
Wastewater from these cleaning operations should be disposed of by pouring it down a toilet or floor drain.
Wastewater should not be poured onto the ground, into handwashing sinks, laundry sinks, kitchen sinks, or bathtubs.
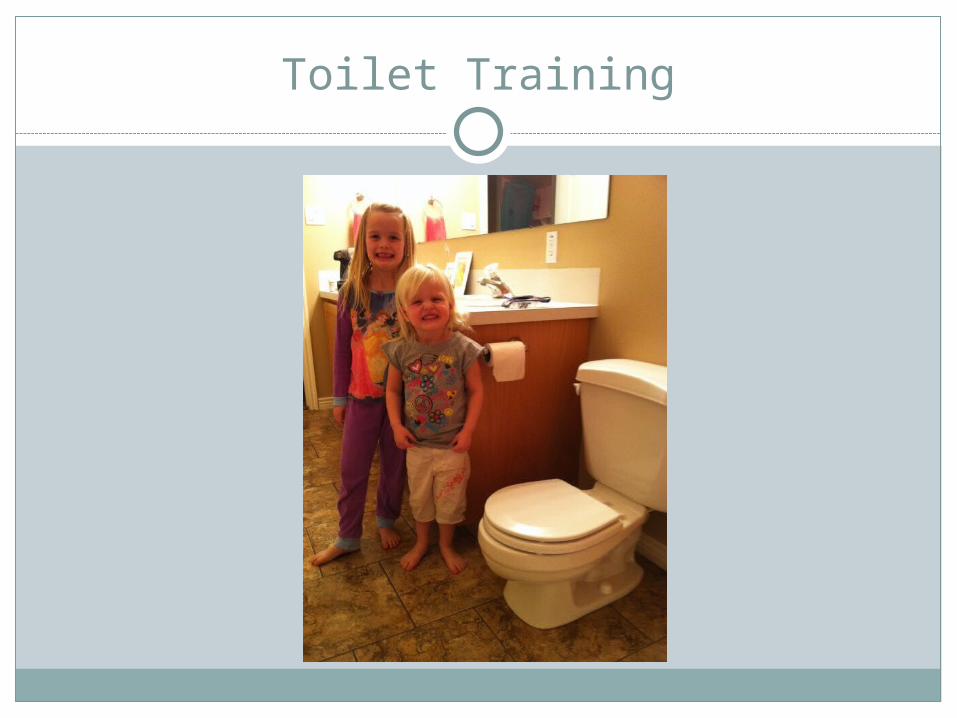
Toilet Training

Cleaning & Sanitizing
Always a 3 Step Process!
1) Clean with soap and water solution
2) Rinse
3) Apply Sanitizing Solution (bleach and water)
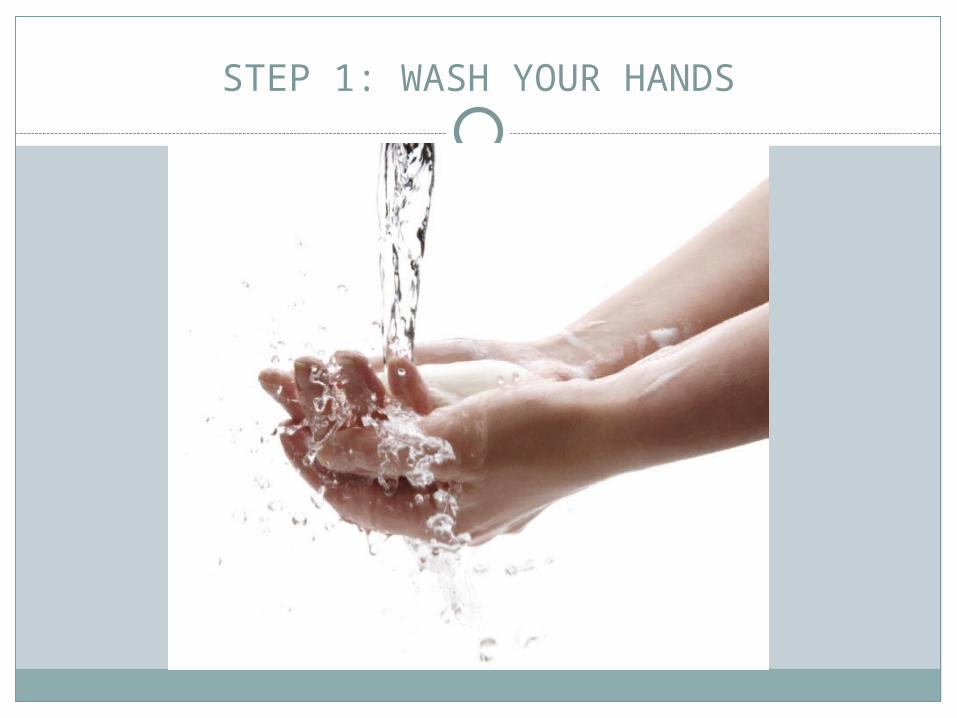
STEP 1: WASH YOUR HANDS
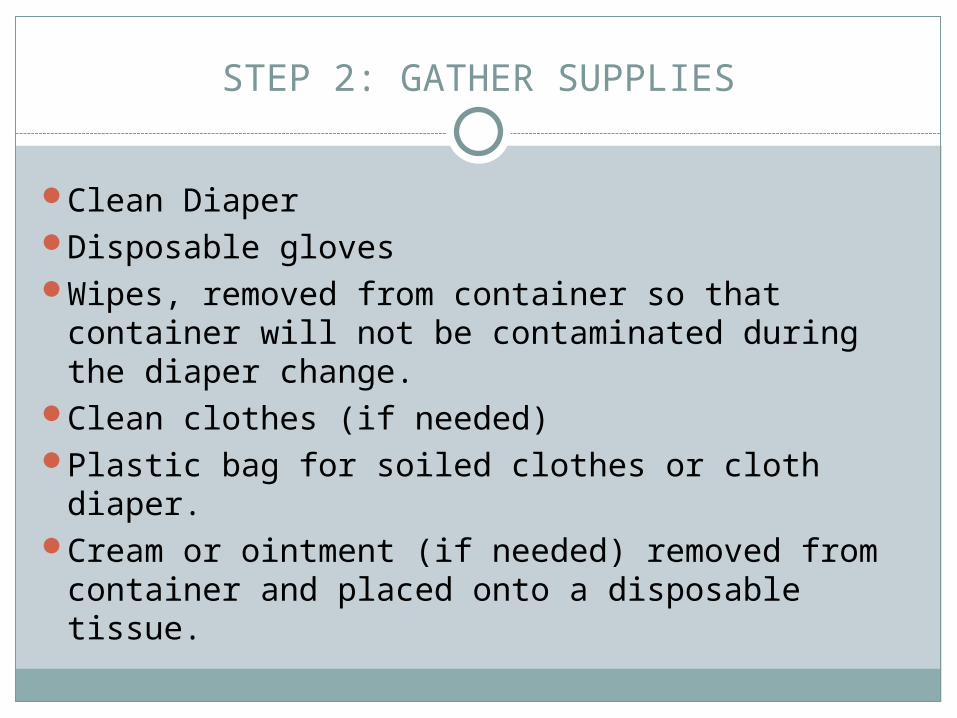
STEP 2: GATHER SUPPLIES
Clean Diaper Disposable glovesWipes, removed from container so that
container will not be contaminated during the diaper change.
Clean clothes (if needed)Plastic bag for soiled clothes or cloth diaper.Cream or ointment (if needed) removed from
container and placed onto a disposable tissue.
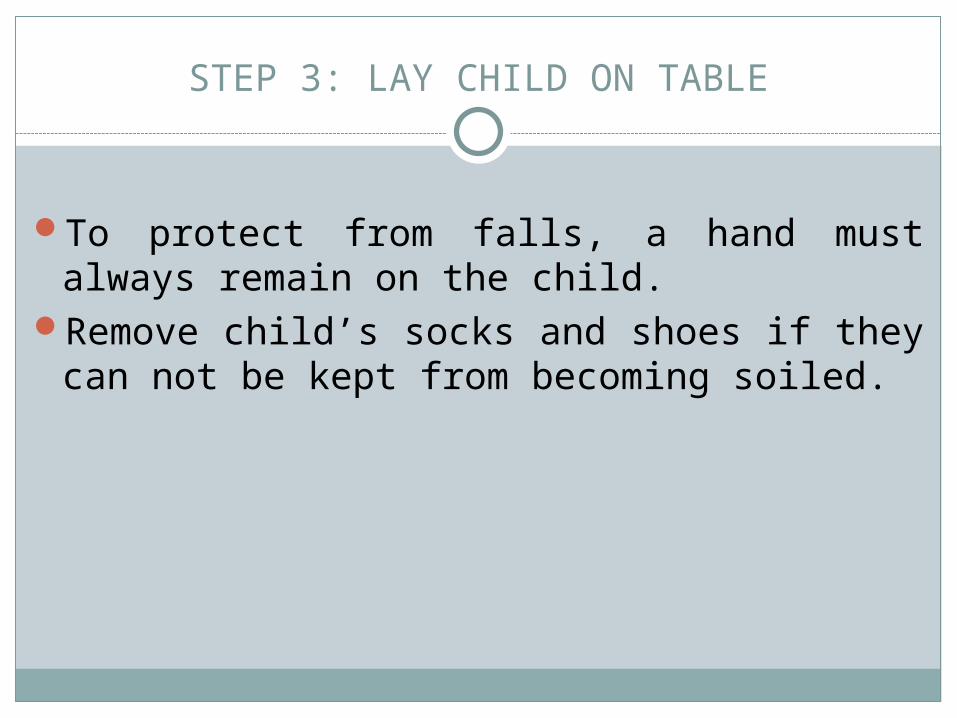
STEP 3: LAY CHILD ON TABLE
To protect from falls, a hand must always remain on the child.
Remove child’s socks and shoes if they can not be kept from becoming soiled.
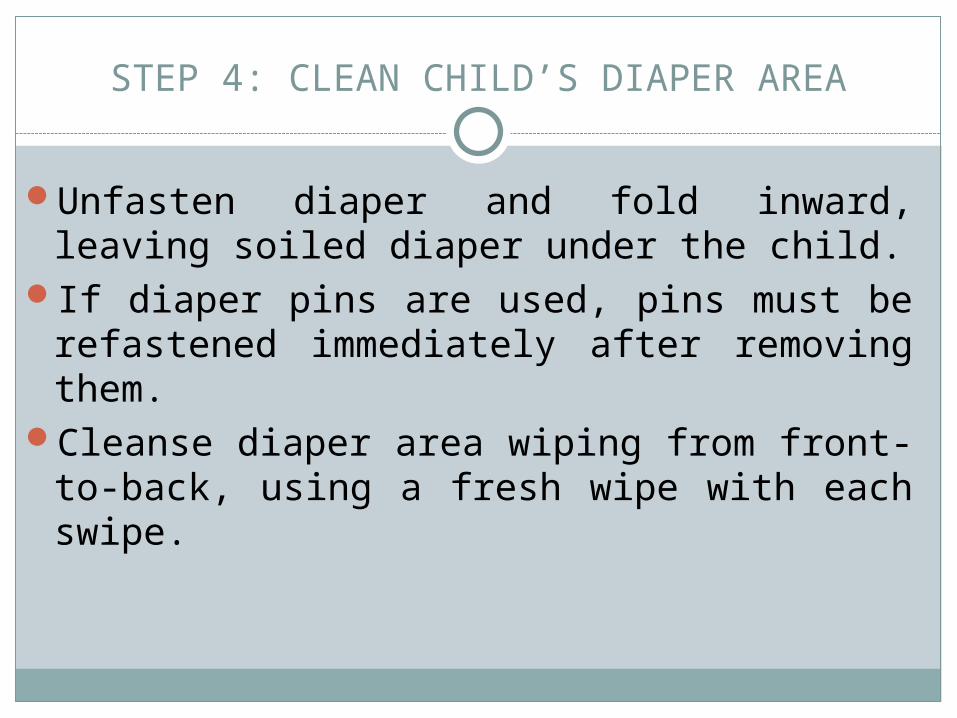
STEP 4: CLEAN CHILD’S DIAPER AREA
Unfasten diaper and fold inward, leaving soiled diaper under the child.
If diaper pins are used, pins must be refastened immediately after removing them.
Cleanse diaper area wiping from front-to-back, using a fresh wipe with each swipe.
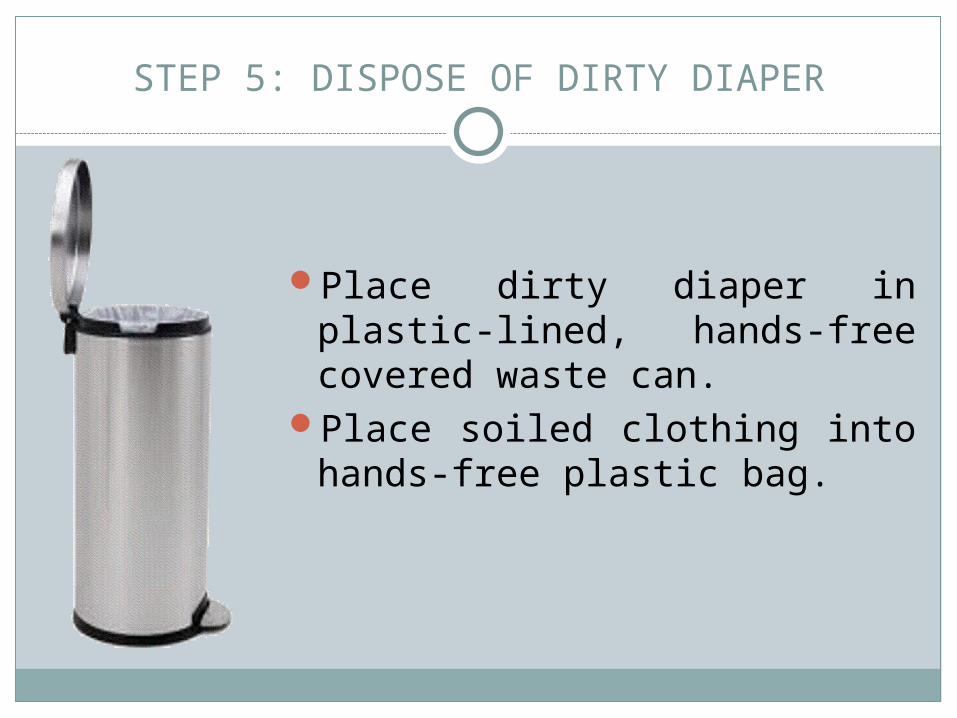
STEP 5: DISPOSE OF DIRTY DIAPER
Place dirty diaper in plastic-lined, hands-free covered waste can.
Place soiled clothing into hands-free plastic bag.

STEP 6: DISPOSE OF GLOVES
Remove gloves and place in plastic-lined, hands-free covered waste can.
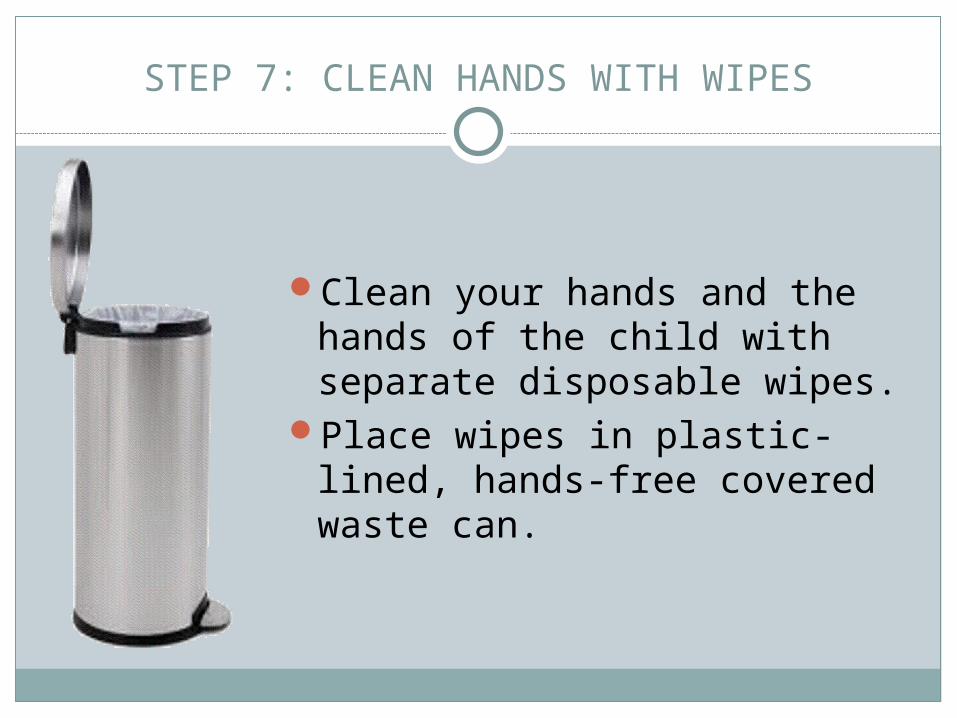
STEP 7: CLEAN HANDS WITH WIPES
Clean your hands and the hands of the child with separate disposable wipes.
Place wipes in plastic-lined, hands-free covered waste can.

STEP 8: DIAPER AND RE-DRESS CHILD
Place a clean diaper under the child.Use tissue or disposable glove to apply
creams or ointments. Dispose of in covered, plastic-lined, hands-free waste can.
Take note of any skin breakdown (redness, blisters, skin cracks, bleeding).
Fasten the diaper. If pins are used, place your hand between diaper and infant to protect the child when inserting the pin.
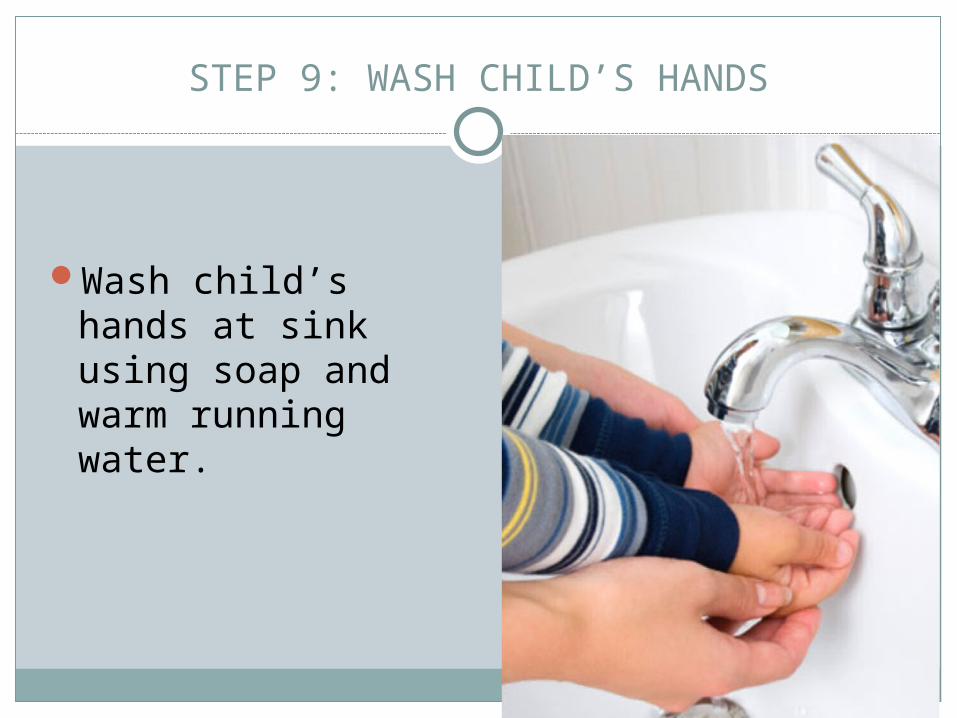
STEP 9: WASH CHILD’S HANDS
Wash child’s hands at sink using soap and warm running water.
STEP 10: RETURN CHILD TO SUPERVISED AREA
Return child to supervised area.
STEP 11 : CLEAN & RINSE
Clean and remove any visible soil from diapering surface with detergent, then rinse with water.

STEP 12: SANITIZE
Wet the entire changing surface with sanitizer following the manufacturer’s instructions. Bleach solution should be left on surface for 2 minutes before wiping with paper towel or leave on to air dry.
Put sanitizer away out of reach of children. (Some sanitizers require rinsing with water after use, refer to label for instructions.)

STEP 13: WASH YOUR HANDS

SOURCES
Caring For Our Children, National Health and Safety Performance Standards, 3rd edition
All About the ITERS-R, University of North Carolina at Chapel Hill, September 2004


