32
University of Leeds INFORMATION SYSTEMS SERVICES Handset User Guide OPTIPOINT 500 STANDARD / ADVANCE DIGITAL (DISPLAY) TELEPHONE
| Date post: | 14-Dec-2015 |
| Category: |
Documents |
| Upload: | suresh-kumar |
| View: | 219 times |
| Download: | 0 times |

University of Leeds
INFORMATION SYSTEMS SERVICES
Handset User Guide
OPTIPOINT 500 STANDARD / ADVANCE DIGITAL (DISPLAY) TELEPHONE
Table of Contents
Table of Contents......................................................................................................2
1. Introduction.......................................................................................................5
2. Example of Optipoint Advance Telephone....................................................6
3. Making and Receiving Calls............................................................................7
To Make an Internal or External Call.........................................................................7
To Receive a Call......................................................................................................7
4. Transferring Calls.............................................................................................8
Transfer a Call – Unannounced................................................................................8
Transfer a Call – Announced....................................................................................8
Transfer a Call – Announced on No Answer.............................................................8
Transfer a Call – Announced on Busy.......................................................................8
5. Consultation Hold.............................................................................................9
Hold...........................................................................................................................9
6. Call Alternating (Toggle)................................................................................10
Toggle.....................................................................................................................10
7. Conference......................................................................................................11
To Set up a Conference Call...................................................................................11
To Join another party to the Conference.................................................................11
To Leave a Conference...........................................................................................11
8. Call Back..........................................................................................................12
Callback on Busy.....................................................................................................12
To Cancel Call back On Busy.................................................................................12
Call back on No Answer..........................................................................................12
To Display Callback Request with Mailbox LED.....................................................13
Display a Callback Request that you have Set.......................................................13
9. Last Number Redial........................................................................................14
10. Individual Speed Dialling...............................................................................14
To Store a Number..................................................................................................14
To Use Individual Speed Dialling............................................................................14
To Delete an Individual Speed Dialling Number......................................................14
11. System Speed Dialling...................................................................................15
2 of 28
To Use System Speed dialling................................................................................15
12. Call Journal.....................................................................................................16
Incoming Calls.........................................................................................................16
Outgoing Calls.........................................................................................................16
13. Second Call Waiting.......................................................................................17
Activate Second Call...............................................................................................17
Answer Second Call................................................................................................17
Deactivate Second Call...........................................................................................17
14. Call Pickup......................................................................................................18
To Activate Call Pickup...........................................................................................18
15. Call Park...........................................................................................................19
Parking a Call..........................................................................................................19
Retrieving a Parked Call..........................................................................................19
Directed Call Park...................................................................................................19
Reconnect to a Parked Call at the Destination phone.............................................19
Retrieving a Parked Call from another extension....................................................19
16. Call Forwarding...............................................................................................20
To Set a Fixed Call Forward...................................................................................20
To De-activate the Call Forward.............................................................................20
To Delete the Fixed Call Forward Destination........................................................20
To Set a Variable Call Forward Destination............................................................21
To Deactivate the Variable Call Forward................................................................21
17. Forward Station Number................................................................................22
To Set Forward Station Number...........................................................................22
To Deactivate Remotely..........................................................................................22
18. Station Hunt Groups.......................................................................................23
19. Timed Reminders............................................................................................24
To Set a Timed Reminder.......................................................................................24
To Acknowledge the Timed Reminder....................................................................24
Delete a Reminder..................................................................................................24
20. Direct Station Select (DSS)............................................................................25
Programme A DSS Key...........................................................................................25
Programme A Number under the DSS Key.............................................................25
To Use DSS Key.....................................................................................................25
21. Station Speed Dial Keys (Name Keys).........................................................26
To Programme Station Speed Dial Keys.................................................................26
3 of 28
To Use the Station Speed Dial Keys.......................................................................26
22. Volume Control...............................................................................................27
Ringing Volume.......................................................................................................27
Ringing Pitch...........................................................................................................27
Handsfree Mode......................................................................................................27
Warning Tone..........................................................................................................27
Handset Volume......................................................................................................27
23. Display Key Functionality..................................................................................28
4 of 28

1. Introduction
This document aims to provide information and guidance on the use of the various models of digital telephone available at the University of Leeds.
The University of Leeds telephone system has 4 models of Optipoint handset in its product range. These are the Entry, the Basic, the Standard and the Advance. The Basic, Standard and the Advance all have a LCD display.
This document contains information on the Standard Key Layout of the Standard and Advance telephone, along with the features of the pre-programmed keys and the feature codes of the telephone system.
A separate document has been produced for the non-display digital handset.
5 of 28
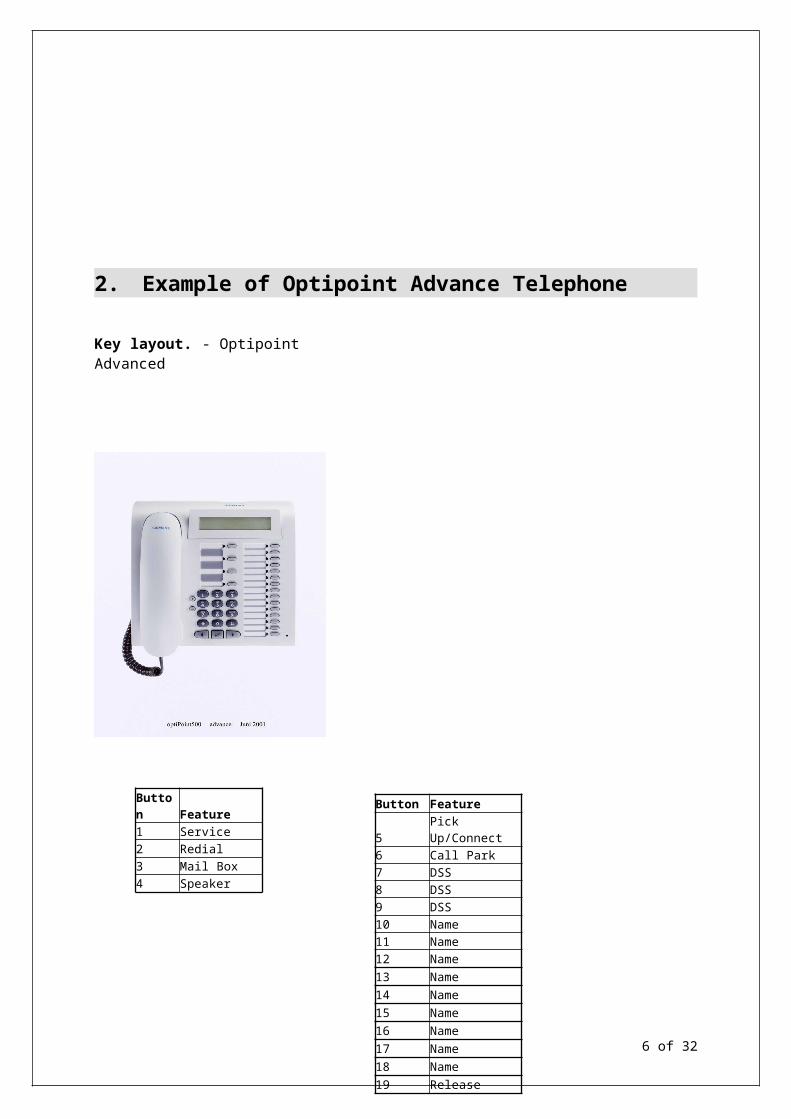
2. Example of Optipoint Advance Telephone
Key layout. - Optipoint Advanced
NB. Optipoint Standard handsets are as above but have eight feature buttons and no hands-free port.
6 of 28
Button Feature
1 Service
2 Redial
3 Mail Box
4 Speaker
Button Feature
5 Pick Up/Connect
6 Call Park
7 DSS
8 DSS
9 DSS
10 Name
11 Name
12 Name
13 Name
14 Name
15 Name
16 Name
17 Name
18 Name
19 Release
3. Making and Receiving Calls
The Optipoint Standard/Advance Telephone gives you the ability to make calls ‘On Hook’ or ‘Off Hook’. The telephone has a ‘live’ keypad which means you do not need to press the ‘Speaker’ key for handsfree dialling, just dial straight onto the keypad.
To Make an Internal or External Call Lift handset and dial required number. Remember access code, e.g., 9 for an
outside line. Or Dial required number on ‘Live Keypad’, when call is answered you can decide
whether or not to lift the handset.
.
To Receive a Call
Lift Handset Or Press Speaker key
When you receive a call to your handset you will be able to distinguish if the call is an External call or an Internal call by the ring tone.
An External call will give a double ring tone at your handset; an Internal call will give a single ring tone at your handset.
7 of 28
4. Transferring Calls
On HiPath 4000 you are able to transfer calls Announced and Un-Announced. If you transfer a call Un-Announced to an extension and the call is not answered it will return back to the originating telephone after a pre-set time. If the extension has a Forward set the call will follow the forwarding.
Transfer a Call – Unannounced
Whilst on a Call:-
Press for “Consultation?”, caller is automatically put on hold Key required number Replace handset
Transfer a Call – AnnouncedWhilst on a Call:-
Press for “Consultation?”, caller is automatically put on hold Key required number On answer, announce call and replace handset
Transfer a Call – Announced on No Answer
Press to “Dial Again?”, key another number if required Or, press to “Return to held call?”
Transfer a Call – Announced on Busy
Press to “Release and Return?”
8 of 28

5. Consultation Hold
On HiPath 4000 there is no dedicated Hold function key or facility key. The ‘Consultation’ option can be used to put calls on temporary hold, but this key is also used for transferring calls.
Hold
To Put a call on hold:-
Press for “Consultation?”, caller is automatically put on hold Press to “Return to held call?”
9 of 28
6. Call Alternating (Toggle)
The call alternating feature enables the user to toggle between two calls (internal/external or Network calls).The above calls can either be calls received by the user or set up by the user.
Toggle With one call established, press “Consultation?” Establish second call Scroll ◄► to “Toggle?”, press , Press , to alternate between the callers (Use the display for information) To connect calls, replace handset
Or
You can release a caller, toggle back to the caller you wish to release:- Scroll to ◄► to “Release and return?” Press to return to the other caller.
10 of 28

7. Conference
The ability to add a third party to an existing call (maximum of 8 people, internal or external)
To Set up a Conference Call
With an existing call established
Scroll ◄► to “Start Conference?” or select “Consultation?” Press Establish second call Press for “Conference?” Screen briefly displays your position within the conference All parties will receive a warn tone and the screen displays will indicate how many
people are in the conference, Conf 1-2-3 and “Add Conference?”
To Join another party to the Conference
Anyone with “Add to Conference?” displayed can include the fourth party Press Establish fourth call Press for “Conference?” All parties receive a warn tone and the screen displays will indicate how many
people are in the conference, Conf 1-2-3-4 and briefly the number of the position added.
To Leave a Conference
Replace your receiver or Scroll ◄► to “View Members?” Press Either Scroll ◄► to “Release party?” then press (to release party in display), Or Press to get to the “Next Conference Party?” you wish to release Scroll ◄► to “Release party?” then press “Party released” is temporarily displayed
During a Conference you also have the option to “Remove last party?” and whilst in “View members” mode, you have the option to “Stop viewing?” the members in the Conference.
11 of 28
8. Call Back
It is possible to set up to 5 Callbacks. This can be a Call Back to a busy extension or Call Back to an extension that is ringing no answer.
Callback on BusyIf an extension is engaged when called, the number can be stored and will call you back when the called person replaces their handset.
To Set Dial number required Hear engaged tone Press for “Callback?” Screen will show “Will Callback” Replace handset
When caller becomes free, your phone will ring to advise that the extension is now free. Check the display, this will show you which callback is ringing you back. Lift the handset to answer the callback.
To Cancel Call back On Busy
When the callback request rings back to you Press for “Cancel Callback?”Or Scroll ◄► to “Display Callbacks?”, press Scroll ◄► to view options “Next Callback?”, ◄►”Delete?”, or ◄► “Cancel?” If you choose the “Delete” option, Auto callback deleted will appear briefly
Call back on No AnswerWhen there is no reply from the required extension, you can activate a callback request in the called persons mailbox or to be activated automatically when the extension is next used.
To Set Dial number required Hear ringing tone Press for “Callback?” Screen will confirm “Will Callback” Replace handset
12 of 28

To Display Callback Request with Mailbox LED Press lit Mailbox key Scroll ◄► once to “Call Originator?”, press if you wish to call sender Or scroll ◄► again to “Delete?”, press if you wish to delete message Or scroll ◄► again to “Next entry?”, press if you wish to go onto the next
message
Note:- A Callback on no reply may light the mailbox LED on the telephone that you have requested to call you back. When the recipient presses the lit Mailbox key to see who called, the callers name, number and the time of the request is shown in the display.
Display a Callback Request that you have Set
Scroll◄► to “Display Callbacks?”, press The display will show the first callback Scroll ◄► to “Next Callback?”, ◄► “Delete?”, or ◄► to “Cancel?” If you choose the “Delete?” option, Auto callback Deleted will appear briefly.
13 of 28

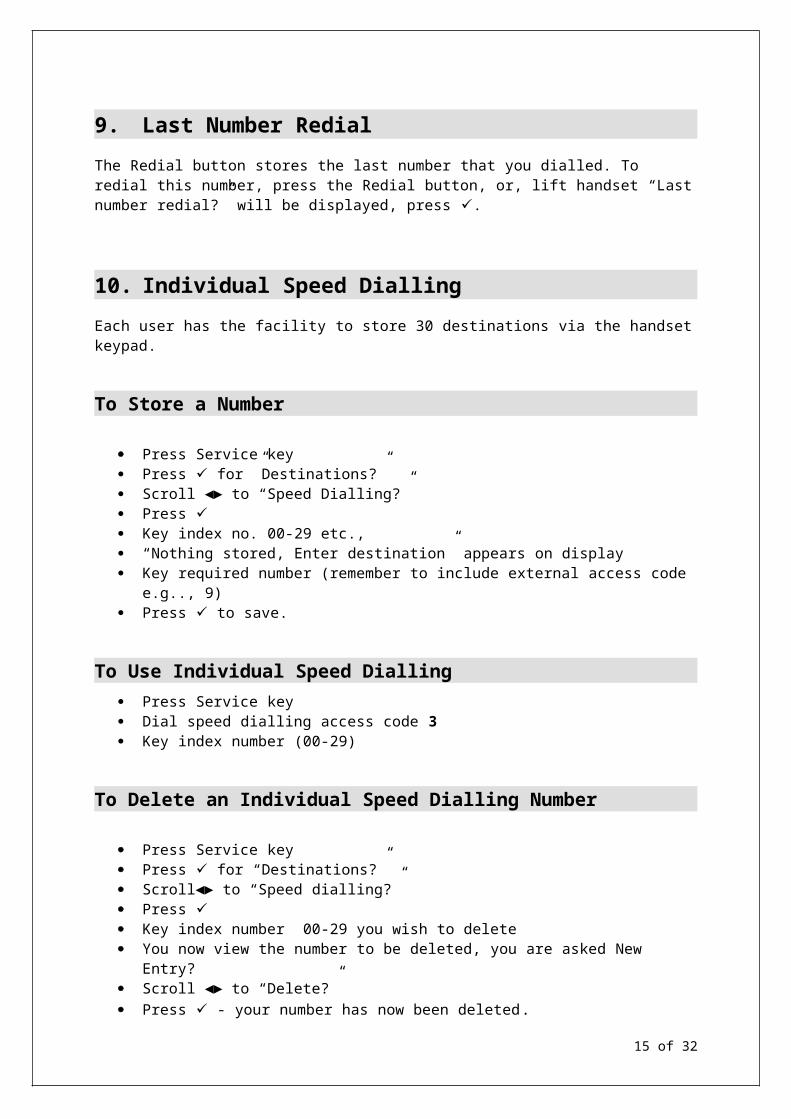
9. Last Number Redial
The Redial button stores the last number that you dialled. To redial this number, press the Redial button, or, lift handset “Last number redial?” will be displayed, press .
10. Individual Speed Dialling
Each user has the facility to store 30 destinations via the handset keypad.
To Store a Number
Press Service key Press for ”Destinations?” Scroll ◄► to “Speed Dialling?” Press Key index no. 00-29 etc., “Nothing stored, Enter destination” appears on display Key required number (remember to include external access code e.g.., 9) Press to save.
To Use Individual Speed Dialling Press Service key Dial speed dialling access code 3 Key index number (00-29)
To Delete an Individual Speed Dialling Number
Press Service key Press for “Destinations?” Scroll◄► to “Speed dialling?” Press Key index number 00-29 you wish to delete You now view the number to be deleted, you are asked New Entry? Scroll ◄► to “Delete?” Press - your number has now been deleted.
14 of 28
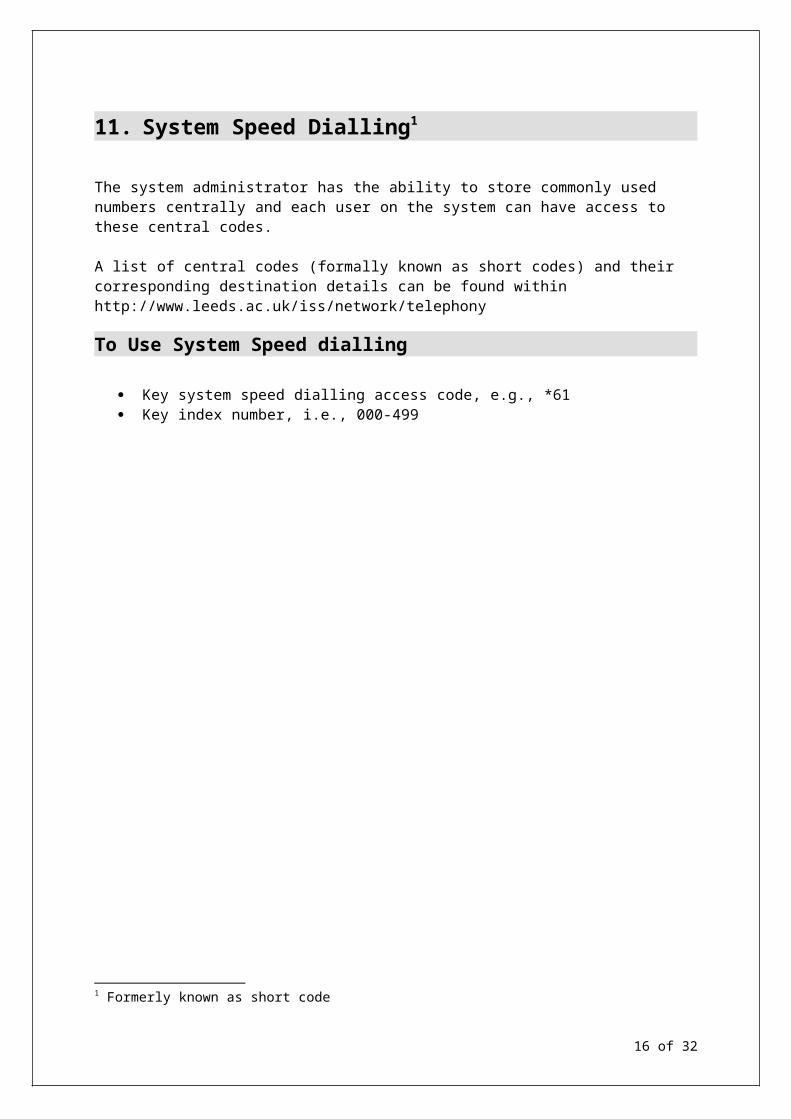
11. System Speed Dialling1
The system administrator has the ability to store commonly used numbers centrally and each user on the system can have access to these central codes.
A list of central codes (formally known as short codes) and their corresponding destination details can be found within http://www.leeds.ac.uk/iss/network/telephony
To Use System Speed dialling
Key system speed dialling access code, e.g., *61 Key index number, i.e., 000-499
1 Formerly known as short code
15 of 28
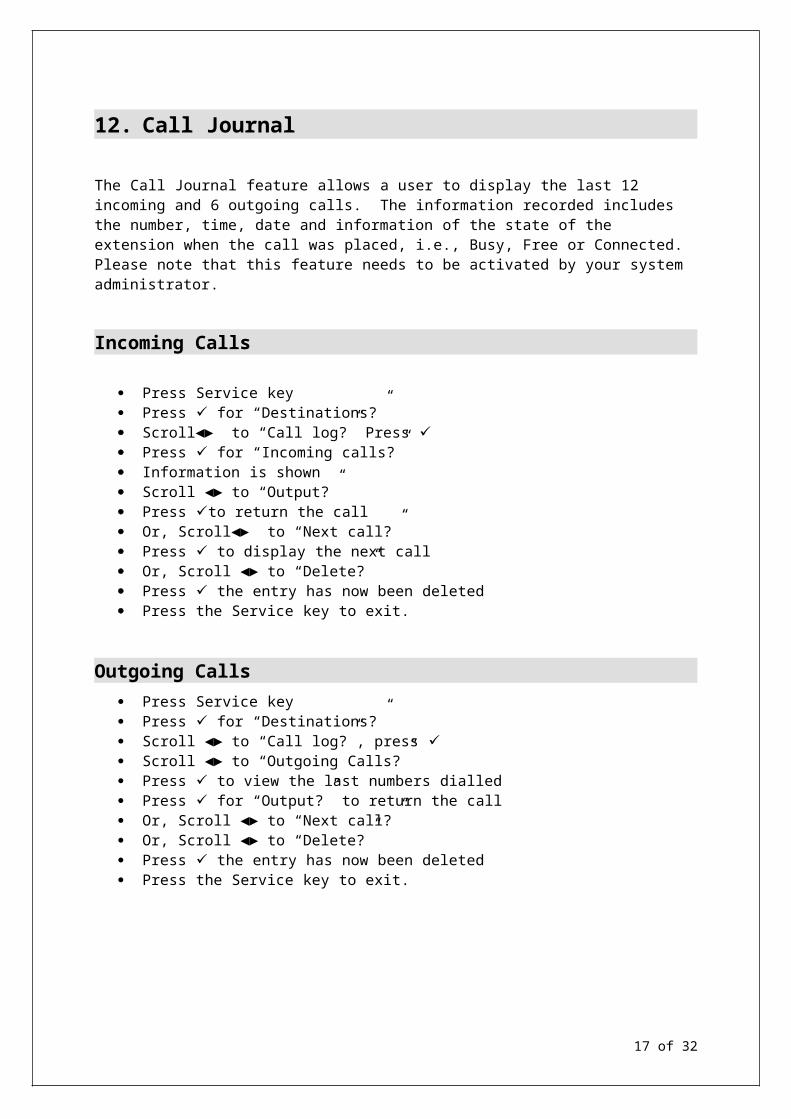
12. Call Journal
The Call Journal feature allows a user to display the last 12 incoming and 6 outgoing calls. The information recorded includes the number, time, date and information of the state of the extension when the call was placed, i.e., Busy, Free or Connected. Please note that this feature needs to be activated by your system administrator.
Incoming Calls
Press Service key Press for “Destinations?” Scroll◄► to “Call log?” Press Press for “Incoming calls?” Information is shown Scroll ◄► to “Output?” Press to return the call Or, Scroll◄► to “Next call?” Press to display the next call Or, Scroll ◄► to “Delete?” Press the entry has now been deleted Press the Service key to exit.
Outgoing Calls Press Service key Press for “Destinations?” Scroll ◄► to “Call log?”, press Scroll ◄► to “Outgoing Calls?” Press to view the last numbers dialled Press for “Output?” to return the call Or, Scroll ◄► to “Next call?” Or, Scroll ◄► to “Delete?” Press the entry has now been deleted Press the Service key to exit.
16 of 28
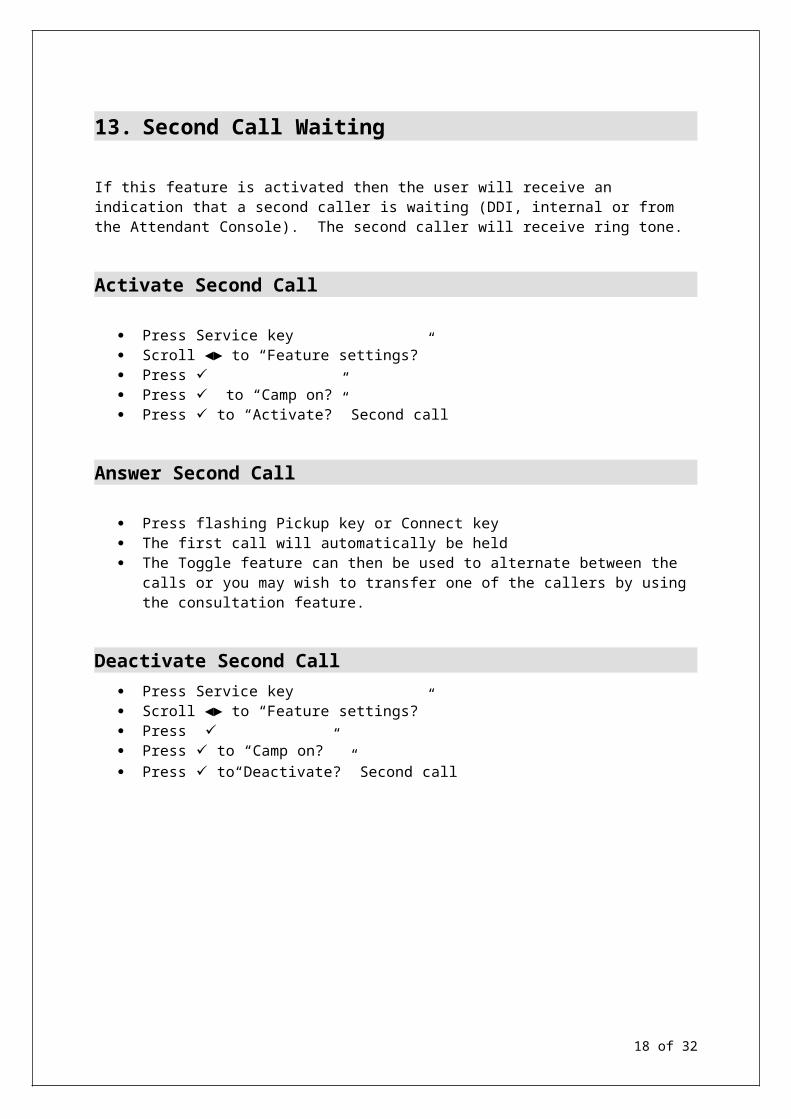
13. Second Call Waiting
If this feature is activated then the user will receive an indication that a second caller is waiting (DDI, internal or from the Attendant Console). The second caller will receive ring tone.
Activate Second Call
Press Service key Scroll ◄► to “Feature settings?” Press Press to “Camp on?” Press to “Activate?” Second call
Answer Second Call
Press flashing Pickup key or Connect key The first call will automatically be held The Toggle feature can then be used to alternate between the calls or you may wish
to transfer one of the callers by using the consultation feature.
Deactivate Second Call Press Service key Scroll ◄► to “Feature settings?” Press Press to “Camp on?” Press to“Deactivate?” Second call
17 of 28
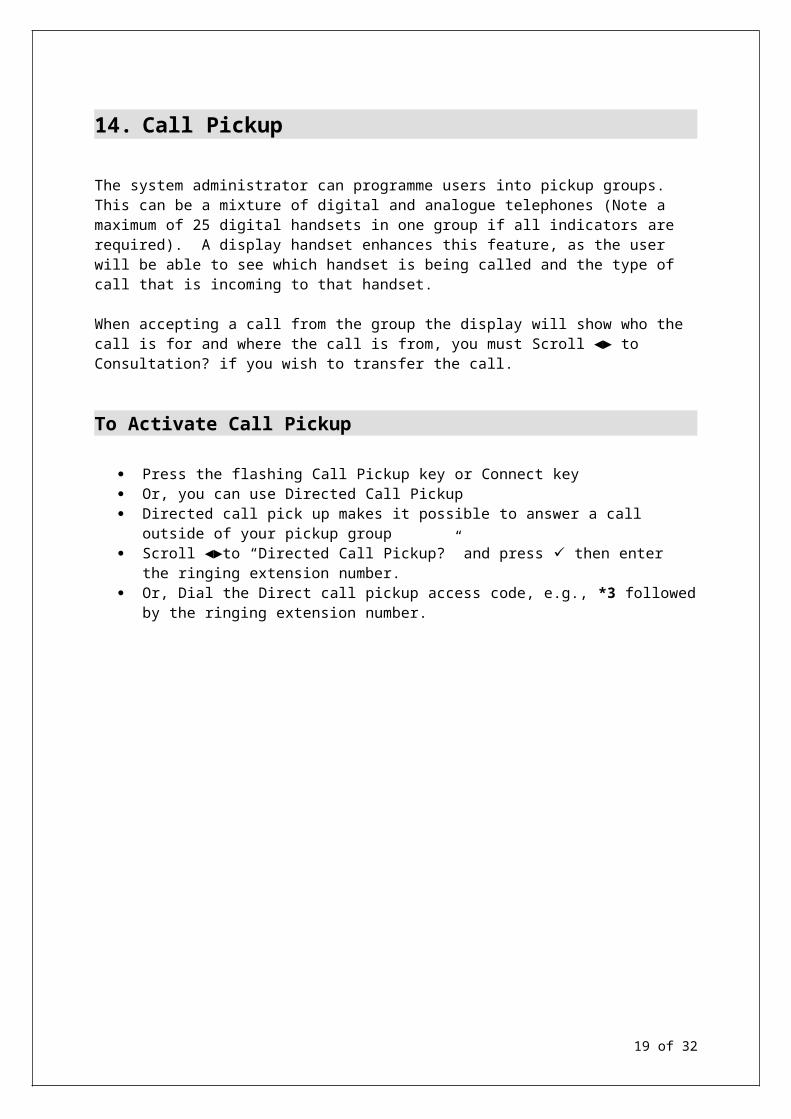
14. Call Pickup
The system administrator can programme users into pickup groups. This can be a mixture of digital and analogue telephones (Note a maximum of 25 digital handsets in one group if all indicators are required). A display handset enhances this feature, as the user will be able to see which handset is being called and the type of call that is incoming to that handset.
When accepting a call from the group the display will show who the call is for and where the call is from, you must Scroll ◄► to Consultation? if you wish to transfer the call.
To Activate Call Pickup
Press the flashing Call Pickup key or Connect key Or, you can use Directed Call Pickup Directed call pick up makes it possible to answer a call outside of your pickup group Scroll ◄►to “Directed Call Pickup?” and press then enter the ringing extension
number. Or, Dial the Direct call pickup access code, e.g., *3 followed by the ringing extension
number.
18 of 28
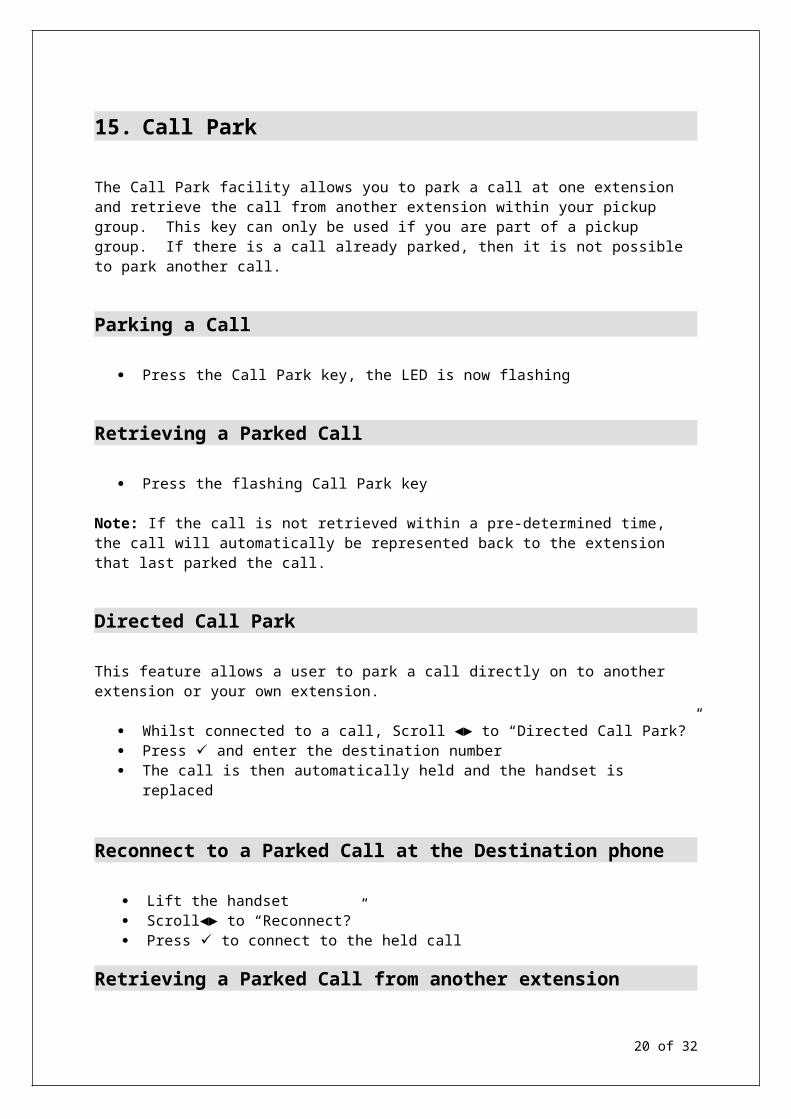
15. Call Park
The Call Park facility allows you to park a call at one extension and retrieve the call from another extension within your pickup group. This key can only be used if you are part of a pickup group. If there is a call already parked, then it is not possible to park another call.
Parking a Call
Press the Call Park key, the LED is now flashing
Retrieving a Parked Call
Press the flashing Call Park key
Note: If the call is not retrieved within a pre-determined time, the call will automatically be represented back to the extension that last parked the call.
Directed Call Park
This feature allows a user to park a call directly on to another extension or your own extension.
Whilst connected to a call, Scroll ◄► to “Directed Call Park?” Press and enter the destination number The call is then automatically held and the handset is replaced
Reconnect to a Parked Call at the Destination phone
Lift the handset Scroll◄► to “Reconnect?” Press to connect to the held call
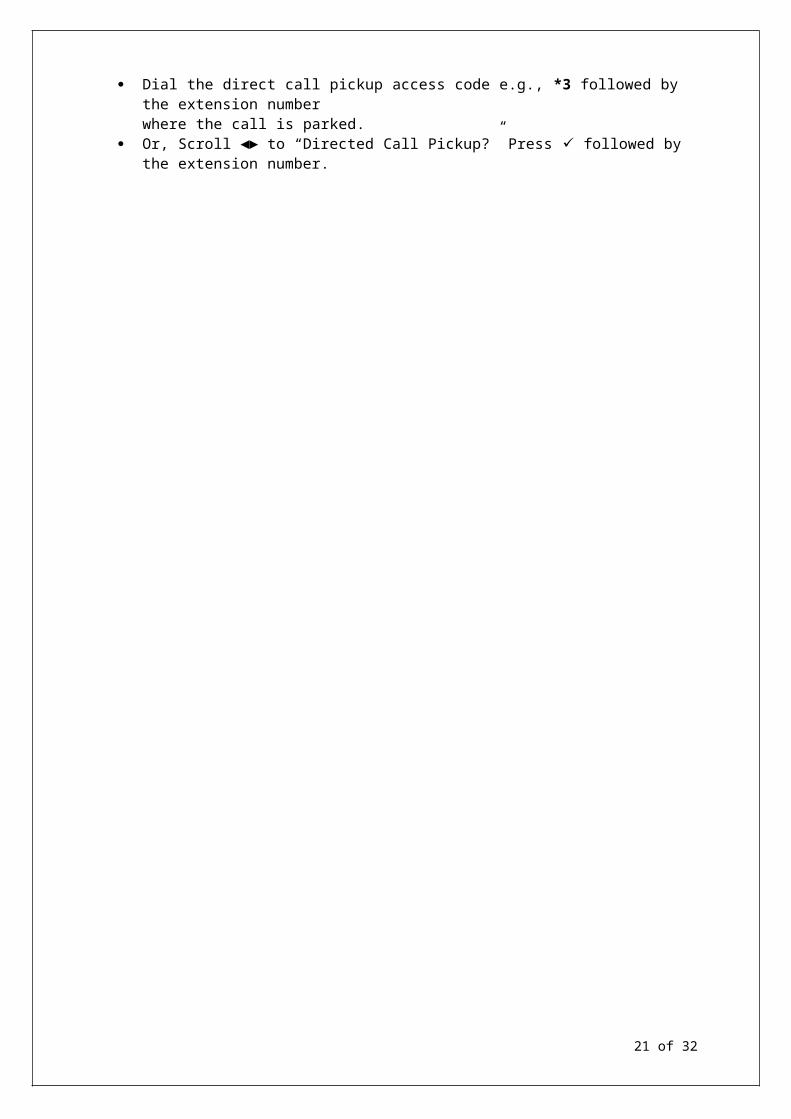
Retrieving a Parked Call from another extension
Dial the direct call pickup access code e.g., *3 followed by the extension number where the call is parked.
Or, Scroll ◄► to “Directed Call Pickup?” Press followed by the extension number.
19 of 28
16. Call Forwarding
This feature enables the users to direct their extension number to another destination.
Four variants are possible:-
System Call Forwarding (Administrators Only) Fixed Call Forwarding (Administrators & Users) Variable Call Forwarding (Users) Forward Station Number (Users)
To Set a Fixed Call Forward
Press Service key then for “Destinations?” Display shows “Call Forwarding?” Press Display shows “Variable call forw. Off” & “Next forwarding Type?” Press for “Fixed call forw off” Scroll ◄► to “Enter destination” Key in the required destination required Press to “Save”, the display will confirm your action has been activated. All calls to the user will now forward to the chosen destination
To De-activate the Call Forward
Scroll ◄► to “Call Forwarding Off” Press
To Delete the Fixed Call Forward Destination
Press Service key then for “Destinations?” Press for “Call forwarding?” Press for “Next forwarding type?” “Fixed call forw. off” is shown in display Scroll ◄► to” delete?” option Press - the fixed destination has now been deleted.
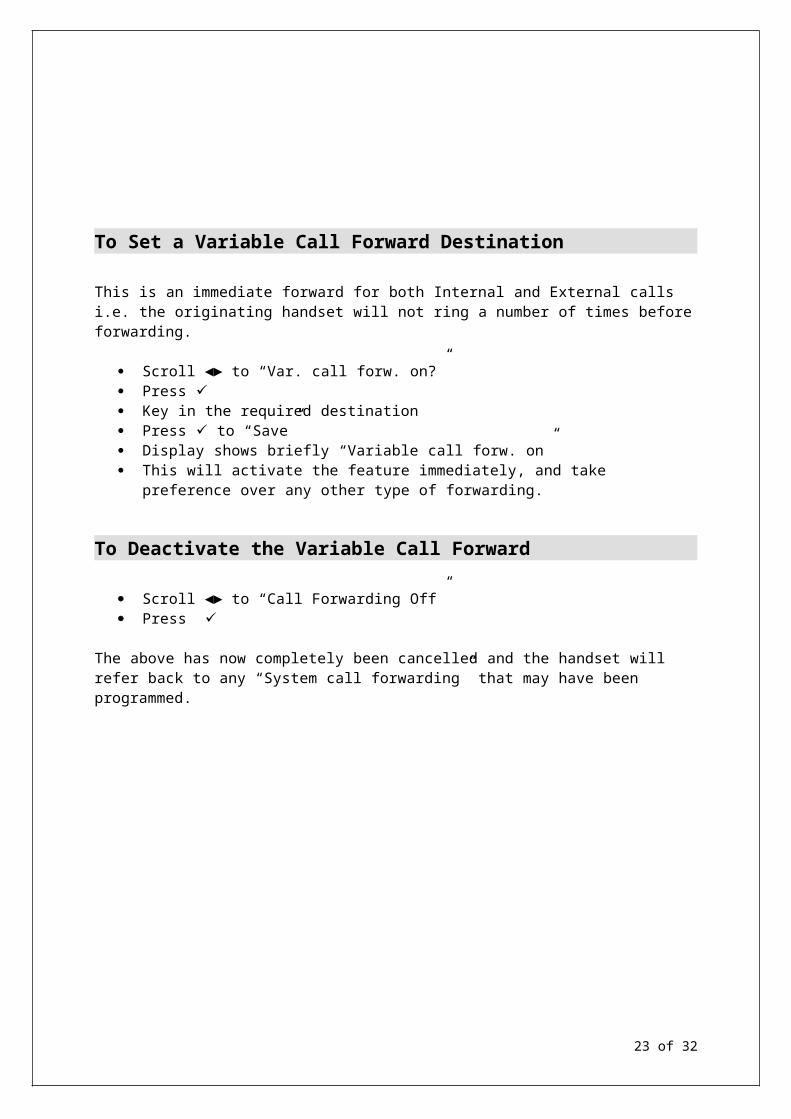
To Set a Variable Call Forward Destination
20 of 28
This is an immediate forward for both Internal and External calls i.e. the originating handset will not ring a number of times before forwarding.
Scroll ◄► to “Var. call forw. on?” Press Key in the required destination Press to “Save” Display shows briefly “Variable call forw. on” This will activate the feature immediately, and take preference over any other type of
forwarding.
To Deactivate the Variable Call Forward
Scroll ◄► to “Call Forwarding Off” Press
The above has now completely been cancelled and the handset will refer back to any “System call forwarding” that may have been programmed.
21 of 28

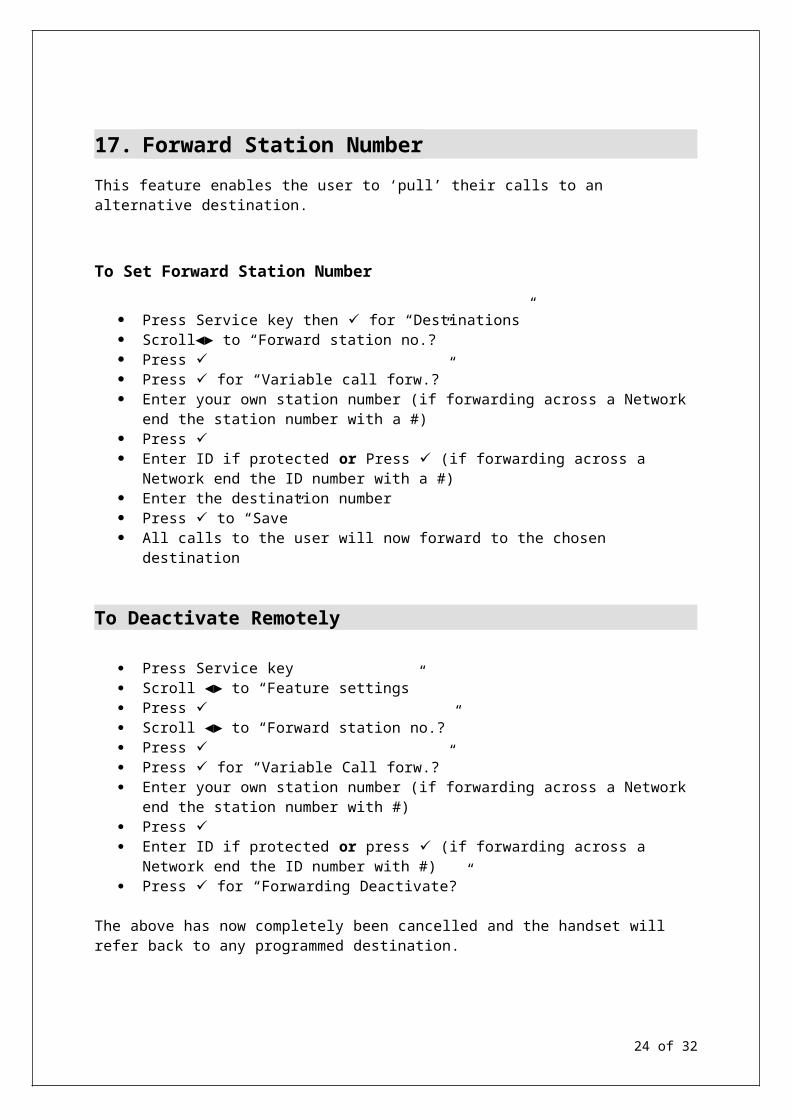
17. Forward Station Number
This feature enables the user to ‘pull’ their calls to an alternative destination.
To Set Forward Station Number
Press Service key then for “Destinations” Scroll◄► to “Forward station no.?” Press Press for “Variable call forw.?” Enter your own station number (if forwarding across a Network end the station
number with a #) Press Enter ID if protected or Press (if forwarding across a Network end the ID number
with a #) Enter the destination number Press to “Save” All calls to the user will now forward to the chosen destination
To Deactivate Remotely
Press Service key Scroll ◄► to “Feature settings” Press Scroll ◄► to “Forward station no.?” Press Press for “Variable Call forw.?” Enter your own station number (if forwarding across a Network end the station
number with #) Press Enter ID if protected or press (if forwarding across a Network end the ID number
with #) Press for “Forwarding Deactivate?”
The above has now completely been cancelled and the handset will refer back to any programmed destination.
22 of 28
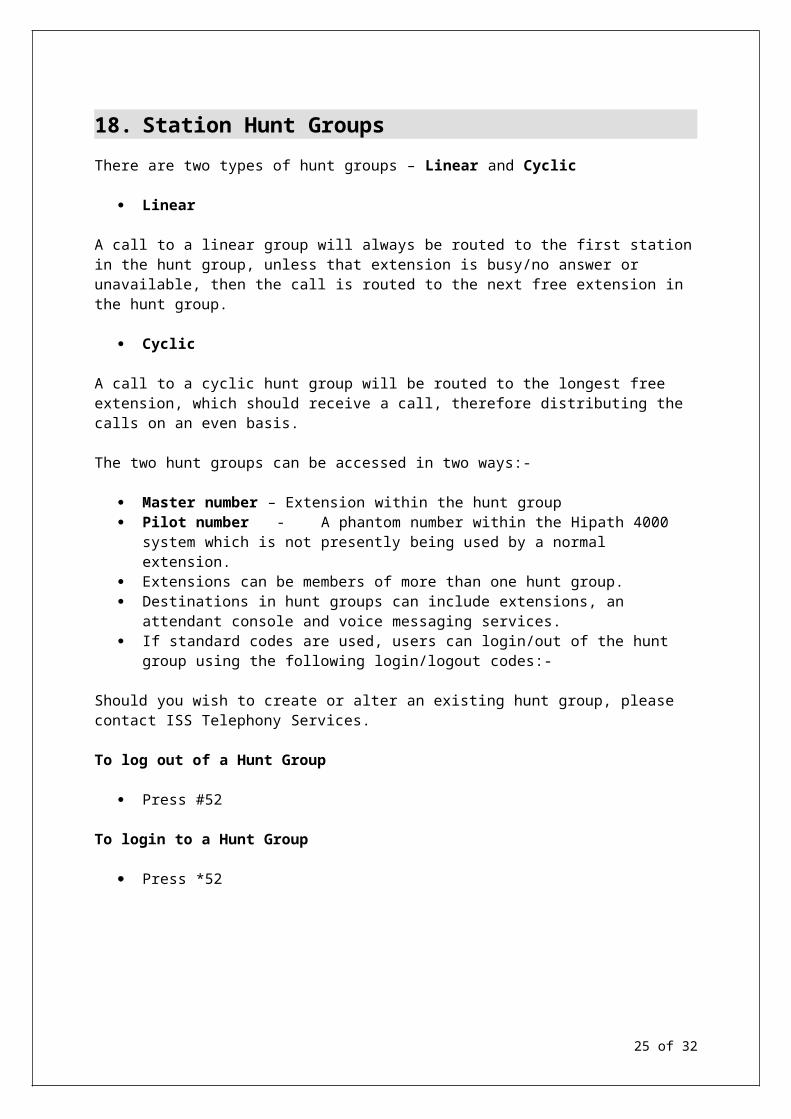
18. Station Hunt Groups
There are two types of hunt groups – Linear and Cyclic
Linear
A call to a linear group will always be routed to the first station in the hunt group, unless that extension is busy/no answer or unavailable, then the call is routed to the next free extension in the hunt group.
Cyclic
A call to a cyclic hunt group will be routed to the longest free extension, which should receive a call, therefore distributing the calls on an even basis.
The two hunt groups can be accessed in two ways:-
Master number – Extension within the hunt group Pilot number - A phantom number within the Hipath 4000 system which is not
presently being used by a normal extension. Extensions can be members of more than one hunt group. Destinations in hunt groups can include extensions, an attendant console and voice
messaging services. If standard codes are used, users can login/out of the hunt group using the following
login/logout codes:-
Should you wish to create or alter an existing hunt group, please contact ISS Telephony Services.
To log out of a Hunt Group
Press #52
To login to a Hunt Group
Press *52
23 of 28
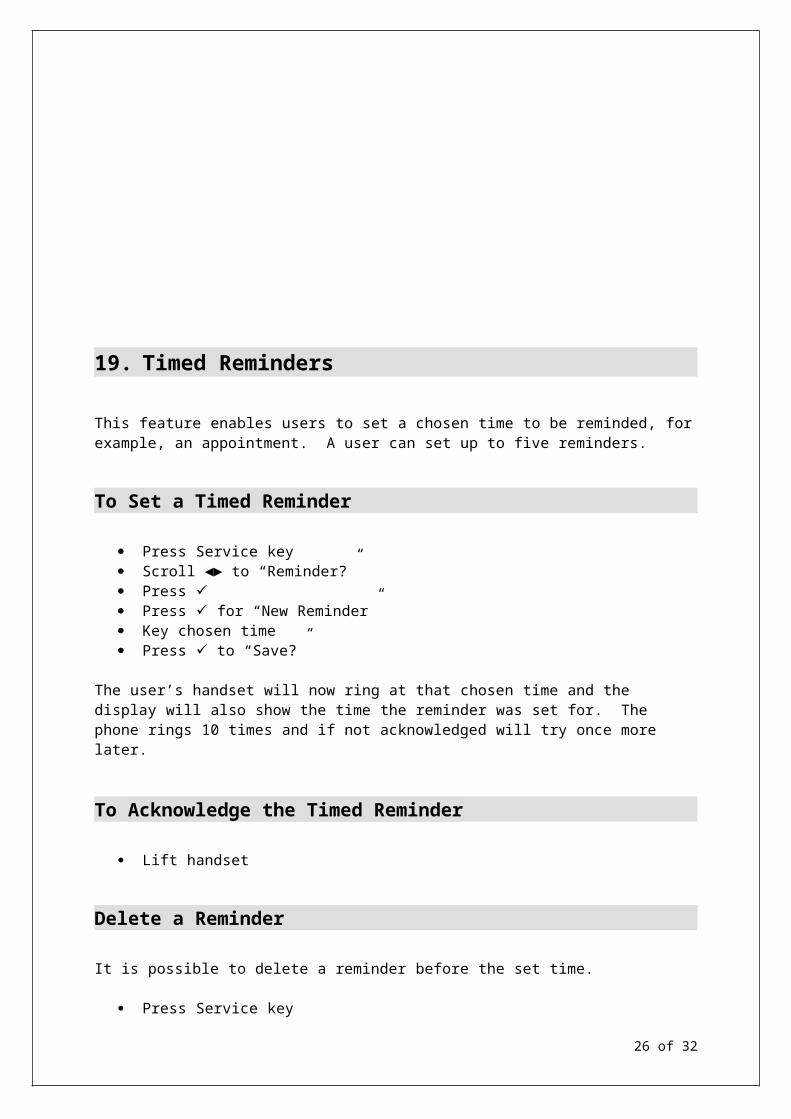
19. Timed Reminders
This feature enables users to set a chosen time to be reminded, for example, an appointment. A user can set up to five reminders.
To Set a Timed Reminder
Press Service key Scroll ◄► to “Reminder?” Press Press for “New Reminder” Key chosen time Press to “Save?”
The user’s handset will now ring at that chosen time and the display will also show the time the reminder was set for. The phone rings 10 times and if not acknowledged will try once more later.
To Acknowledge the Timed Reminder
Lift handset
Delete a Reminder
It is possible to delete a reminder before the set time.
Press Service key Scroll◄► “Reminder?” Press Scroll ◄► to “Next Reminder?” Press for “New Reminder?” or Scroll ◄► to “Delete?” Press to “Delete” Press the Service key to exit
24 of 28
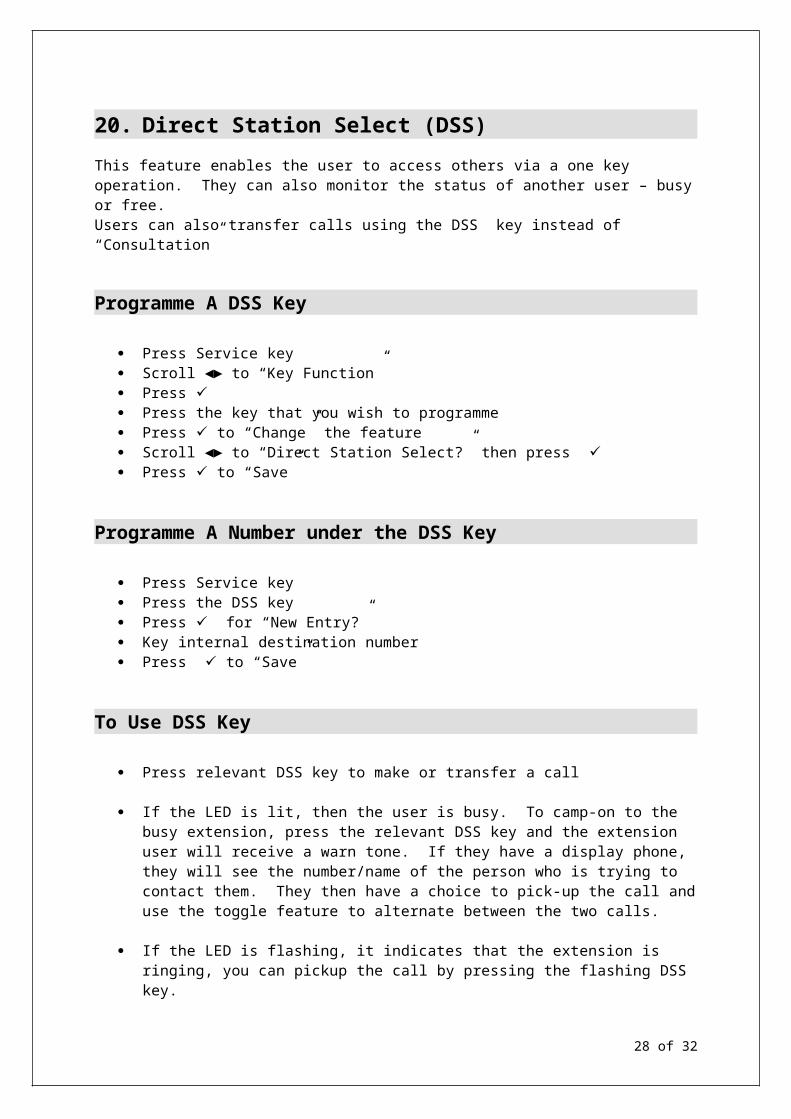
20. Direct Station Select (DSS)
This feature enables the user to access others via a one key operation. They can also monitor the status of another user – busy or free.Users can also transfer calls using the DSS key instead of “Consultation”
Programme A DSS Key
Press Service key Scroll ◄► to “Key Function” Press Press the key that you wish to programme Press to “Change” the feature Scroll ◄► to “Direct Station Select?” then press Press to “Save”
Programme A Number under the DSS Key
Press Service key Press the DSS key Press for “New Entry?” Key internal destination number Press to “Save”
To Use DSS Key
Press relevant DSS key to make or transfer a call
If the LED is lit, then the user is busy. To camp-on to the busy extension, press the relevant DSS key and the extension user will receive a warn tone. If they have a display phone, they will see the number/name of the person who is trying to contact them. They then have a choice to pick-up the call and use the toggle feature to alternate between the two calls.
If the LED is flashing, it indicates that the extension is ringing, you can pickup the call by pressing the flashing DSS key.
To override any Do Not Disturb or Divert, press the DSS key when the LED is not lit.
25 of 28
21. Station Speed Dial Keys (Name Keys)
This feature enables the user to programme frequently used internal/external or network numbers for one key operation.
To Programme Station Speed Dial Keys
Press Service key Press free name key “Nothing stored – Enter new number” is displayed Key in chosen number (Include any access code required) Press to “Save?”
To Use the Station Speed Dial Keys
Press relevant name key
26 of 28

22. Volume Control
You adjust the volume with the handset down
Ringing Volume Press the + key The display will show “Phone settings - Ringer volume?” Press Use the + and – keys by the side of the handset to adjust the volume Press to set
Ringing Pitch
Press the + key The display will show “Phone settings - Ringer volume?” Scroll ◄► to “Ringer pitch?”, Press Use the + and – keys by the side of the handset to adjust the pitch 8 stages for the optiset & 16 stages for the Optipoint 500 Press to set
Handsfree Mode Press the + key The display will show “Phone settings - Ringer volume?” Scroll ◄► to “Hands-free mode?”, Press Use the + and – keys by the side of the handset to adjust the three options Room with echo, Normal room or Quiet room, select option required Press to set
Warning ToneThe warning tone is the indication for a call pickup
Press the + key The display will show “Phone settings - Ringer volume?” Scroll ◄► to “Warning Tone”, press Use the + and – keys by the side of the handset to adjust the volume Press to set
Handset Volume Whilst on a call Use the + and – keys by the side of the handset to adjust the volume Only press the if you wish to set it at this level If you don’t press the , the handset volume will default back to normal level
27 of 28
23. Display Key Functionality
Press Service Key Scroll ◄► to “Key function?” Press “Key layout” – please press a key Display shows what is on the feature key Scroll◄► to “Return”, press then Exit You may also be able to change features on keys.
28 of 28


