+ All Categories
Home > Documents > Digital Signature - Rajasthan · Digital Signature How to install ... o Java Runtime Environment...

Digital Signature - Rajasthan · Digital Signature How to install ... o Java Runtime Environment...

Date post: 22-Jul-2018
Category:
Upload: lyduong
View: 221 times
Download: 0 times
Share this document with a friend
37
Digital Signature How to install Digital signature for Windows XP/ Windows7-32bit/ Windows7-64bit over the system Step 1 For digital signature, user should have a device of digital signature to create their signature ready in the system for using on the portal. So First of all, user has to insert that device into the system to install. Insert device in USB port of CPU as mentioned below:-
Transcript

Digital Signature How to install Digital signature for Windows XP/ Windows7-32bit/ Windows7-64bit over the system

Step 1

For digital signature, user should have a device of digital signature to create their signature ready in the system for using on

the portal. So First of all, user has to insert that device into the system to install. Insert device in USB port of CPU as

mentioned below:-

In case of Digital signature device doesn’t response while installation, follow the below given steps to run it properly. Digital

signature has an additional requirement over digital authentication. For instance, it requires up-to-date browsers and libraries

for encrypting data. The components required for making digital signatures are the following:

Internet Explorer >= 5.5 or Mozilla Firefox >= 1.5 (other browsers may work but are not officially supported).

A digital signature certificate (an eID card contains one).

For Internet Explorer :

o The CAPICOM library (should be automatically installed).

For Firefox (and other Mozilla-based browsers) :

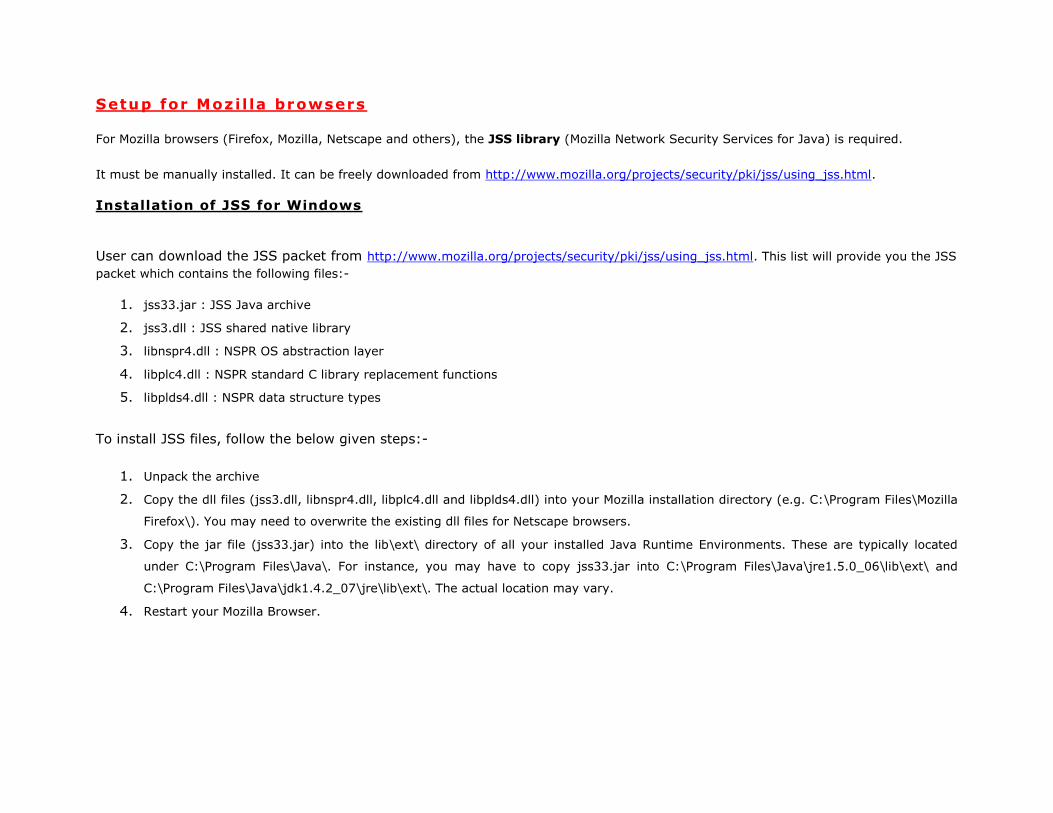
o Java Runtime Environment version >= 1.4.2. The JSS library (must be manually installed) for instructions

about how to install it.

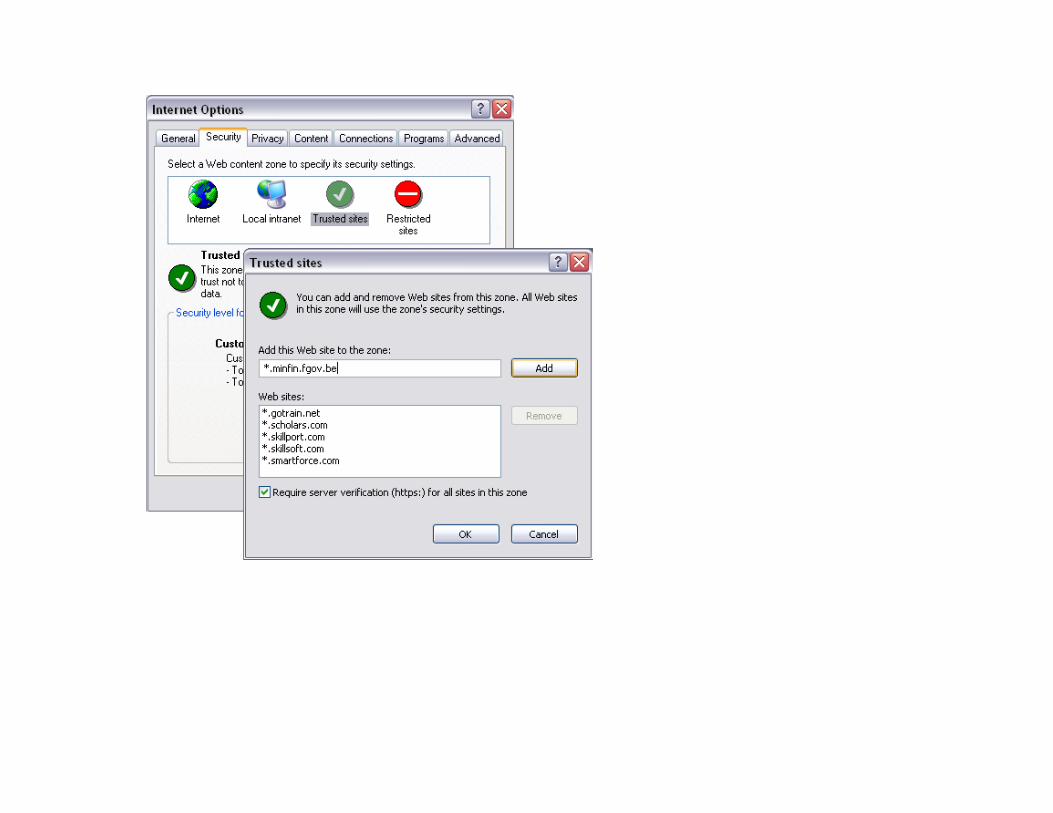
Setup for Internet Exp lorer

1. Go in menu "Tools > Internet Options...", tab "Security"

2. Click on "Trusted Sites", button "Sites..."

3. Type in the text box "*.minfin.fgov.be", and click on "Add" to add the site to the list of trusted sites. See screenshot

below. 4. Click on "OK", and next on "Ok".

Installation of the CAPICOM library

To install CAPICOM library on your system, download the file from Microsoft web site.

Download the file by clicking on the "Download" button.

Select "Save” and specify a directory on your local disk.

Install the package by running the self-extracting executable file. This will create a directory structure containing the

redistributable and samples.

1. Procedure to install capicom.dll for Windows XP

a. After downloading CAPICOM file, unpack and copy the CAPICOM.dll file to your windows system directory

(C:\Windows\System32)

b. Execute batch file "WindowsXP" from the extracted folder to register capicom.dll with Operating System.

2. Procedure to install capicom.dll for Windows 7-32 Bit

a. Extract the folder to your desktop and copy "capicom.dll" and "Interop.CAPICOM.dll" to your system folder

i.e C:\Windows\System32.

b. Execute batch file”Windows7-32bit" as administrator (right click and select run as administrator) from the extracted

folder to register "capicom.dll" with Operating System.

3. Procedure to install capicom.dll for Windows 7-64 Bit

a. Extract the folder to your desktop and copy "capicom.dll" and "Interop.CAPICOM.dll" to your system folder

i.e C:\Windows\SysWOW64

b. Execute batch file”Windows7-64bit" as administrator (right click and select run as administrator) from the extracted

folder to register "capicom.dll" with Operating System.

Then Restart your browser.

Installing a digital certificate into Internet Explorer

The digital certificate needs to be registered into your browser(s). When the certificate is only provided as a file, the following

steps are needed for loading it in your browser.

1. In Internet Explorer: go to "Menu Tools" > "Internet Options..."

2. Click on tab "Content", next on button "Certificates...” A list appears with all your installed certificates.

3. Click on "Import...” This opens a wizard. Click on "Next".

4. On the dialog box that appears, enter the complete path to your certificate file, and click on "Next".

5. Enter the password you received from the certificate authority. You can also mark the private key as exportable. Click on

"Next".

6. Choose "Automatically select the certificate store..." and click on "Next".

7. You will receive a message indicating whether the import was successful or not. Click on "Finish".

8. The newly imported certificate should now appear in the tab "Personal" of the "Certificates" dialog box. You can check

the validity of the certificate by double-clicking on it. You should see the mention "You have a private key that

corresponds to this certificate".

Configuring Internet Explorer

Some options must be activated to allow you to make a digital signature:

1. Go to menu Tools" > "Internet Options...".

2. Click on tab "Security", "Custom Level".

3. Make sure that "Microsoft VM > Disable Java" is NOT checked.

4. Check that "Scripting > Active scripting" is set to Enabled.

5. Check that "Scripting > Scripting of Java applets" is set to Enabled.

6. Check that "ActiveX controls and plug-ins > Download signed ActiveX controls" is set to Prompt or Enabled.

7. Check that "ActiveX controls and plug-ins > Run ActiveX controls and plug-ins" is set to Enable.

8. Check that "ActiveX controls and plug-ins > Script ActiveX controls marked safe for scripting" is set to Enable.

9. Click on "OK", and "Apply".

Note: Please ensure in your internet explorer popup bloker is off (as shown in the attached jpg)

Setup for Mozi l la browsers

For Mozilla browsers (Firefox, Mozilla, Netscape and others), the JSS library (Mozilla Network Security Services for Java) is required.

It must be manually installed. It can be freely downloaded from http://www.mozilla.org/projects/security/pki/jss/using_jss.html.

Installation of JSS for Windows

User can download the JSS packet from http://www.mozilla.org/projects/security/pki/jss/using_jss.html. This list will provide you the JSS

packet which contains the following files:-

1. jss33.jar : JSS Java archive

2. jss3.dll : JSS shared native library

3. libnspr4.dll : NSPR OS abstraction layer

4. libplc4.dll : NSPR standard C library replacement functions

5. libplds4.dll : NSPR data structure types

To install JSS files, follow the below given steps:-

1. Unpack the archive

2. Copy the dll files (jss3.dll, libnspr4.dll, libplc4.dll and libplds4.dll) into your Mozilla installation directory (e.g. C:\Program Files\Mozilla

Firefox\). You may need to overwrite the existing dll files for Netscape browsers.

3. Copy the jar file (jss33.jar) into the lib\ext\ directory of all your installed Java Runtime Environments. These are typically located

under C:\Program Files\Java\. For instance, you may have to copy jss33.jar into C:\Program Files\Java\jre1.5.0_06\lib\ext\ and

C:\Program Files\Java\jdk1.4.2_07\jre\lib\ext\. The actual location may vary.

4. Restart your Mozilla Browser.

Installing a digital certificate into Mozilla Firefox

When the certificate is provided as a file, the following steps are needed for loading it in your Mozilla Firefox. The certificate must be in the

PKCS12 format. If it is not, the certificate can still be imported and exported into this format using Internet Explorer, or by using openssl.

1. Go in menu "Tools > Options... > Advanced" (Or "Edit > Preferences > Advanced" in old versions).

2. Click on tab "Security", "Show certificates", and next on "Import".

3. Select the file containing your certificate, and click on "Open".

4. Depending on your configuration, you will be asked to enter the password for accessing your keystore.

5. Next, enter the password you received from the certificate authority, and click on OK.

6. Your certificate should now appear in the tab "Your certificates".

Configuring Mozilla Firefox

Some options must be activated to allow you to make a digital signature :

1. Go in menu "Tools > Options... > Web Features" (Or "Edit > Preferences > Web Features" in old versions).

2. Make sure "Enable Javascript" and "Enable Java" opions are both checked. Check also that your browser does not block popup

windows coming from our web site.

3. Make sure "Enable Javascript" and "Enable Java" opions are both checked

Activate the Belgium eID middleware in Mozilla Firefox

The first time it is used, the "Belgium Identity Card PKCS#11" module must be registered in Mozilla, Netscape or Firefox. This module can be

registered automatically by opening a special html page located on your hard drive, usually at the following location: file://C:/Program

Files/Belgium Identity Card/beid-pkcs11-register.html (Note that the location of this file may vary, according to your platform or installation

options.)

Step 2

Device will appear on my computer folder denoted by “WD ProxKey Token Tool”, double click that device and install it. Software

will response and will appear a screen as given below:-

Below screen will appear after installation of digital signature device.

Step 3

Now move towards SJMS Portal, type URL https://sjms.rajasthan.gov.in. Choose Department User and login.

Step 4

Click “Digital Signature Registration” under menu bar at lift hand side of the screen.

Step 5

Registration form will get open as shown below. Fill all the required entries, upload digital signature certificate and then submit

the application.

Security pop up will appear to confirm the access of digital signature certificate. Click Yes Button and attach the certificate.

Let system confirm the certificate.

After confirmation, confirmation pop up will appear which consist of detailed information. To view certificate property, click

“Click here to view certificate properties”

Certificate property will appear as given below:-

Select “Local Machine” under Import wizard screen and click “Next” to place certificate.

Browse the certificate from certificate store and follow the following below given steps.

Browse the file as marked in the image and click next button

Window will appear as given below. Select “Certificate store selected by the user” and click finish.

Below pop up window will appear to get confirmation of user for creating signature. Click “Yes” button.

User pin window will appear after confirmation. User has to enter that pin number which is provided while digital signature

device handed over to the user.

When all activates of digital signature done, User has to verify a candidate application and user will get a pop up message at

the end of the application verification. Follow below given steps:-

Now move on the verifier login>> pending actions report and click on application number to extend an applicant’s application

and verify the application.

Now after verification, when you click on approve button, below given pop up window will appear.

Owner name will appear of digital signature device, click “OK” button.

Click YES button and move ahead.


Recommended