Vehicle Inspections: Driver’s Guide
©All rights reserved. Neither this Guide nor any part thereof may be reproduced in any manner without written
permission of the NorthAmerican Transportation Association.
DRIVER’S GUIDE
For
VEHICLE INSPECTIONS
Vehicle Inspections: Driver’s Guide
©All rights reserved. Neither this Guide nor any part thereof may be reproduced in any manner without written
permission of the NorthAmerican Transportation Association.
The United States Laws and Federal regulations published herein are in public domain.
Due to the constantly changing nature of government regulations, it is impossible to
guarantee absolute accuracy of the material contained herein. The NTA , therefore,
cannot assume any responsibility for omissions, errors, misprinting, or ambiguity
contained within this publication and shall not be held liable in any degree for any loss or
injury caused by such omission, error, misprinting or ambiguity presented in this
publication.
This publication is designed to provide reasonably accurate and authoritative information
in regard to the subject matter covered. It is sold with the understanding that the NTA is
not engaged in rendering legal, accounting, or other professional service. If legal advice
or other expert assistance is required, the services of a competent professional person
should be sought.
Vehicle Inspections: Driver’s Guide
©All rights reserved. Neither this Guide nor any part thereof may be reproduced in any manner without written
permission of the NorthAmerican Transportation Association.
This Guide contains the following informational sections about vehicle inspections:
1. Introduction
2. Pretrip Inspections: The Pretrip Inspection Process
3. On-the-road Inspections
4. Post-trip Inspections
5. Additional Inspection Procedures for Special Rigs.
1. Introduction
Vehicle inspections are a very critical part of your job as a trucker under CSA 2010.
Some inspections are required by law, but, more importantly, they are essential for your
safety and the safety of those with whom you share the road. In addition, they can cut
down on delays and breakdowns.
For experienced drivers, much of the following information will be familiar. It is
presented in this format.
2. The Pretrip Inspection Process
The pretrip inspection is the easiest and most practical way to find damaged or missing
parts, or other problems that could cause an accident, breakdown or delay of your trip.
Pretrip inspections must be done before each trip. Doing the inspection the same way
every time helps you remember how things should look and makes it easier to tell when
something is wrong.
Vehicle Inspections: Driver’s Guide
©All rights reserved. Neither this Guide nor any part thereof may be reproduced in any manner without written
permission of the NorthAmerican Transportation Association.
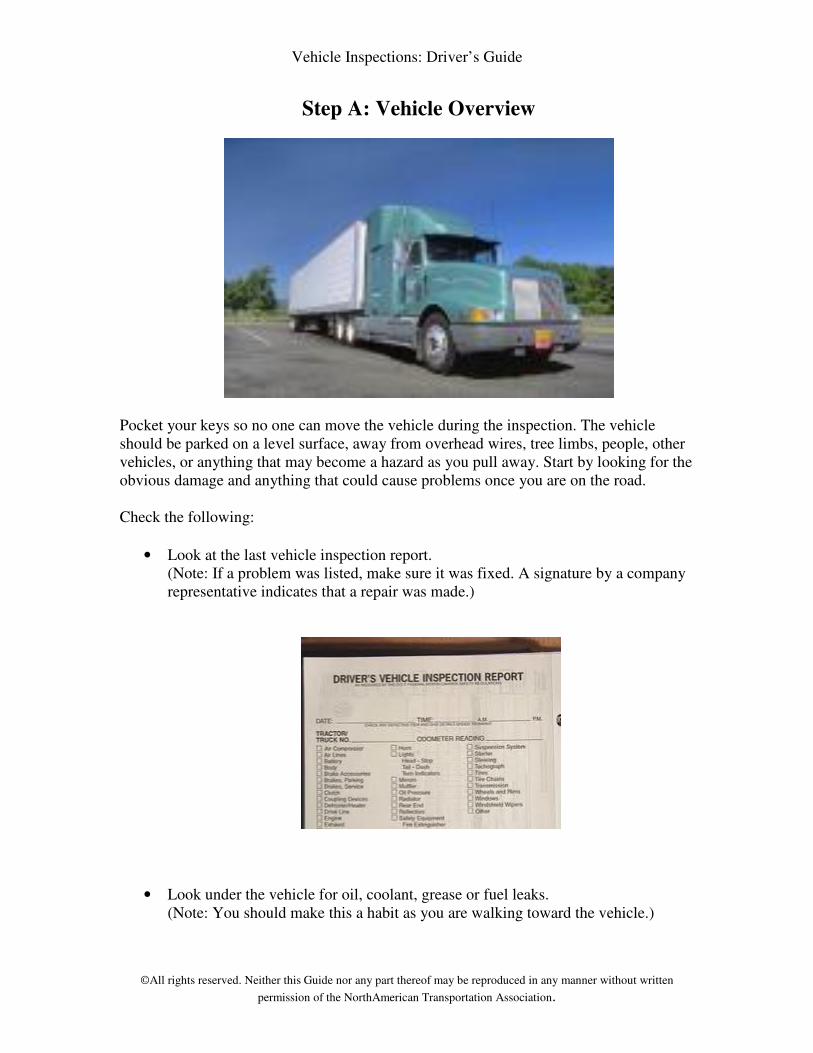
Step A: Vehicle Overview
Pocket your keys so no one can move the vehicle during the inspection. The vehicle
should be parked on a level surface, away from overhead wires, tree limbs, people, other
vehicles, or anything that may become a hazard as you pull away. Start by looking for the
obvious damage and anything that could cause problems once you are on the road.
Check the following:
• Look at the last vehicle inspection report.
(Note: If a problem was listed, make sure it was fixed. A signature by a company
representative indicates that a repair was made.)
• Look under the vehicle for oil, coolant, grease or fuel leaks.
(Note: You should make this a habit as you are walking toward the vehicle.)
Vehicle Inspections: Driver’s Guide
©All rights reserved. Neither this Guide nor any part thereof may be reproduced in any manner without written
permission of the NorthAmerican Transportation Association.
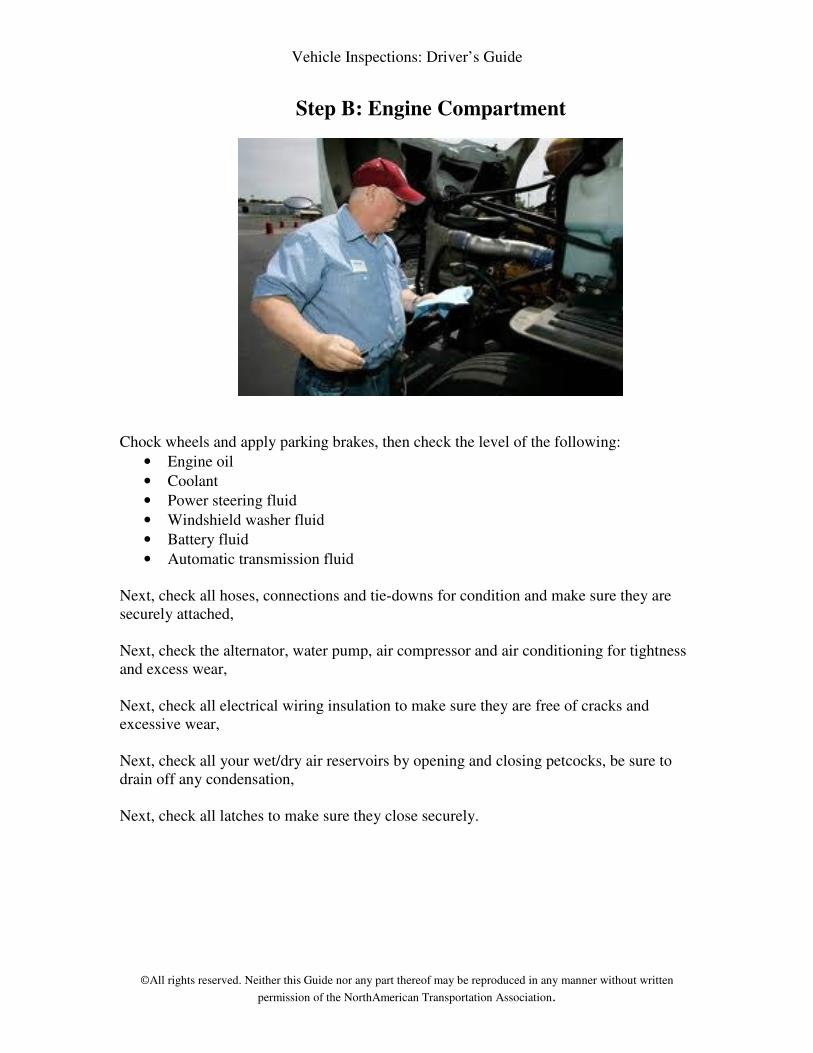
Step B: Engine Compartment
Chock wheels and apply parking brakes, then check the level of the following:
• Engine oil
• Coolant
• Power steering fluid
• Windshield washer fluid
• Battery fluid
• Automatic transmission fluid
Next, check all hoses, connections and tie-downs for condition and make sure they are
securely attached,
Next, check the alternator, water pump, air compressor and air conditioning for tightness
and excess wear,
Next, check all electrical wiring insulation to make sure they are free of cracks and
excessive wear,
Next, check all your wet/dry air reservoirs by opening and closing petcocks, be sure to
drain off any condensation,
Next, check all latches to make sure they close securely.
Vehicle Inspections: Driver’s Guide
©All rights reserved. Neither this Guide nor any part thereof may be reproduced in any manner without written
permission of the NorthAmerican Transportation Association.
Step C: Inside the Cab
With the parking brake set and the truck in neutral or park, start the engine and listen for
any unusual noises. Next check your gauges:
• Oil pressure – reaches normal within a few seconds
• Ammeter/voltmeter – normal ranges
• Coolant – rising to normal range
• Engine oil temperature – rises to normal range
• Air pressure – builds up to cut-out pressure of 100-125 lbs per sq inch
• Circuit warning lights
Next check all your controls for looseness, sticking and improper settings:
• Steering wheel
• Clutch
• Accelerator
• All braking controls – foot and trailer brakes, parking and tractor protection valve
• Transmission controls
• Interaxle differential lock, if equipped
• Horn
• Windshield wipers and washer
• Light switches – headlights, dimmer switch, turn signals, four-way flashers,
clearance lights, marker lights
• Mirrors and Windshield – clean and adjust, check for cracks
• Emergency/safety equipment – check for three red reflective triangles, properly
charged fire extinguisher, spare electrical fuses, emergency phone numbers
Vehicle Inspections: Driver’s Guide
©All rights reserved. Neither this Guide nor any part thereof may be reproduced in any manner without written
permission of the NorthAmerican Transportation Association.
Step D: Lights
Next, check all your lights
• Head lights and hazards – must be clean and working
• Parking lights
• Clearance lights
• Side-marker lights
• Identification lights
• Left and right turn signals
Vehicle Inspections: Driver’s Guide
©All rights reserved. Neither this Guide nor any part thereof may be reproduced in any manner without written
permission of the NorthAmerican Transportation Association.
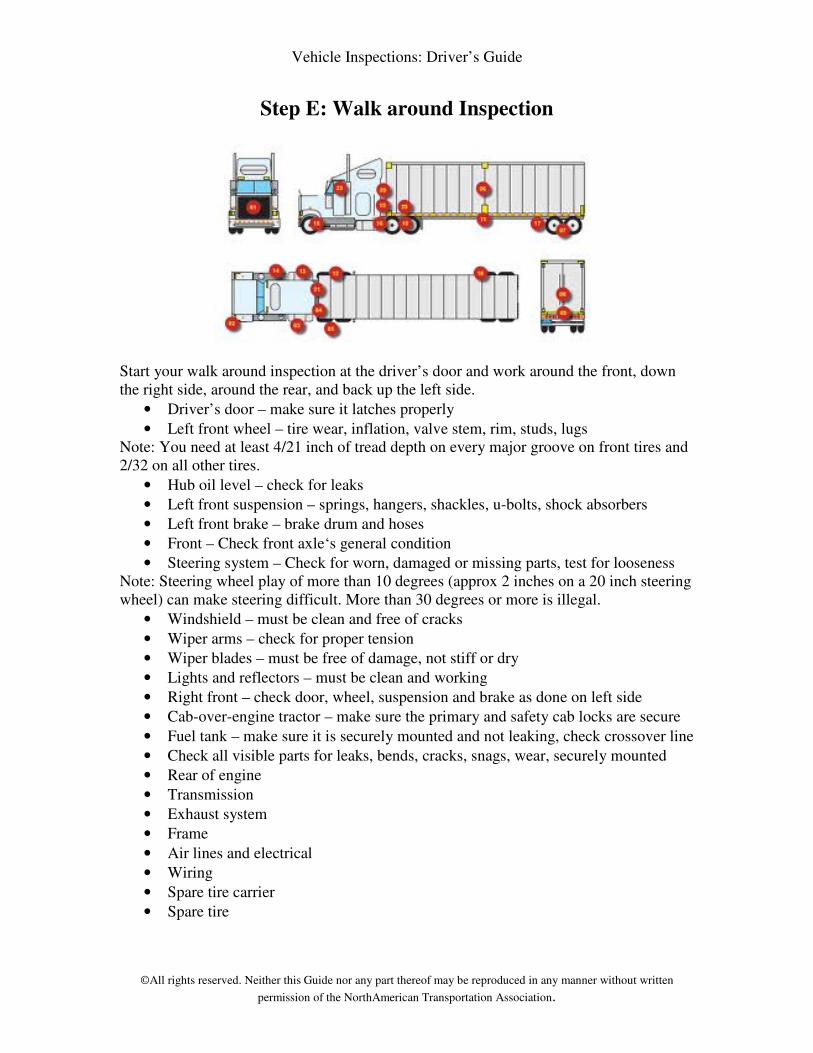
Step E: Walk around Inspection
Start your walk around inspection at the driver’s door and work around the front, down
the right side, around the rear, and back up the left side.
• Driver’s door – make sure it latches properly
• Left front wheel – tire wear, inflation, valve stem, rim, studs, lugs
Note: You need at least 4/21 inch of tread depth on every major groove on front tires and
2/32 on all other tires.
• Hub oil level – check for leaks
• Left front suspension – springs, hangers, shackles, u-bolts, shock absorbers
• Left front brake – brake drum and hoses
• Front – Check front axle‘s general condition
• Steering system – Check for worn, damaged or missing parts, test for looseness
Note: Steering wheel play of more than 10 degrees (approx 2 inches on a 20 inch steering
wheel) can make steering difficult. More than 30 degrees or more is illegal.
• Windshield – must be clean and free of cracks
• Wiper arms – check for proper tension
• Wiper blades – must be free of damage, not stiff or dry
• Lights and reflectors – must be clean and working
• Right front – check door, wheel, suspension and brake as done on left side
• Cab-over-engine tractor – make sure the primary and safety cab locks are secure
• Fuel tank – make sure it is securely mounted and not leaking, check crossover line
• Check all visible parts for leaks, bends, cracks, snags, wear, securely mounted
• Rear of engine
• Transmission
• Exhaust system
• Frame
• Air lines and electrical
• Wiring
• Spare tire carrier
• Spare tire
Vehicle Inspections: Driver’s Guide
©All rights reserved. Neither this Guide nor any part thereof may be reproduced in any manner without written
permission of the NorthAmerican Transportation Association.
• Check fifth wheel for grease, damaged or missing parts, make sure glide plate is
securely mounted, no space between upper and lower 5th
wheel, locking jaw,
kingpin, release arm in place and locks.
Vehicle Inspections: Driver’s Guide
©All rights reserved. Neither this Guide nor any part thereof may be reproduced in any manner without written
permission of the NorthAmerican Transportation Association.
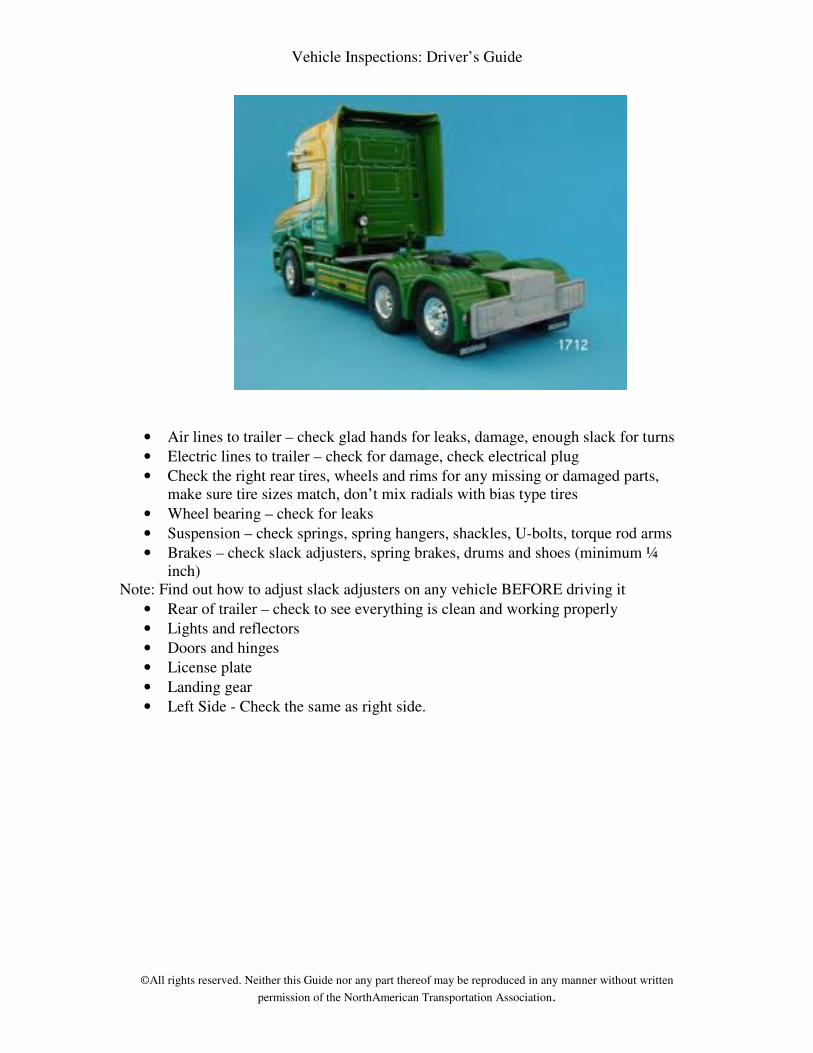
• Air lines to trailer – check glad hands for leaks, damage, enough slack for turns
• Electric lines to trailer – check for damage, check electrical plug
• Check the right rear tires, wheels and rims for any missing or damaged parts,
make sure tire sizes match, don’t mix radials with bias type tires
• Wheel bearing – check for leaks
• Suspension – check springs, spring hangers, shackles, U-bolts, torque rod arms
• Brakes – check slack adjusters, spring brakes, drums and shoes (minimum ¼
inch)
Note: Find out how to adjust slack adjusters on any vehicle BEFORE driving it
• Rear of trailer – check to see everything is clean and working properly
• Lights and reflectors
• Doors and hinges
• License plate
• Landing gear
• Left Side - Check the same as right side.
Vehicle Inspections: Driver’s Guide
©All rights reserved. Neither this Guide nor any part thereof may be reproduced in any manner without written
permission of the NorthAmerican Transportation Association.
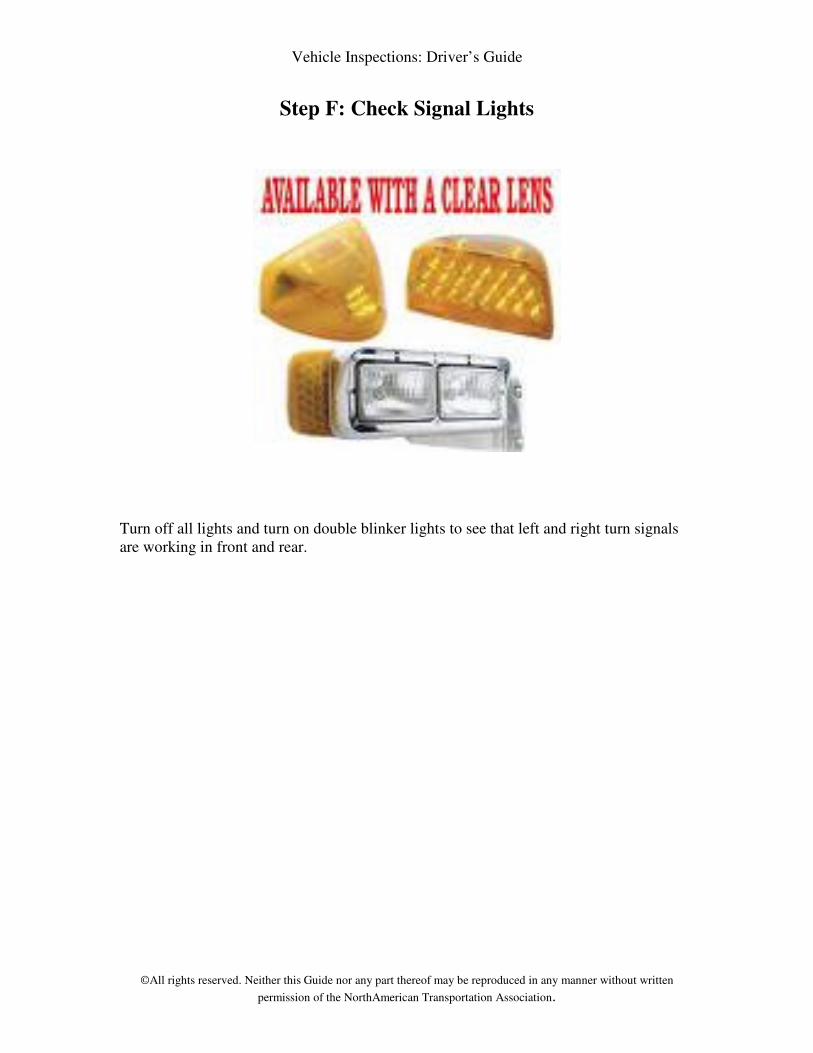
Step F: Check Signal Lights
Turn off all lights and turn on double blinker lights to see that left and right turn signals
are working in front and rear.
Vehicle Inspections: Driver’s Guide
©All rights reserved. Neither this Guide nor any part thereof may be reproduced in any manner without written
permission of the NorthAmerican Transportation Association.
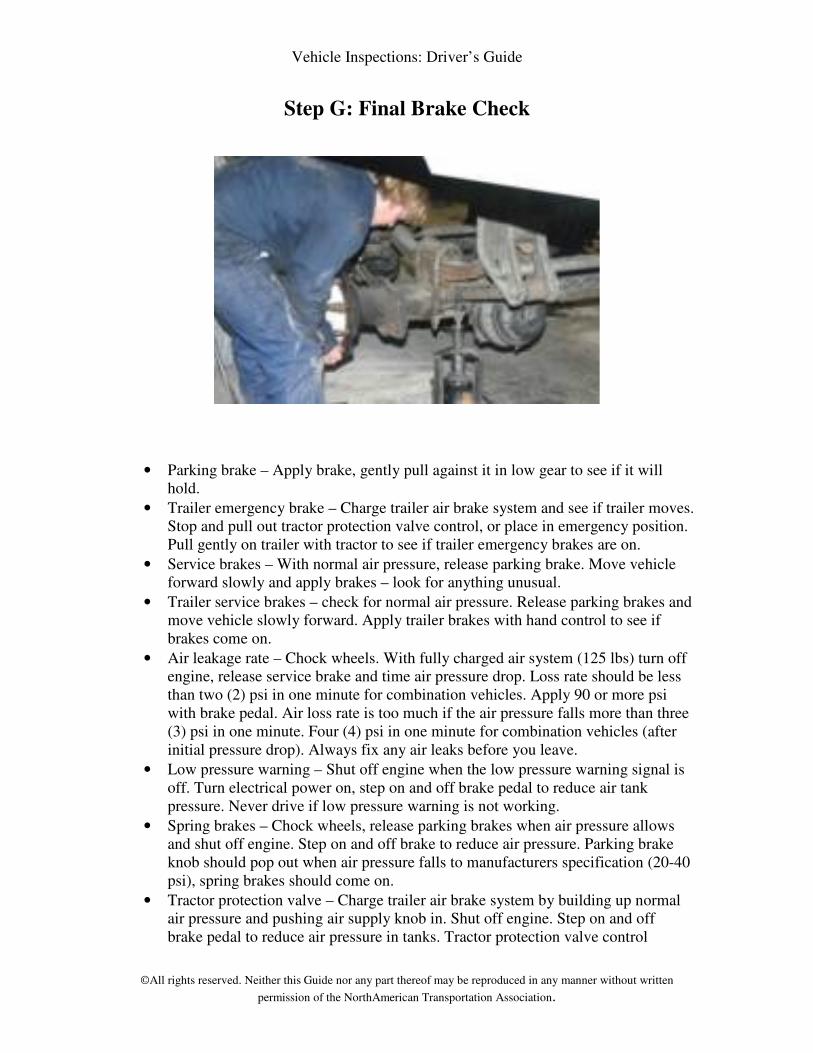
Step G: Final Brake Check
• Parking brake – Apply brake, gently pull against it in low gear to see if it will
hold.
• Trailer emergency brake – Charge trailer air brake system and see if trailer moves.
Stop and pull out tractor protection valve control, or place in emergency position.
Pull gently on trailer with tractor to see if trailer emergency brakes are on.
• Service brakes – With normal air pressure, release parking brake. Move vehicle
forward slowly and apply brakes – look for anything unusual.
• Trailer service brakes – check for normal air pressure. Release parking brakes and
move vehicle slowly forward. Apply trailer brakes with hand control to see if
brakes come on.
• Air leakage rate – Chock wheels. With fully charged air system (125 lbs) turn off
engine, release service brake and time air pressure drop. Loss rate should be less
than two (2) psi in one minute for combination vehicles. Apply 90 or more psi
with brake pedal. Air loss rate is too much if the air pressure falls more than three
(3) psi in one minute. Four (4) psi in one minute for combination vehicles (after
initial pressure drop). Always fix any air leaks before you leave.
• Low pressure warning – Shut off engine when the low pressure warning signal is
off. Turn electrical power on, step on and off brake pedal to reduce air tank
pressure. Never drive if low pressure warning is not working.
• Spring brakes – Chock wheels, release parking brakes when air pressure allows
and shut off engine. Step on and off brake to reduce air pressure. Parking brake
knob should pop out when air pressure falls to manufacturers specification (20-40
psi), spring brakes should come on.
• Tractor protection valve – Charge trailer air brake system by building up normal
air pressure and pushing air supply knob in. Shut off engine. Step on and off
brake pedal to reduce air pressure in tanks. Tractor protection valve control
Vehicle Inspections: Driver’s Guide
©All rights reserved. Neither this Guide nor any part thereof may be reproduced in any manner without written
permission of the NorthAmerican Transportation Association.
should pop out or go from normal to emergency when air pressure falls into
pressure range specified by manufacturer usually 20-45 psi.
Note: If this valve doesn’t work properly, an air hose or brake leak could drain all the air
from the tractor. If this happened, the emergency brakes would engage and you could
lose control of the vehicle.
• Air pressure build up rate: With the engine at the normal operating RPM, the
pressure system should build as follows: dual air systems from 85 to 100 psi
within 45 seconds. Single air systems (pre 1975) from 50 to 90 psi within three
(3) minutes with engine idle at 600-900 RPM.
• Air compressor governor cut-in/cut-out pressures – Pumping by air compressor
should start about 90-100 psi and stop about 125 psi. Run engine at fast idle. Air
governor should cut-out the air compressor near manufacturer’s specified
pressure. Air pressure shown on gauges should stop rising. With engine idling,
step on and off brake to reduce air tank pressure. Compressor should cut-in near
manufacturer’s specified pressure.
Note: An air governor that is not working properly may not maintain enough air pressure
for safe driving.
• Double/Triple trailers - Apply parking brakes and chock wheels. When air
pressure reaches normal, push in the red trailer air supply knob, which will supply
air to emergency lines. Use trailer hand brake to provide air to service line. Open
emergency line shut-off valve at ear of last trailer – you should hear the air
escaping, showing entire system is charged. Close emergency line valve. Open
service line valve to check that service pressure goes through all the trailers
(trailer hand brake or service pedal must be opren, then close valve. If you do not
hear air escaping from both lines, make sure the shut-off valves on the other
trailer and dolly are in the OPEN position
If you find anything wrong during this pre-trip inspection, have it fixed. Its the
LAW!. It also ensures your safety as well as the safety of the general public.
.
Vehicle Inspections: Driver’s Guide
©All rights reserved. Neither this Guide nor any part thereof may be reproduced in any manner without written
permission of the NorthAmerican Transportation Association.
3. On-the-road Inspections
For continued safety on your trip, you must be ever alert for signs of trouble. Get in the
habit of checking your tires, wheels, rims, brakes, lights, electrical connections, coupling
devices and cargo securement each time you stop.
Tractor-trailer drivers are required to inspect cargo and load-securing devices after the
first 25 miles of a trip. After that the cargo and any securements must be checked every
150 miles or every three (3) hours, whichever comes first. An inspection and any
necessary changes must also be made whenever the driver makes a change of his duty
status.
During these inspections, you should check:
• cargo, cargo doors and securement
• tires: check for adequate air pressure, overheating
• brakes: check for overheating by putting hand near brake drums
• coupling devices
For added safety, whenever you see, hear, smell or feel anything different or unusual,
always take the time to check it out.
Vehicle Inspections: Driver’s Guide
©All rights reserved. Neither this Guide nor any part thereof may be reproduced in any manner without written
permission of the NorthAmerican Transportation Association.
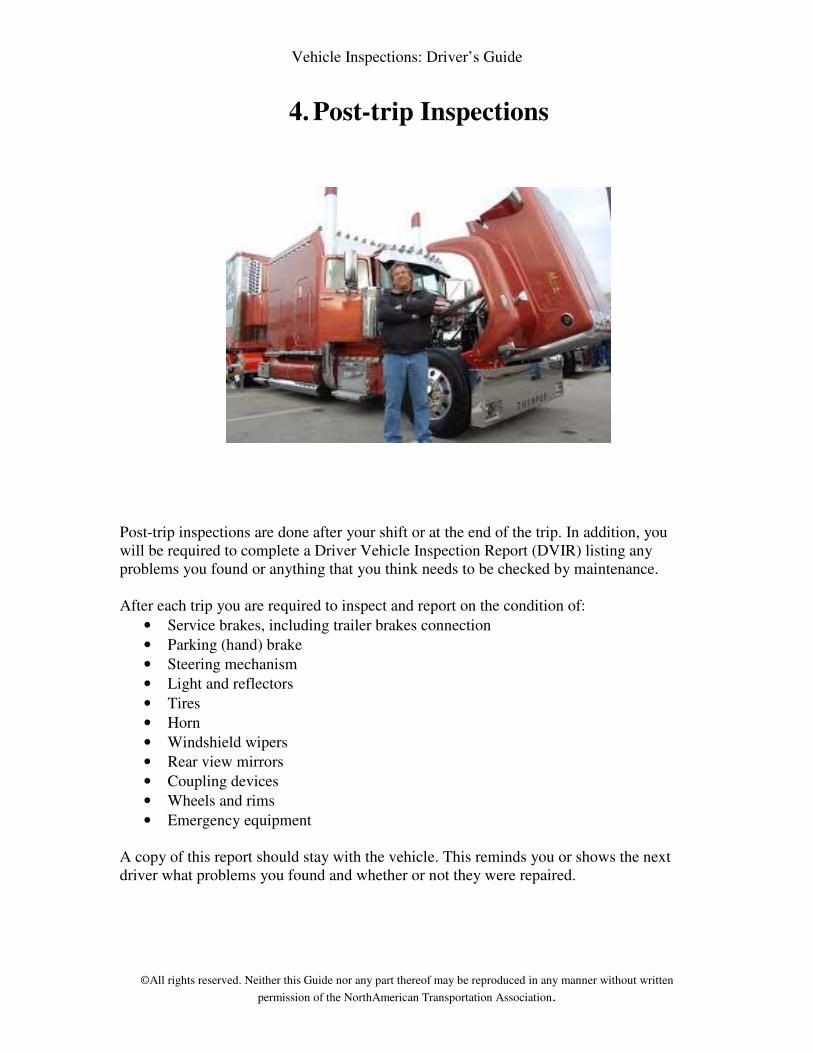
4. Post-trip Inspections
Post-trip inspections are done after your shift or at the end of the trip. In addition, you
will be required to complete a Driver Vehicle Inspection Report (DVIR) listing any
problems you found or anything that you think needs to be checked by maintenance.
After each trip you are required to inspect and report on the condition of:
• Service brakes, including trailer brakes connection
• Parking (hand) brake
• Steering mechanism
• Light and reflectors
• Tires
• Horn
• Windshield wipers
• Rear view mirrors
• Coupling devices
• Wheels and rims
• Emergency equipment
A copy of this report should stay with the vehicle. This reminds you or shows the next
driver what problems you found and whether or not they were repaired.
Vehicle Inspections: Driver’s Guide
©All rights reserved. Neither this Guide nor any part thereof may be reproduced in any manner without written
permission of the NorthAmerican Transportation Association.
5. Additional Inspection Procedure
for Special Rigs
Here are some additional inspection procedures for those of you who operate vehicles
with multiple trailers, tankers or refrigerated units.
A. Inspecting Double and or Triple Trailers
In addition to the normal pre-trip inspection, check the following:
• Shut-off valves – Rear of front trailers open. Rear of last trailer closed. Converter
dolly air tank drain valve closed. Check to see if all air lines are supported and
glad hands connected.
• Hook-up – check emergency line at front of converter gear to emergency glad
hand at rear of lead trailer. Check emergency line at rear of converter gear to
emergency glad hand at front of second trailer. Make same check of all service
lines.
• Brakes – make sure all brakes operate properly
• Spare tire – check to see if properly secured in converter gear
• Dolly pintle-eye – make sure that hook is properly hooked and latched
• Safety chains - check to see if properly secured to trailer
• Light cords – check to see if firmly in trailer’s sockets
• On-the road inspection – check brake lines, glad hands, electrical connections and
pintle hook latch and safety chains
Vehicle Inspections: Driver’s Guide
©All rights reserved. Neither this Guide nor any part thereof may be reproduced in any manner without written
permission of the NorthAmerican Transportation Association.
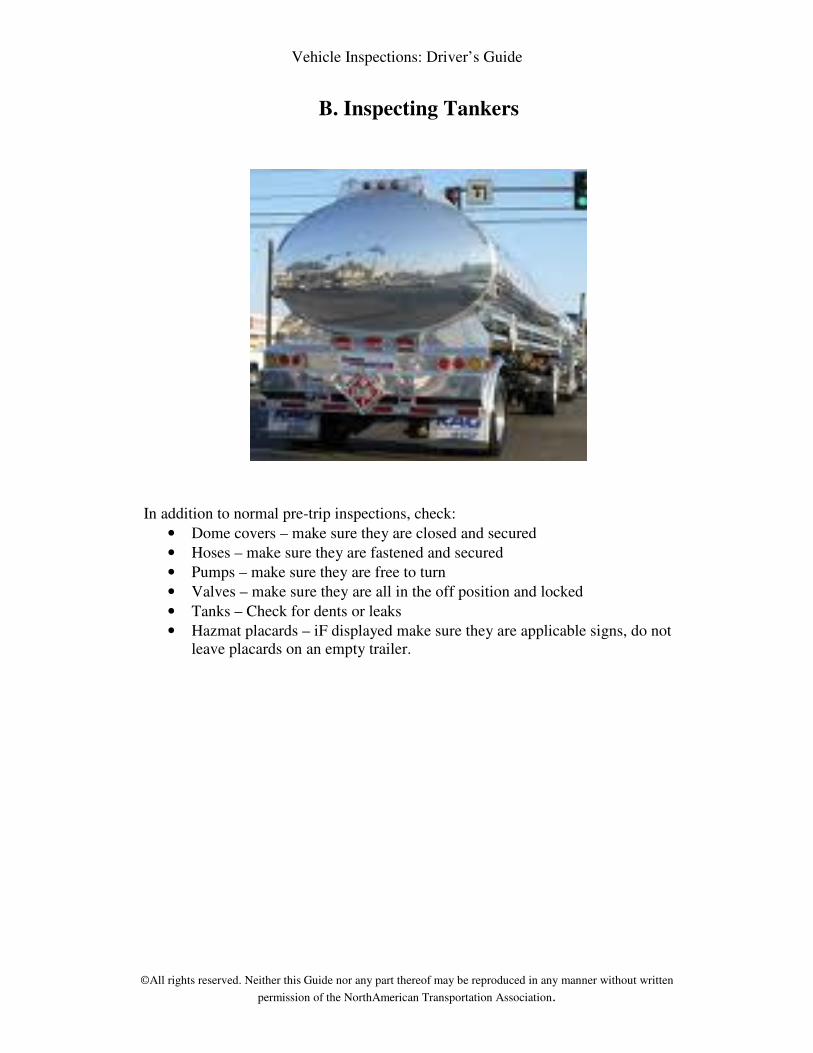
B. Inspecting Tankers
In addition to normal pre-trip inspections, check:
• Dome covers – make sure they are closed and secured
• Hoses – make sure they are fastened and secured
• Pumps – make sure they are free to turn
• Valves – make sure they are all in the off position and locked
• Tanks – Check for dents or leaks
• Hazmat placards – iF displayed make sure they are applicable signs, do not
leave placards on an empty trailer.
Vehicle Inspections: Driver’s Guide
©All rights reserved. Neither this Guide nor any part thereof may be reproduced in any manner without written
permission of the NorthAmerican Transportation Association.
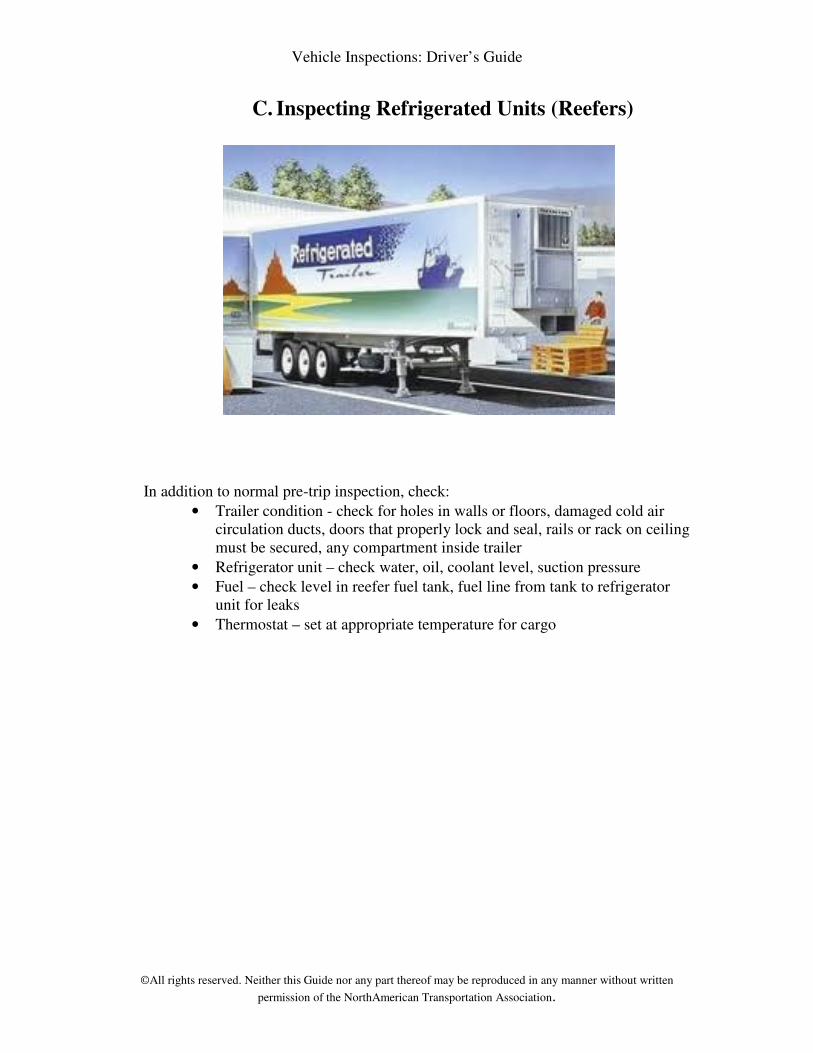
C. Inspecting Refrigerated Units (Reefers)
In addition to normal pre-trip inspection, check:
• Trailer condition - check for holes in walls or floors, damaged cold air
circulation ducts, doors that properly lock and seal, rails or rack on ceiling
must be secured, any compartment inside trailer
• Refrigerator unit – check water, oil, coolant level, suction pressure
• Fuel – check level in reefer fuel tank, fuel line from tank to refrigerator
unit for leaks
• Thermostat – set at appropriate temperature for cargo