Hello wonderful creative friend! I'm so excited to be sharing this workshop with you today! I love love LOVE making art dolls. Though my 'specialty' is more in illustration and mixed media painting & collage, I have such a passion for creating my characters in 3D too! :) I hope I can entice you too to create a beautiful art doll and I hope you enjoy my lesson today! :) If you've enjoyed this workshop, I'd love to see you on any of my other courses too! I run a variety of mixed media art workshops that you might like to check out. I hope to see you there ! :D Thank you for being here! Love, Tam x Supplies Used Today • A jar or bottle for the frame of the body • Something to weigh down the bottle or jar (I used sand, you can use pebbles or anything else that can weigh down your doll's body) • Creative Paper Clay (I used a pack of 8Oz (227 g) + a little more for the entire doll – if you are going for a similar size, that is a good amount approx. • A styrofoam ball (for the head) (or: paper and masking tape to create a makeshift ball for the head) • Mohair or wool for the hair • For painting the face/ neck: Skin tone watercolour crayon and/or skin tone acrylics – other tools used for small detail painting: markers/ watercolour crayons/ acrylics/ graphite/ white gesso or white acrylics • Your choice of collage papers for the body (I used book pages and music scores but you can use whatever you want) • White Gesso/ White Spray Inks (optional) • Paint for the body: gold iridescent paint (optional) • Liquitex heavy gel medium (doesn't have to be liquitex, but a heavy gel is preferred)
Transcript
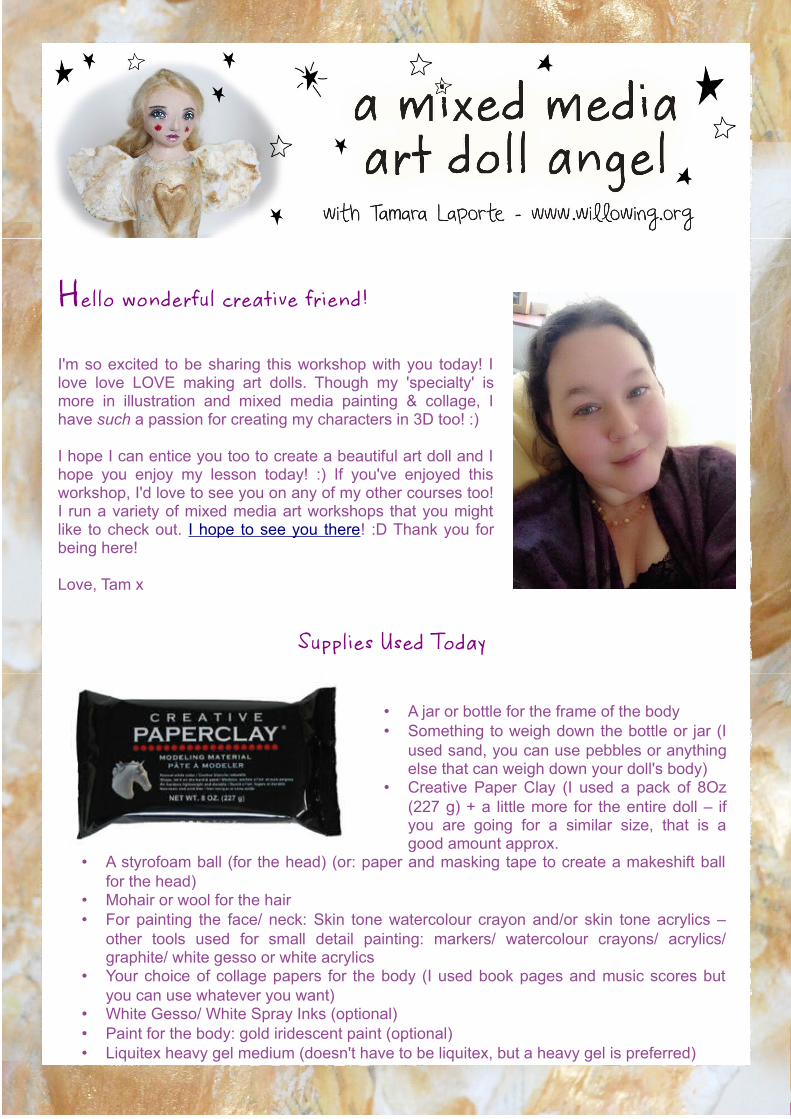
Hello wonderful creative friend!
I'm so excited to be sharing this workshop with you today! I love love LOVE making art dolls. Though my 'specialty' is more in illustration and mixed media painting & collage, I have such a passion for creating my characters in 3D too! :)
I hope I can entice you too to create a beautiful art doll and I hope you enjoy my lesson today! :) If you've enjoyed this workshop, I'd love to see you on any of my other courses too! I run a variety of mixed media art workshops that you might like to check out. I hope to see you there! :D Thank you for being here!
Love, Tam x
Supplies Used Today
• A jar or bottle for the frame of the body• Something to weigh down the bottle or jar (I
used sand, you can use pebbles or anything else that can weigh down your doll's body)
• Creative Paper Clay (I used a pack of 8Oz (227 g) + a little more for the entire doll – if you are going for a similar size, that is a good amount approx.
• A styrofoam ball (for the head) (or: paper and masking tape to create a makeshift ball for the head)
• Mohair or wool for the hair• For painting the face/ neck: Skin tone watercolour crayon and/or skin tone acrylics –
other tools used for small detail painting: markers/ watercolour crayons/ acrylics/ graphite/ white gesso or white acrylics
• Your choice of collage papers for the body (I used book pages and music scores but you can use whatever you want)
• White Gesso/ White Spray Inks (optional) • Paint for the body: gold iridescent paint (optional) • Liquitex heavy gel medium (doesn't have to be liquitex, but a heavy gel is preferred)
1. Using your jar/ bottle and your styrofoam ball, create a basic 'frame' for your doll
2. Once you have your frame ready, start applying paper clay around the frame of your doll. I started with the body first. Try to smoothen out as much of the lumps and bumps as possible, though don't worry too much about small bumps because we are collaging over the body later too.
3. Once you are done with the body, add clay over the head frame and then let your doll dry.
4. Now start building more facial features over the head, I added 'slabs of clay' for the chin/ cheeks and forehead. Your aim is to get an oval short of shape instead of a circular shape with the chin sticking out a little.
TIP: When sculpting, make sure to continue to look at your statue from all angles. If you only look at your sculpture from one angle while building it, you may miss out on 'funny looking lumps & bumps' which you would see when you look at your doll from another angle. Remember this is a 3D exercise, not 2D :)
5. For the nose, use a small amount of clay, roll it into a sausage shape (sort of) and then shape it and sculpt into a nose. (Mine are minimalist noses, I don't create a lot of detail perse, you can do that if you want of course but I like the minimalist look).
6. Sculpt your wings into place and then let your entire statue dry.
TIP: to let your statue dry: standing it in front of an electric heater, using a hair dryer or even placing it in the oven will really help speed up the drying process. If you leave your statue to dry in a cold room over night, it might not dry very well or quickly at all.
7. Once your statue is dry, start adding different collage elements to your statue/ doll. I use a heavy gel for this type of gluing which really helps. Avoid the very watery/ thin gels if you can.
8. Add a layer of skin tone to your doll's face with either watersoluble crayon, acrylics, or both.
9. Sketch the face onto the doll.
10. Add colour and shading to your face.
TIP: I use white gesso for highlights and a blending stump to blend graphite to create more depth and shading.
11. Painting over the collaged body: I first applied some colour with neocolour crayons and I then 'muted down' the collaged body by dabbing white gesso (or white acrylics) and/or white spray inks over the collage (when you do this be careful not to 'touch' the face with your whitening paints).
12. I then added a final layer of gold iridescent paint over the body.
Et Voila! Most of your statue is now nearly ready! :)
Now it's time for adding hair! There are many ways you can add hair to your doll. You can sculpt hair out of clay, or you can use wool or mohair!
Using wool creates a more simplistic looking wig, but it's easier to do, less fiddly and less time consuming.
If you want to make your wig from wool, simply cut several strands of wool (same length), stitch through the middle and drape/ style it over your doll's head. Affix it with the same gel medium you've been using. Using additional separate wool strands to sort out any 'bald spots'.
Creating a Mohair Wig
To create a Mohair Wig (inspired by doll artist Amanda Day & some other tutorials – google: doll wig making for different methods and styles etc) follow these steps:
1. Select several strands of hair and add gel medium to the tips, flatten out the tips (don't make clumps) and let them dry thoroughly.
2. Once you have your strands and let them dry, start applying them to the base of the skull with the gel medium again. Apply them in row shape, then add another layer above your first row, slightly overlapping etc, continue building your wig until the middle of the top of the head.
3. To create a parting: apply glue to the side of the temple and place your hair strand across the head with the glued part of your strand attached to the temple.
4. Let it dry properly. Once dry, pull your hair strand back from right to left and fold it over so that the first half of the parting appears.
Glue the strand down on the side and then apply a strand in the same way to the other side too. You will end up with a finished head of hair and a pretty parting:
Once you've let everything dry, you can start to style your doll's hair! :)
Finishing touches to the doll
To finish it off I added a gold heart to her chest and wrote the word 'peace' at the bottom of her dress.
Here are some more close up shots:
Thank you for being here with me today, I really hope you enjoyed the workshop and I can't wait to see some of your beautiful mixed
media art doll statues! :)
I also hope to see you on any of my other courses!