5
Embroidery Buddies
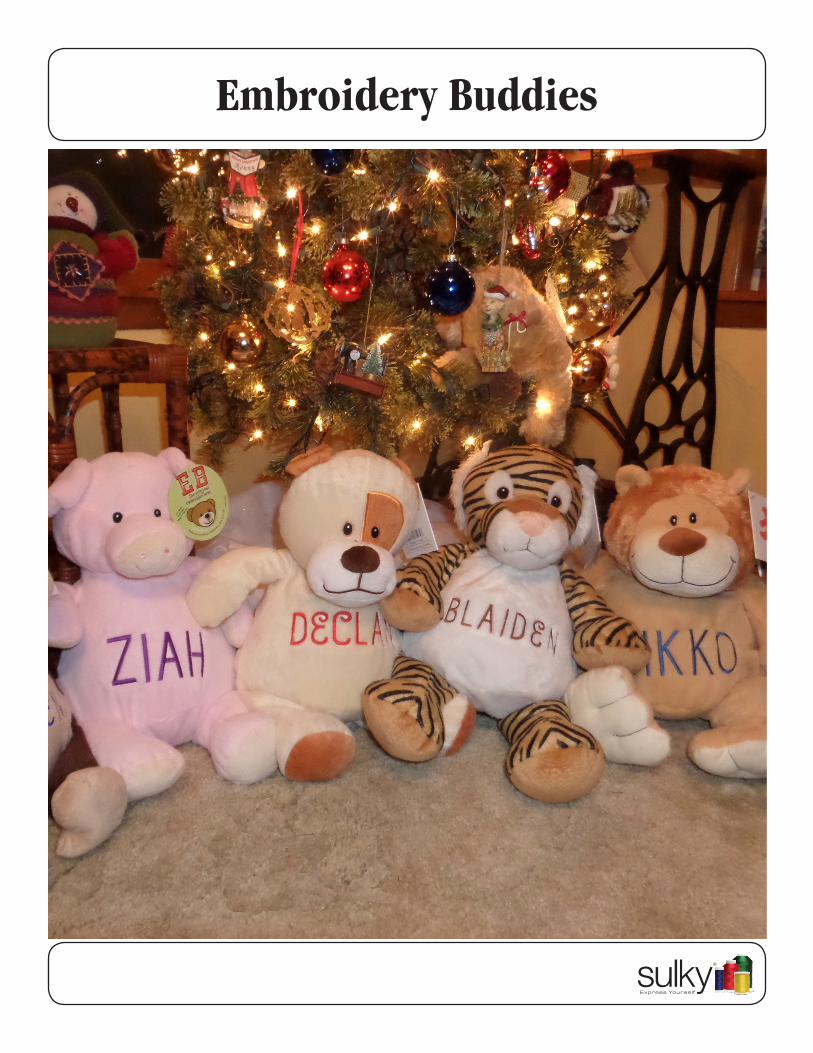
Embroidery Buddies
Embroidery Buddy–2–
Supplies Project OverviewThis Christmas I made a bunch of “Embroider Buddies” for my nieces and nephews. And yes, they all have strange names that are likely never to show up on the name badges and personalized things for kids.
They are almost old enough to appreciate having something with their own special names on them. Here’s how I embroidered these strange looking stuffed animals. They are wonderfully soft, and so easy to “re-stuff”. Their bottoms unzip, and you just remove the body and head piece. And, of course, they’re washable.
Wouldn’t these just make a wonderful gift for some special little person in your life?
*Special NotesNOTE: Yes, my hoop got sticky after spraying and hooping 5 buddies, but I just took a little packaged alcohol pad and wiped it clean.
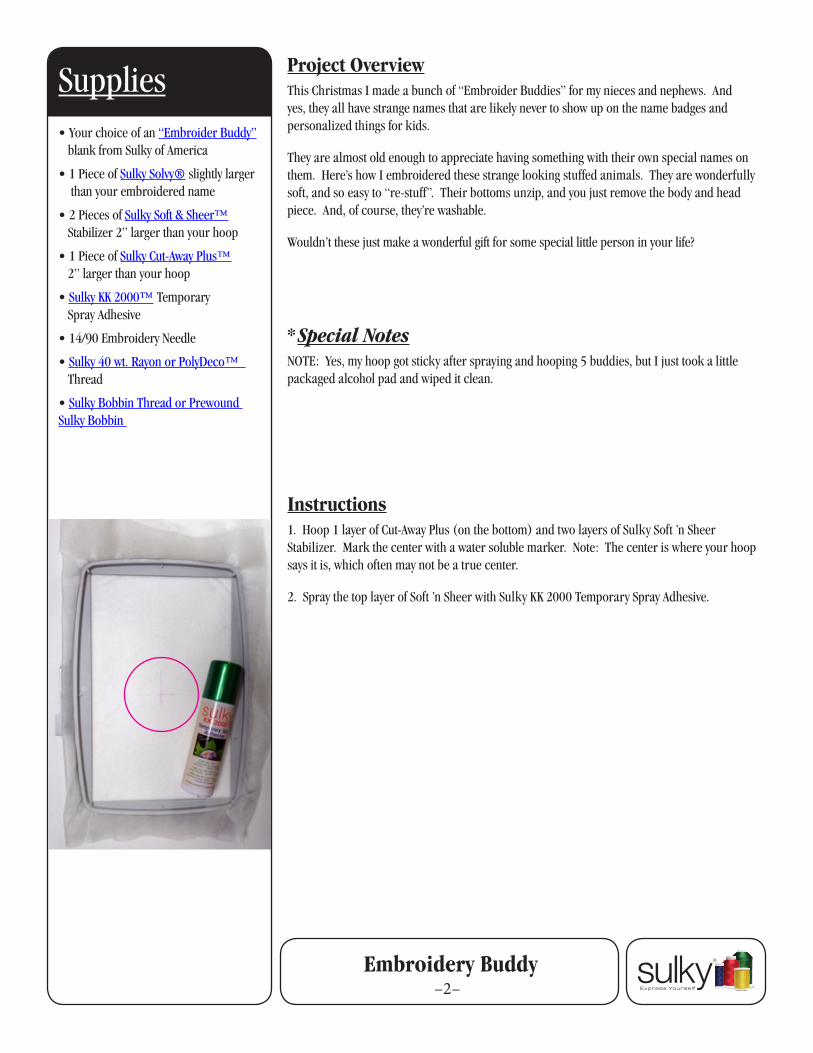
Instructions1. Hoop 1 layer of Cut-Away Plus (on the bottom) and two layers of Sulky Soft ’n Sheer Stabilizer. Mark the center with a water soluble marker. Note: The center is where your hoop says it is, which often may not be a true center.
2. Spray the top layer of Soft ’n Sheer with Sulky KK 2000 Temporary Spray Adhesive.
• Your choice of an “Embroider Buddy” blank from Sulky of America
• 1 Piece of Sulky Solvy® slightly larger than your embroidered name
• 2 Pieces of Sulky Soft & Sheer™ Stabilizer 2” larger than your hoop
• 1 Piece of Sulky Cut-Away Plus™ 2” larger than your hoop
• Sulky KK 2000™ Temporary Spray Adhesive
• 14/90 Embroidery Needle
• Sulky 40 wt. Rayon or PolyDeco™ Thread
• Sulky Bobbin Thread or Prewound Sulky Bobbin
Embroidery Buddy–3–
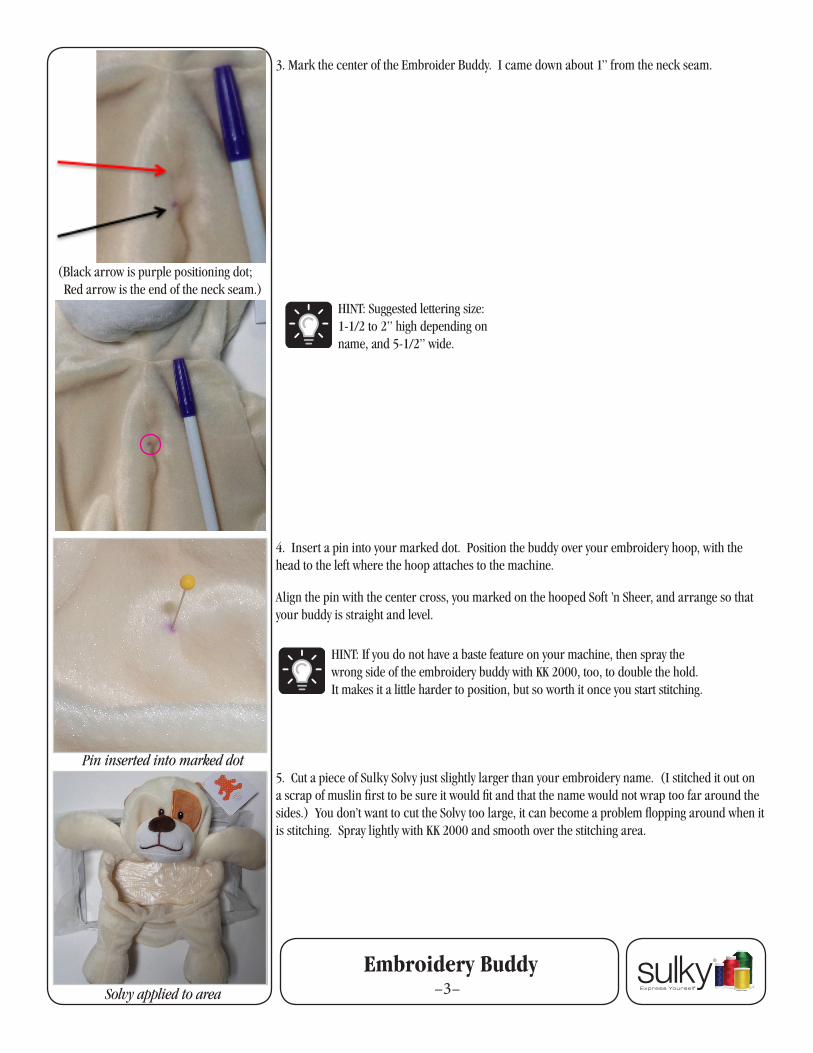
Pin inserted into marked dot
Solvy applied to area
3. Mark the center of the Embroider Buddy. I came down about 1” from the neck seam.
4. Insert a pin into your marked dot. Position the buddy over your embroidery hoop, with the head to the left where the hoop attaches to the machine.
Align the pin with the center cross, you marked on the hooped Soft ’n Sheer, and arrange so that your buddy is straight and level.
5. Cut a piece of Sulky Solvy just slightly larger than your embroidery name. (I stitched it out on a scrap of muslin first to be sure it would fit and that the name would not wrap too far around the sides.) You don’t want to cut the Solvy too large, it can become a problem flopping around when it is stitching. Spray lightly with KK 2000 and smooth over the stitching area.
HINT: Suggested lettering size: 1-1/2 to 2” high depending on name, and 5-1/2” wide.
HINT: If you do not have a baste feature on your machine, then spray the wrong side of the embroidery buddy with KK 2000, too, to double the hold. It makes it a little harder to position, but so worth it once you start stitching.
(Black arrow is purple positioning dot; Red arrow is the end of the neck seam.)
Embroidery Buddy–4–
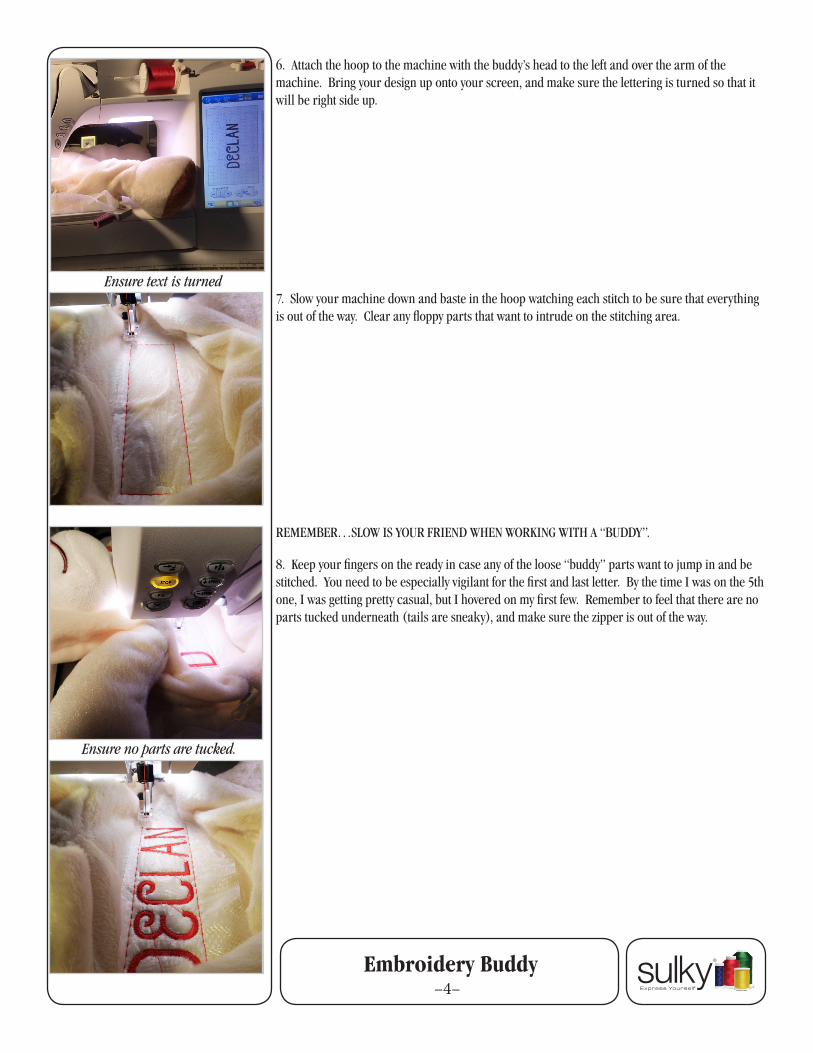
Ensure text is turned
Ensure no parts are tucked.
6. Attach the hoop to the machine with the buddy’s head to the left and over the arm of the machine. Bring your design up onto your screen, and make sure the lettering is turned so that it will be right side up.
7. Slow your machine down and baste in the hoop watching each stitch to be sure that everything is out of the way. Clear any floppy parts that want to intrude on the stitching area.
REMEMBER…SLOW IS YOUR FRIEND WHEN WORKING WITH A “BUDDY”.
8. Keep your fingers on the ready in case any of the loose “buddy” parts want to jump in and be stitched. You need to be especially vigilant for the first and last letter. By the time I was on the 5th one, I was getting pretty casual, but I hovered on my first few. Remember to feel that there are no parts tucked underneath (tails are sneaky), and make sure the zipper is out of the way.
Embroidery Buddy–5–
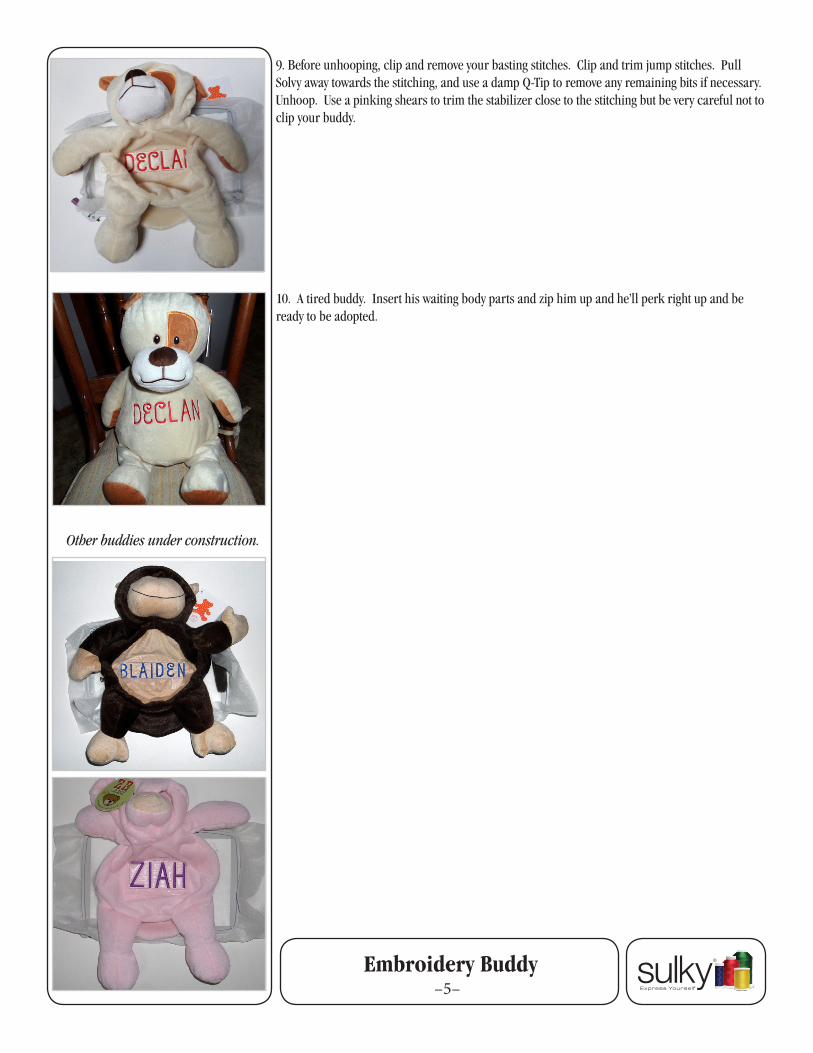
9. Before unhooping, clip and remove your basting stitches. Clip and trim jump stitches. Pull Solvy away towards the stitching, and use a damp Q-Tip to remove any remaining bits if necessary. Unhoop. Use a pinking shears to trim the stabilizer close to the stitching but be very careful not to clip your buddy.
10. A tired buddy. Insert his waiting body parts and zip him up and he’ll perk right up and be ready to be adopted.
Other buddies under construction.


