27
Embroidering on T-Shirts ESSENTIAL TIPS for embroidering on T-shirts! Presented by Hooping, stabilizing, placement, and so much more! Lookbook
| Date post: | 29-Jul-2016 |
| Category: |
Documents |
| Upload: | embroidery-library |
| View: | 223 times |
| Download: | 1 times |

Embroidering on T-Shirts
ESSENTIAL TIPS for embroidering
on T-shirts!
Presented by
Hooping,stabilizing,placement, andso much more!
Lookbook
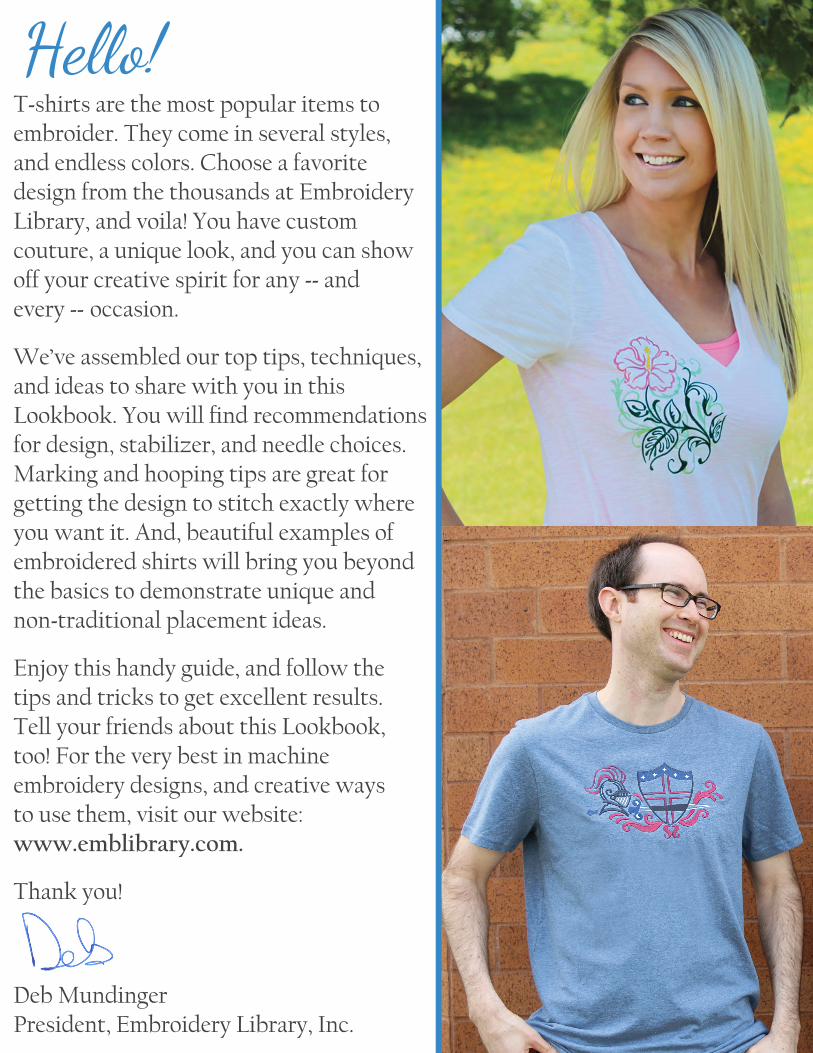
T-shirts are the most popular items toembroider. They come in several styles, and endless colors. Choose a favoritedesign from the thousands at Embroidery Library, and voila! You have customcouture, a unique look, and you can show off your creative spirit for any -- andevery -- occasion.
We’ve assembled our top tips, techniques, and ideas to share with you in thisLookbook. You will find recommendations for design, stabilizer, and needle choices. Marking and hooping tips are great for getting the design to stitch exactly where you want it. And, beautiful examples of embroidered shirts will bring you beyond the basics to demonstrate unique and non-traditional placement ideas.
Enjoy this handy guide, and follow thetips and tricks to get excellent results.Tell your friends about this Lookbook, too! For the very best in machineembroidery designs, and creative waysto use them, visit our website: www.emblibrary.com.
Thank you!
Deb MundingerPresident, Embroidery Library, Inc.
Hello!
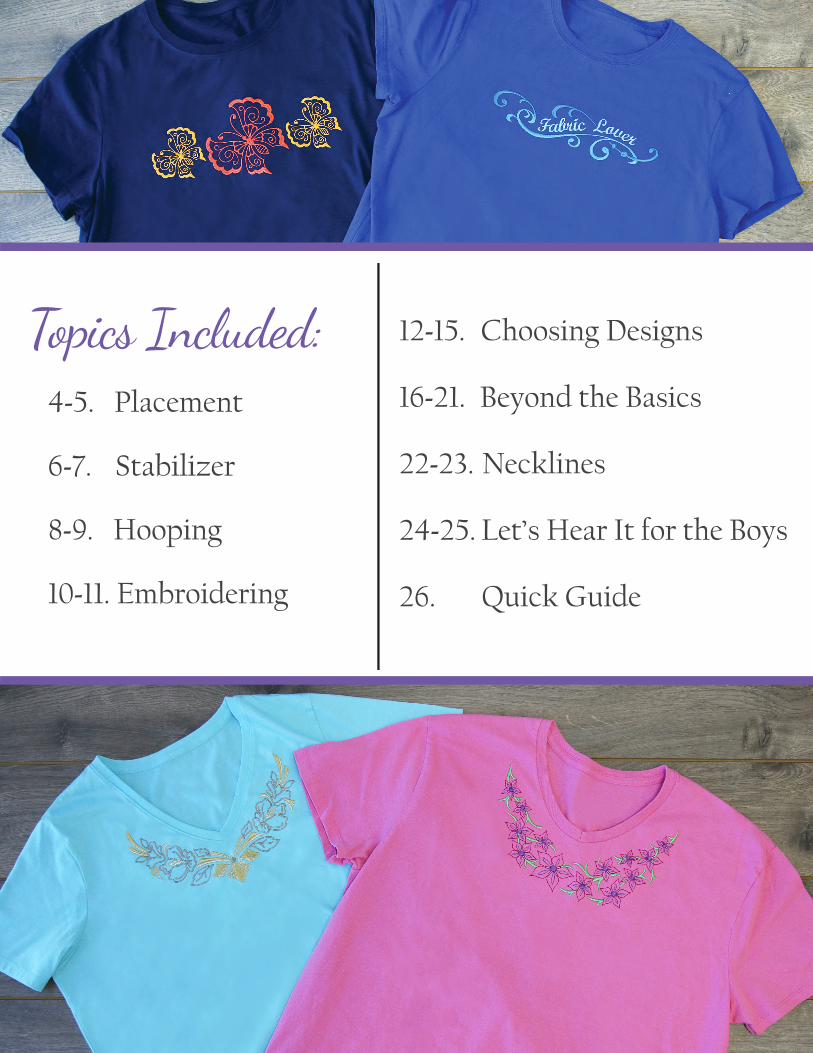
4-5. Placement
6-7. Stabilizer
8-9. Hooping
10-11. Embroidering
12-15. Choosing Designs
16-21. Beyond the Basics
22-23. Necklines
24-25. Let’s Hear It for the Boys
26. Quick Guide
Topics Included:

Placement: Using Templates and Marking
Bohemian Flower Frenzy Border
Templates are printouts of designs, and are excellent tools for planningwhere to stitch. 1. Open the design in an embroidery software program.
2. Print it at full size, and cut out the design to make a template.
3. Arrange the template on the shirt until it’s where you want to stitch the design.
4. Most often a design is placed so the top is 3” down from the neck, centered between the shoulder seams. This may vary if working with a very large or very small shirt.
5. Mark the center point, and vertical and horizontal axis lines. Marks can be made with chalk, soap, a dressmaker’s pencil, or in this case, an air-erase pen.
4

Placement: Using Templates and Marking
1
3 4
5
2
5

For best results, use cutaway stabilizer. It supports thefabric while embroidering, as well as during wash and wear.
A medium-weight (2.5 ounce) cutaway is a great choice.If you’re concerned about it being too stiff or rigid, rest assured it softens nicely after a wash or two.
No-show mesh or polymeshare softer types of cutawaystabilizer. When embroidering on thin or light-colored shirts, these types are good alternatives to traditional cutaway stabilizer.
Tear-away stabilizer is not recommended for T-shirts, as it deteriorates over time and doesn’t support the fabric. Washaway or water-soluble stabilizer is not recommended either.
Stabilizer: Cutaway & Mesh6
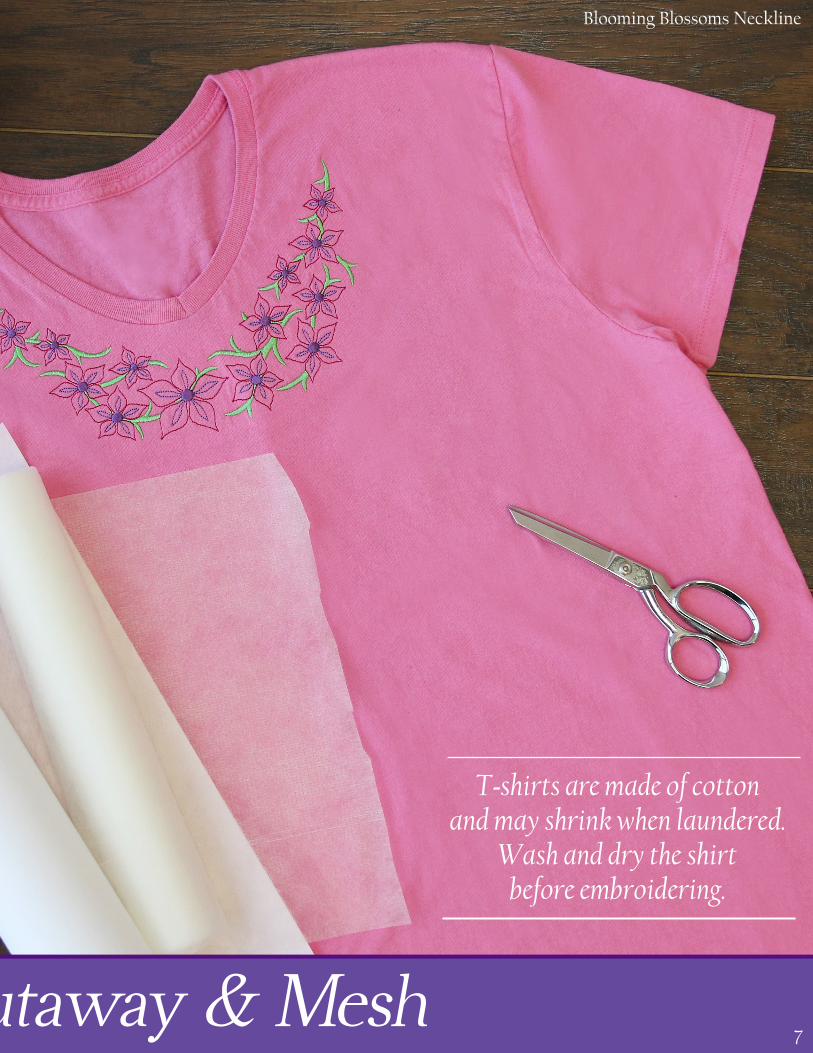
Blooming Blossoms Neckline
Stabilizer: Cutaway & Mesh
T-shirts are made of cotton
and may shrink when laundered. Wash and dry the shirt
before embroidering.
7

Hooping: Tips & Tricks
1 2
3 4
8
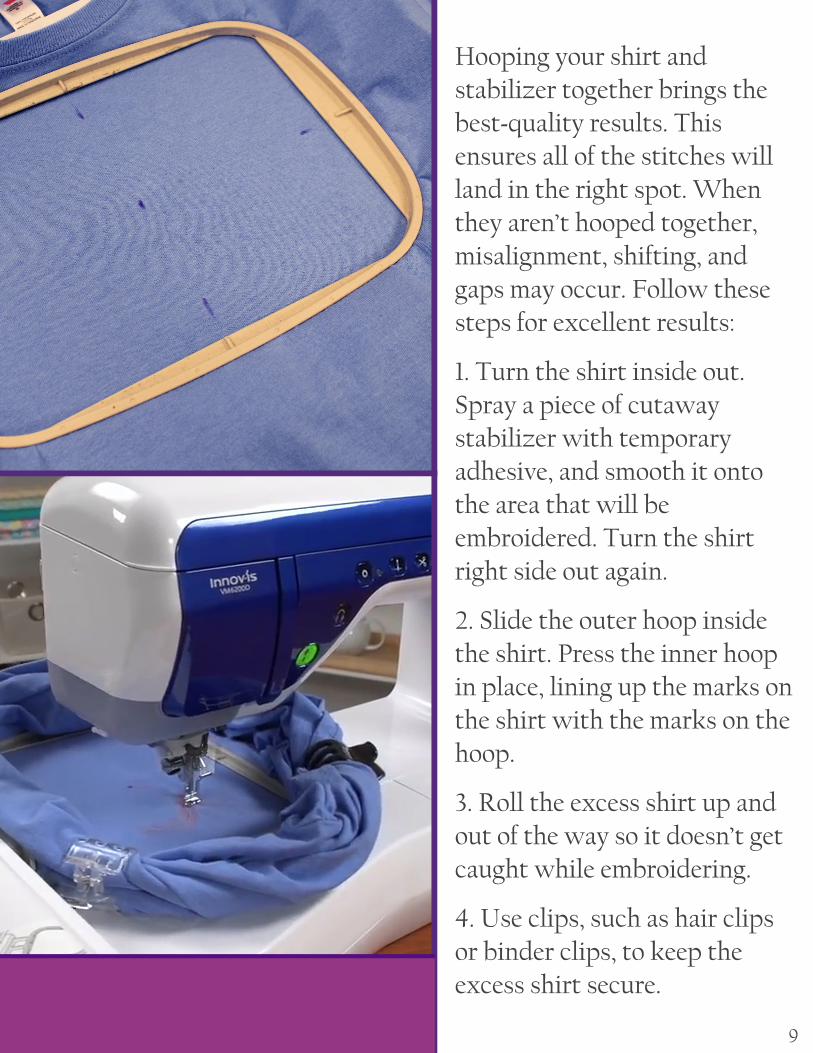
Hooping your shirt andstabilizer together brings the best-quality results. Thisensures all of the stitches will land in the right spot. When they aren’t hooped together, misalignment, shifting, andgaps may occur. Follow these steps for excellent results:
1. Turn the shirt inside out. Spray a piece of cutawaystabilizer with temporaryadhesive, and smooth it ontothe area that will beembroidered. Turn the shirt right side out again. 2. Slide the outer hoop inside the shirt. Press the inner hoop in place, lining up the marks on the shirt with the marks on the hoop. 3. Roll the excess shirt up and out of the way so it doesn’t get caught while embroidering. 4. Use clips, such as hair clipsor binder clips, to keep theexcess shirt secure.Hooping: Tips & Tricks
9

Attach the hoop to the machine and load the design. Move the hoop so the needle is right over the center point, and embroider the design.
A size 11 or 75/11 embroidery needle is a fine choice for embroidering on T-shirts.
Embroidering: Getting Excellent Results10
Love to Sew

After embroidering, trim the excess stabilizer away. If you’reconcerned about the stabilizer or thread feeling rough against the skin, use a fusible interfacing (like Cloud Cover Stitch) on the back of the embroidery.
Embroidering: Getting Excellent Results11

Crafty Diva Art NouveauSewing Machinewith Flowers
Choosing Designs: Lighten Up!12

When embroidering the T-shirts, choose designs that are light, airy, and open. To demonstrate the difference, compare these two shirts. The Crafty Diva design on the left is light and open. It is the perfect choice for a T-shirt, and the light stitches drape beautifully with the fabric. The Art Nouveau Sewing Machine on the right is heavy, with solid fills. It’s too complex for a T-shirt, and you can see that the fabric is puckering and draping poorly. A design like this is better suited forsturdier fabrics, like canvas or denim.
For best results -- and to avoid draping and puckering problems -- choose light and open designs, and avoid heavier motifs.
Art NouveauSewing Machinewith Flowers
Choosing Designs: Lighten Up!13
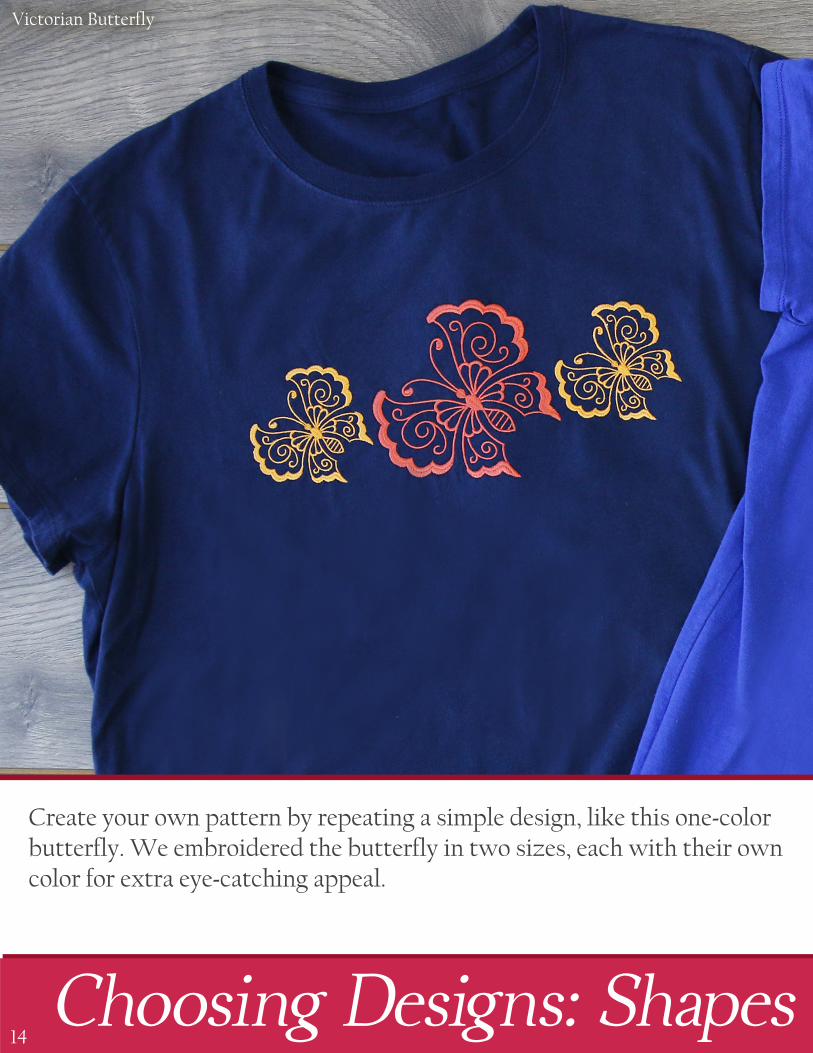
Victorian Butterfly
Choosing Designs: Shapes & Colors14
Create your own pattern by repeating a simple design, like this one-color butterfly. We embroidered the butterfly in two sizes, each with their own color for extra eye-catching appeal.

Fabric Lover Swirls and Curls
Choosing Designs: Shapes & Colors15
Rectangular designs are very popular choices for T-shirt embroidery. Look for border designs, like the one on this Fabric Lover shirt. We used atone-on-tone effect by choosing colors that were slightly lighter than the blue shirt.

Let beautiful embroidery peek over the shoulder of your T-shirt with this creative placement choice. It’s an unexpected, yet eye-catching way to adda contemporary style to your wardrobe.
Wedges and sprays placed artfully in the shoulderand chest area will add afashion-forward approach to your apparel. These designs have wide upper areas that tend to taper down toward the bottom, which makes them apopular choice for thisarea of a T-shirt.
Leaves of Luxury
Hibiscus Filigree
Beyond the Basics: Placement Ideas16

Highlight your waistline with stunning embroidery along your ribcage! Simply hoop the side of your T-shirt instead of the front. Here we stitched just in front of the side seam, but you can embroider on top of it for an even more adventurous style. If you can, have theperson who will be wearing the shirt try it on. Then you can position the design to look best with the curves of his or her body. Every body has a unique shape.
Graceful Swallows
Beyond the Basics: Placement Ideas17

Jingle All the WayChristmas Tree Skirt
Let your creativity take flight! Add wings to the back of a shirt for an eye-catching look. Choose from a variety of styles: angels, drag-ons, bats, fairies, and geometric tribal. They add a delightful splash of color and personality!
Angel Wings
Beyond the Basics: Placement Ideas
Make your own with these
instructions!
18
Findinstructionsfor perfectplacement!

Alhena Swirl Border and Corner
Beyond the Basics: Placement Ideas19
Findinstructionsfor perfectplacement!
Traditionally, border and corner designs are used to update quilts,placemats, and tea towels. But throw tradition out the window!Coordinating corner and border designs are a brilliant way to dress up a V-neck shirt. The corner is embroidered on the point of the V, while the border designs gracefully trail up the sides of the neckline.
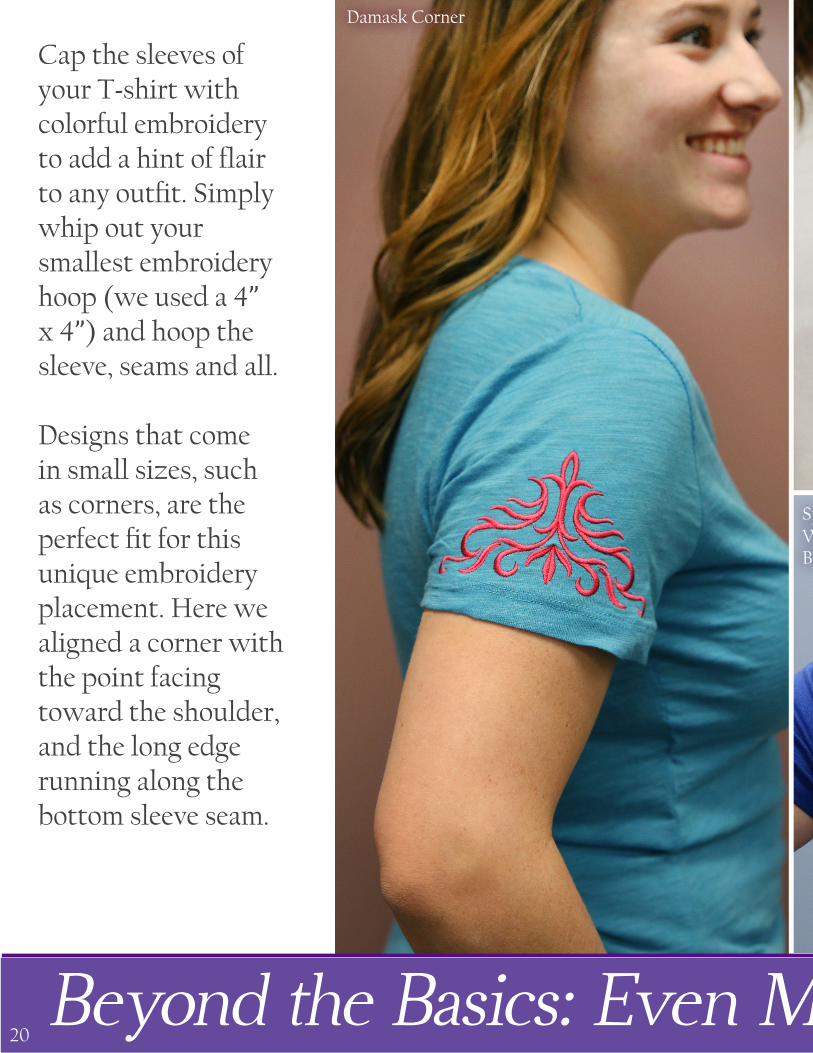
Cap the sleeves of your T-shirt withcolorful embroidery to add a hint of flair to any outfit. Simply whip out yoursmallest embroidery hoop (we used a 4” x 4”) and hoop the sleeve, seams and all. Designs that comein small sizes, suchas corners, are the perfect fit for this unique embroidery placement. Here we aligned a corner with the point facingtoward the shoulder, and the long edgerunning along thebottom sleeve seam.
Damask Corner
SpringWhitework Bird
Beyond the Basics: Even MORE Placement Ideas20

Embroidering on apocket is a subtle way to add personality to your T-shirt. Using a seamripper, detach the pocket from the shirt along the bottom and side seams, leaving the top twocorners still attached. Hoop the pocket,embroider the design, then re-attach the pocket.
A pop of unexpected embroidery on the back of a shirt is a fabulous way to update your apparel. Here we used a whiteworkdesign on a deep blue tee; bright and colorfuldesigns are equallystriking options when stitching on shirt backs.
SpringWhitework Bird
Feather Flair (Blackwork)
Beyond the Basics: Even MORE Placement Ideas21

Some designs have been specially created for embroidering alongnecklines. Choosebetween crewneck or V-neck designs, thenuse to give your shirt a gorgeous update!
Watch the video!
Necklines: Crewneck & V-Neck22
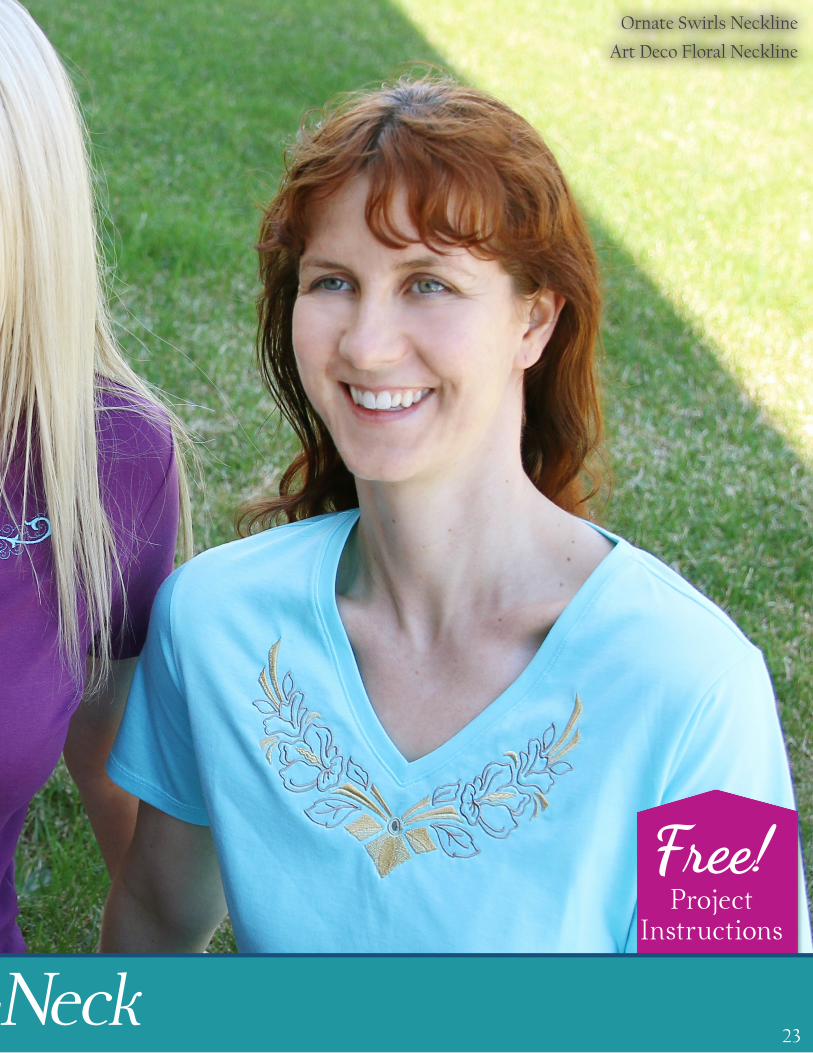
Ornate Swirls Neckline
Art Deco Floral Neckline
Necklines: Crewneck & V-Neck
Free!Project
Instructions
23
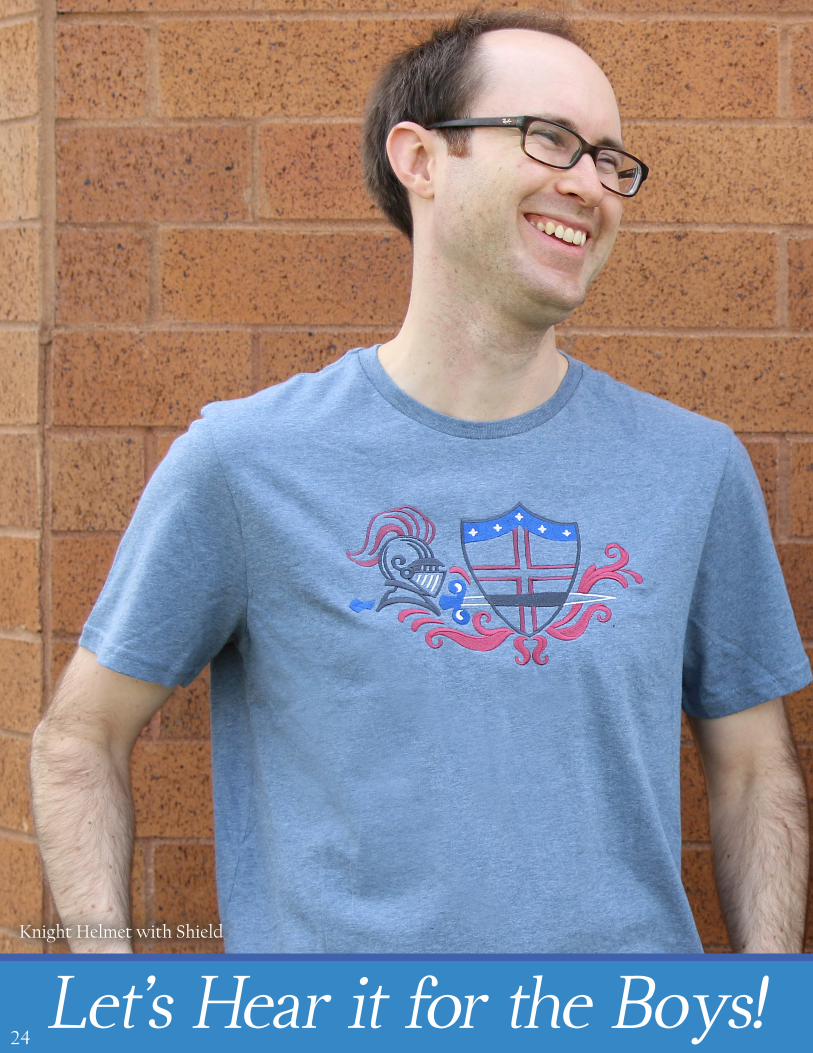
Knight Helmet with Shield
Let’s Hear it for the Boys!24

Wild Side Guitar
Let’s Hear it for the Boys!25
Wondering what toembroider for yourfavorite guy? Husbands,sons, fathers, brothers, and all the men in yourlife will love a T-shirtupdated with a big,bold design.

T-Shirts Quick GuideNEEDLE A size 11 or 75/11 embroidery needle is a great choice when embroidering on T-shirts.
SOURCES T-shirts shown in this Lookbook were purchased from Target, Hanes, and Lands End. Other sources includeAmazon, Walmart, Kohl’s, and TJ Maxx.
DESIGN CHOICE For best results, choose light and open designs that will drape well on the shirt. Heavy, complex designs willlead to puckering and poor draping.
STABILIZEROne piece of medium-weight (2.5 ounce) cutawaystabilizer is the best choice. No-show mesh or polymeshare softer kinds of cutaway stabilizer and are also agood choice. Tear-away and water-soluble stabilizers are not recommended.
Copyright (c) Embroidery Library Inc. 2016. All rights reserved.26
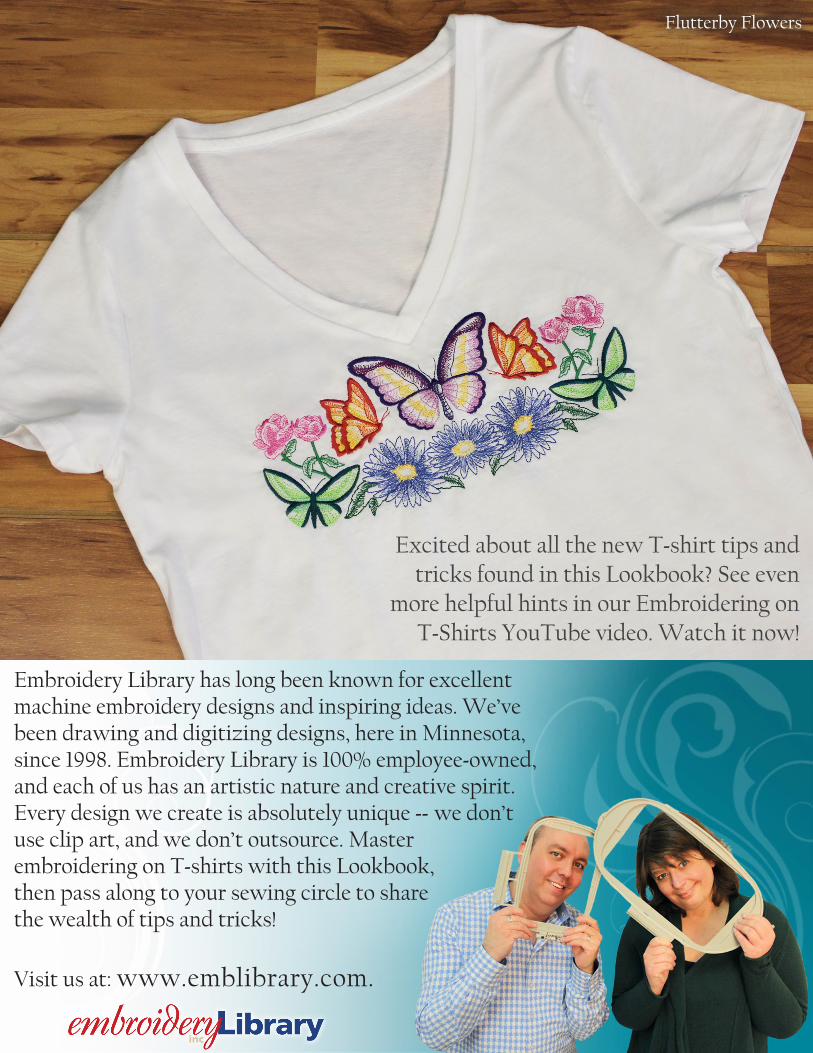
Embroidery Library has long been known for excellentmachine embroidery designs and inspiring ideas. We’vebeen drawing and digitizing designs, here in Minnesota,since 1998. Embroidery Library is 100% employee-owned,and each of us has an artistic nature and creative spirit.Every design we create is absolutely unique -- we don’tuse clip art, and we don’t outsource. Master embroidering on T-shirts with this Lookbook,then pass along to your sewing circle to sharethe wealth of tips and tricks!
Visit us at: www.emblibrary.com.
Flutterby Flowers
Excited about all the new T-shirt tips and tricks found in this Lookbook? See even
more helpful hints in our Embroidering on T-Shirts YouTube video. Watch it now!


![Embroidery Apparel Decoration Examples · mclaren embroidered apparel decoration examples scrubs [all scrubs are stitched in white] t-shirts [all t-shirts are stitched in a predetermined](https://static.documents.pub/doc/80x56/60a3e25e9b596d4acc1bd2f0/embroidery-apparel-decoration-examples-mclaren-embroidered-apparel-decoration-examples.jpg)


