81
How To Use Pablo A Tool from Buffer
| Date post: | 14-Apr-2017 |
| Category: |
Food |
| Upload: | estrelita-brillantes-de-jesus |
| View: | 133 times |
| Download: | 0 times |
How To
Use
Pablo A Tool from Buffer
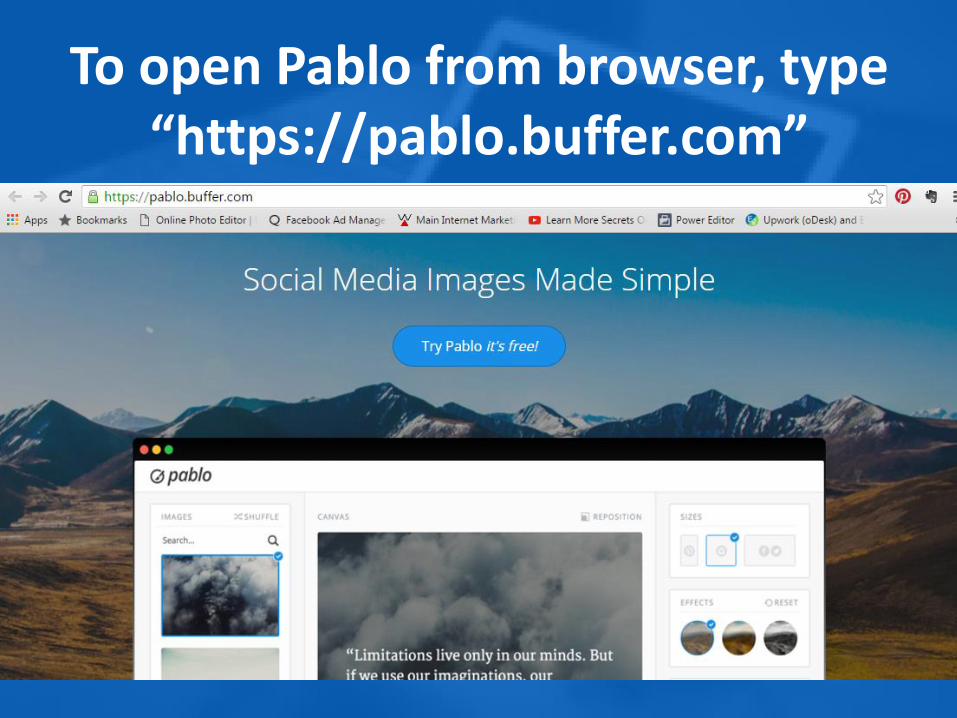
To open Pablo from browser, type “https://pablo.buffer.com”
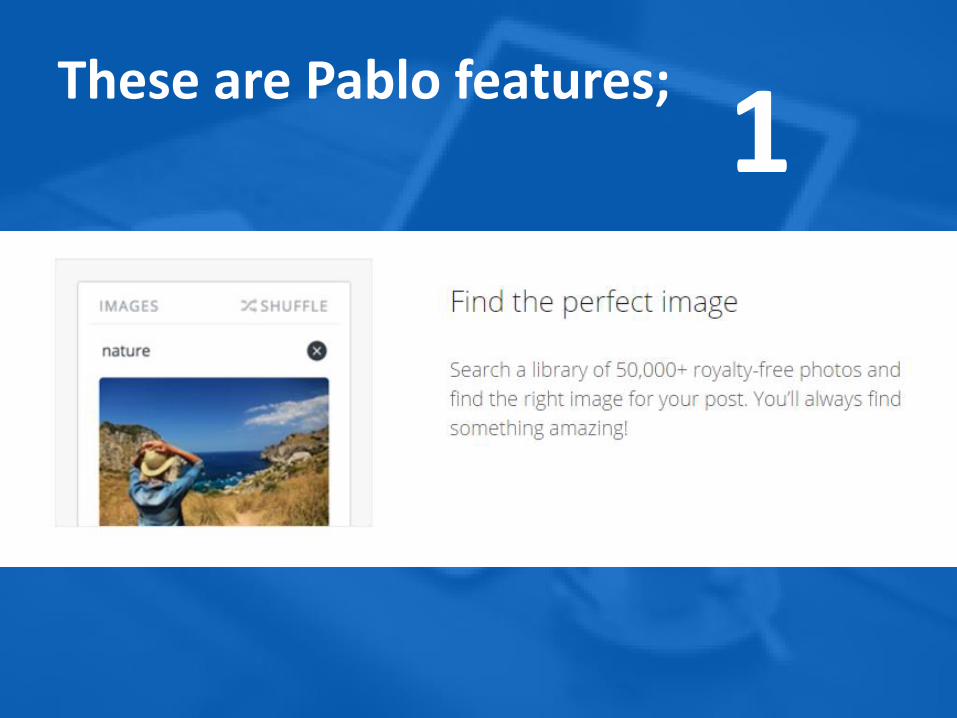
These are Pablo features; 1
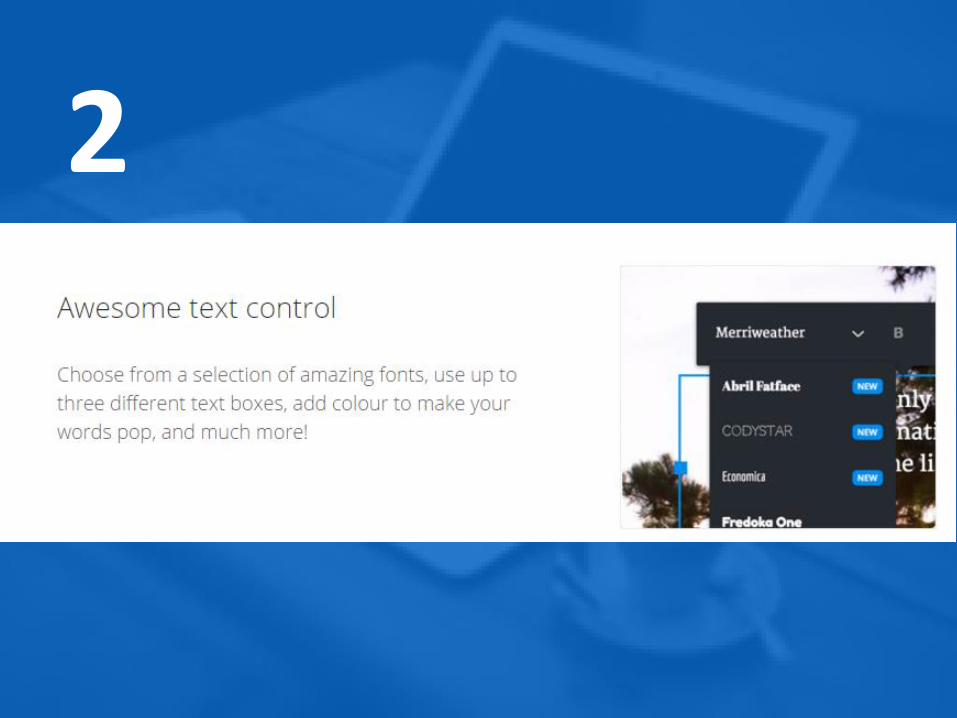
2
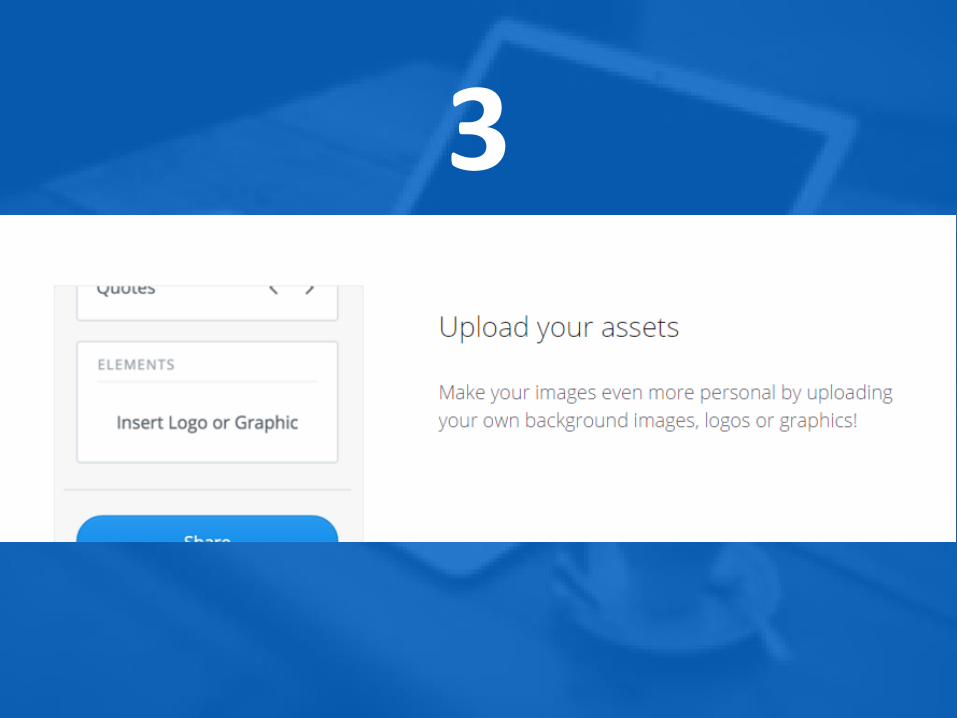
3
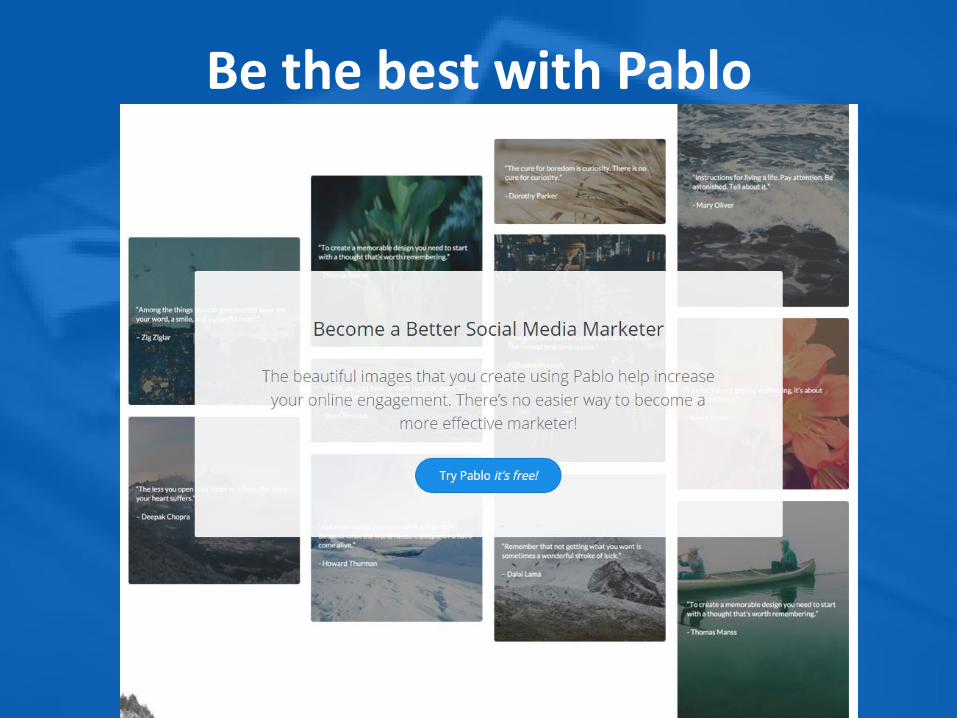
Be the best with Pablo
Opening Pablo app thru Buffer
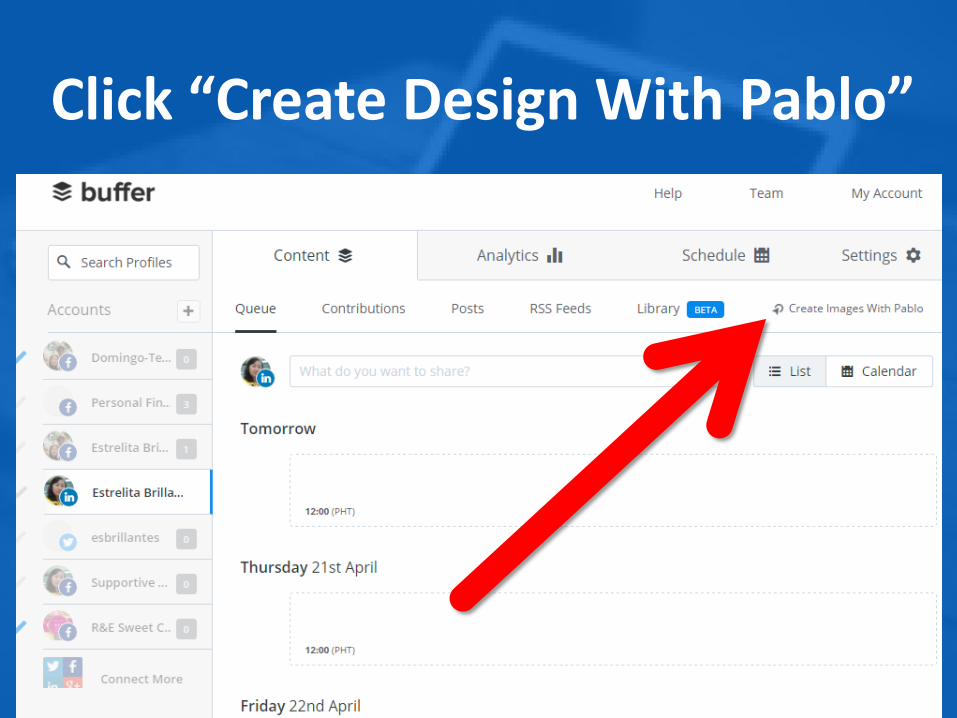
Click “Create Design With Pablo”
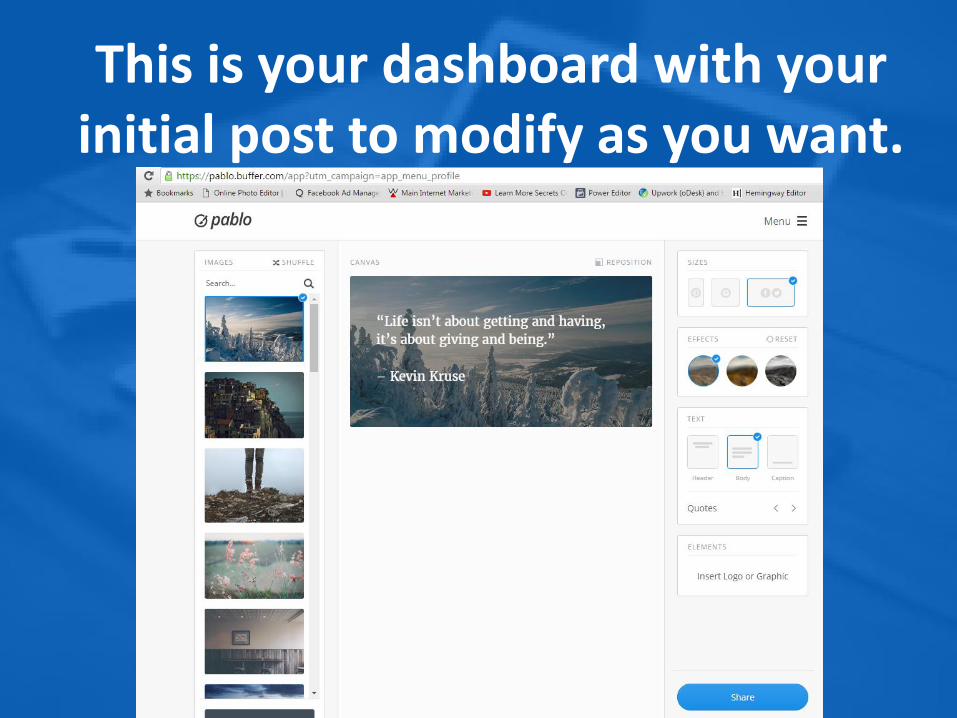
This is your dashboard with your initial post to modify as you want.

Menus on the right is for image selection.
Just click on the image to replace default image.
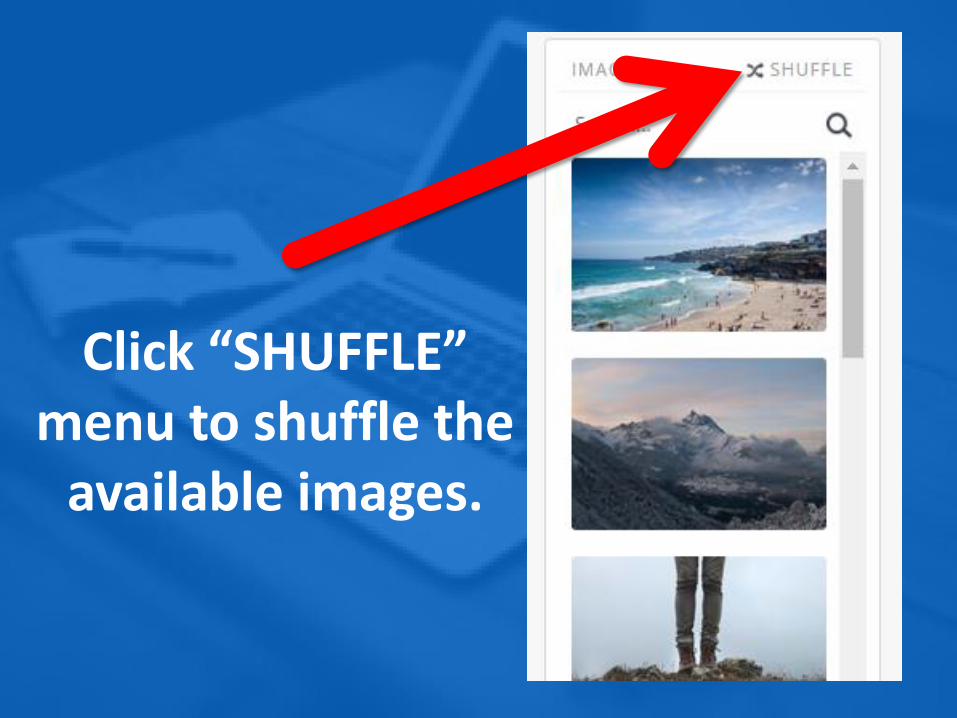
Click “SHUFFLE” menu to shuffle the
available images.
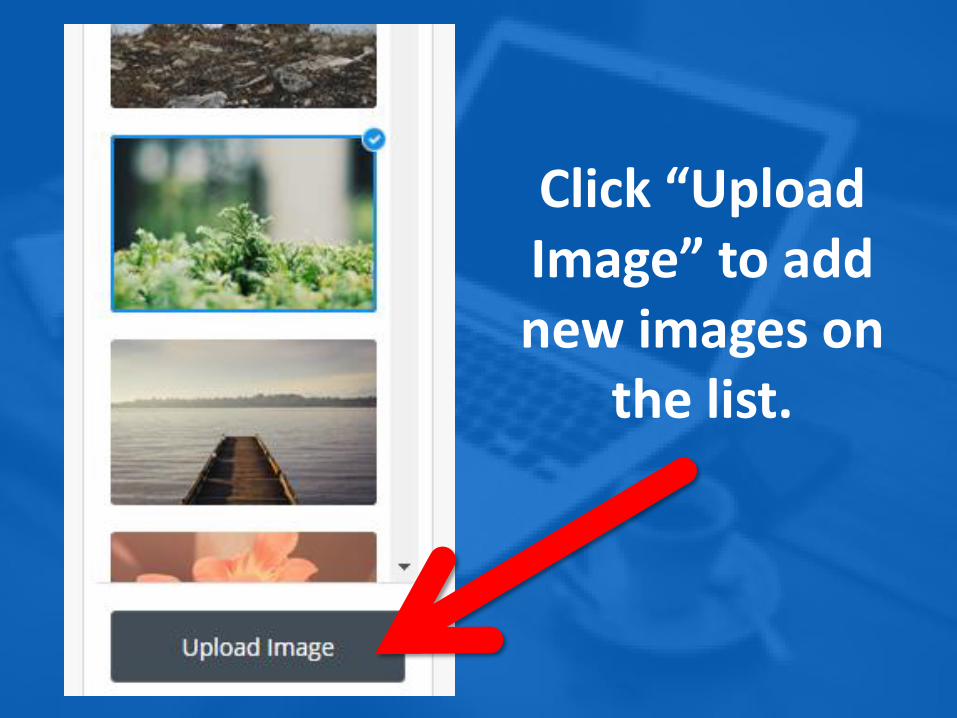
Click “Upload Image” to add new images on
the list.
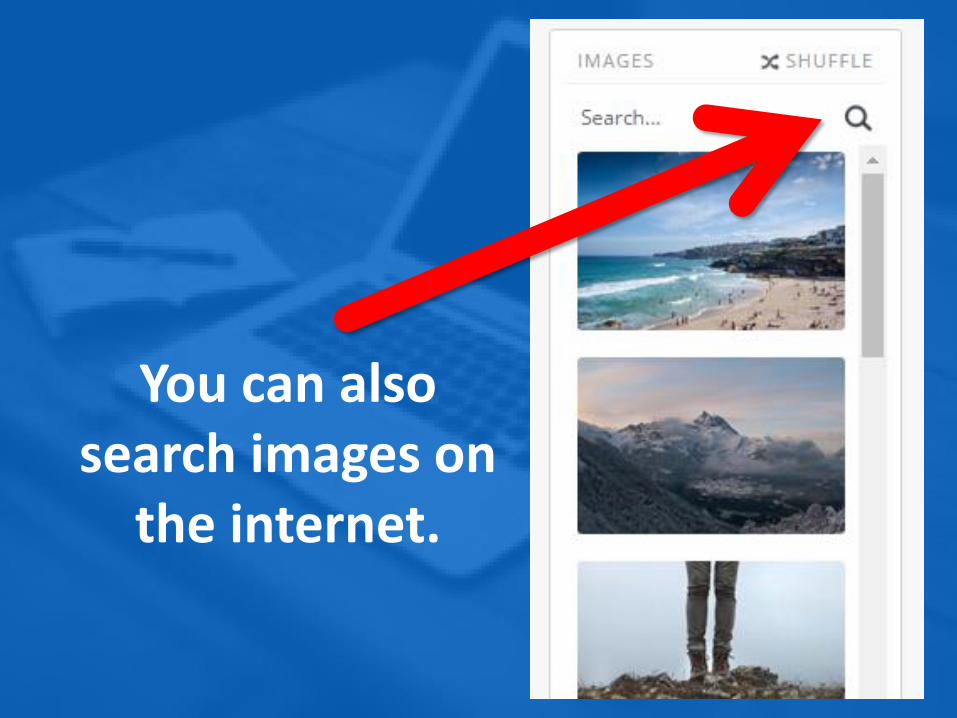
You can also search images on
the internet.

Once you selected image
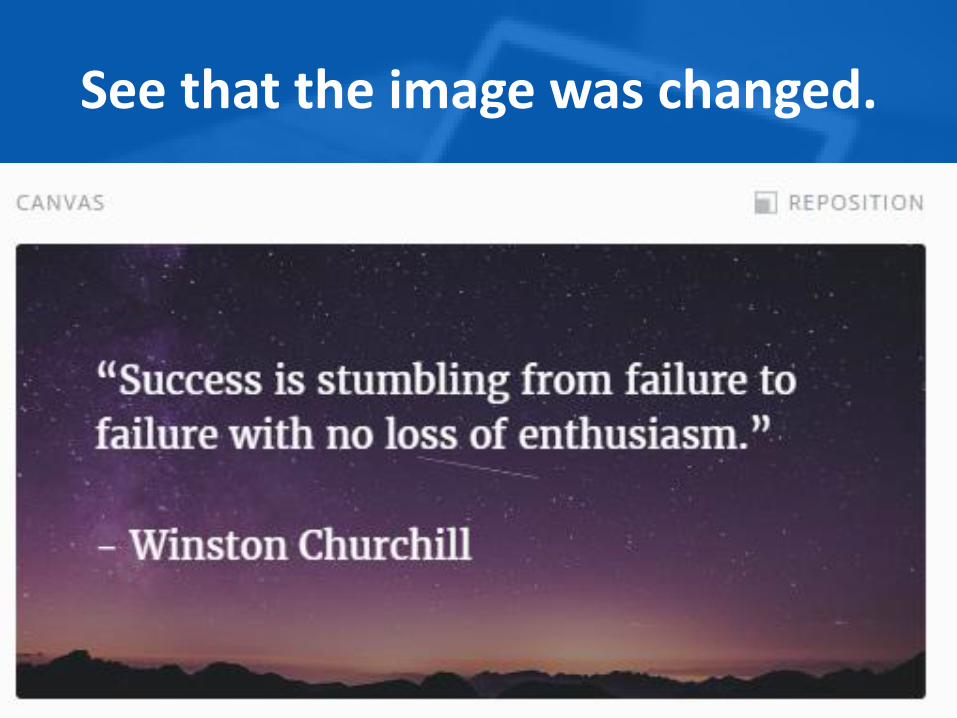
See that the image was changed.
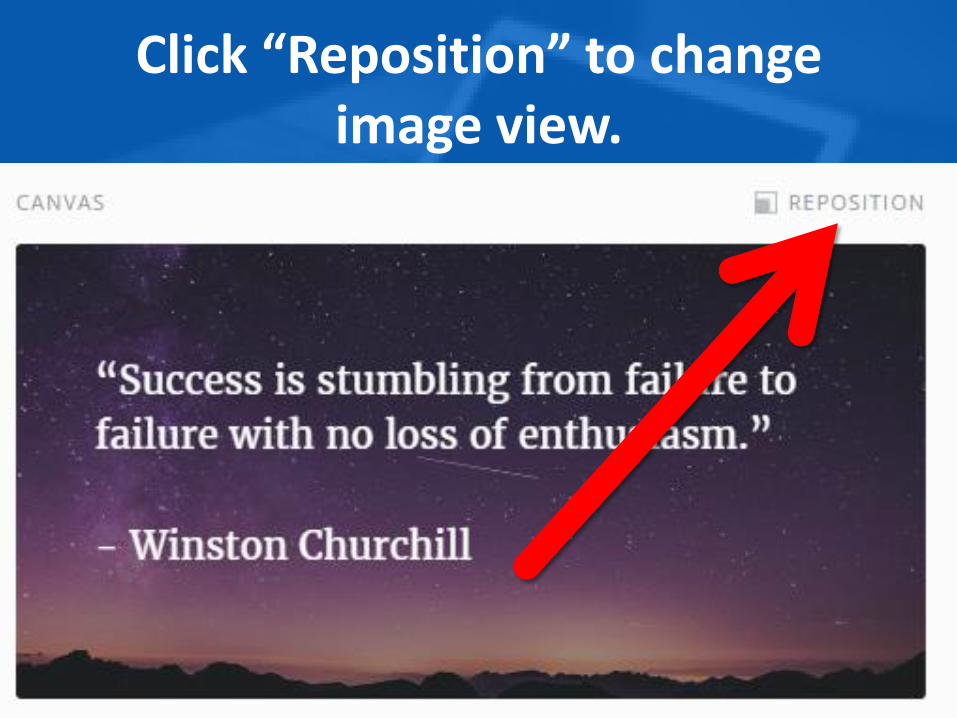
Click “Reposition” to change image view.
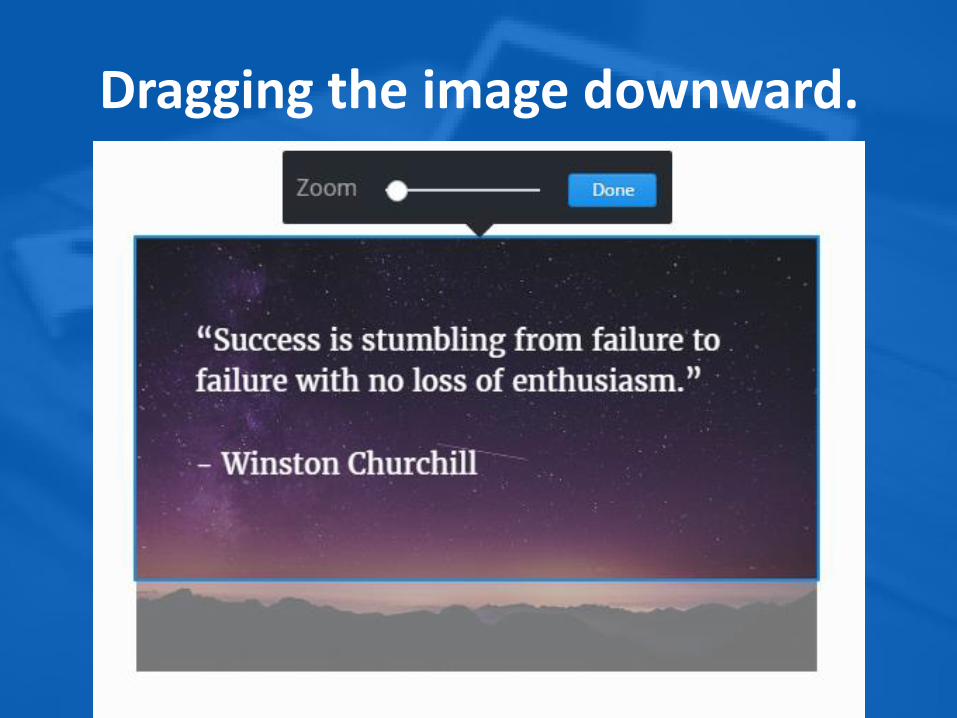
Dragging the image downward.

Dragging the image upward.
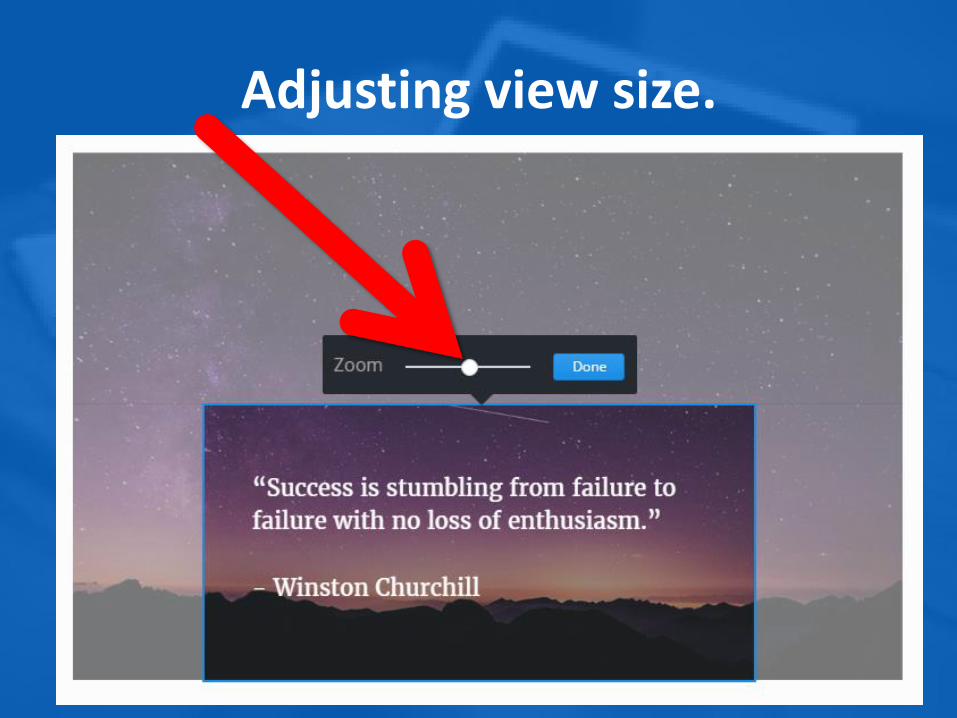
Adjusting view size.
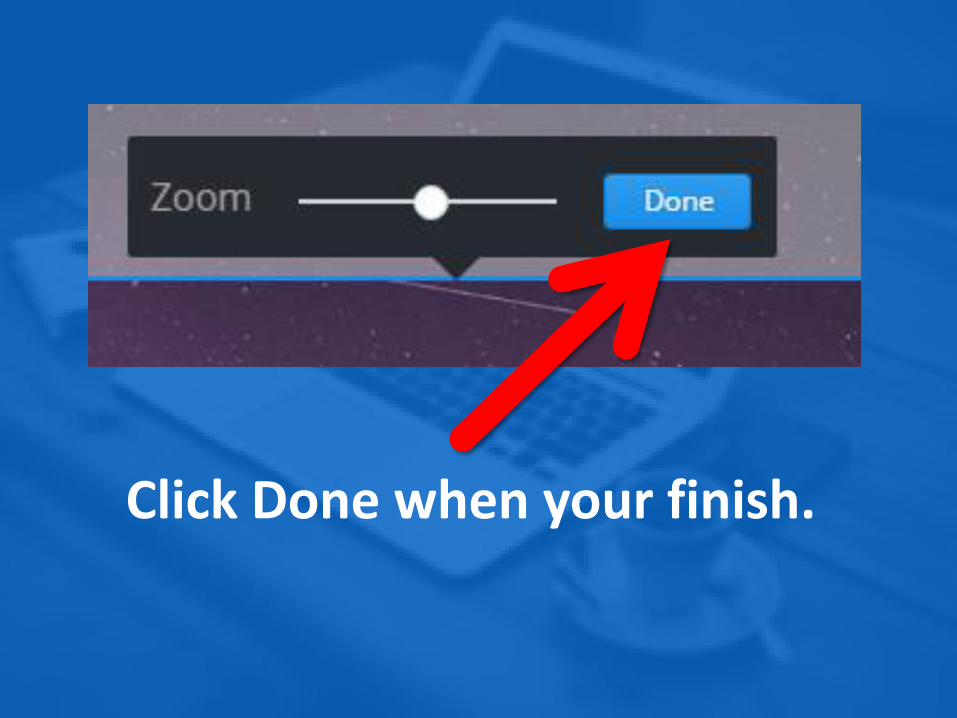
Click Done when your finish.
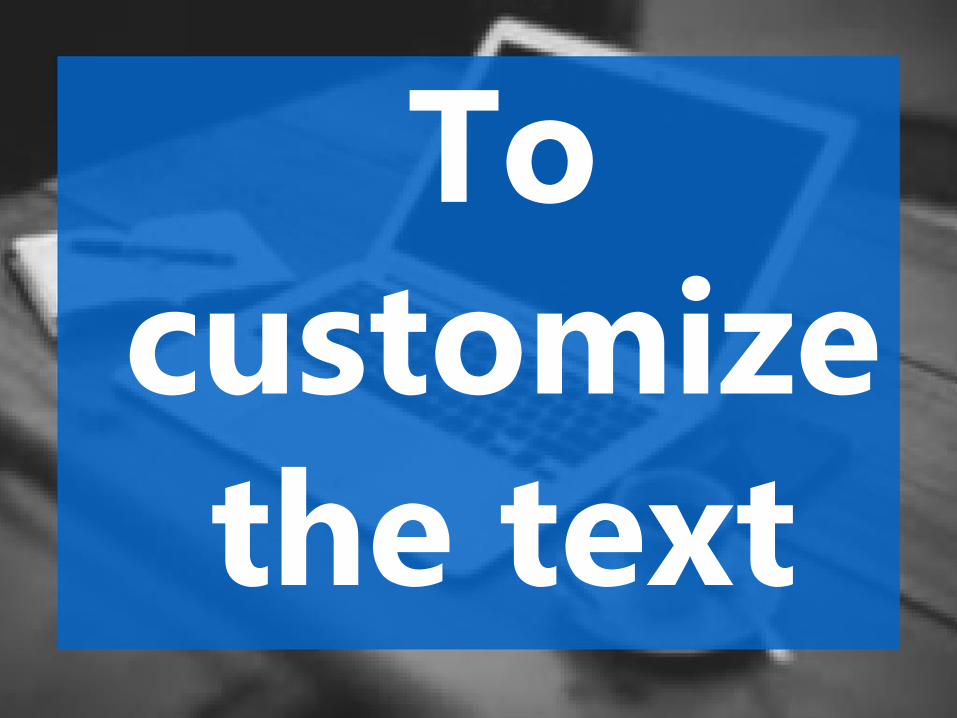
To customize the text
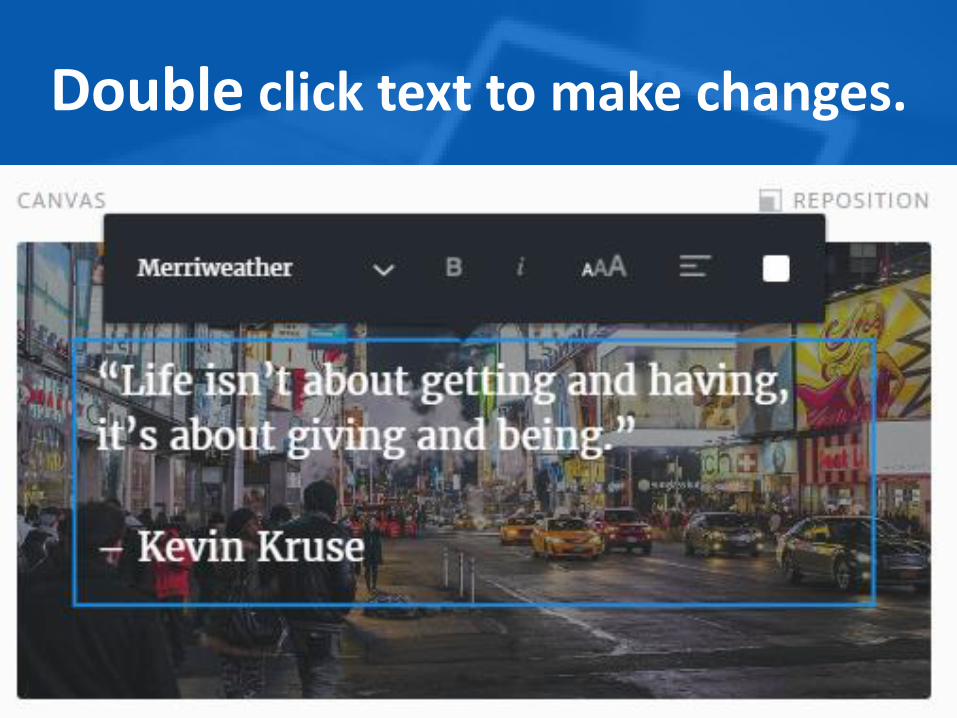
Double click text to make changes.
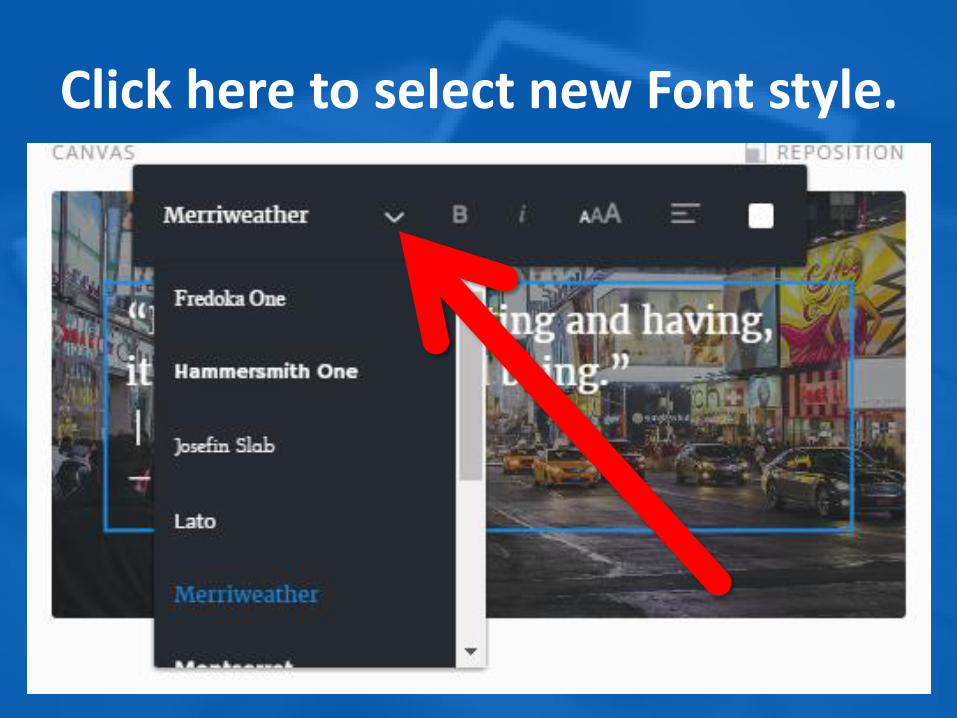
Click here to select new Font style.

To make letters Bold

To make letters Italics
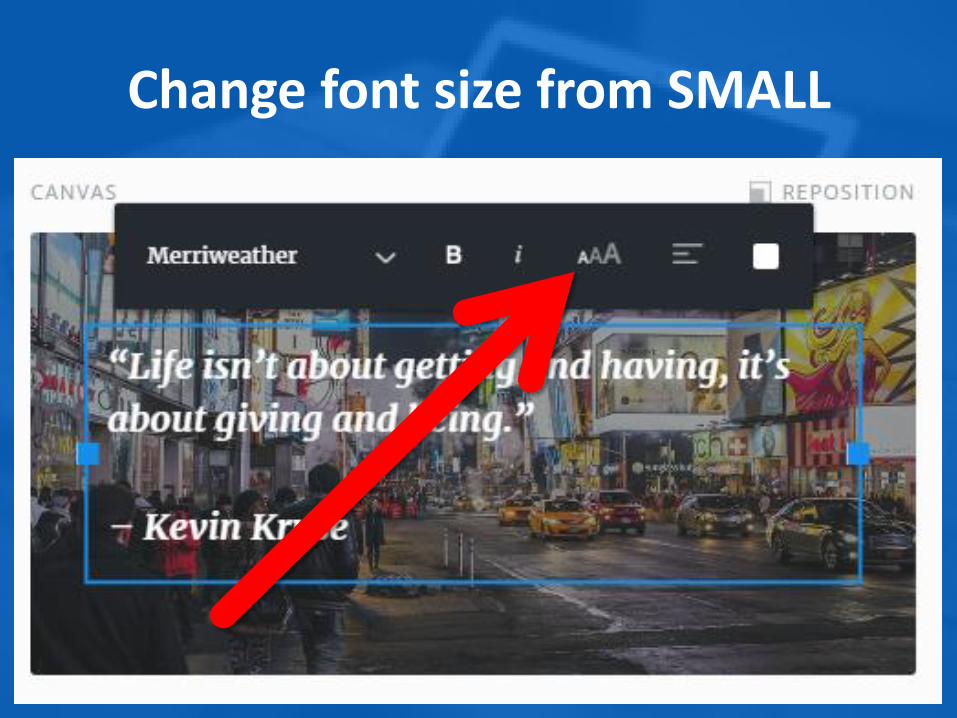
Change font size from SMALL
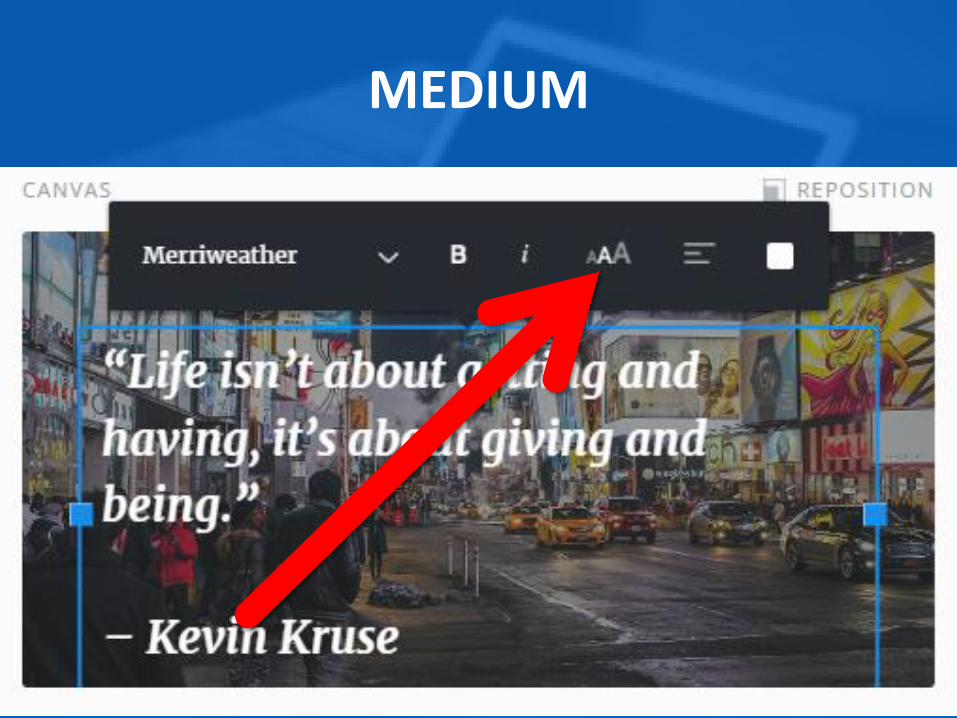
MEDIUM
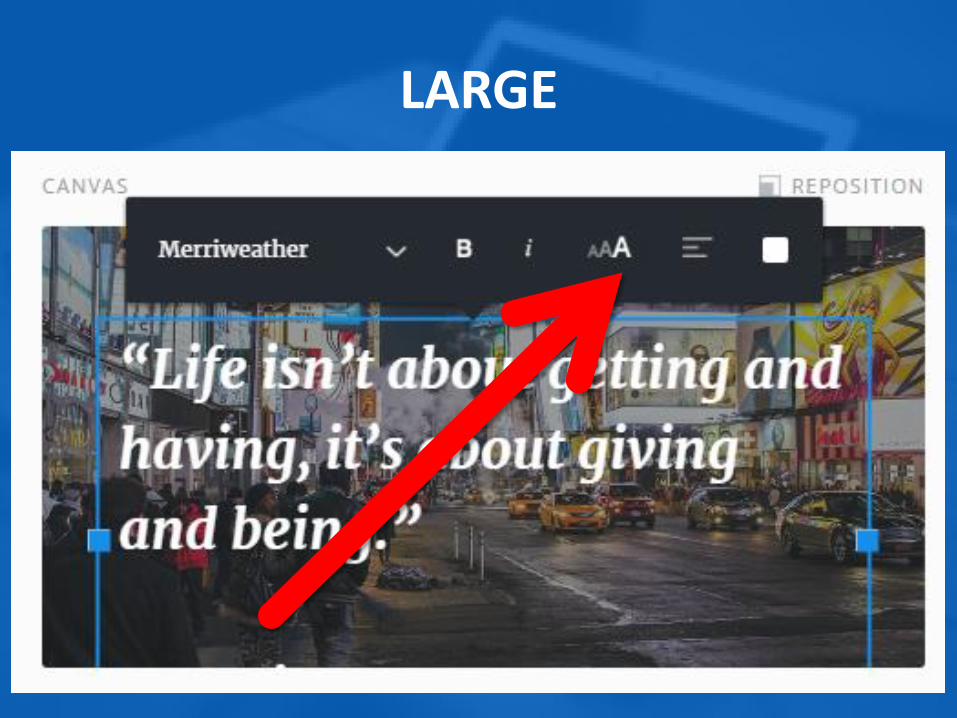
LARGE
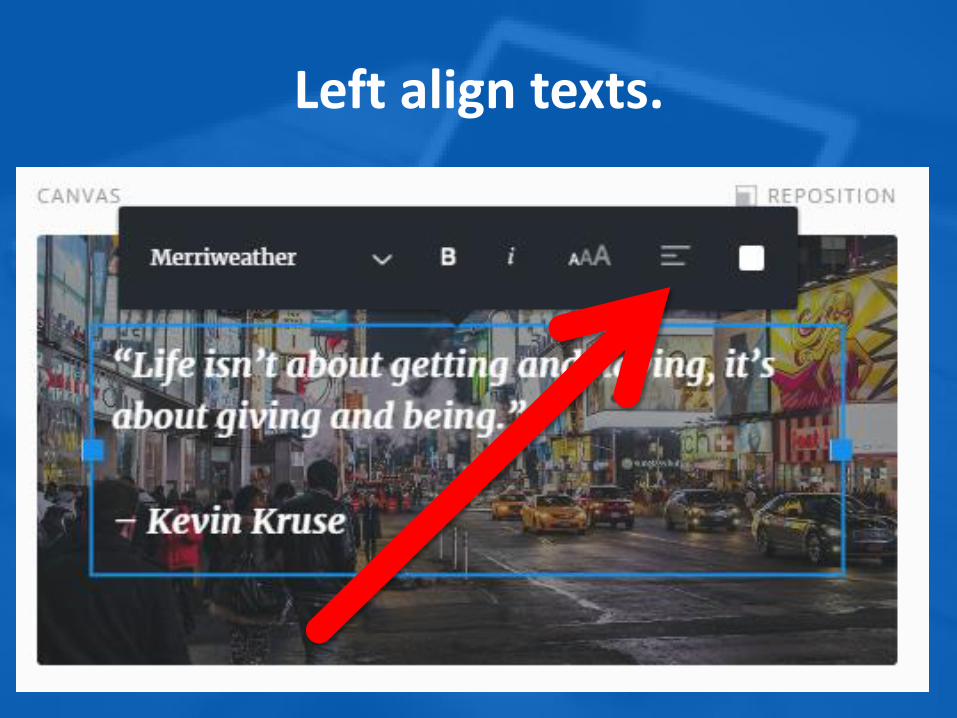
Left align texts.
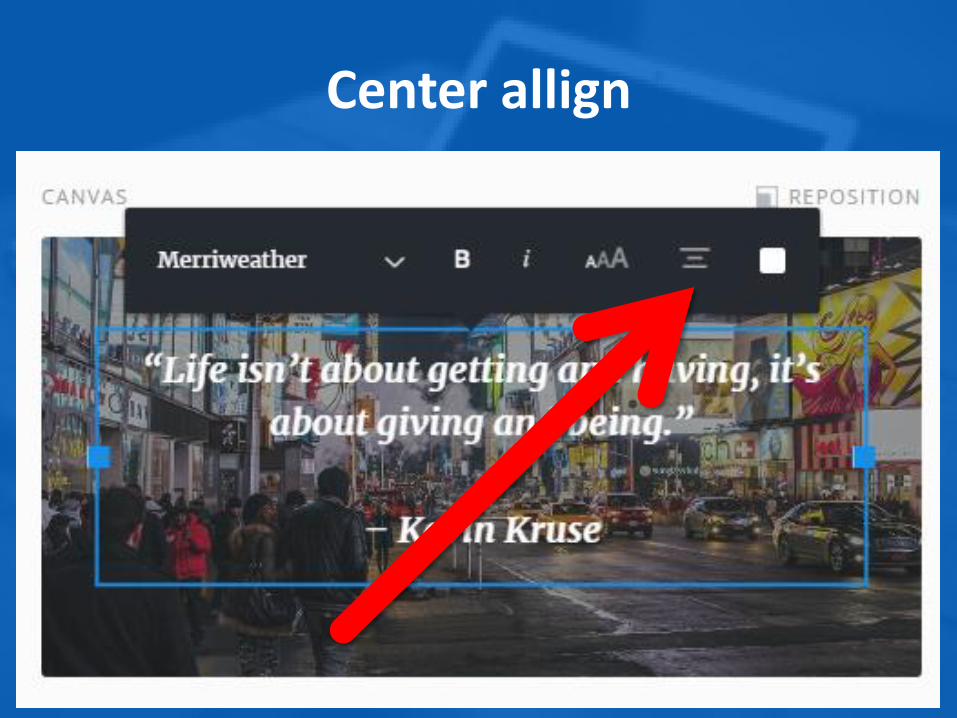
Center allign
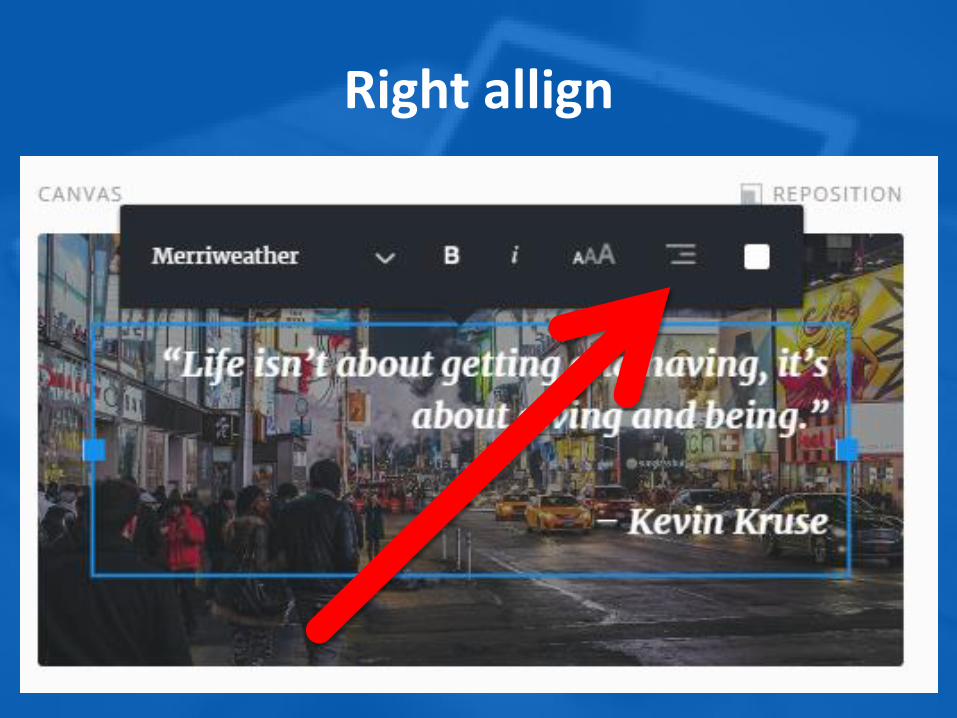
Right allign
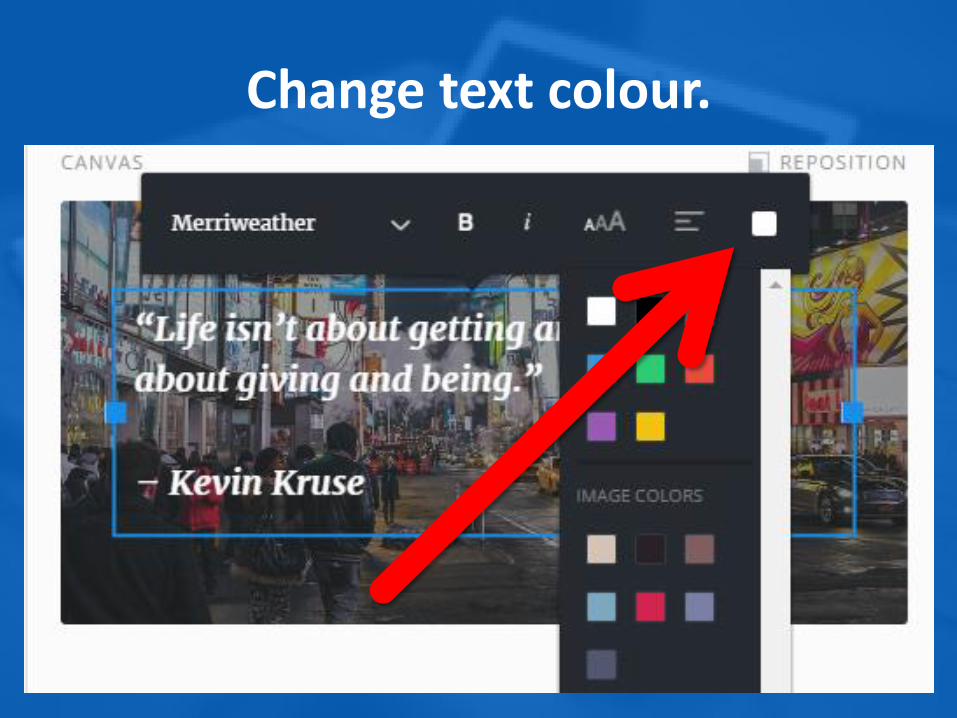
Change text colour.

Result in choosing yellow.

Drag blue square to resize text box.
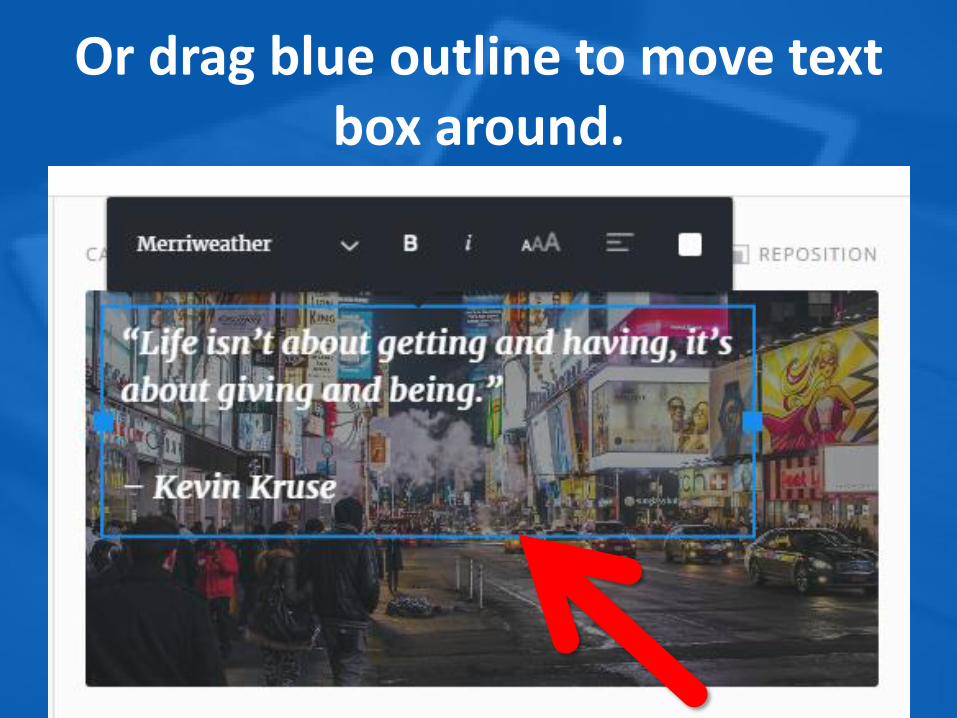
Or drag blue outline to move text box around.
Customize the
appearance
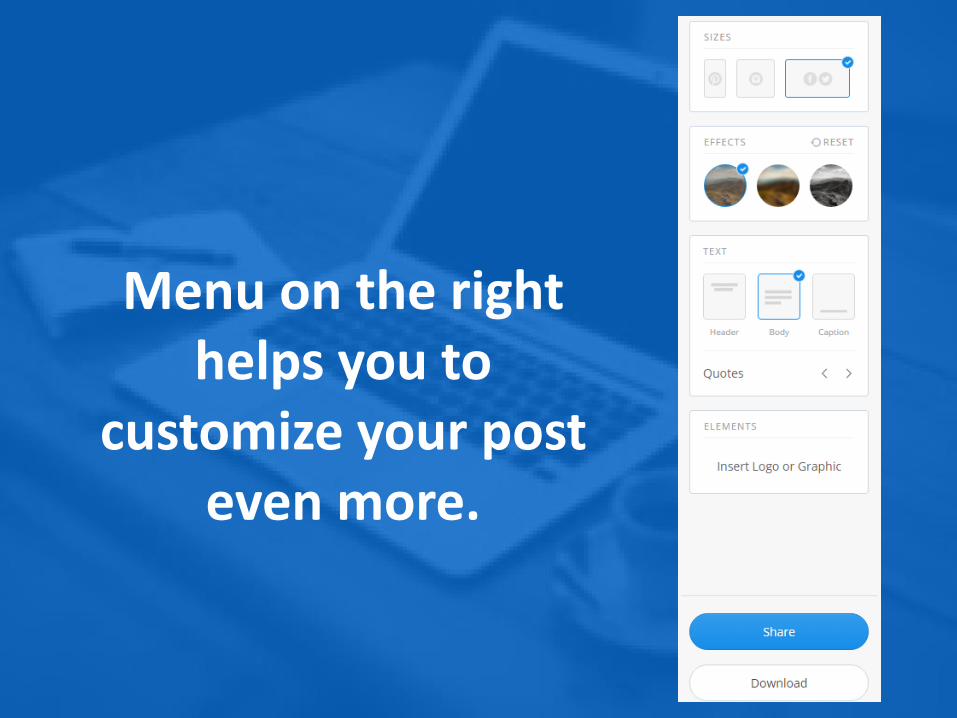
Menu on the right helps you to
customize your post even more.
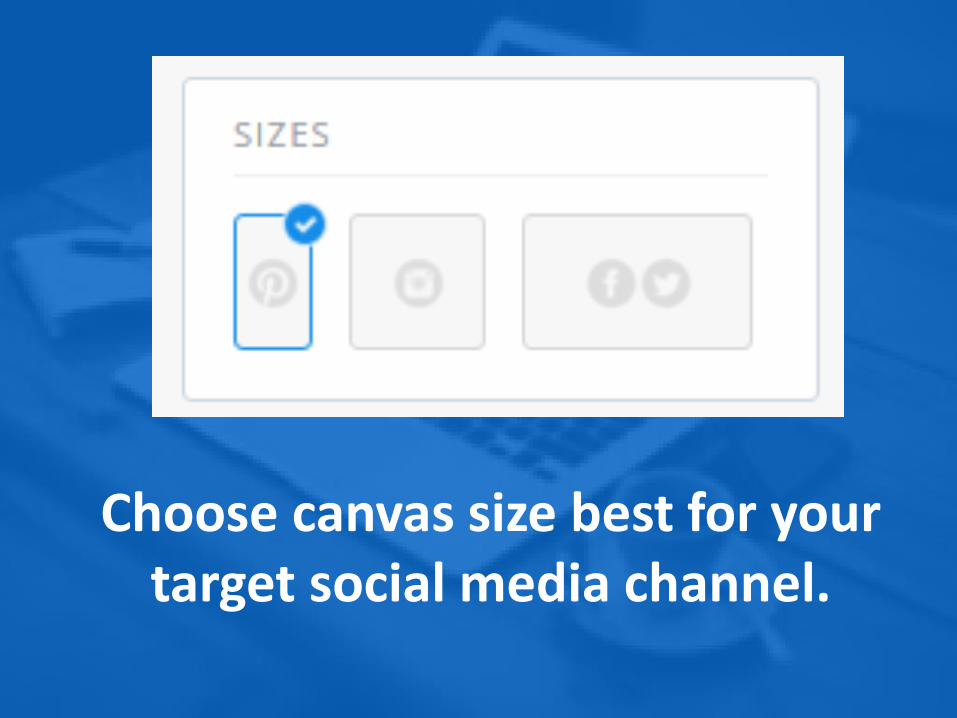
Choose canvas size best for your target social media channel.
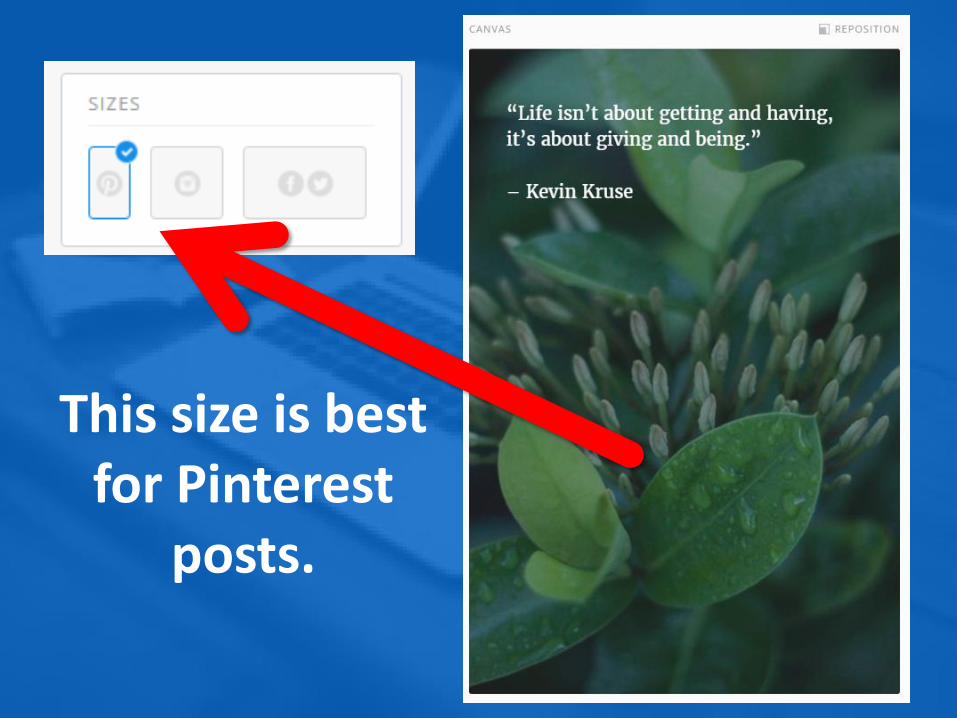
This size is best for Pinterest
posts.
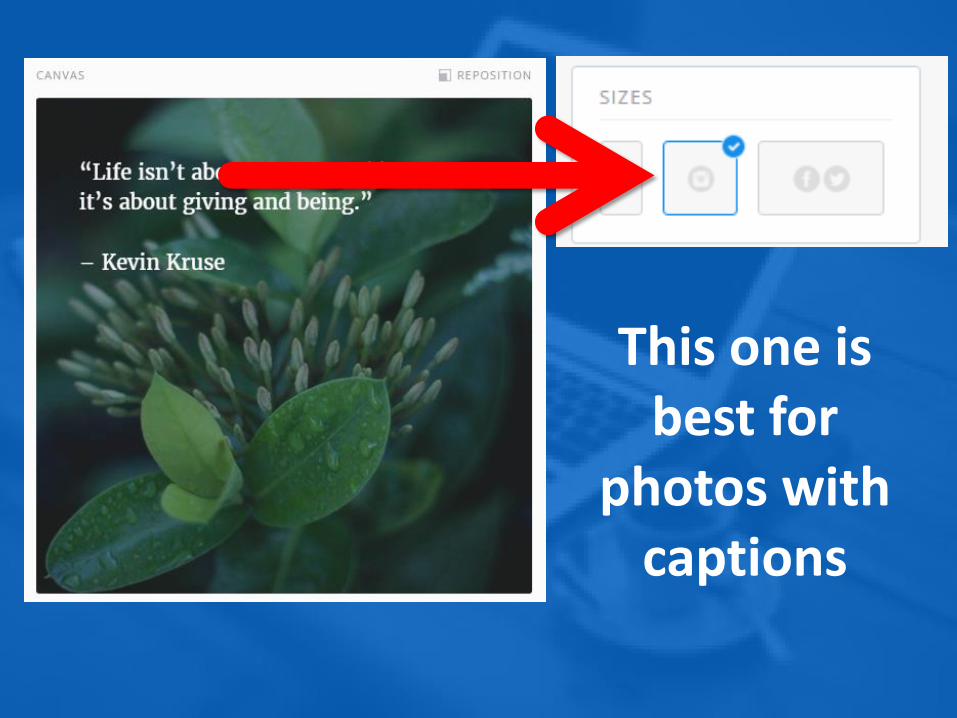
This one is best for
photos with captions
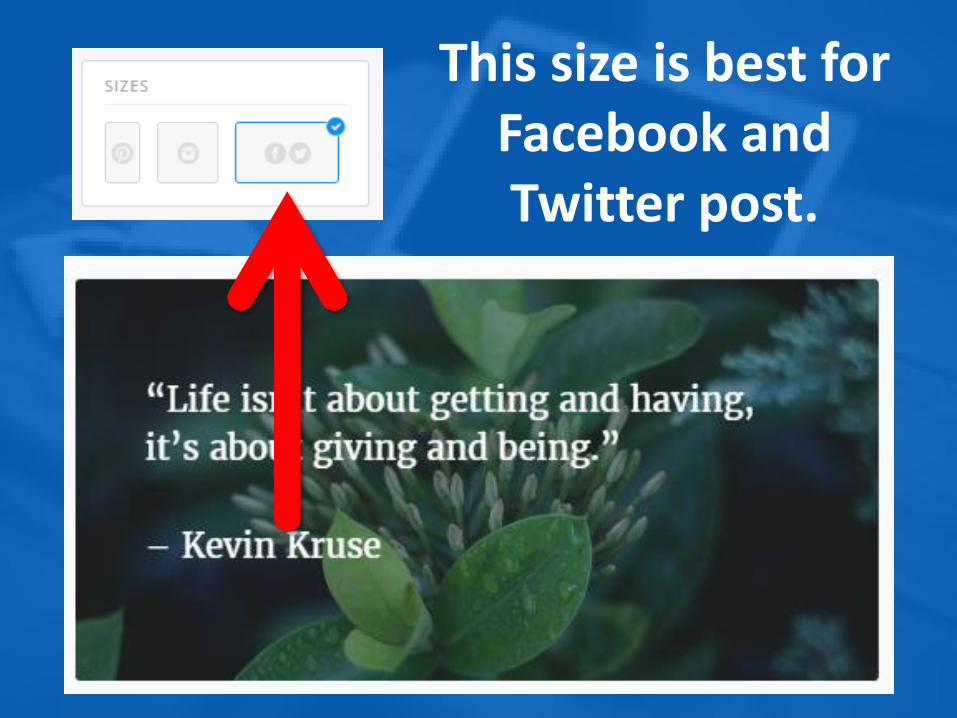
This size is best for Facebook and Twitter post.

Choose from the list of preset
effects to change the appearance of
your image.
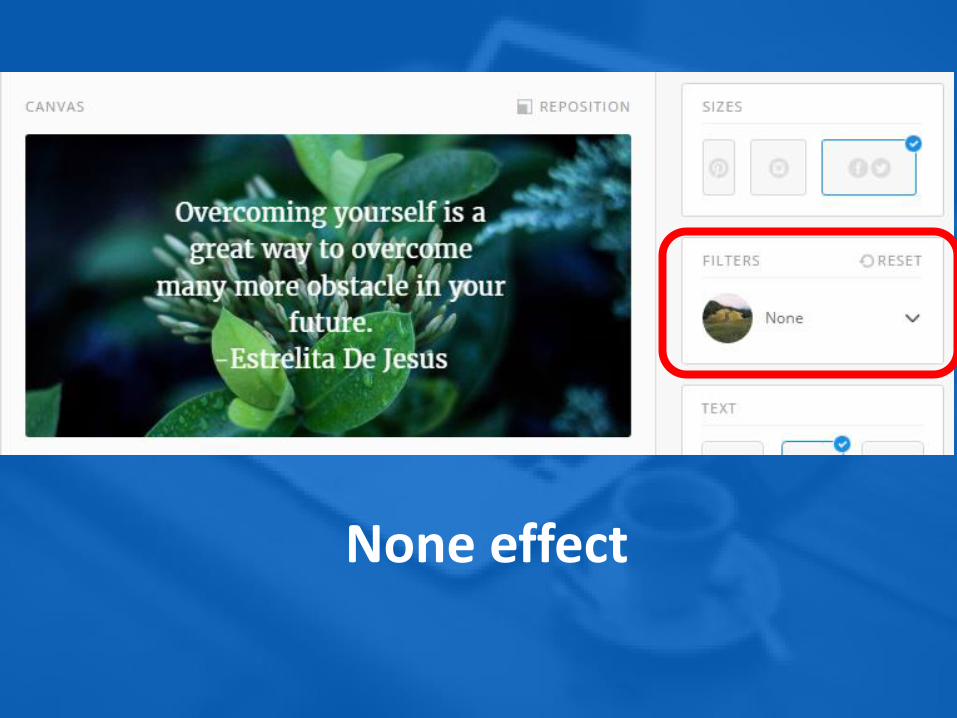
None effect
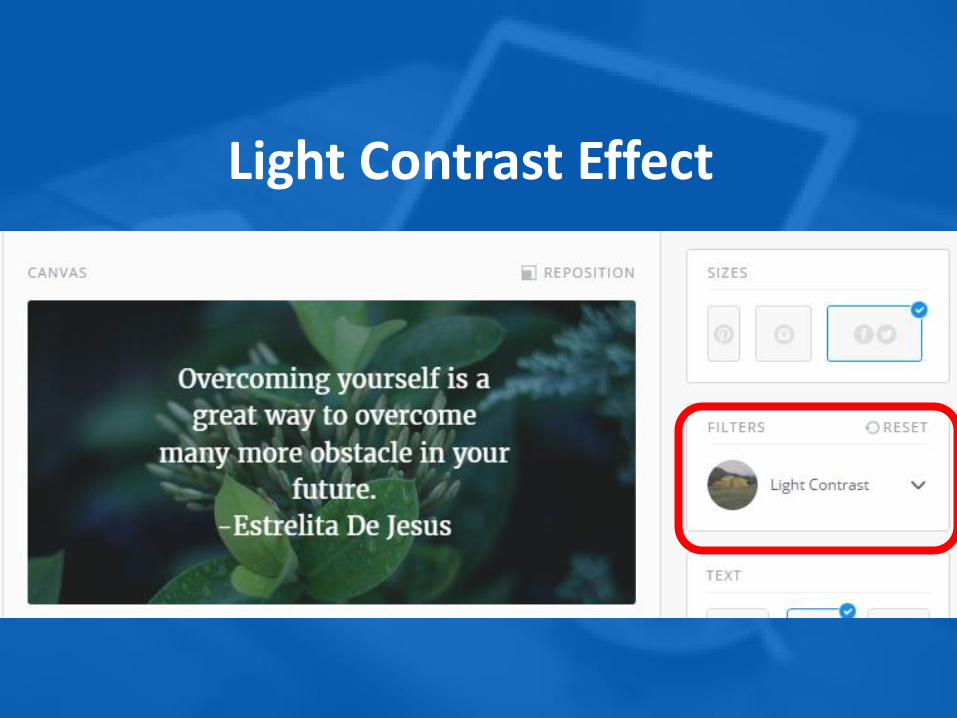
Light Contrast Effect
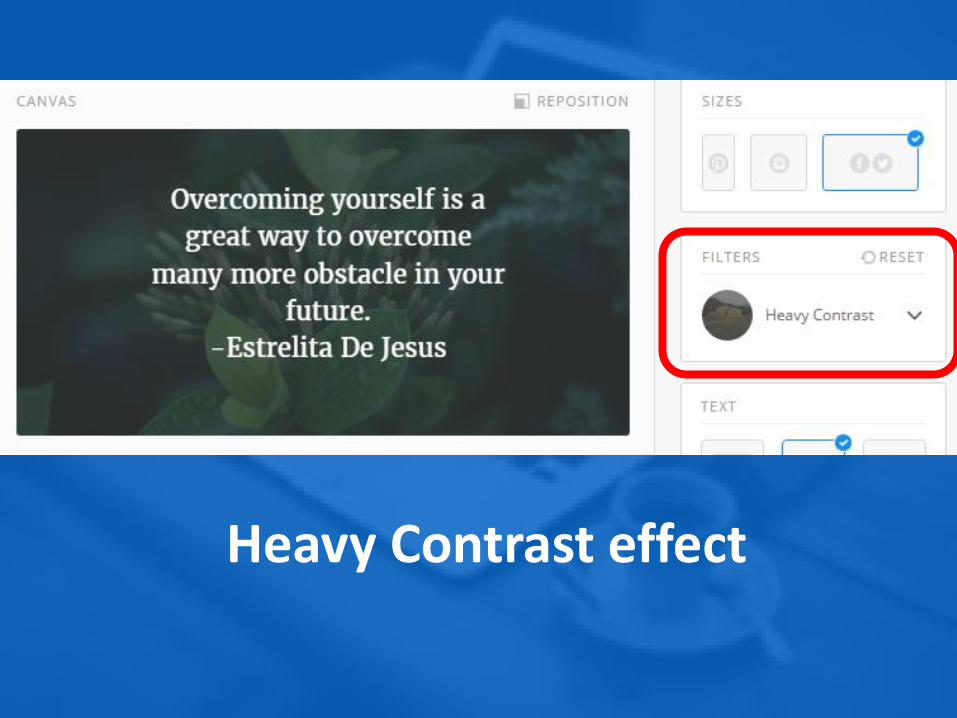
Heavy Contrast effect
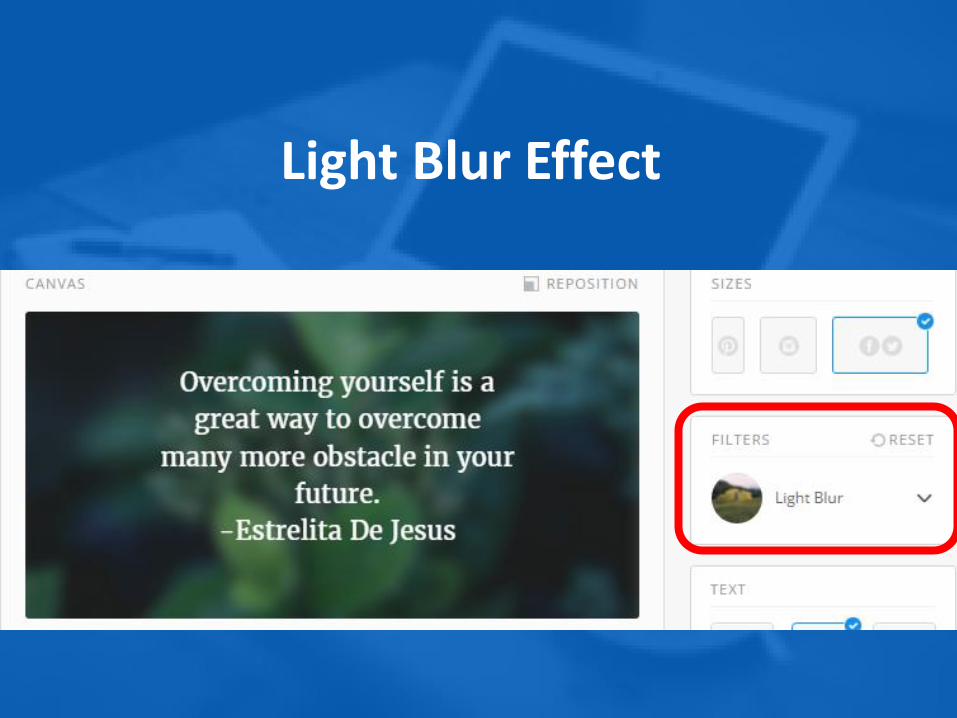
Light Blur Effect
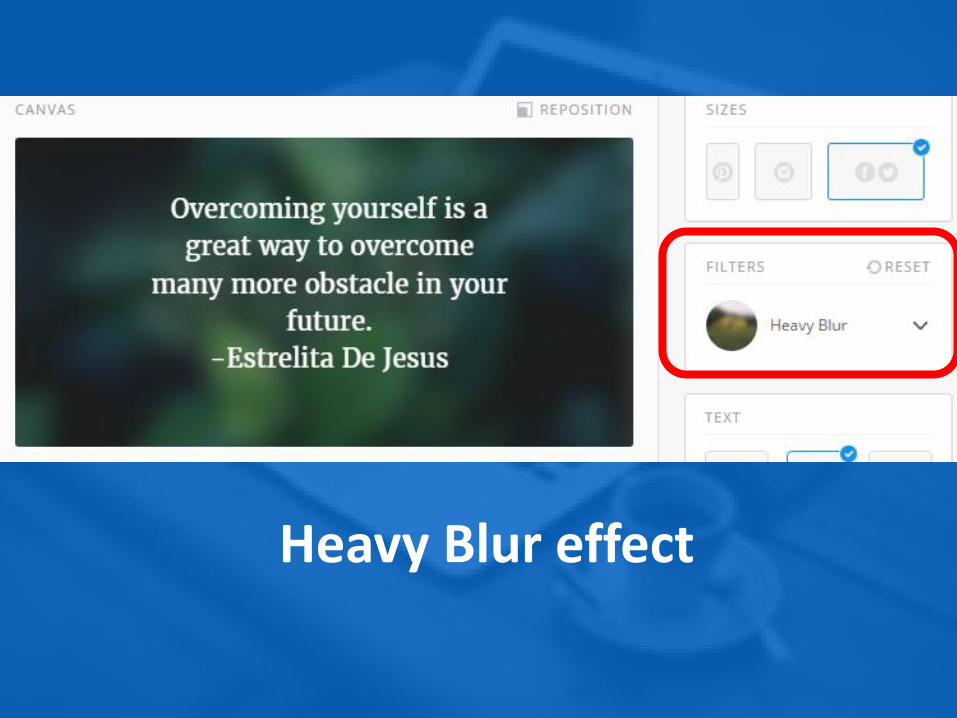
Heavy Blur effect

Grayscale Effect
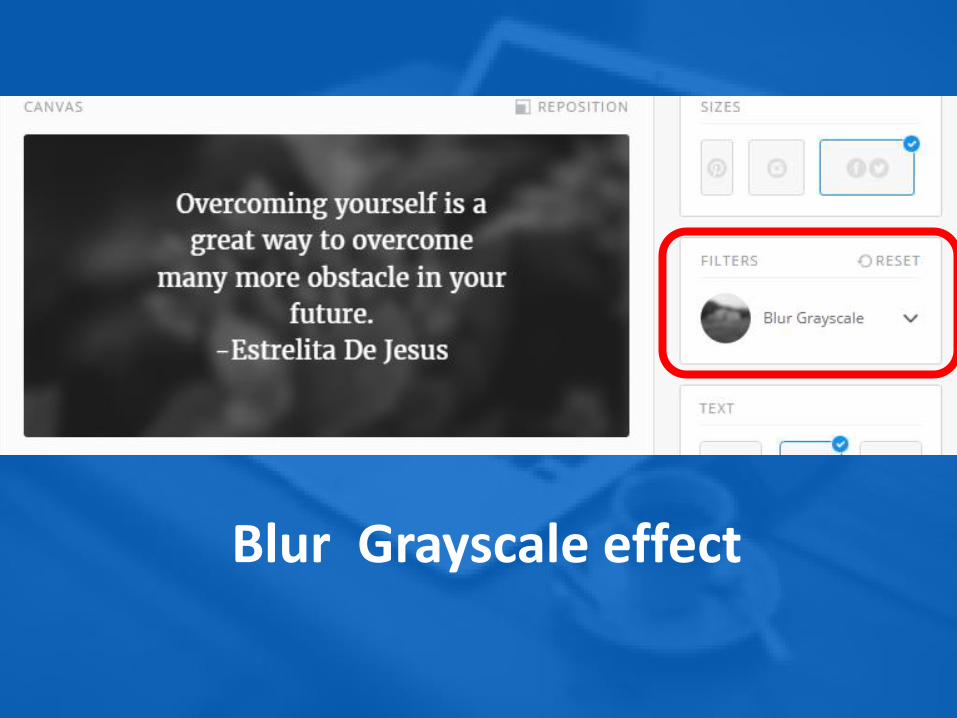
Blur Grayscale effect
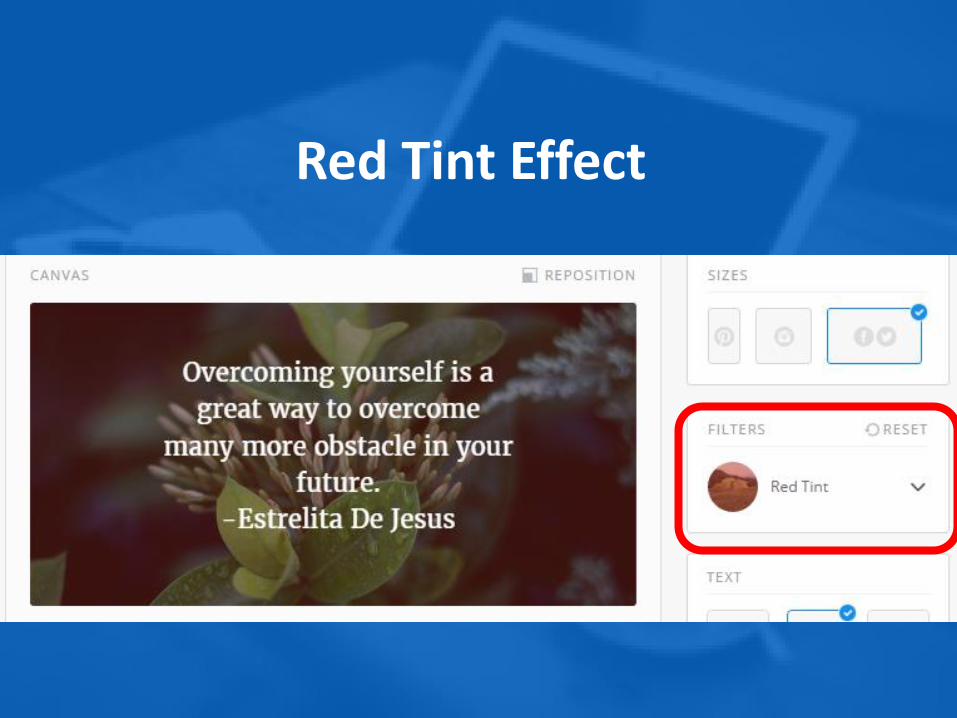
Red Tint Effect
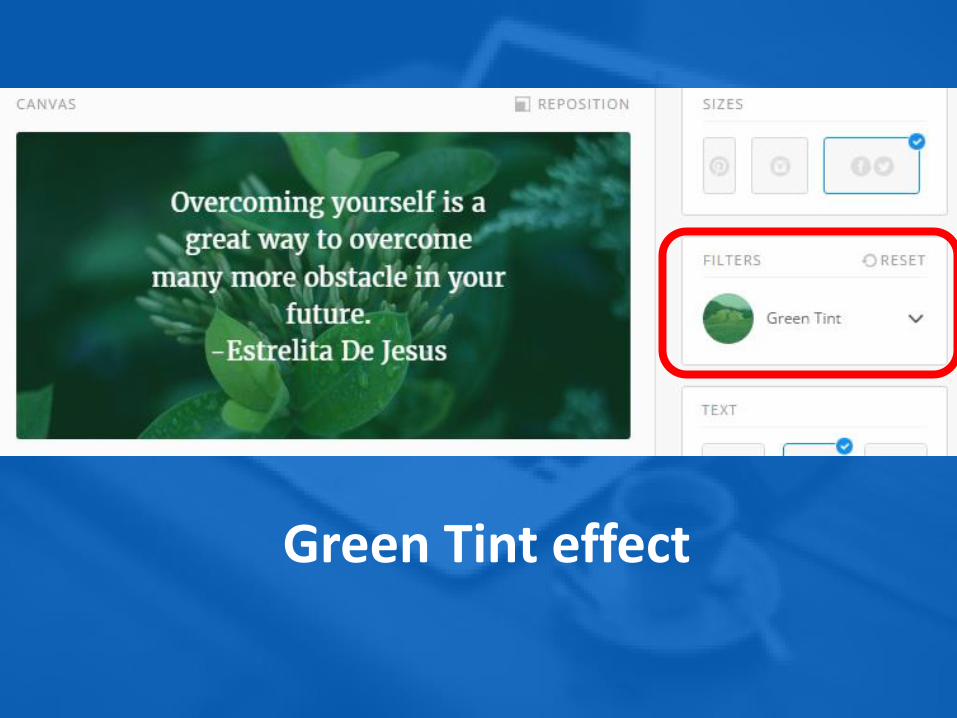
Green Tint effect
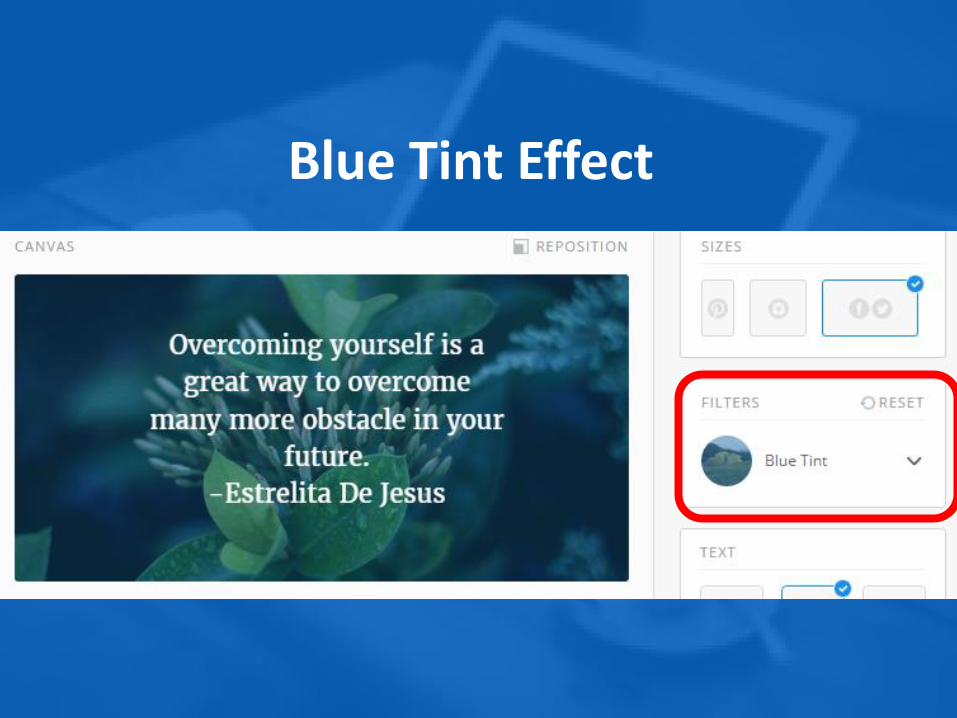
Blue Tint Effect
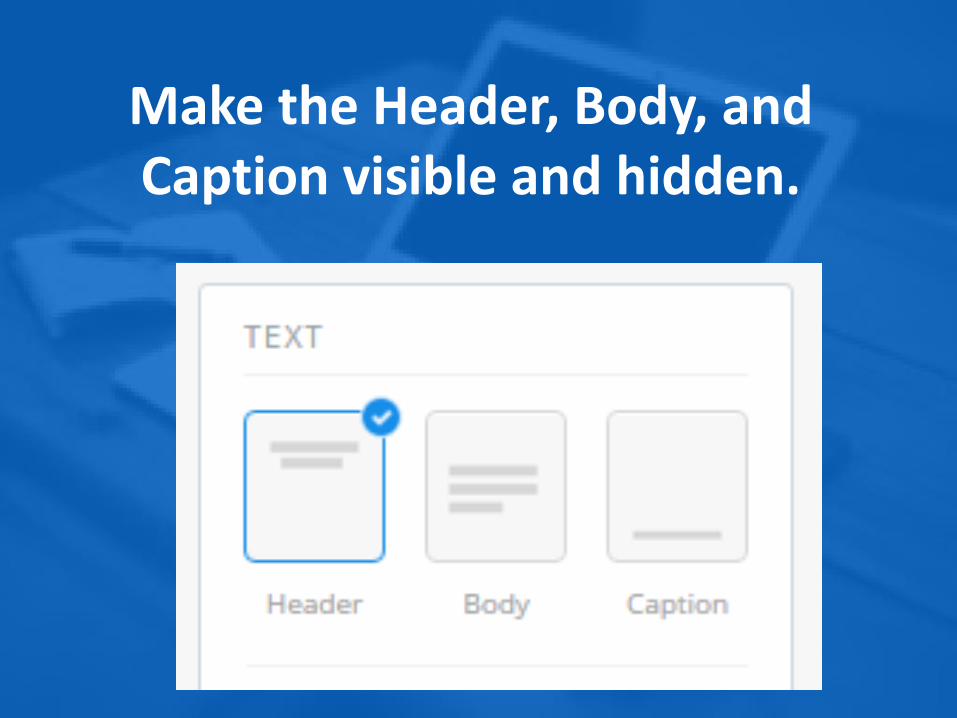
Make the Header, Body, and Caption visible and hidden.
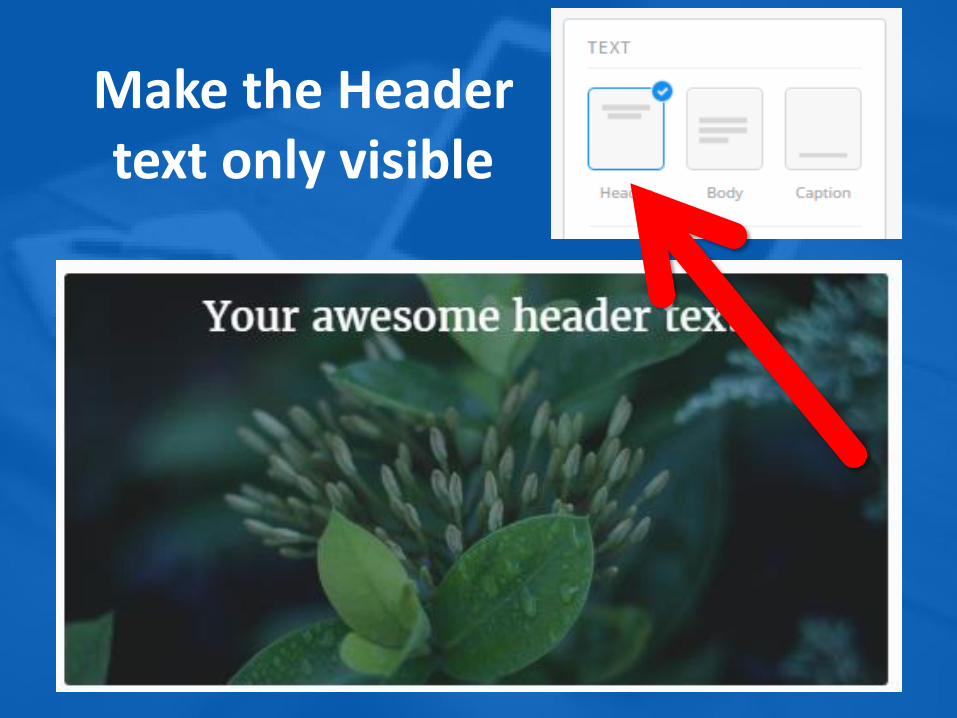
Make the Header text only visible
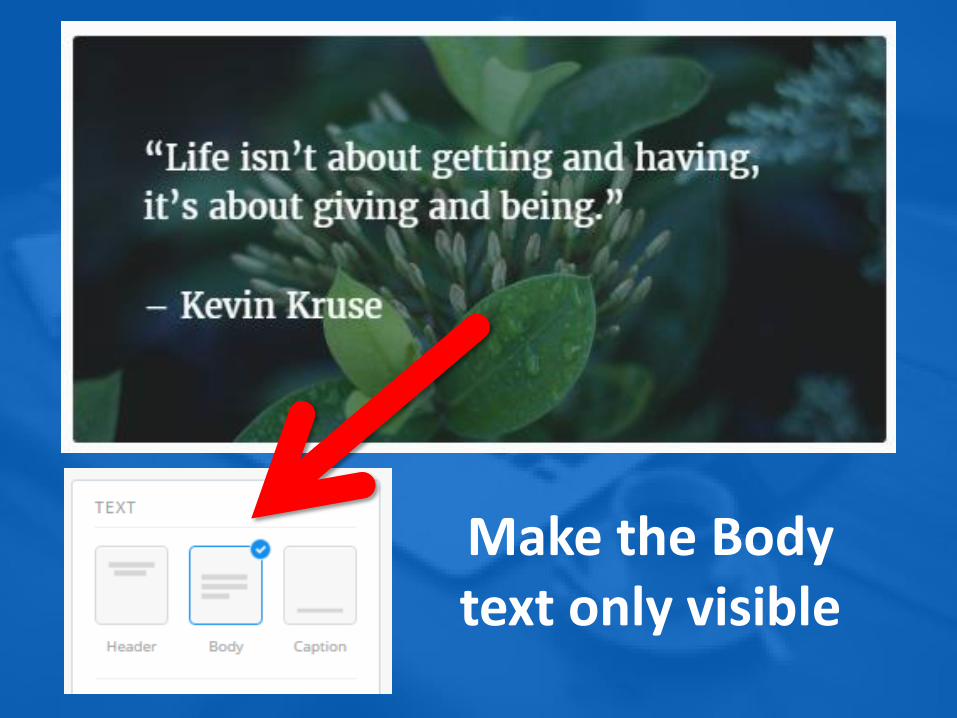
Make the Body text only visible
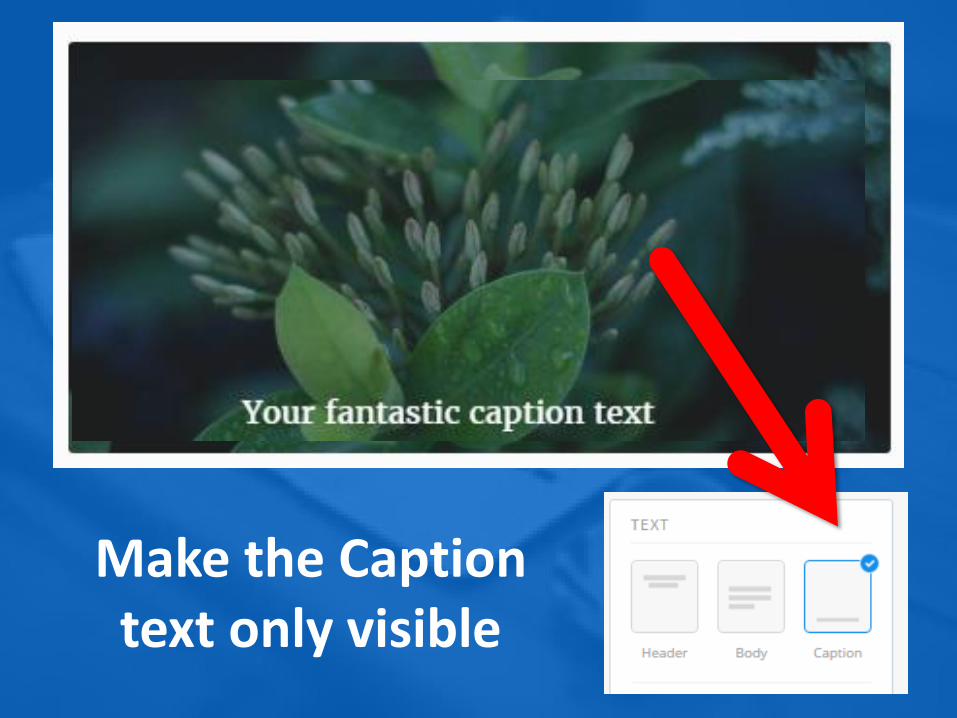
Make the Caption text only visible

Make Header and Body only visible
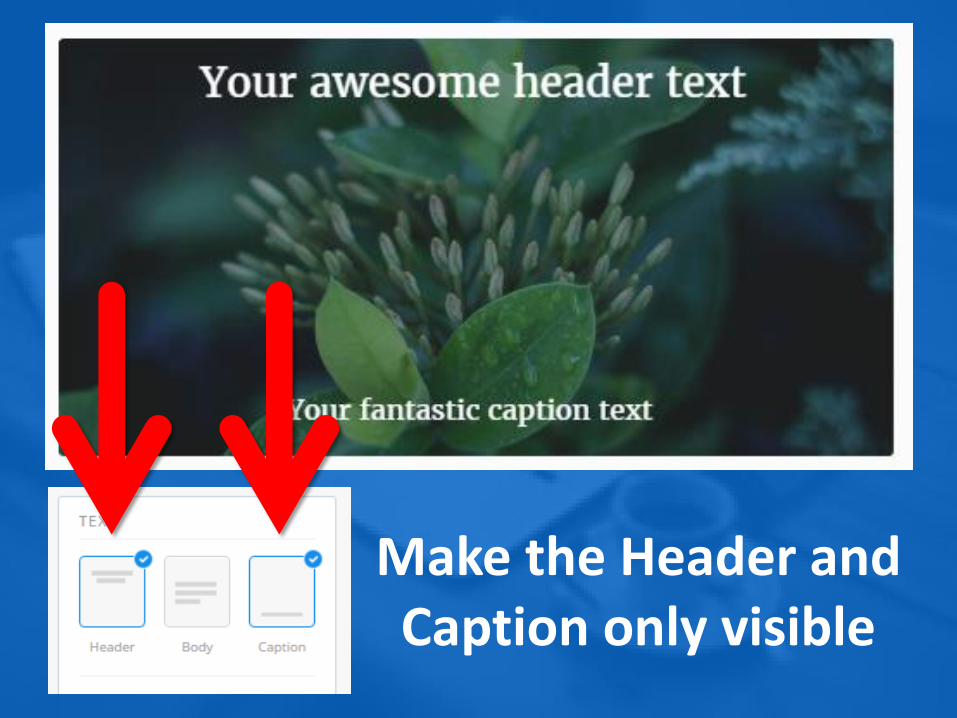
Make the Header and Caption only visible
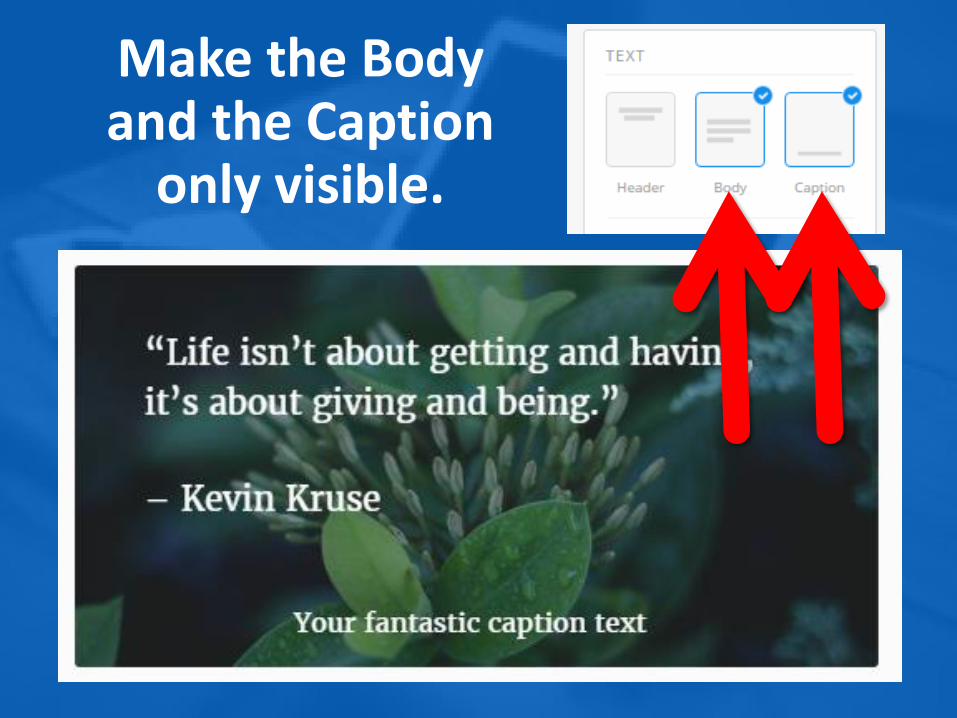
Make the Body and the Caption
only visible.
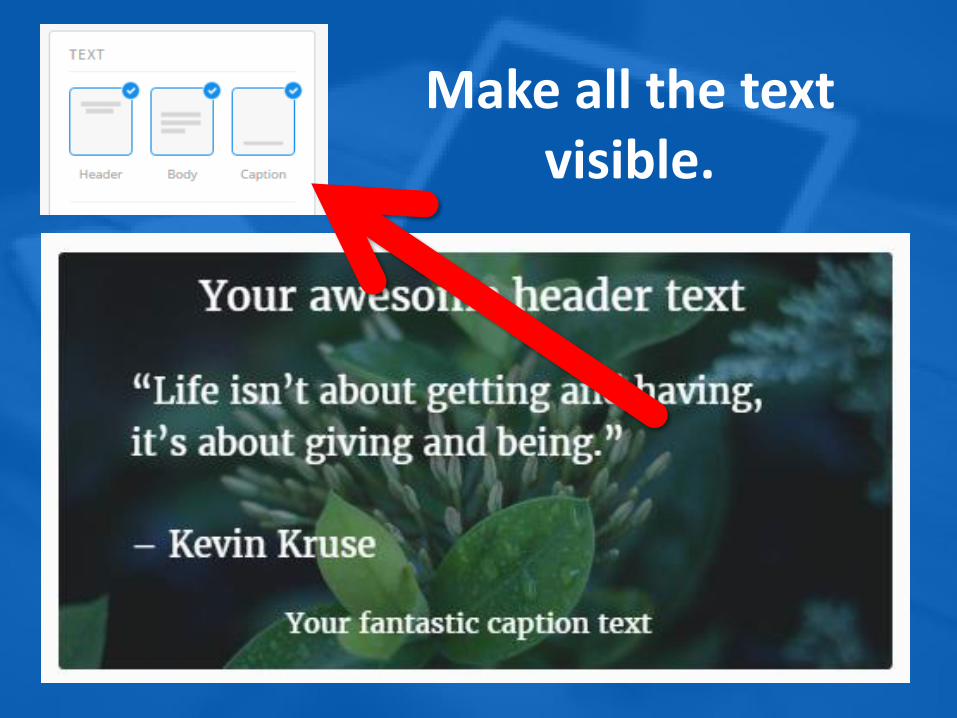
Make all the text visible.
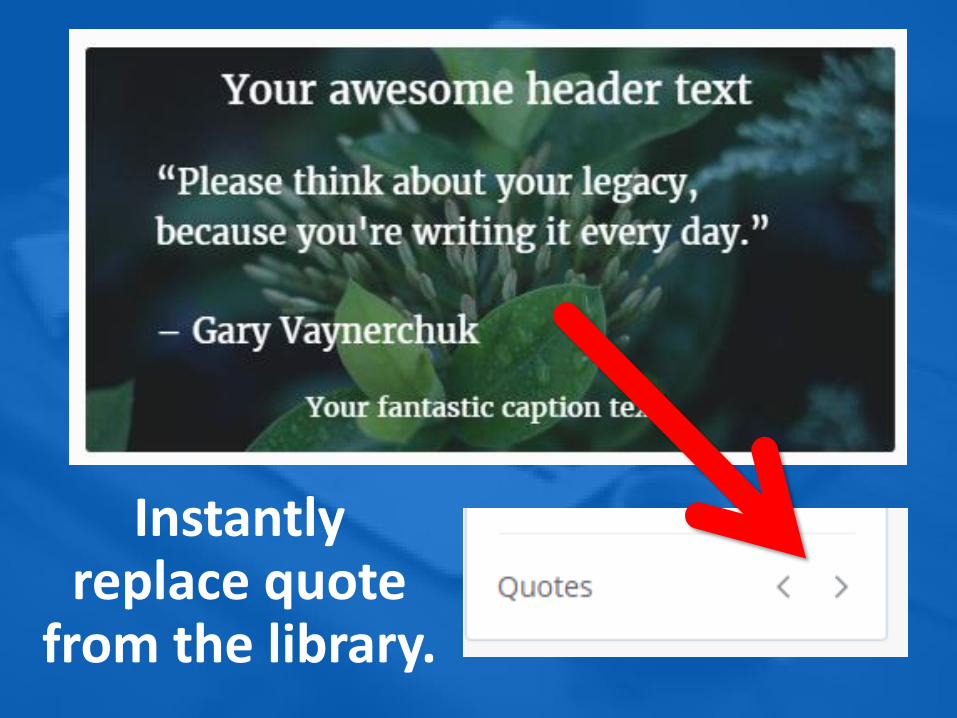
Instantly replace quote
from the library.
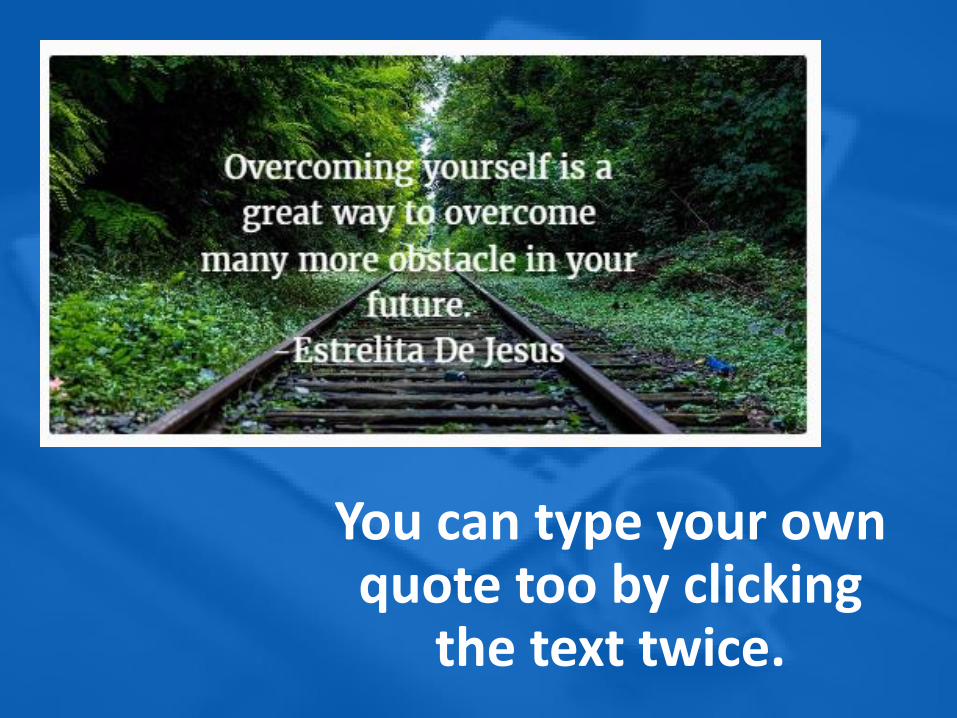
You can type your own quote too by clicking
the text twice.
Add logo to your finish
poster

You can add your company
logo to personalize your post.
Once there, you can move
your logo anywhere.
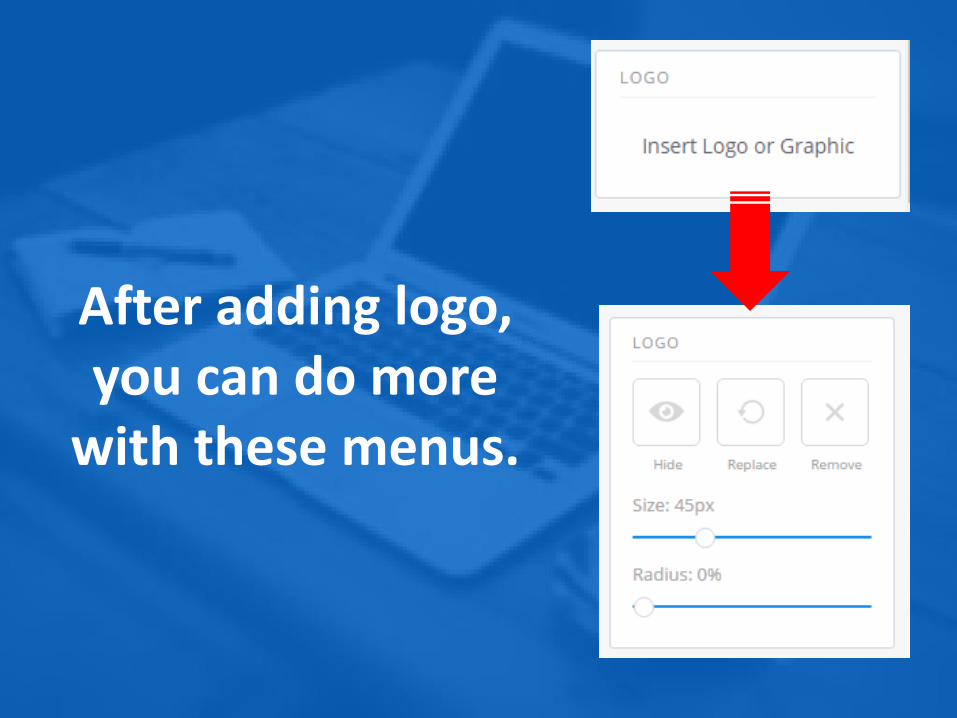
After adding logo, you can do more
with these menus.

You can HIDE, REPLACE, and REMOVE your logo if you
want.
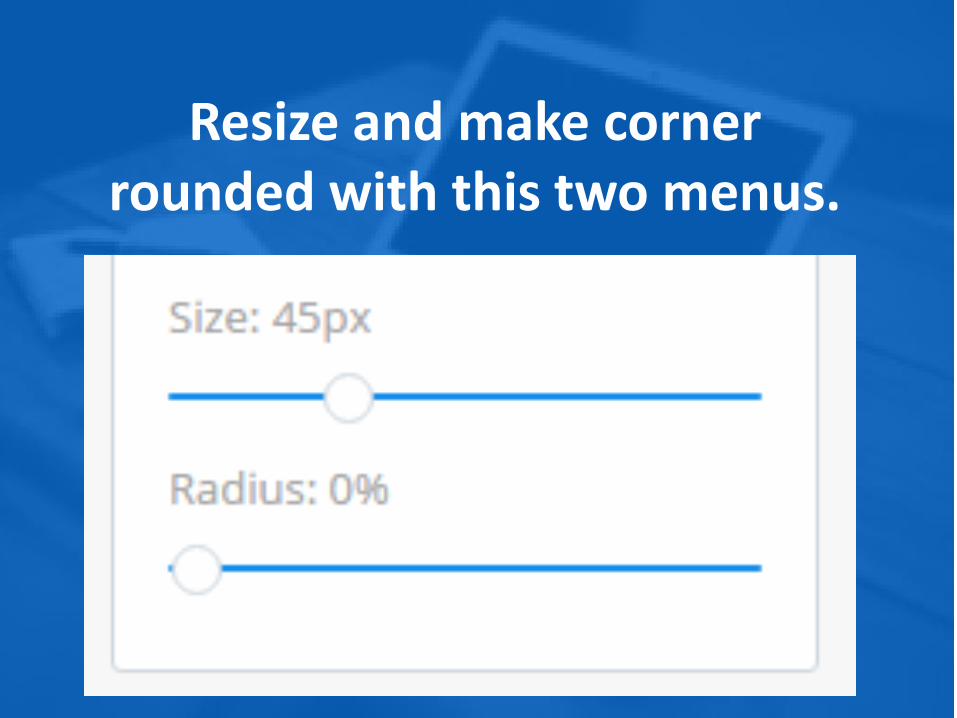
Resize and make corner rounded with this two menus.
Once done, ready to
share and save.
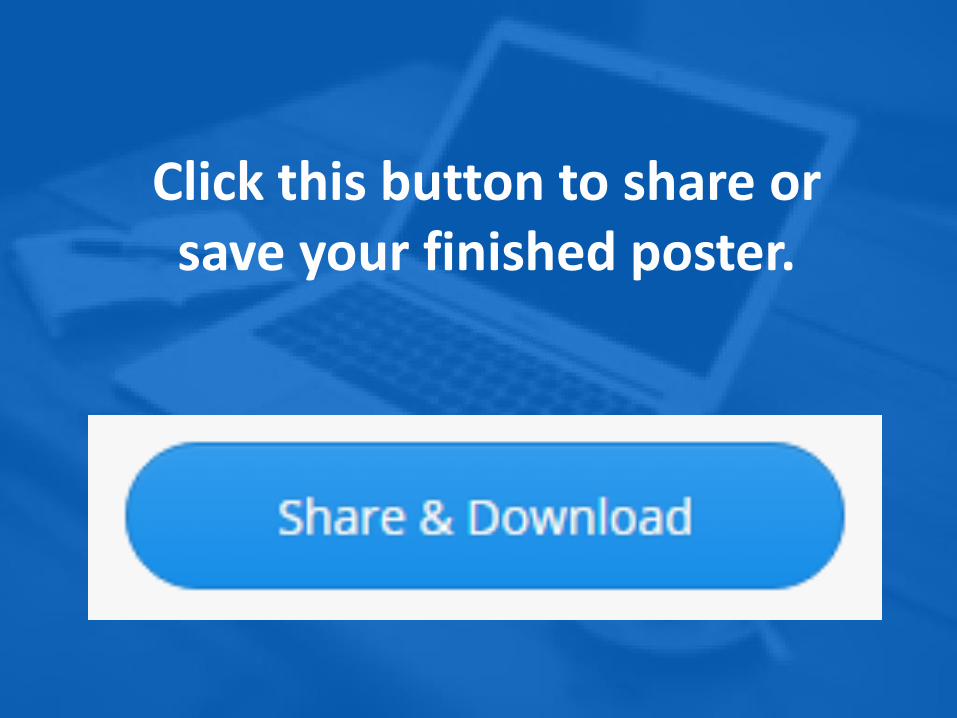
Click this button to share or save your finished poster.
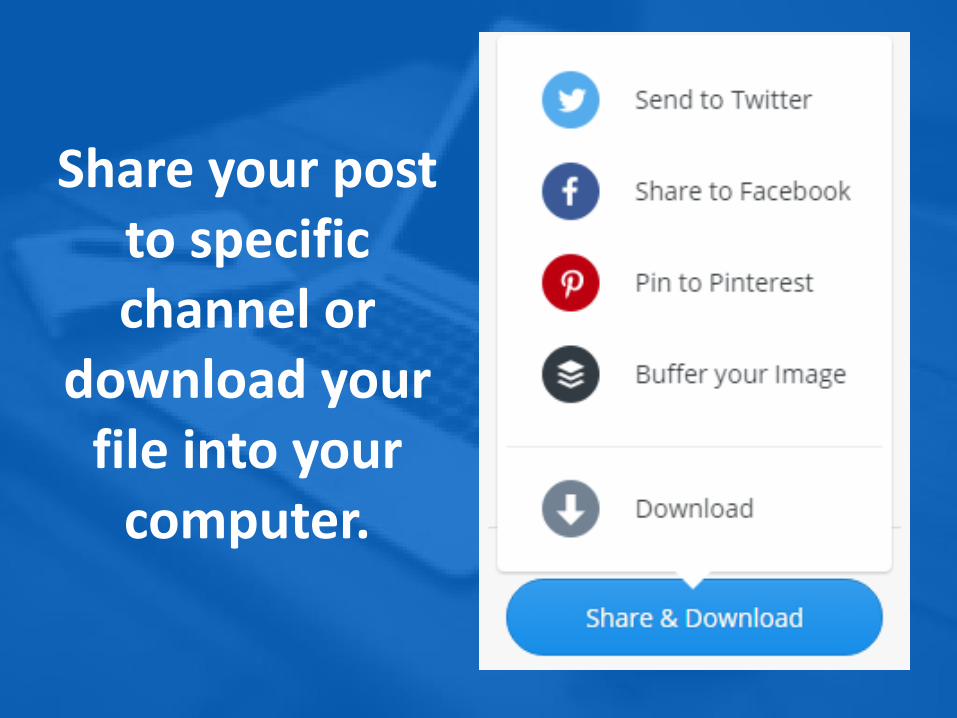
Share your post to specific channel or
download your file into your
computer.
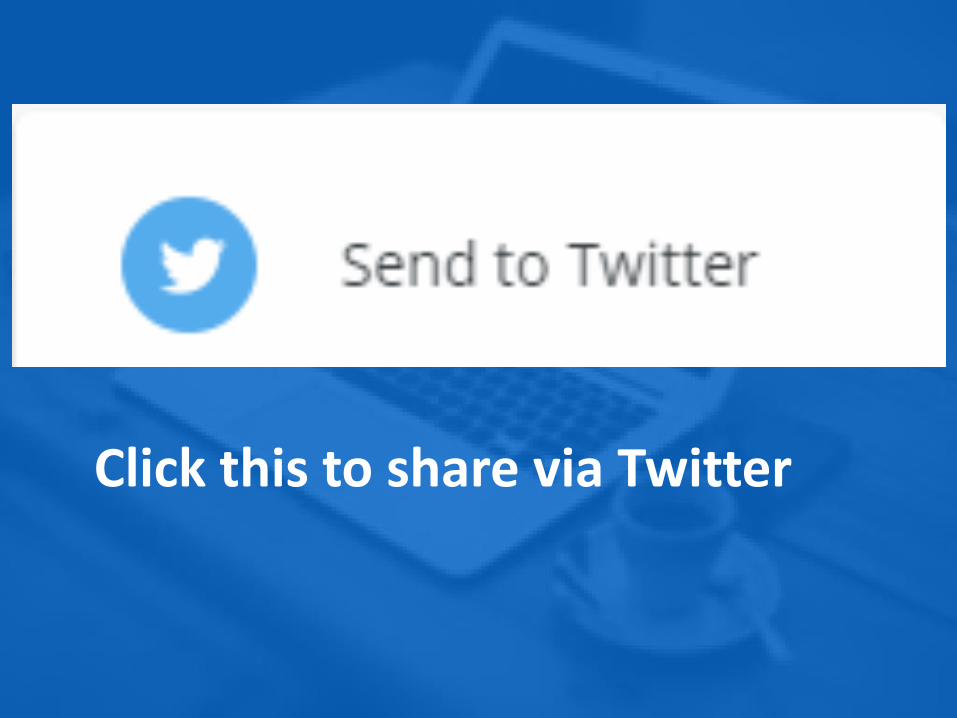
Click this to share via Twitter

Fill the details and its ready to share. See Buffer tutorials for more details.
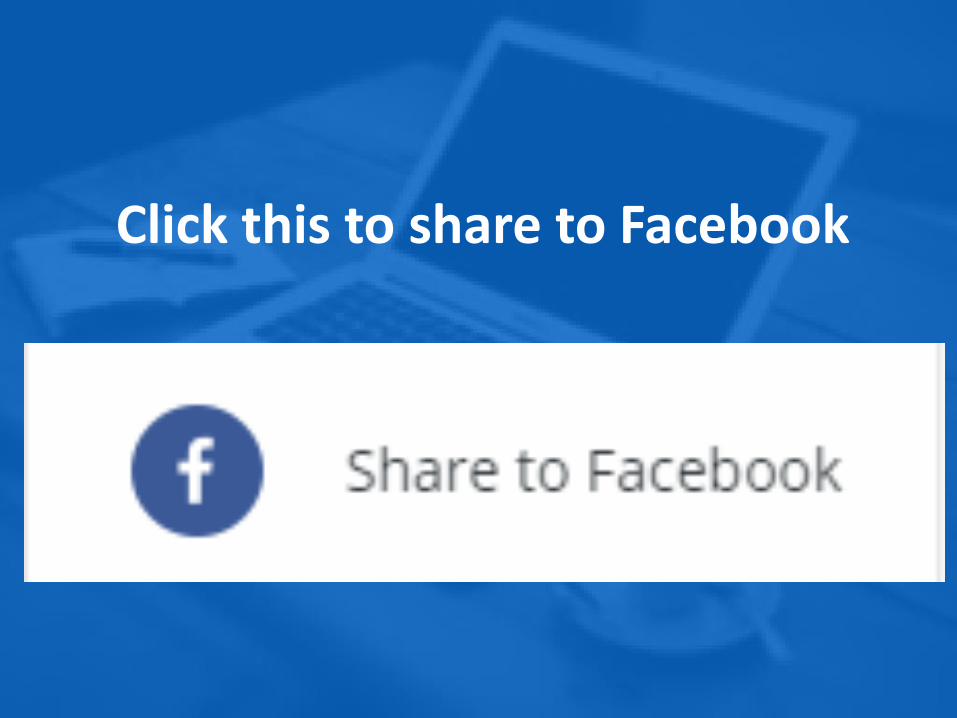
Click this to share to Facebook
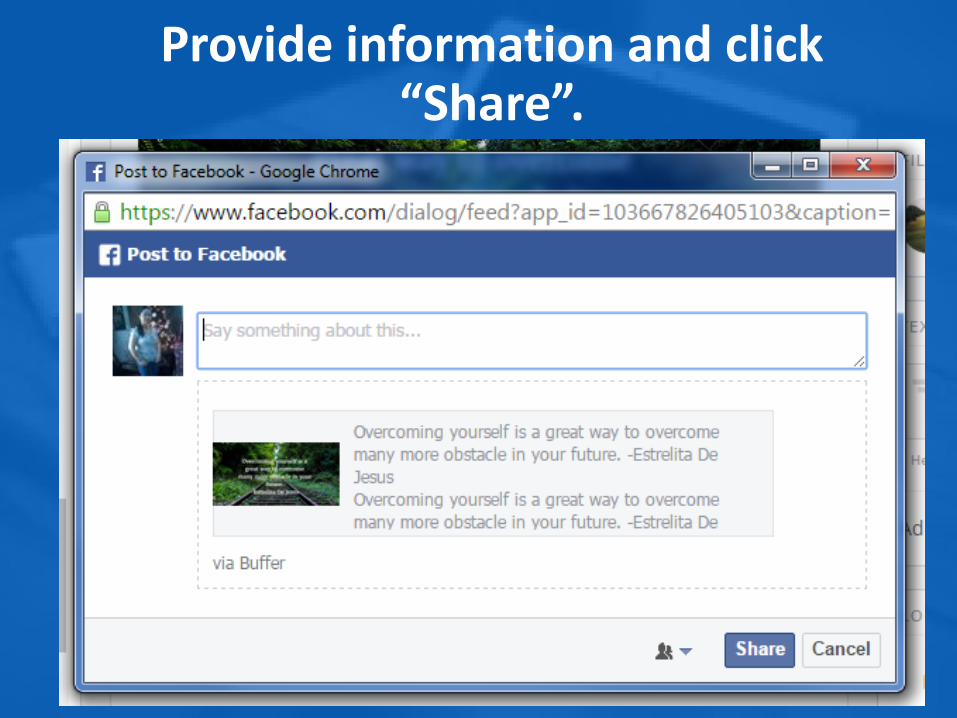
Provide information and click “Share”.

Click this to share to Pinterest
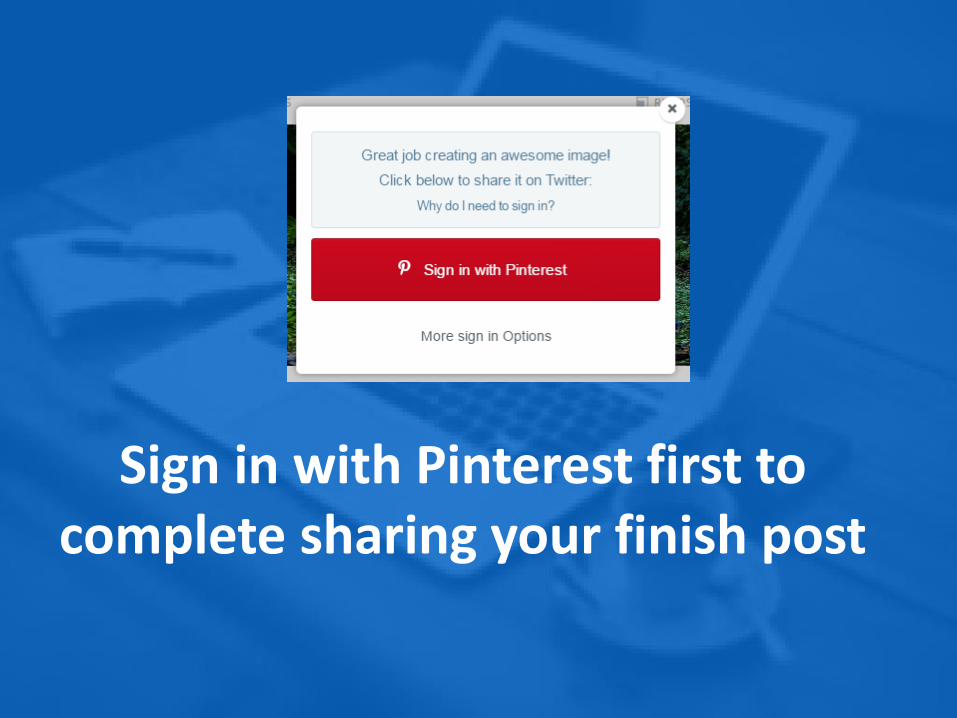
Sign in with Pinterest first to complete sharing your finish post
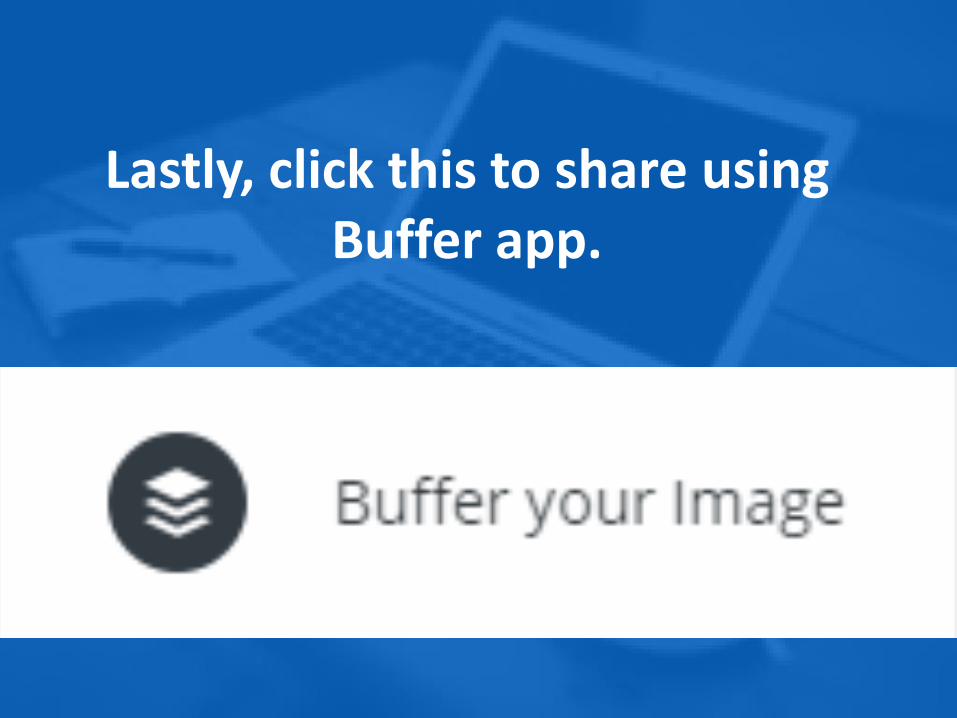
Lastly, click this to share using Buffer app.
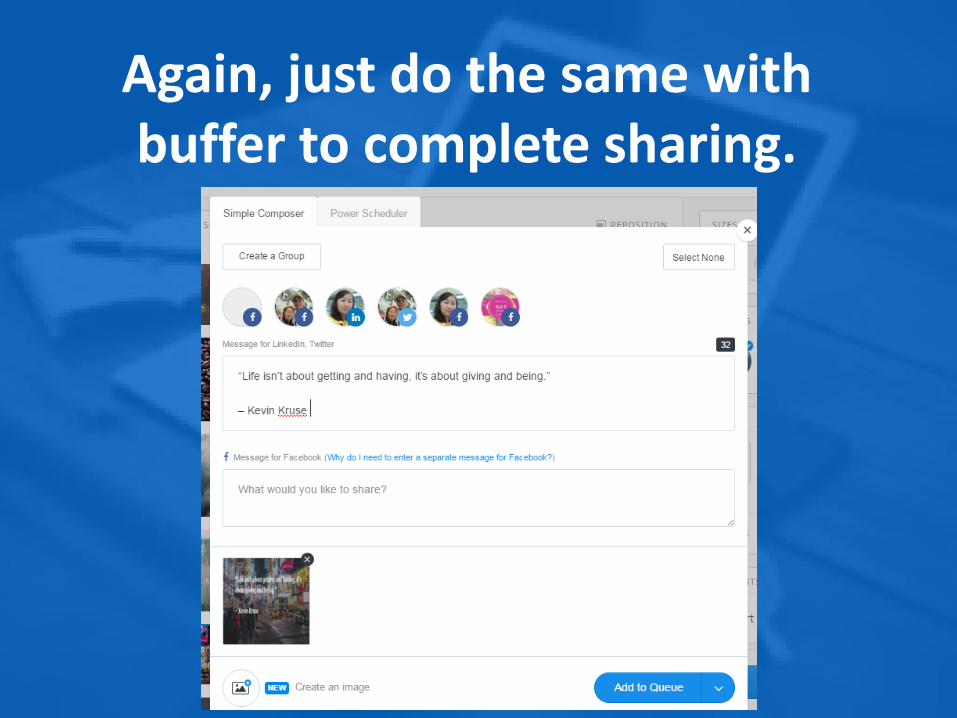
Again, just do the same with buffer to complete sharing.
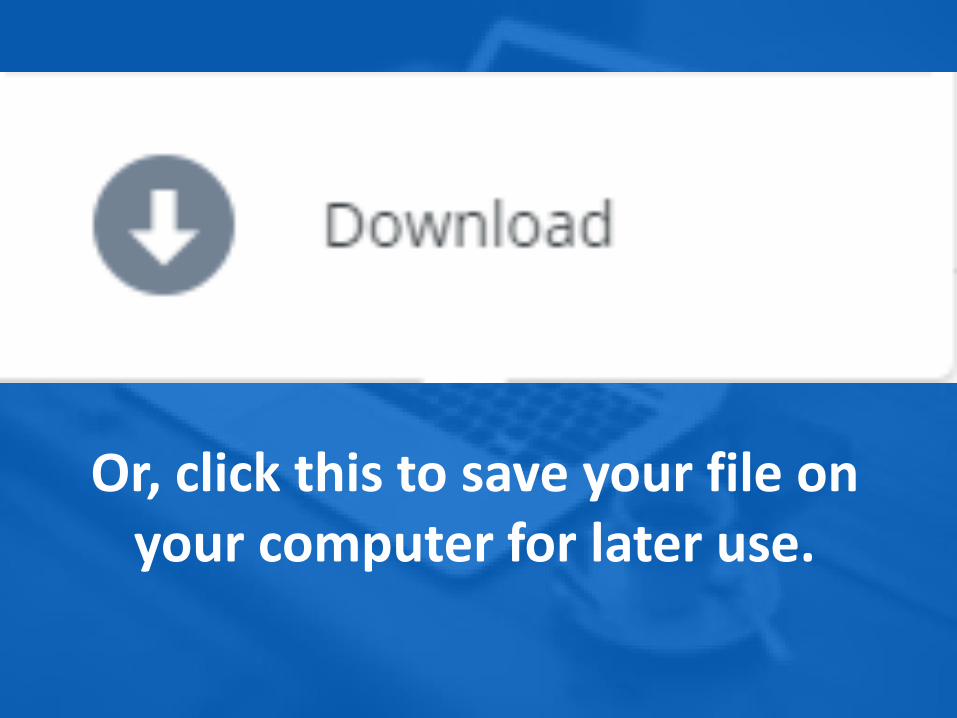
Or, click this to save your file on your computer for later use.

Other Menus are available to
learn more about Pablo and to get technical support.
Thank you!
Visit my site for more tutorials:
http://estreltabdejesus.com


