39
Face Recognition Documentation Release 1.2.3 Adam Geitgey Dec 20, 2018
| Date post: | 18-Dec-2018 |
| Category: |
Documents |
| Upload: | truongtram |
| View: | 224 times |
| Download: | 0 times |

Face Recognition DocumentationRelease 1.2.3
Adam Geitgey
Dec 20, 2018


Contents
1 Face Recognition 31.1 Features . . . . . . . . . . . . . . . . . . . . . . . . . . . . . . . . . . . . . . . . . . . . . . . . . . 31.2 Installation . . . . . . . . . . . . . . . . . . . . . . . . . . . . . . . . . . . . . . . . . . . . . . . . 61.3 Usage . . . . . . . . . . . . . . . . . . . . . . . . . . . . . . . . . . . . . . . . . . . . . . . . . . . 61.4 Python Code Examples . . . . . . . . . . . . . . . . . . . . . . . . . . . . . . . . . . . . . . . . . . 101.5 Caveats . . . . . . . . . . . . . . . . . . . . . . . . . . . . . . . . . . . . . . . . . . . . . . . . . . 111.6 Deployment to Cloud Hosts (Heroku, AWS, etc) . . . . . . . . . . . . . . . . . . . . . . . . . . . . 111.7 Common Issues . . . . . . . . . . . . . . . . . . . . . . . . . . . . . . . . . . . . . . . . . . . . . 121.8 Thanks . . . . . . . . . . . . . . . . . . . . . . . . . . . . . . . . . . . . . . . . . . . . . . . . . . 12
2 Installation 132.1 Stable release . . . . . . . . . . . . . . . . . . . . . . . . . . . . . . . . . . . . . . . . . . . . . . . 132.2 From sources . . . . . . . . . . . . . . . . . . . . . . . . . . . . . . . . . . . . . . . . . . . . . . . 13
3 Usage 15
4 face_recognition 174.1 face_recognition package . . . . . . . . . . . . . . . . . . . . . . . . . . . . . . . . . . . . . . . . 17
5 Contributing 215.1 Types of Contributions . . . . . . . . . . . . . . . . . . . . . . . . . . . . . . . . . . . . . . . . . . 215.2 Get Started! . . . . . . . . . . . . . . . . . . . . . . . . . . . . . . . . . . . . . . . . . . . . . . . . 225.3 Pull Request Guidelines . . . . . . . . . . . . . . . . . . . . . . . . . . . . . . . . . . . . . . . . . 225.4 Tips . . . . . . . . . . . . . . . . . . . . . . . . . . . . . . . . . . . . . . . . . . . . . . . . . . . . 22
6 Authors 256.1 Thanks . . . . . . . . . . . . . . . . . . . . . . . . . . . . . . . . . . . . . . . . . . . . . . . . . . 25
7 History 277.1 1.2.3 (2018-08-21) . . . . . . . . . . . . . . . . . . . . . . . . . . . . . . . . . . . . . . . . . . . . 277.2 1.2.2 (2018-04-02) . . . . . . . . . . . . . . . . . . . . . . . . . . . . . . . . . . . . . . . . . . . . 277.3 1.2.1 (2018-02-01) . . . . . . . . . . . . . . . . . . . . . . . . . . . . . . . . . . . . . . . . . . . . 277.4 1.2.0 (2018-02-01) . . . . . . . . . . . . . . . . . . . . . . . . . . . . . . . . . . . . . . . . . . . . 277.5 1.1.0 (2017-09-23) . . . . . . . . . . . . . . . . . . . . . . . . . . . . . . . . . . . . . . . . . . . . 287.6 1.0.0 (2017-08-29) . . . . . . . . . . . . . . . . . . . . . . . . . . . . . . . . . . . . . . . . . . . . 287.7 0.2.2 (2017-07-07) . . . . . . . . . . . . . . . . . . . . . . . . . . . . . . . . . . . . . . . . . . . . 287.8 0.2.1 (2017-07-03) . . . . . . . . . . . . . . . . . . . . . . . . . . . . . . . . . . . . . . . . . . . . 28
i

7.9 0.2.0 (2017-06-03) . . . . . . . . . . . . . . . . . . . . . . . . . . . . . . . . . . . . . . . . . . . . 287.10 0.1.14 (2017-04-22) . . . . . . . . . . . . . . . . . . . . . . . . . . . . . . . . . . . . . . . . . . . 297.11 0.1.13 (2017-04-20) . . . . . . . . . . . . . . . . . . . . . . . . . . . . . . . . . . . . . . . . . . . 297.12 0.1.12 (2017-04-13) . . . . . . . . . . . . . . . . . . . . . . . . . . . . . . . . . . . . . . . . . . . 297.13 0.1.11 (2017-03-30) . . . . . . . . . . . . . . . . . . . . . . . . . . . . . . . . . . . . . . . . . . . 297.14 0.1.10 (2017-03-21) . . . . . . . . . . . . . . . . . . . . . . . . . . . . . . . . . . . . . . . . . . . 297.15 0.1.9 (2017-03-16) . . . . . . . . . . . . . . . . . . . . . . . . . . . . . . . . . . . . . . . . . . . . 297.16 0.1.8 (2017-03-16) . . . . . . . . . . . . . . . . . . . . . . . . . . . . . . . . . . . . . . . . . . . . 297.17 0.1.7 (2017-03-13) . . . . . . . . . . . . . . . . . . . . . . . . . . . . . . . . . . . . . . . . . . . . 29
8 Indices and tables 31
Python Module Index 33
ii

Face Recognition Documentation, Release 1.2.3
Contents:
Contents 1

Face Recognition Documentation, Release 1.2.3
2 Contents
CHAPTER 1
Face Recognition
Recognize and manipulate faces from Python or from the command line withthe world’s simplest face recognition library.
Built using dlib’s state-of-the-art face recognitionbuilt with deep learning. The model has an accuracy of 99.38% on theLabeled Faces in the Wild benchmark.
This also provides a simple face_recognition command line tool that letsyou do face recognition on a folder of images from the command line!
1.1 Features
1.1.1 Find faces in pictures
Find all the faces that appear in a picture:
3

Face Recognition Documentation, Release 1.2.3
import face_recognitionimage = face_recognition.load_image_file("your_file.jpg")face_locations = face_recognition.face_locations(image)
1.1.2 Find and manipulate facial features in pictures
Get the locations and outlines of each person’s eyes, nose, mouth and chin.
import face_recognitionimage = face_recognition.load_image_file("your_file.jpg")face_landmarks_list = face_recognition.face_landmarks(image)
Finding facial features is super useful for lots of important stuff. But you can also use for really stupid stufflike applying digital make-up (think ‘Meitu’):
4 Chapter 1. Face Recognition
Face Recognition Documentation, Release 1.2.3
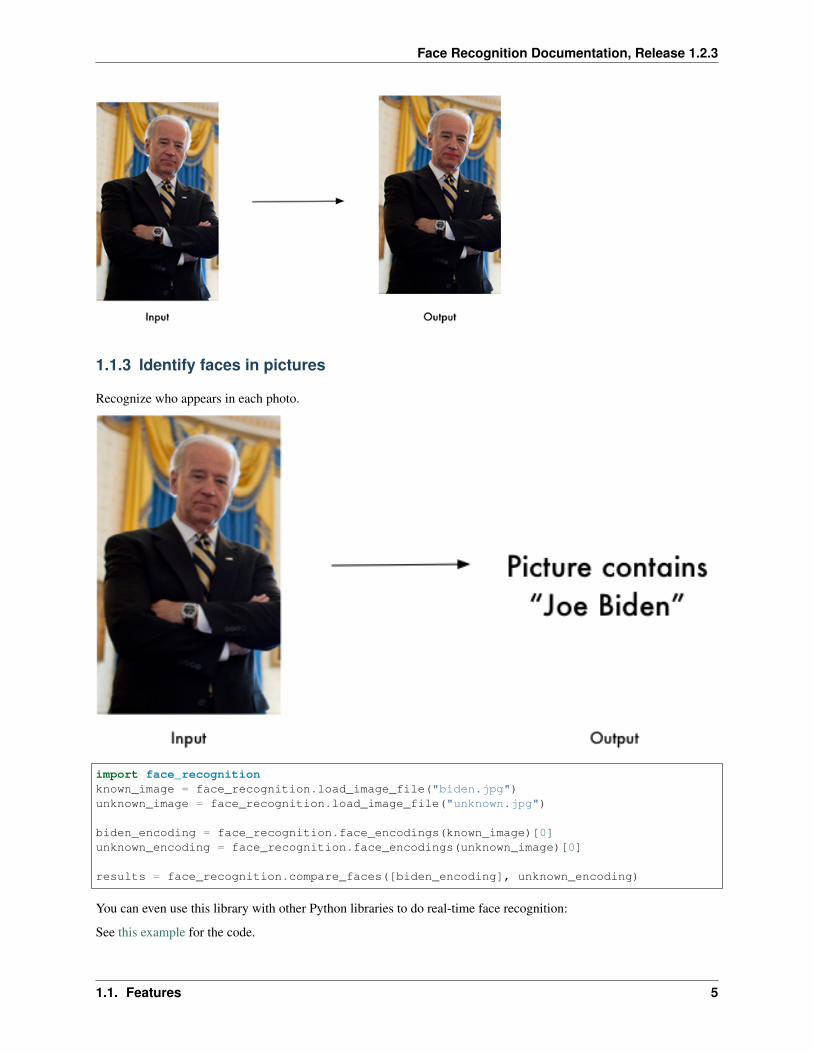
1.1.3 Identify faces in pictures
Recognize who appears in each photo.
import face_recognitionknown_image = face_recognition.load_image_file("biden.jpg")unknown_image = face_recognition.load_image_file("unknown.jpg")
biden_encoding = face_recognition.face_encodings(known_image)[0]unknown_encoding = face_recognition.face_encodings(unknown_image)[0]
results = face_recognition.compare_faces([biden_encoding], unknown_encoding)
You can even use this library with other Python libraries to do real-time face recognition:
See this example for the code.
1.1. Features 5

Face Recognition Documentation, Release 1.2.3
1.2 Installation
1.2.1 Requirements
• Python 3.3+ or Python 2.7
• macOS or Linux (Windows not officially supported, but might work)
1.2.2 Installing on Mac or Linux
First, make sure you have dlib already installed with Python bindings:
• How to install dlib from source on macOS or Ubuntu
Then, install this module from pypi using pip3 (or pip2 for Python 2):
pip3 install face_recognition
If you are having trouble with installation, you can also try out apre-configured VM.
1.2.3 Installing on Raspberry Pi 2+
• Raspberry Pi 2+ installation instructions
1.2.4 Installing on Windows
While Windows isn’t officially supported, helpful users have posted instructions on how to install this library:
• @masoudr’s Windows 10 installation guide (dlib + face_recognition)
1.2.5 Installing a pre-configured Virtual Machine image
• Download the pre-configured VM image (for VMware Player or VirtualBox).
1.3 Usage
1.3.1 Command-Line Interface
When you install face_recognition, you get a simple command-line programcalled face_recognition that you can use to recognize faces in aphotograph or folder full for photographs.
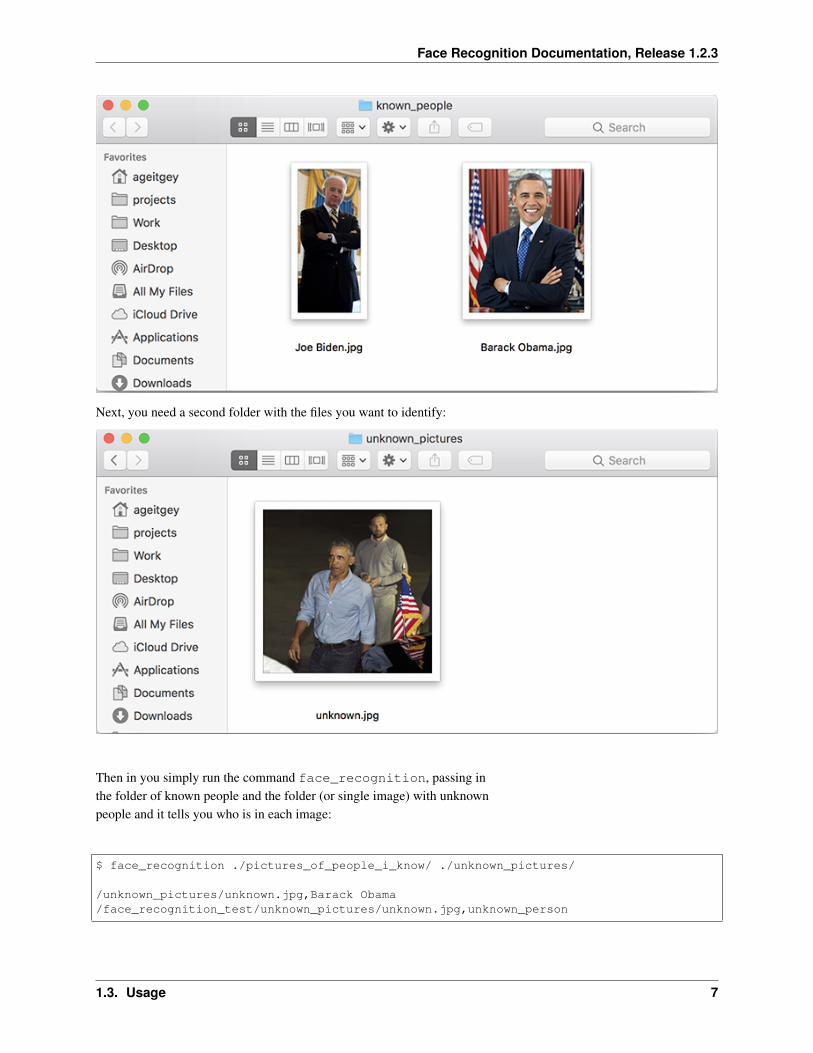
First, you need to provide a folder with one picture of each person youalready know. There should be one image file for each person with thefiles named according to who is in the picture:
6 Chapter 1. Face Recognition
Face Recognition Documentation, Release 1.2.3
Next, you need a second folder with the files you want to identify:
Then in you simply run the command face_recognition, passing inthe folder of known people and the folder (or single image) with unknownpeople and it tells you who is in each image:
$ face_recognition ./pictures_of_people_i_know/ ./unknown_pictures/
/unknown_pictures/unknown.jpg,Barack Obama/face_recognition_test/unknown_pictures/unknown.jpg,unknown_person
1.3. Usage 7
Face Recognition Documentation, Release 1.2.3
There’s one line in the output for each face. The data is comma-separatedwith the filename and the name of the person found.
An unknown_person is a face in the image that didn’t match anyone inyour folder of known people.
Adjusting Tolerance / Sensitivity
If you are getting multiple matches for the same person, it might be thatthe people in your photos look very similar and a lower tolerance valueis needed to make face comparisons more strict.
You can do that with the --tolerance parameter. The default tolerancevalue is 0.6 and lower numbers make face comparisons more strict:
$ face_recognition --tolerance 0.54 ./pictures_of_people_i_know/ ./unknown_pictures/
/unknown_pictures/unknown.jpg,Barack Obama/face_recognition_test/unknown_pictures/unknown.jpg,unknown_person
If you want to see the face distance calculated for each match in orderto adjust the tolerance setting, you can use --show-distance true:
$ face_recognition --show-distance true ./pictures_of_people_i_know/ ./unknown_→˓pictures/
/unknown_pictures/unknown.jpg,Barack Obama,0.378542298956785/face_recognition_test/unknown_pictures/unknown.jpg,unknown_person,None
More Examples
If you simply want to know the names of the people in each photograph but don’tcare about file names, you could do this:
$ face_recognition ./pictures_of_people_i_know/ ./unknown_pictures/ | cut -d ',' -f2
Barack Obamaunknown_person
Speeding up Face Recognition
Face recognition can be done in parallel if you have a computer withmultiple CPU cores. For example if your system has 4 CPU cores, you can
8 Chapter 1. Face Recognition

Face Recognition Documentation, Release 1.2.3
process about 4 times as many images in the same amount of time by usingall your CPU cores in parallel.
If you are using Python 3.4 or newer, pass in a --cpus <number_of_cpu_cores_to_use> parameter:
$ face_recognition --cpus 4 ./pictures_of_people_i_know/ ./unknown_pictures/
You can also pass in --cpus -1 to use all CPU cores in your system.
1.3.2 Python Module
You can import the face_recognition module and then easily manipulatefaces with just a couple of lines of code. It’s super easy!
API Docs: https://face-recognition.readthedocs.io.
Automatically find all the faces in an image
import face_recognition
image = face_recognition.load_image_file("my_picture.jpg")face_locations = face_recognition.face_locations(image)
# face_locations is now an array listing the co-ordinates of each face!
See this exampleto try it out.
You can also opt-in to a somewhat more accurate deep-learning-based face detection model.
Note: GPU acceleration (via nvidia’s CUDA library) is required for goodperformance with this model. You’ll also want to enable CUDA supportwhen compliling dlib.
import face_recognition
image = face_recognition.load_image_file("my_picture.jpg")face_locations = face_recognition.face_locations(image, model="cnn")
# face_locations is now an array listing the co-ordinates of each face!
See this exampleto try it out.
1.3. Usage 9

Face Recognition Documentation, Release 1.2.3
If you have a lot of images and a GPU, you can alsofind faces in batches.
Automatically locate the facial features of a person in an image
import face_recognition
image = face_recognition.load_image_file("my_picture.jpg")face_landmarks_list = face_recognition.face_landmarks(image)
# face_landmarks_list is now an array with the locations of each facial feature in→˓each face.# face_landmarks_list[0]['left_eye'] would be the location and outline of the first→˓person's left eye.
See this exampleto try it out.
Recognize faces in images and identify who they are
import face_recognition
picture_of_me = face_recognition.load_image_file("me.jpg")my_face_encoding = face_recognition.face_encodings(picture_of_me)[0]
# my_face_encoding now contains a universal 'encoding' of my facial features that can→˓be compared to any other picture of a face!
unknown_picture = face_recognition.load_image_file("unknown.jpg")unknown_face_encoding = face_recognition.face_encodings(unknown_picture)[0]
# Now we can see the two face encodings are of the same person with `compare_faces`!
results = face_recognition.compare_faces([my_face_encoding], unknown_face_encoding)
if results[0] == True:print("It's a picture of me!")
else:print("It's not a picture of me!")
See this exampleto try it out.
1.4 Python Code Examples
All the examples are available here.
10 Chapter 1. Face Recognition

Face Recognition Documentation, Release 1.2.3
1.4.1 Face Detection
• Find faces in a photograph
• Find faces in a photograph (using deep learning)
• Find faces in batches of images w/ GPU (using deep learning)
1.4.2 Facial Features
• Identify specific facial features in a photograph
• Apply (horribly ugly) digital make-up
1.4.3 Facial Recognition
• Find and recognize unknown faces in a photograph based on photographs of known people
• Compare faces by numeric face distance instead of only True/False matches
• Recognize faces in live video using your webcam - Simple / Slower Version (Requires OpenCV to be installed)
• Recognize faces in live video using your webcam - Faster Version (Requires OpenCV to be installed)
• Recognize faces in a video file and write out new video file (Requires OpenCV to be installed)
• Recognize faces on a Raspberry Pi w/ camera
• Run a web service to recognize faces via HTTP (Requires Flask to be installed)
• Recognize faces with a K-nearest neighbors classifier
How Face Recognition Works
If you want to learn how face location and recognition work instead ofdepending on a black box library, read my article.
1.5 Caveats
• The face recognition model is trained on adults and does not work very well on children. It tends to mix upchildren quite easy using the default comparison threshold of 0.6.
1.6 Deployment to Cloud Hosts (Heroku, AWS, etc)
Since face_recognition depends on dlib which is written in C++, it can be tricky to deploy an appusing it to a cloud hosting provider like Heroku or AWS.
To make things easier, there’s an example Dockerfile in this repo that shows how to run an app built withface_recognition in a Docker container. With that, you should be able to deployto any service that supports Docker images.
1.5. Caveats 11
Face Recognition Documentation, Release 1.2.3
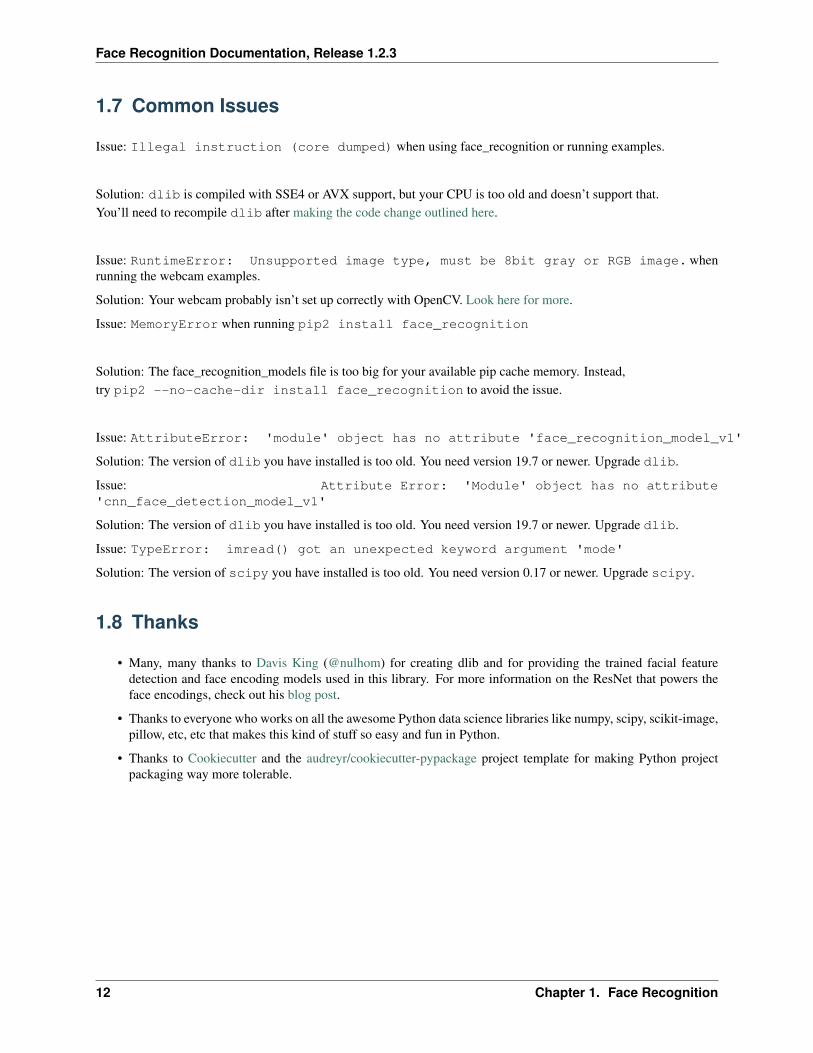
1.7 Common Issues
Issue: Illegal instruction (core dumped) when using face_recognition or running examples.
Solution: dlib is compiled with SSE4 or AVX support, but your CPU is too old and doesn’t support that.You’ll need to recompile dlib after making the code change outlined here.
Issue: RuntimeError: Unsupported image type, must be 8bit gray or RGB image.whenrunning the webcam examples.
Solution: Your webcam probably isn’t set up correctly with OpenCV. Look here for more.
Issue: MemoryError when running pip2 install face_recognition
Solution: The face_recognition_models file is too big for your available pip cache memory. Instead,try pip2 --no-cache-dir install face_recognition to avoid the issue.
Issue: AttributeError: 'module' object has no attribute 'face_recognition_model_v1'
Solution: The version of dlib you have installed is too old. You need version 19.7 or newer. Upgrade dlib.
Issue: Attribute Error: 'Module' object has no attribute'cnn_face_detection_model_v1'
Solution: The version of dlib you have installed is too old. You need version 19.7 or newer. Upgrade dlib.
Issue: TypeError: imread() got an unexpected keyword argument 'mode'
Solution: The version of scipy you have installed is too old. You need version 0.17 or newer. Upgrade scipy.
1.8 Thanks
• Many, many thanks to Davis King (@nulhom) for creating dlib and for providing the trained facial featuredetection and face encoding models used in this library. For more information on the ResNet that powers theface encodings, check out his blog post.
• Thanks to everyone who works on all the awesome Python data science libraries like numpy, scipy, scikit-image,pillow, etc, etc that makes this kind of stuff so easy and fun in Python.
• Thanks to Cookiecutter and the audreyr/cookiecutter-pypackage project template for making Python projectpackaging way more tolerable.
12 Chapter 1. Face Recognition
CHAPTER 2
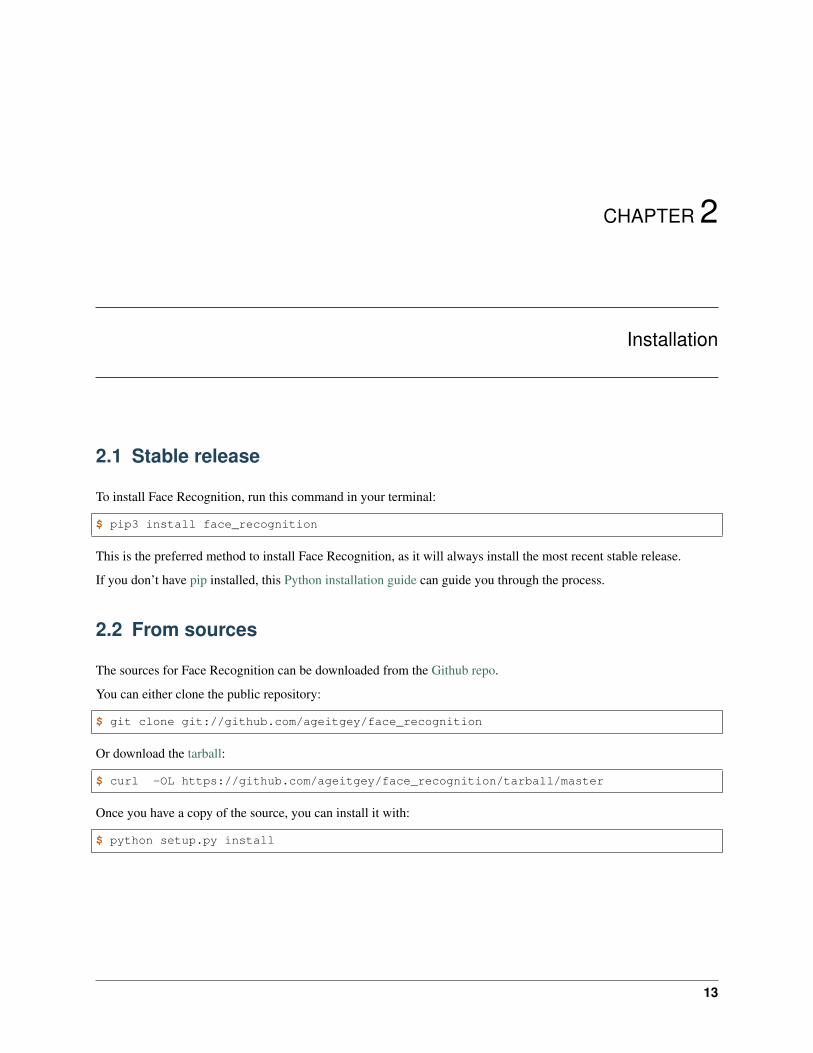
Installation
2.1 Stable release
To install Face Recognition, run this command in your terminal:
$ pip3 install face_recognition
This is the preferred method to install Face Recognition, as it will always install the most recent stable release.
If you don’t have pip installed, this Python installation guide can guide you through the process.
2.2 From sources
The sources for Face Recognition can be downloaded from the Github repo.
You can either clone the public repository:
$ git clone git://github.com/ageitgey/face_recognition
Or download the tarball:
$ curl -OL https://github.com/ageitgey/face_recognition/tarball/master
Once you have a copy of the source, you can install it with:
$ python setup.py install
13

Face Recognition Documentation, Release 1.2.3
14 Chapter 2. Installation
CHAPTER 3
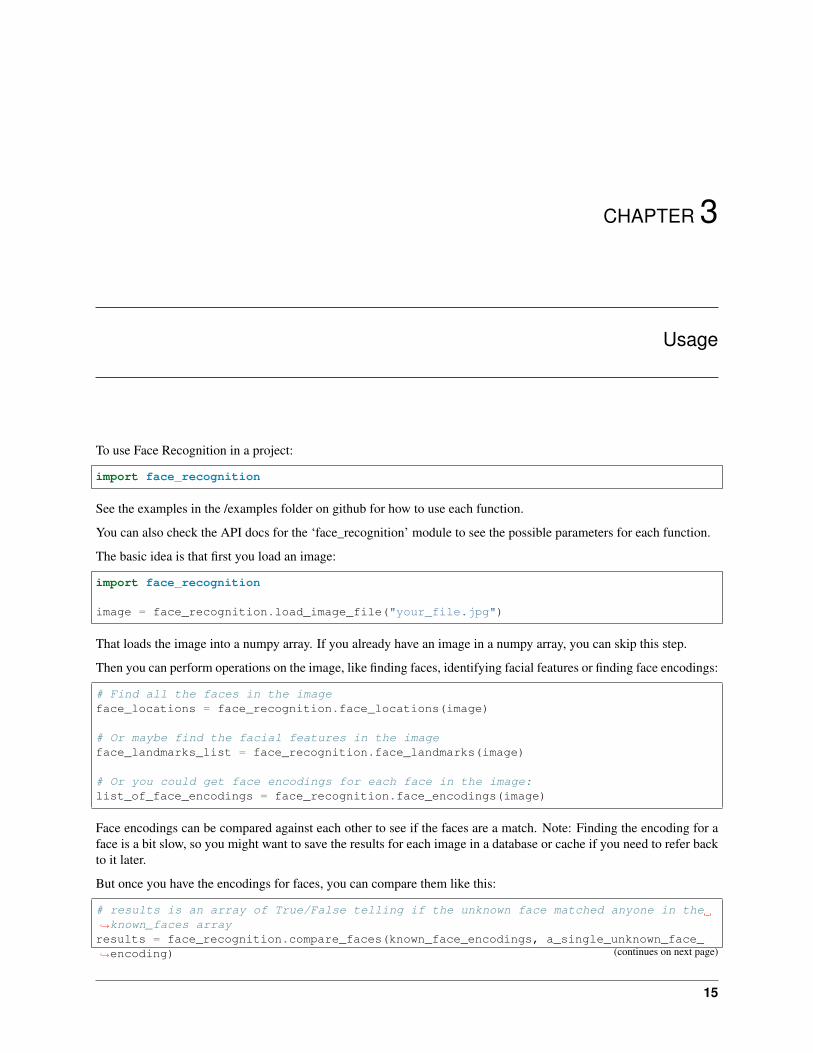
Usage
To use Face Recognition in a project:
import face_recognition
See the examples in the /examples folder on github for how to use each function.
You can also check the API docs for the ‘face_recognition’ module to see the possible parameters for each function.
The basic idea is that first you load an image:
import face_recognition
image = face_recognition.load_image_file("your_file.jpg")
That loads the image into a numpy array. If you already have an image in a numpy array, you can skip this step.
Then you can perform operations on the image, like finding faces, identifying facial features or finding face encodings:
# Find all the faces in the imageface_locations = face_recognition.face_locations(image)
# Or maybe find the facial features in the imageface_landmarks_list = face_recognition.face_landmarks(image)
# Or you could get face encodings for each face in the image:list_of_face_encodings = face_recognition.face_encodings(image)
Face encodings can be compared against each other to see if the faces are a match. Note: Finding the encoding for aface is a bit slow, so you might want to save the results for each image in a database or cache if you need to refer backto it later.
But once you have the encodings for faces, you can compare them like this:
# results is an array of True/False telling if the unknown face matched anyone in the→˓known_faces arrayresults = face_recognition.compare_faces(known_face_encodings, a_single_unknown_face_→˓encoding) (continues on next page)
15

Face Recognition Documentation, Release 1.2.3
(continued from previous page)
It’s that simple! Check out the examples for more details.
16 Chapter 3. Usage
CHAPTER 4
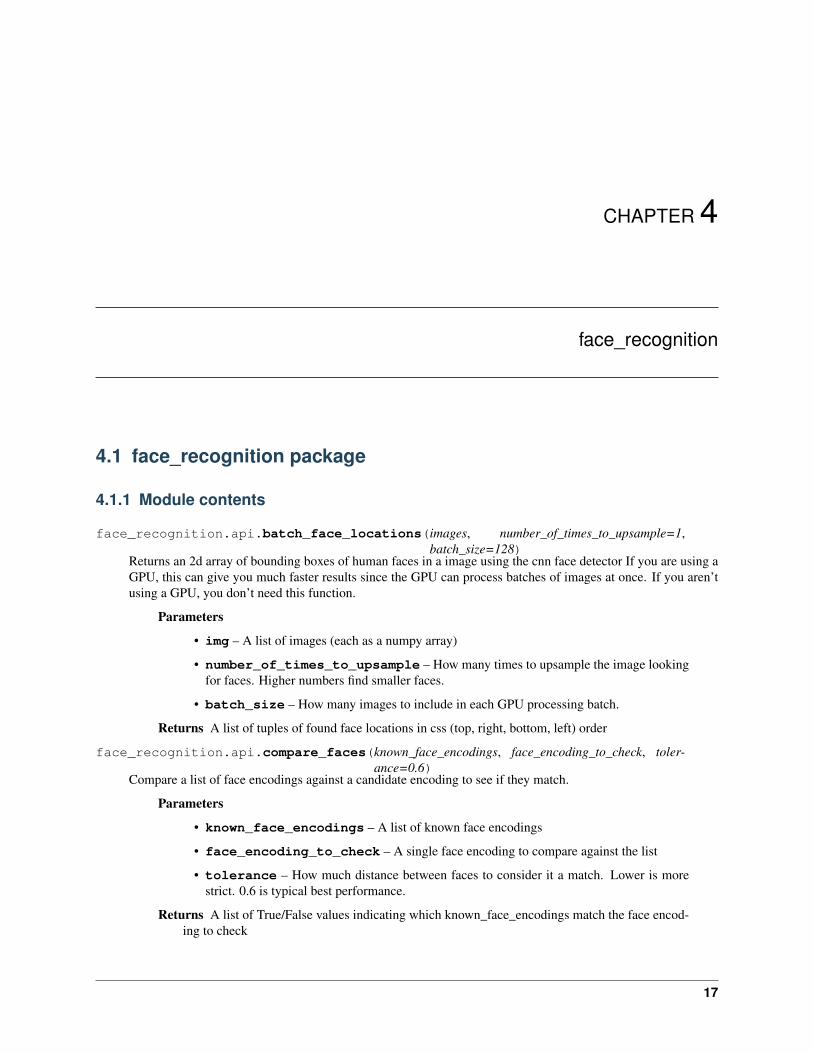
face_recognition
4.1 face_recognition package
4.1.1 Module contents
face_recognition.api.batch_face_locations(images, number_of_times_to_upsample=1,batch_size=128)
Returns an 2d array of bounding boxes of human faces in a image using the cnn face detector If you are using aGPU, this can give you much faster results since the GPU can process batches of images at once. If you aren’tusing a GPU, you don’t need this function.
Parameters
• img – A list of images (each as a numpy array)
• number_of_times_to_upsample – How many times to upsample the image lookingfor faces. Higher numbers find smaller faces.
• batch_size – How many images to include in each GPU processing batch.
Returns A list of tuples of found face locations in css (top, right, bottom, left) order
face_recognition.api.compare_faces(known_face_encodings, face_encoding_to_check, toler-ance=0.6)
Compare a list of face encodings against a candidate encoding to see if they match.
Parameters
• known_face_encodings – A list of known face encodings
• face_encoding_to_check – A single face encoding to compare against the list
• tolerance – How much distance between faces to consider it a match. Lower is morestrict. 0.6 is typical best performance.
Returns A list of True/False values indicating which known_face_encodings match the face encod-ing to check
17
Face Recognition Documentation, Release 1.2.3
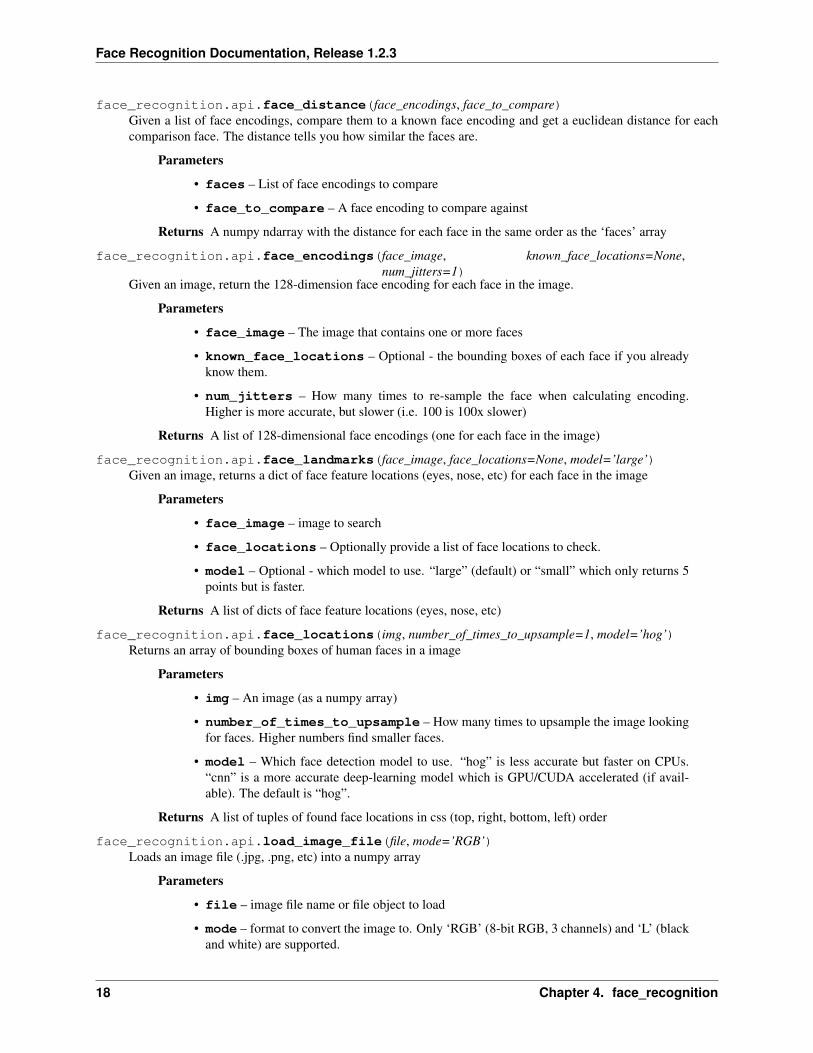
face_recognition.api.face_distance(face_encodings, face_to_compare)Given a list of face encodings, compare them to a known face encoding and get a euclidean distance for eachcomparison face. The distance tells you how similar the faces are.
Parameters
• faces – List of face encodings to compare
• face_to_compare – A face encoding to compare against
Returns A numpy ndarray with the distance for each face in the same order as the ‘faces’ array
face_recognition.api.face_encodings(face_image, known_face_locations=None,num_jitters=1)
Given an image, return the 128-dimension face encoding for each face in the image.
Parameters
• face_image – The image that contains one or more faces
• known_face_locations – Optional - the bounding boxes of each face if you alreadyknow them.
• num_jitters – How many times to re-sample the face when calculating encoding.Higher is more accurate, but slower (i.e. 100 is 100x slower)
Returns A list of 128-dimensional face encodings (one for each face in the image)
face_recognition.api.face_landmarks(face_image, face_locations=None, model=’large’)Given an image, returns a dict of face feature locations (eyes, nose, etc) for each face in the image
Parameters
• face_image – image to search
• face_locations – Optionally provide a list of face locations to check.
• model – Optional - which model to use. “large” (default) or “small” which only returns 5points but is faster.
Returns A list of dicts of face feature locations (eyes, nose, etc)
face_recognition.api.face_locations(img, number_of_times_to_upsample=1, model=’hog’)Returns an array of bounding boxes of human faces in a image
Parameters
• img – An image (as a numpy array)
• number_of_times_to_upsample – How many times to upsample the image lookingfor faces. Higher numbers find smaller faces.
• model – Which face detection model to use. “hog” is less accurate but faster on CPUs.“cnn” is a more accurate deep-learning model which is GPU/CUDA accelerated (if avail-able). The default is “hog”.
Returns A list of tuples of found face locations in css (top, right, bottom, left) order
face_recognition.api.load_image_file(file, mode=’RGB’)Loads an image file (.jpg, .png, etc) into a numpy array
Parameters
• file – image file name or file object to load
• mode – format to convert the image to. Only ‘RGB’ (8-bit RGB, 3 channels) and ‘L’ (blackand white) are supported.
18 Chapter 4. face_recognition

Face Recognition Documentation, Release 1.2.3
Returns image contents as numpy array
4.1. face_recognition package 19

Face Recognition Documentation, Release 1.2.3
20 Chapter 4. face_recognition
CHAPTER 5
Contributing
Contributions are welcome, and they are greatly appreciated! Every little bit helps, and credit will always be given.
You can contribute in many ways:
5.1 Types of Contributions
5.1.1 Report Bugs
Report bugs at https://github.com/ageitgey/face_recognition/issues.
If you are reporting a bug, please include:
• Your operating system name and version.
• Any details about your local setup that might be helpful in troubleshooting.
• Detailed steps to reproduce the bug.
5.1.2 Submit Feedback
The best way to send feedback is to file an issue at https://github.com/ageitgey/face_recognition/issues.
If you are proposing a feature:
• Explain in detail how it would work.
• Keep the scope as narrow as possible, to make it easier to implement.
• Remember that this is a volunteer-driven project, and that contributions are welcome :)
21
Face Recognition Documentation, Release 1.2.3
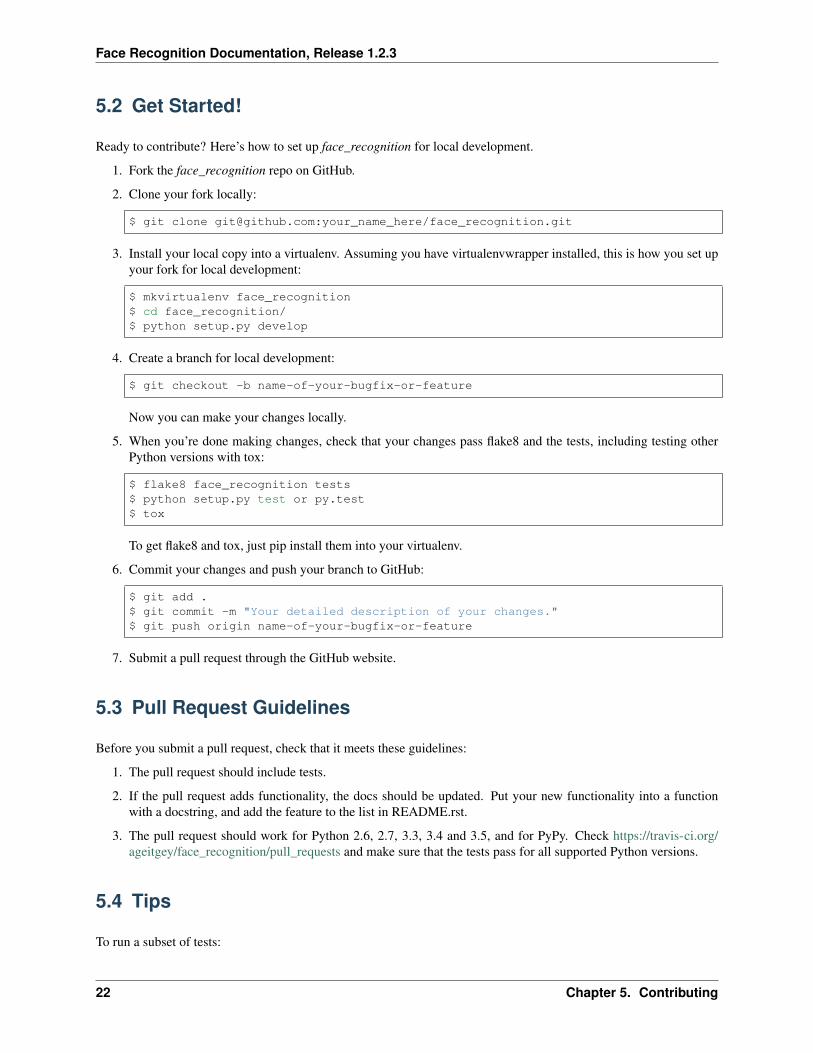
5.2 Get Started!
Ready to contribute? Here’s how to set up face_recognition for local development.
1. Fork the face_recognition repo on GitHub.
2. Clone your fork locally:
$ git clone [email protected]:your_name_here/face_recognition.git
3. Install your local copy into a virtualenv. Assuming you have virtualenvwrapper installed, this is how you set upyour fork for local development:
$ mkvirtualenv face_recognition$ cd face_recognition/$ python setup.py develop
4. Create a branch for local development:
$ git checkout -b name-of-your-bugfix-or-feature
Now you can make your changes locally.
5. When you’re done making changes, check that your changes pass flake8 and the tests, including testing otherPython versions with tox:
$ flake8 face_recognition tests$ python setup.py test or py.test$ tox
To get flake8 and tox, just pip install them into your virtualenv.
6. Commit your changes and push your branch to GitHub:
$ git add .$ git commit -m "Your detailed description of your changes."$ git push origin name-of-your-bugfix-or-feature
7. Submit a pull request through the GitHub website.
5.3 Pull Request Guidelines
Before you submit a pull request, check that it meets these guidelines:
1. The pull request should include tests.
2. If the pull request adds functionality, the docs should be updated. Put your new functionality into a functionwith a docstring, and add the feature to the list in README.rst.
3. The pull request should work for Python 2.6, 2.7, 3.3, 3.4 and 3.5, and for PyPy. Check https://travis-ci.org/ageitgey/face_recognition/pull_requests and make sure that the tests pass for all supported Python versions.
5.4 Tips
To run a subset of tests:
22 Chapter 5. Contributing

Face Recognition Documentation, Release 1.2.3
$ python -m unittest tests.test_face_recognition
5.4. Tips 23

Face Recognition Documentation, Release 1.2.3
24 Chapter 5. Contributing

CHAPTER 6
Authors
• Adam Geitgey <[email protected]>
6.1 Thanks
• Many, many thanks to Davis King (@nulhom) for creating dlib and for providing the trained facial featuredetection and face encoding models used in this library.
• Thanks to everyone who works on all the awesome Python data science libraries like numpy, scipy, scikit-image,pillow, etc, etc that makes this kind of stuff so easy and fun in Python.
• Thanks to Cookiecutter and the audreyr/cookiecutter-pypackage project template for making Python projectpackaging way more tolerable.
25

Face Recognition Documentation, Release 1.2.3
26 Chapter 6. Authors

CHAPTER 7
History
7.1 1.2.3 (2018-08-21)
• You can now pass model=”small” to face_landmarks() to use the 5-point face model instead of the 68-pointmodel.
• Now officially supporting Python 3.7
• New example of using this library in a Jupyter Notebook
7.2 1.2.2 (2018-04-02)
• Added the face_detection CLI command
• Removed dependencies on scipy to make installation easier
• Cleaned up KNN example and fixed a bug with drawing fonts to label detected faces in the demo
7.3 1.2.1 (2018-02-01)
• Fixed version numbering inside of module code.
7.4 1.2.0 (2018-02-01)
• Fixed a bug where batch size parameter didn’t work correctly when doing batch face detections on GPU.
• Updated OpenCV examples to do proper BGR -> RGB conversion
• Updated webcam examples to avoid common mistakes and reduce support questions
• Added a KNN classification example
27
Face Recognition Documentation, Release 1.2.3
• Added an example of automatically blurring faces in images or videos
• Updated Dockerfile example to use dlib v19.9 which removes the boost dependency.
7.5 1.1.0 (2017-09-23)
• Will use dlib’s 5-point face pose estimator when possible for speed (instead of 68-point face pose esimator)
• dlib v19.7 is now the minimum required version
• face_recognition_models v0.3.0 is now the minimum required version
7.6 1.0.0 (2017-08-29)
• Added support for dlib’s CNN face detection model via model=”cnn” parameter on face detecion call
• Added support for GPU batched face detections using dlib’s CNN face detector model
• Added find_faces_in_picture_cnn.py to examples
• Added find_faces_in_batches.py to examples
• Added face_rec_from_video_file.py to examples
• dlib v19.5 is now the minimum required version
• face_recognition_models v0.2.0 is now the minimum required version
7.7 0.2.2 (2017-07-07)
• Added –show-distance to cli
• Fixed a bug where –tolerance was ignored in cli if testing a single image
• Added benchmark.py to examples
7.8 0.2.1 (2017-07-03)
• Added –tolerance to cli
7.9 0.2.0 (2017-06-03)
• The CLI can now take advantage of multiple CPUs. Just pass in the -cpus X parameter where X is the numberof CPUs to use.
• Added face_distance.py example
• Improved CLI tests to actually test the CLI functionality
• Updated facerec_on_raspberry_pi.py to capture in rgb (not bgr) format.
28 Chapter 7. History
Face Recognition Documentation, Release 1.2.3
7.10 0.1.14 (2017-04-22)
• Fixed a ValueError crash when using the CLI on Python 2.7
7.11 0.1.13 (2017-04-20)
• Raspberry Pi support.
7.12 0.1.12 (2017-04-13)
• Fixed: Face landmarks wasn’t returning all chin points.
7.13 0.1.11 (2017-03-30)
• Fixed a minor bug in the command-line interface.
7.14 0.1.10 (2017-03-21)
• Minor pref improvements with face comparisons.
• Test updates.
7.15 0.1.9 (2017-03-16)
• Fix minimum scipy version required.
7.16 0.1.8 (2017-03-16)
• Fix missing Pillow dependency.
7.17 0.1.7 (2017-03-13)
• First working release.
7.10. 0.1.14 (2017-04-22) 29

Face Recognition Documentation, Release 1.2.3
30 Chapter 7. History

CHAPTER 8
Indices and tables
• genindex
• modindex
• search
31

Face Recognition Documentation, Release 1.2.3
32 Chapter 8. Indices and tables

Python Module Index
fface_recognition.api, 17
33

Face Recognition Documentation, Release 1.2.3
34 Python Module Index
Index
Bbatch_face_locations() (in module face_recognition.api),
17
Ccompare_faces() (in module face_recognition.api), 17
Fface_distance() (in module face_recognition.api), 17face_encodings() (in module face_recognition.api), 18face_landmarks() (in module face_recognition.api), 18face_locations() (in module face_recognition.api), 18face_recognition.api (module), 17
Lload_image_file() (in module face_recognition.api), 18
35


