Cooperative Extension Service | Agriculture and Natural Resources | Family and Consumer Sciences | 4-H Youth Development | Community and Economic Development University of Kentucky College of Agriculture, Food and Environment Cooperative Extension Service FCS3-584 Home Canning Fruit Home canning fruit from your garden, orchard, or local farmers market can help save you money and gain control over what’s in your food, while preserving the taste of summer for your fam- ily’s year-round enjoyment. To ensure safe, high quality home-canned products, always follow research-based recommendations when canning. Ingredients Select top-quality fruit at its peak of flavor, tex- ture, and color. Do not can overripe or diseased fruit. Canning will not improve the quality of poor quality produce. Fruit may be canned in water, juice, or syrup. e sugar in canning syrup helps retain the fruit’s flavor, color, and shape; it does not prevent spoil- age. e amount of sugar can be safely reduced to satisfy dietary needs or personal tastes. Lighter syrups contain fewer calories from added sugar. To make syrup, combine sugar and water in a saucepan. Heat the syrup to boiling to dissolve the sugar. Keep the syrup hot until ready for use, but do not let it boil down. Usually 1 to 1½ cups of syrup is needed for each quart jar of fruit. Choose syrup from the table below to suit the sweetness of the fruit and your own taste. Table 1. Syrups for use in canning fruit. Type of syrup Percent sugar* Cups of sugar per 4 cups water** Yield of syrup in cups Fruits commonly packed in syrup Very light 10 ½ 4½ Approximates natural sugar level in most fruits and adds the fewest calories Light 20 1 4¾ Very sweet fruit Medium 30 1¾ 5 Sweet apples, sweet cherries, berries, grapes Heavy 40 2¾ 51/3 Tart apples, apricots, sour cherries, gooseberries, nectar- ines, pears, peaches, plums Very heavy 50 4 6 Very sour fruit * Approximate ** In general, up to one half the sugar may be replaced by light corn syrup or mild-flavored honey. Some or all of the water may be replaced by fruit juice. Table adapted from So Easy to Preserve. Used with permission for educational purposes.
Transcript
Cooperative Extension Service | Agriculture and Natural Resources | Family and Consumer Sciences | 4-H Youth Development | Community and Economic Development
University of KentuckyCollege of Agriculture,Food and EnvironmentCooperative Extension ServiceFCS3-584
Home Canning FruitHome canning fruit from your garden, orchard,
or local farmers market can help save you money and gain control over what’s in your food, while preserving the taste of summer for your fam-ily’s year-round enjoyment. To ensure safe, high quality home-canned products, always follow research-based recommendations when canning.
IngredientsSelect top-quality fruit at its peak of flavor, tex-
ture, and color. Do not can overripe or diseased fruit. Canning will not improve the quality of poor quality produce.
Fruit may be canned in water, juice, or syrup. The sugar in canning syrup helps retain the fruit’s flavor, color, and shape; it does not prevent spoil-age. The amount of sugar can be safely reduced to satisfy dietary needs or personal tastes. Lighter syrups contain fewer calories from added sugar. To make syrup, combine sugar and water in a saucepan. Heat the syrup to boiling to dissolve the sugar. Keep the syrup hot until ready for use, but do not let it boil down. Usually 1 to 1½ cups of syrup is needed for each quart jar of fruit. Choose syrup from the table below to suit the sweetness of the fruit and your own taste.
Table 1. Syrups for use in canning fruit.
Type of syrup
Percent sugar*
Cups of sugar per 4 cups
water**
Yield of syrup in
cups Fruits commonly packed in syrup
Very light 10 ½ 4½ Approximates natural sugar level in most fruits and adds the fewest calories
Heavy 40 2¾ 51/3 Tart apples, apricots, sour cherries, gooseberries, nectar-ines, pears, peaches, plums
Very heavy 50 4 6 Very sour fruit
* Approximate** In general, up to one half the sugar may be replaced by light corn syrup or mild-flavored honey. Some or all of the water may be
replaced by fruit juice.
Table adapted from So Easy to Preserve. Used with permission for educational purposes.
2
Altitude affects processing times and pressures. The processing times given in this publication are based on canning at or below 1,000 feet above sea level. If you live at an altitude greater than 1,000 feet, please consult the website for the National Center for Home Food Preservation located at http://nchfp.uga.edu.
If fruit juice is used as the canning liquid, it is best to use juice made from the fruit being canned. To extract juice, thoroughly crush ripe, sound fruit. Heat to a simmer over low heat. Strain through cheese cloth or a jelly bag. Com-mercial unsweetened apple, pineapple, or white grape juice can also be used. These may be used as is, or diluted with water.
If artificial sweeteners are used, it is generally best to add them just before serving the canned fruit. Saccharin-based sweeteners can become bitter during processing, and aspartame-based sweeteners lose their sweetening power. Splenda® is the only sugar substitute currently on the mar-ket for which there are USDA recommendations for use in canning. However, stevia-based sweet-eners are heat stable and may be used in canning fruit. You may follow the manufacturer’s sugges-tions or experiment to determine the desired level of sweetness.
To prevent light-colored fruits such as apples, pears, and peaches from darkening after cutting, or the stem ends of grapes and cherries from darkening after stemming or pitting, the fruit should be treated with an anti-darkening solution during preparation. To make the solution, dissolve one teaspoon or 3,000 milligrams (mg) of ascor-bic acid (vitamin C) in one gallon of water, or fol-low the directions on the label for a commercial ascorbic acid mixture. If using vitamin C tablets, crush thoroughly before adding to the water. Hold the prepared fruit in the solution until you’re ready to pack the jars; then drain the fruit well.
Pie FillingsHome-canned fruit pie fillings are safe, tasty
products when they are made following research-based recipes. The recipes for fruit pie fillings in this publication use a modified food starch called Clear Jel® to provide the correct amount of thickening when the filling is canned and baked. Clear Jel® must be used as the thickener; there is
no substitute. Other starches, such as corn starch, will break down during processing and result in runny fillings. Do not use Instant Clear Jel®. Clear Jel® is not commonly available in local stores, but several sources can be found on the Internet.
The amount of lemon juice specified in the rec-ipe should not be changed, because it helps with safety and storage stability of the fillings. The amount of sugar and spices can be safely adjusted to suit personal tastes.
Filling JarsThere are two methods that can be used for
packing food into the jars – raw pack and hot pack. Raw pack means putting raw, unheated food into the jars. Hot pack involves cooking or heat-ing the food for a specified length of time before packing it into the jars. This practice helps to retain color and flavor, remove the air from food tissues, shrinks the food, increases the vacuum in sealed jars, and improves shelf life.
Some recipes have directions for both raw and hot packs. Others specify one or the other, de-pending on which method is most suitable for the specific fruit being canned. When fruit is canned without added sugar, the hot pack method must be used. Always use the type of pack specified in the recipe and the processing time that goes with that pack. If given a choice, the hot pack usually yields better color and flavor.
For more information on safe home canning, please see Home Canning Basics, publication FCS3-578.
The size of the jar will affect the rate of heat penetration into the food. To ensure that all of the food in the jar receives the full heat treatment needed to destroy any harmful bacteria that may be present, use only the jar sizes specified in the recipe and the processing time given for each jar size. Do not use jars that are larger than those specified in the recipe.
ProcessingMost fruits are high acid foods, with pH levels
below 4.6, the cut off for safe boiling water can-ning. Thus, fruit can be safely processed in a boiling water canner following USDA recommen-dations. The recipes in this publication provide directions for canning fruit in a boiling water
canner. Be sure to use the full processing time specified in each recipe for the type of pack and jar size used.
Some people prefer to pressure can fruit. A pres-sure canner can be used for some fruits, but the total time needed for the canning process will be much longer, due to the extra time needed to heat up, exhaust, pressurize, and cool down the can-ner. Processing times for some fruits in a pressure canner can be found in the USDA Compete Guide to Home Canning or on the National Center for Home Food Preservation website.
4
Step-By-Step Canning
Boiling Water Method 1. Assemble all equipment and utensils.
2. Visually examine jars, lids and bands for defects. Wash in hot, soapy water and rinse well. Place the jars in simmering water to keep hot until filled. Dry the bands and set aside. Follow the manufacturer’s instructions for preparing the lids. Many no longer require preheating before use. Do not boil the lids.
3. Fill the boiling water canner half full of clean warm water. Center the canner over the burner and preheat the water to 180°F. Begin preparing the recipe while the water is preheating. It will take about 20 to 30 minutes for the water to begin to boil.
4. Use top-quality ingredients; wash fresh fruits well. Prepare the recipe, following the directions given.
5, Fill the hot jars, leaving the headspace specified in the recipe, usually ½ inch. Remove air bub-bles and adjust headspace, if necessary. Wipe jar rims with a dampened clean paper towel. Center lids on jars and apply bands fingertip tight. Do not over tighten.
6. Load filled jars into the canner, using a jar lifter. Keep jars upright at all times. Add boiling wa-ter to cover the jars by one to two inches. Turn the heat up so the water boils vigorously and place the lid on the canner.
7. Begin timing the process when the water has reached a full boil. Set a timer for the total num-ber of minutes indicated in the recipe. The water must remain at a boil for the whole process-ing time. Add boiling water, if necessary, to keep the water level at least one inch above the jar tops.
8. When the processing time specified in the recipe is complete, turn off the heat and remove the canner lid. Wait five minutes before removing jars.
9. Remove jars from canner, keeping them upright. Carefully place them onto a towel, leaving a one-inch space between the jars for proper cooling.
10, After 12 to 24 hours, test seals and remove bands.
11. Wash outside of jars and lid surfaces. Label and store sealed jars in a cool, dark, dry place for up to two years. Use within one year for best quality. If jars do not seal, refrigerate and con-sume contents within one week.
12. Enjoy your very own canned fruit.
5
RecipesThe following selected recipes are from the USDA Complete Guide to Home Canning. They are used
with permission for educational purposes only. Complete instructions for canning other fresh fruits are available in the USDA Complete Guide to Home Canning or on the National Center for Home Food Preservation website.
Apples-SlicedIngredients 2½ to 3 pounds apples per quart 1 pint water or syrup (very light, light, or medium) per 5 pounds of sliced apples
Directions
Hot Pack:
• Prepare apples: Select apples that are juicy, crisp, and preferably both sweet and tart. Wash, peel, core, and slice into ½-inch wedges. To prevent darkening, slice apples into ascorbic acid solution. Drain.
• Place drained apple slices into a large saucepan and add 1 pint of water or syrup per 5 pounds of sliced apples. Boil 5 minutes, stirring occasionally to prevent burning.
• Fill hot pint or quart jars with hot apple slices and cooking liquid, leaving ½-inch headspace.• Remove air bubbles and adjust headspace if needed. Wipe jar rims with a dampened clean paper
towel; apply two-piece metal caps.• Process pint or quart jars 20 minutes in a boiling water canner.
Yield: An average of 19 pounds is needed per canner load of 7 quarts; an average of 12¼ pounds is needed per canner load of 9 pints.
Nutritional Analysis (½ cup): Canned in medium syrup: 90 calories, 0 g fat, 23 g carbohydrate, 0 g protein; Canned in water: 60 calories, 0 g fat, 16 g carbohydrate, 0 g protein
6
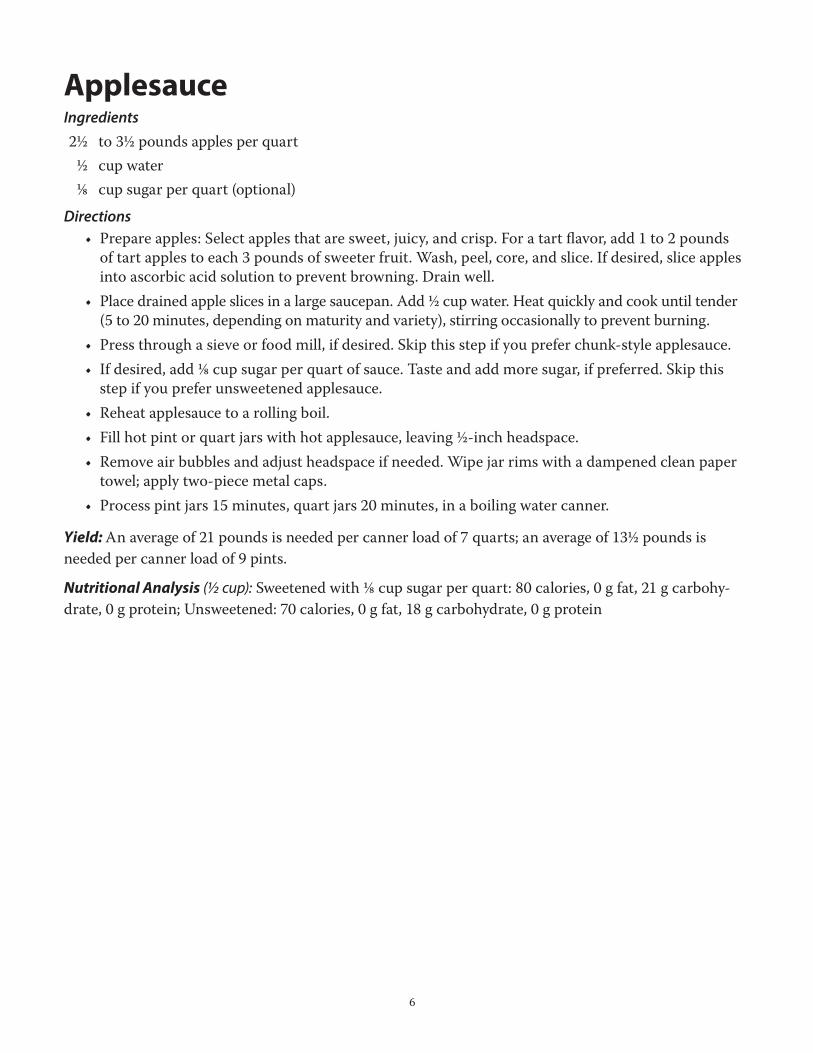
ApplesauceIngredients 2½ to 3½ pounds apples per quart ½ cup water 1/8 cup sugar per quart (optional)
Directions• Prepare apples: Select apples that are sweet, juicy, and crisp. For a tart flavor, add 1 to 2 pounds
of tart apples to each 3 pounds of sweeter fruit. Wash, peel, core, and slice. If desired, slice apples into ascorbic acid solution to prevent browning. Drain well.
• Place drained apple slices in a large saucepan. Add ½ cup water. Heat quickly and cook until tender (5 to 20 minutes, depending on maturity and variety), stirring occasionally to prevent burning.
• Press through a sieve or food mill, if desired. Skip this step if you prefer chunk-style applesauce.• If desired, add 1/8 cup sugar per quart of sauce. Taste and add more sugar, if preferred. Skip this
step if you prefer unsweetened applesauce.• Reheat applesauce to a rolling boil.• Fill hot pint or quart jars with hot applesauce, leaving ½-inch headspace.• Remove air bubbles and adjust headspace if needed. Wipe jar rims with a dampened clean paper
towel; apply two-piece metal caps.• Process pint jars 15 minutes, quart jars 20 minutes, in a boiling water canner.
Yield: An average of 21 pounds is needed per canner load of 7 quarts; an average of 13½ pounds is needed per canner load of 9 pints.
Nutritional Analysis (½ cup): Sweetened with 1/8 cup sugar per quart: 80 calories, 0 g fat, 21 g carbohy-drate, 0 g protein; Unsweetened: 70 calories, 0 g fat, 18 g carbohydrate, 0 g protein
7
Berries—Whole (Blackberries, Blueberries, Raspberries)Ingredients 1½ to 2 pounds berries per quart ¾* cup syrup, juice, or water per quart (*Approximately)
Directions
Hot Pack (for blueberries):
• Prepare blueberries: Select ripe, sweet berries with uniform color. Wash 1 or 2 quarts of berries at a time. Drain. Remove stems if necessary.
• Berries may be canned in syrup, juice, or water. Prepare and heat to boiling the canning liquid of your choice, following the instructions given in the Ingredients section of this publication.
• Heat to boiling about 1 gallon of water for each pound of blueberries. Blanch berries in boiling water for 30 seconds. Drain.
• Add ½ cup of hot syrup, juice, or water to each hot pint or quart jar.• Pack hot berries into hot jars, leaving ½-inch headspace. Ladle hot syrup, juice, or water over
berries to cover, leaving ½-inch headspace.• Remove air bubbles and adjust headspace if needed. Wipe jar rims with a dampened clean paper
towel; apply two-piece metal caps.• Process pint or quart jars 15 minutes in a boiling water canner.
Raw Pack (for any of the listed berries):
• Prepare berries: Select ripe, sweet berries with uniform color. Wash 1 or 2 quarts of berries at a time. Drain, cap, and stem if necessary.
• Berries may be canned in syrup, juice, or water. Prepare and heat to boiling the canning liquid of your choice, following the instructions given in the Ingredients section of this publication.
• Add ½ cup of hot syrup, juice, or water to each hot pint or quart jar.• Fill hot jars with raw berries, shaking down gently while filling, leaving ½-inch headspace. Ladle
hot syrup, juice, or water over berries to cover, leaving ½-inch headspace.• Remove air bubbles and adjust headspace if needed. Wipe jar rims with a dampened clean paper
towel; apply two-piece metal caps.• Process pint jars 15 minutes, quart jars 20 minutes, in a boiling water canner.
Yield: An average of 12 pounds is needed per canner load of 7 quarts; an average of 8 pounds is needed per canner load of 9 pints.
Nutritional Analysis (½ cup): Canned in medium syrup: average 73 calories, 0 g fat, 18 g carbohydrate, 1 g protein; Canned in water: average 48 calories, 0 g fat, 12 g carbohydrate, 1 g protein
8
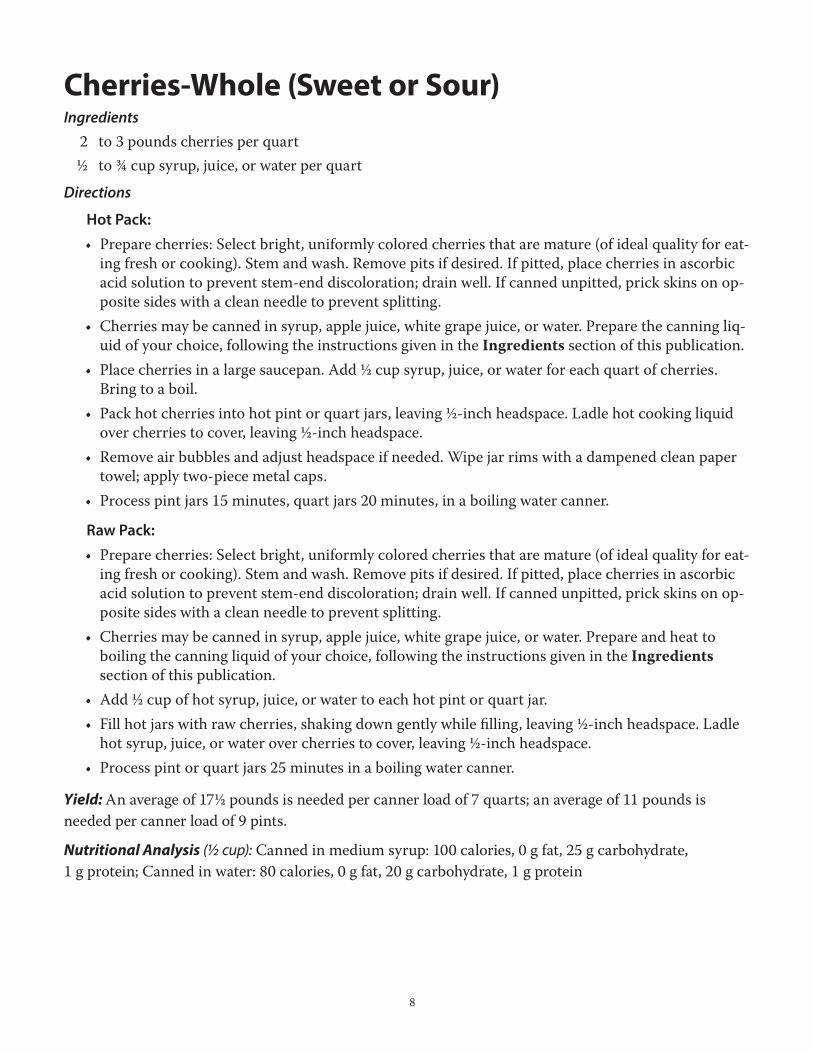
Cherries-Whole (Sweet or Sour)Ingredients 2 to 3 pounds cherries per quart ½ to ¾ cup syrup, juice, or water per quart
Directions
Hot Pack:
• Prepare cherries: Select bright, uniformly colored cherries that are mature (of ideal quality for eat-ing fresh or cooking). Stem and wash. Remove pits if desired. If pitted, place cherries in ascorbic acid solution to prevent stem-end discoloration; drain well. If canned unpitted, prick skins on op-posite sides with a clean needle to prevent splitting.
• Cherries may be canned in syrup, apple juice, white grape juice, or water. Prepare the canning liq-uid of your choice, following the instructions given in the Ingredients section of this publication.
• Place cherries in a large saucepan. Add ½ cup syrup, juice, or water for each quart of cherries. Bring to a boil.
• Pack hot cherries into hot pint or quart jars, leaving ½-inch headspace. Ladle hot cooking liquid over cherries to cover, leaving ½-inch headspace.
• Remove air bubbles and adjust headspace if needed. Wipe jar rims with a dampened clean paper towel; apply two-piece metal caps.
• Process pint jars 15 minutes, quart jars 20 minutes, in a boiling water canner.
Raw Pack:
• Prepare cherries: Select bright, uniformly colored cherries that are mature (of ideal quality for eat-ing fresh or cooking). Stem and wash. Remove pits if desired. If pitted, place cherries in ascorbic acid solution to prevent stem-end discoloration; drain well. If canned unpitted, prick skins on op-posite sides with a clean needle to prevent splitting.
• Cherries may be canned in syrup, apple juice, white grape juice, or water. Prepare and heat to boiling the canning liquid of your choice, following the instructions given in the Ingredients section of this publication.
• Add ½ cup of hot syrup, juice, or water to each hot pint or quart jar.• Fill hot jars with raw cherries, shaking down gently while filling, leaving ½-inch headspace. Ladle
hot syrup, juice, or water over cherries to cover, leaving ½-inch headspace.• Process pint or quart jars 25 minutes in a boiling water canner.
Yield: An average of 17½ pounds is needed per canner load of 7 quarts; an average of 11 pounds is needed per canner load of 9 pints.
Nutritional Analysis (½ cup): Canned in medium syrup: 100 calories, 0 g fat, 25 g carbohydrate, 1 g protein; Canned in water: 80 calories, 0 g fat, 20 g carbohydrate, 1 g protein
9
Zucchini-PineappleIngredients 4 quarts peeled zucchini, cut into ½-inch cubes or shredded 46 ounces canned unsweetened pineapple juice 1½ cups bottled lemon juice 3 cups sugar
Directions• Combine all ingredients in a large saucepan; bring to a boil. Simmer 20 minutes.• Fill hot pint or half-pint jars with hot mixture and cooking liquid, leaving ½-inch headspace.• Remove air bubbles and adjust headspace if needed. Wipe jar rims with a dampened clean paper
towel; apply two-piece metal caps.• Process pint or half-pint jars 15 minutes in a boiling water canner.
Yield: About 8 to 9 pint jars or 16 to 18 half-pint jars
Nutritional Analysis (½ cup): 100 calories, 0 g fat, 25 g carbohydrate, 1 g protein
10
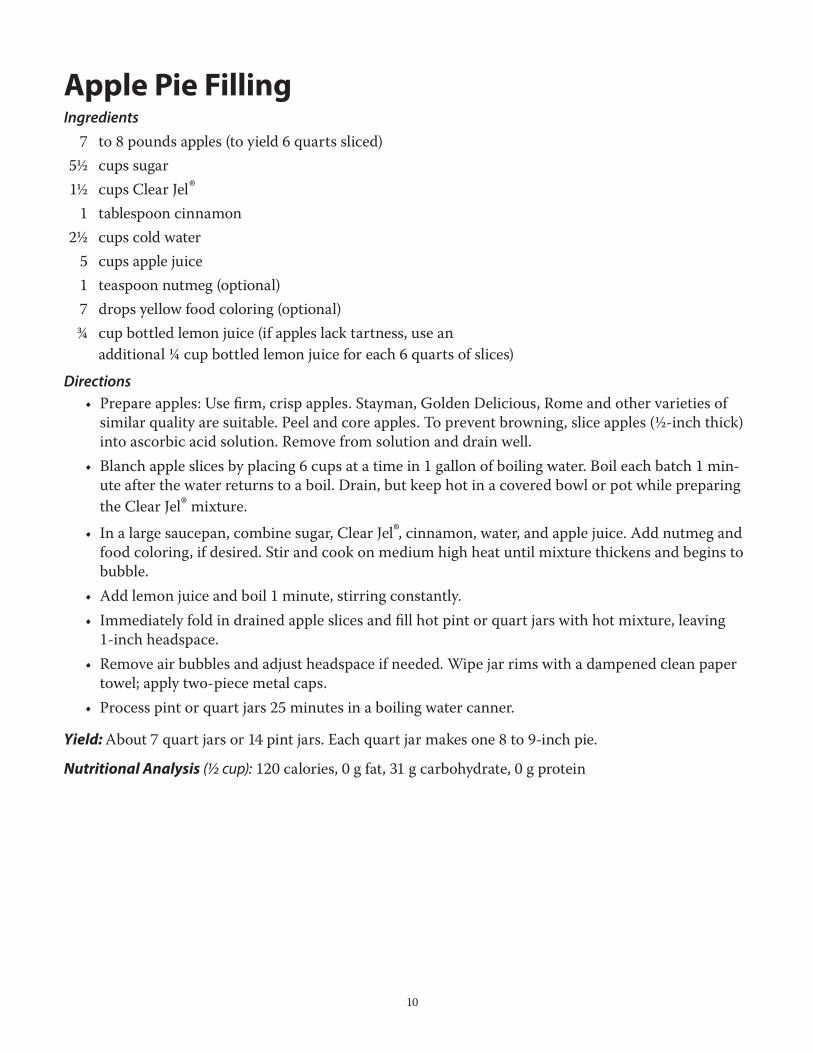
Apple Pie FillingIngredients 7 to 8 pounds apples (to yield 6 quarts sliced) 5½ cups sugar 1½ cups Clear Jel® 1 tablespoon cinnamon 2½ cups cold water 5 cups apple juice 1 teaspoon nutmeg (optional) 7 drops yellow food coloring (optional) ¾ cup bottled lemon juice (if apples lack tartness, use an
additional ¼ cup bottled lemon juice for each 6 quarts of slices)
Directions• Prepare apples: Use firm, crisp apples. Stayman, Golden Delicious, Rome and other varieties of
similar quality are suitable. Peel and core apples. To prevent browning, slice apples (½-inch thick) into ascorbic acid solution. Remove from solution and drain well.
• Blanch apple slices by placing 6 cups at a time in 1 gallon of boiling water. Boil each batch 1 min-ute after the water returns to a boil. Drain, but keep hot in a covered bowl or pot while preparing the Clear Jel® mixture.
• In a large saucepan, combine sugar, Clear Jel®, cinnamon, water, and apple juice. Add nutmeg and food coloring, if desired. Stir and cook on medium high heat until mixture thickens and begins to bubble.
• Add lemon juice and boil 1 minute, stirring constantly.• Immediately fold in drained apple slices and fill hot pint or quart jars with hot mixture, leaving
1-inch headspace. • Remove air bubbles and adjust headspace if needed. Wipe jar rims with a dampened clean paper
towel; apply two-piece metal caps.• Process pint or quart jars 25 minutes in a boiling water canner.
Yield: About 7 quart jars or 14 pint jars. Each quart jar makes one 8 to 9-inch pie.
Nutritional Analysis (½ cup): 120 calories, 0 g fat, 31 g carbohydrate, 0 g protein
11
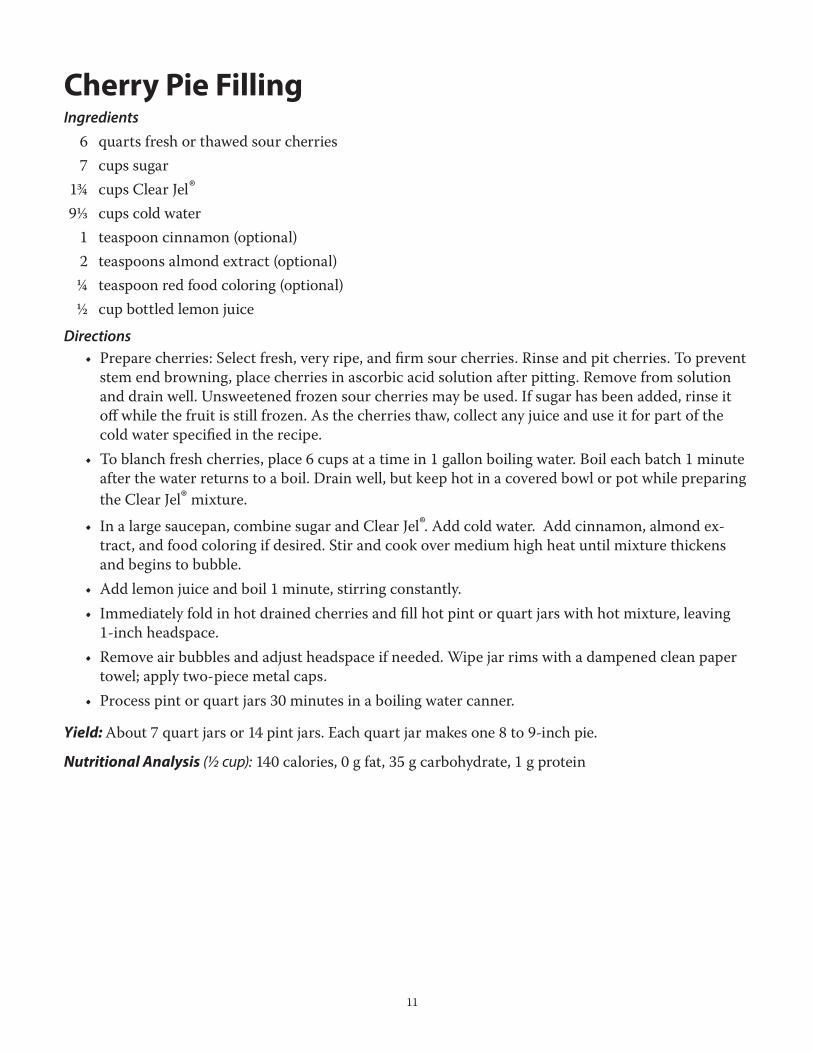
Cherry Pie FillingIngredients 6 quarts fresh or thawed sour cherries 7 cups sugar 1¾ cups Clear Jel® 91/3
cups cold water
1 teaspoon cinnamon (optional) 2 teaspoons almond extract (optional) ¼ teaspoon red food coloring (optional) ½ cup bottled lemon juice
Directions• Prepare cherries: Select fresh, very ripe, and firm sour cherries. Rinse and pit cherries. To prevent
stem end browning, place cherries in ascorbic acid solution after pitting. Remove from solution and drain well. Unsweetened frozen sour cherries may be used. If sugar has been added, rinse it off while the fruit is still frozen. As the cherries thaw, collect any juice and use it for part of the cold water specified in the recipe.
• To blanch fresh cherries, place 6 cups at a time in 1 gallon boiling water. Boil each batch 1 minute after the water returns to a boil. Drain well, but keep hot in a covered bowl or pot while preparing the Clear Jel® mixture.
• In a large saucepan, combine sugar and Clear Jel®. Add cold water. Add cinnamon, almond ex-tract, and food coloring if desired. Stir and cook over medium high heat until mixture thickens and begins to bubble.
• Add lemon juice and boil 1 minute, stirring constantly.• Immediately fold in hot drained cherries and fill hot pint or quart jars with hot mixture, leaving
1-inch headspace.• Remove air bubbles and adjust headspace if needed. Wipe jar rims with a dampened clean paper
towel; apply two-piece metal caps.• Process pint or quart jars 30 minutes in a boiling water canner.
Yield: About 7 quart jars or 14 pint jars. Each quart jar makes one 8 to 9-inch pie.
Nutritional Analysis (½ cup): 140 calories, 0 g fat, 35 g carbohydrate, 1 g protein
Mention or display of a trademark, proprietary product or firm in text or figures does not constitute an endorsement and does not imply approval to the exclusion of other suitable products or firms.
ReferencesAndress, E. L., & Harrison, J. A. (2011). So Easy to
Preserve (5th ed.). Athens, GA: Cooperative Extension, University of Georgia.
FDA/Center for Food Safety & Applied Nutrition. Approximate pH of Foods and Food Products. (2007). Retrieved March 4, 2014, at: http://www.foodscience.caes.uga.edu/extension/doc-uments/fdaapproximatephoffoodslacf-phs.pdf.
Molt, M. (2006). Food for Fifty. Upper Saddle River, NJ: Pearson Education, Inc.
Jarden Home Brands. (2012). Ball Blue Book Guide to Preserving. Daleville, IN: Hearthmark.
National Center for Home Food Preservation, University of Georgia. (n.d.). How Do I? ... Can Fruits. Retrieved March 4, 2014, at: http://nchfp.uga.edu/how/can2_fruit.html.
United States Department of Agriculture. (2013). National Nutrient Database for Standard Ref-erence, Release 26. Retrieved March 4, 2014, at: http://ndb.nal.usda.gov/ndb/search/list.
United States Department of Agriculture. (2009). USDA Complete Guide to Home Canning (Agriculture Information Bulletin No. 539). Retrieved March 4, 2014, at: http://nchfp.uga.edu/publications/publications_usda.html.
AuthorsSandra Bastin, PhD, RD, LD, CCE, Extension Food and Nutrition Specialist, and Annhall Norris, Extension Associate