26
Forensic Biology Screening Workshop Laboratory Orientation
| Date post: | 18-Dec-2015 |
| Category: |
Documents |
| Upload: | derick-francis |
| View: | 230 times |
| Download: | 1 times |
Forensic Biology Screening Workshop
Laboratory Orientation

Laboratory Orientation• Safety
• Clean Technique
• Reagent Preparation
• Use of Basic Equipment
• Quality Assurance

Safety
National Forensic Science Technology Center
Environmental, Health, and Safety Program

NFSTC EH&S Program
The NFSTC EH&S operations manual is divided into five separate sections or plans, and they are listed below as follows:
• General Office Safety Plan• Laboratory Safety Plan• Emergency Action Plan• Chemical Hygiene Plan• Biohazard Exposure Control Plan

Laboratory Safety Plan
• No eating, drinking, applying cosmetics or adjusting eye contacts in the laboratory areas.
• No running, jumping, or horseplay shall be permitted.
• All spills will be cleaned up immediately. • Always wash your hands before leaving the
laboratory. • Leave the laboratory clean and organized at all
times.• No sandals or open-toed shoes shall be worn in
the laboratories.
The list below discusses both general and operational rules that apply to the chemistry and biology laboratory sections:
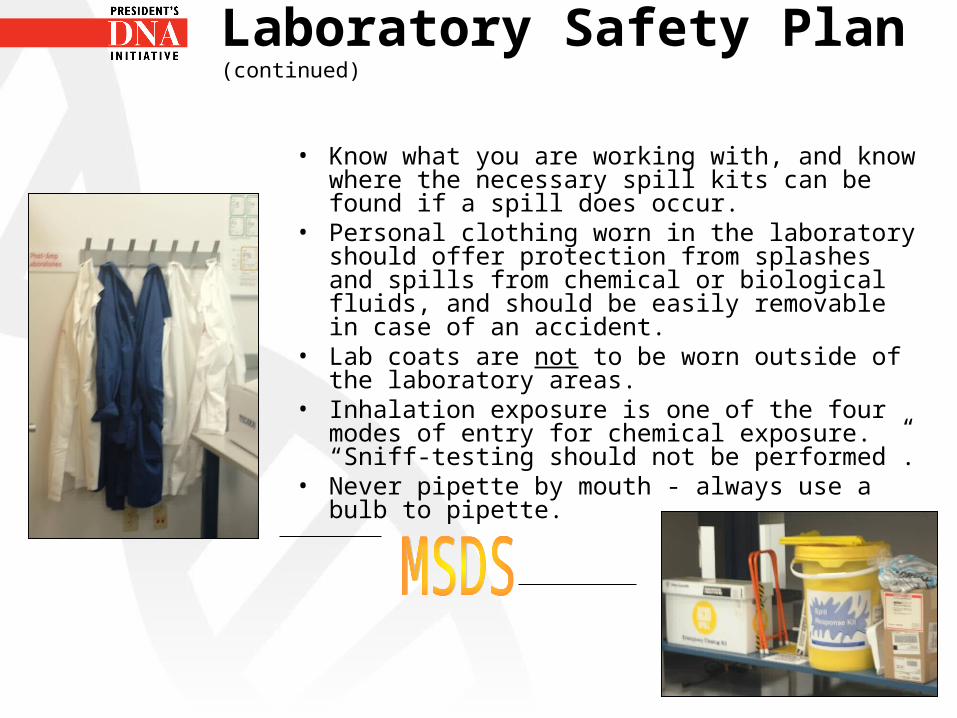
Laboratory Safety Plan (continued)
• Know what you are working with, and know where the necessary spill kits can be found if a spill does occur.
• Personal clothing worn in the laboratory should offer protection from splashes and spills from chemical or biological fluids, and should be easily removable in case of an accident.
• Lab coats are not to be worn outside of the laboratory areas.
• Inhalation exposure is one of the four modes of entry for chemical exposure. “Sniff-testing should not be performed”.
• Never pipette by mouth - always use a bulb to pipette.
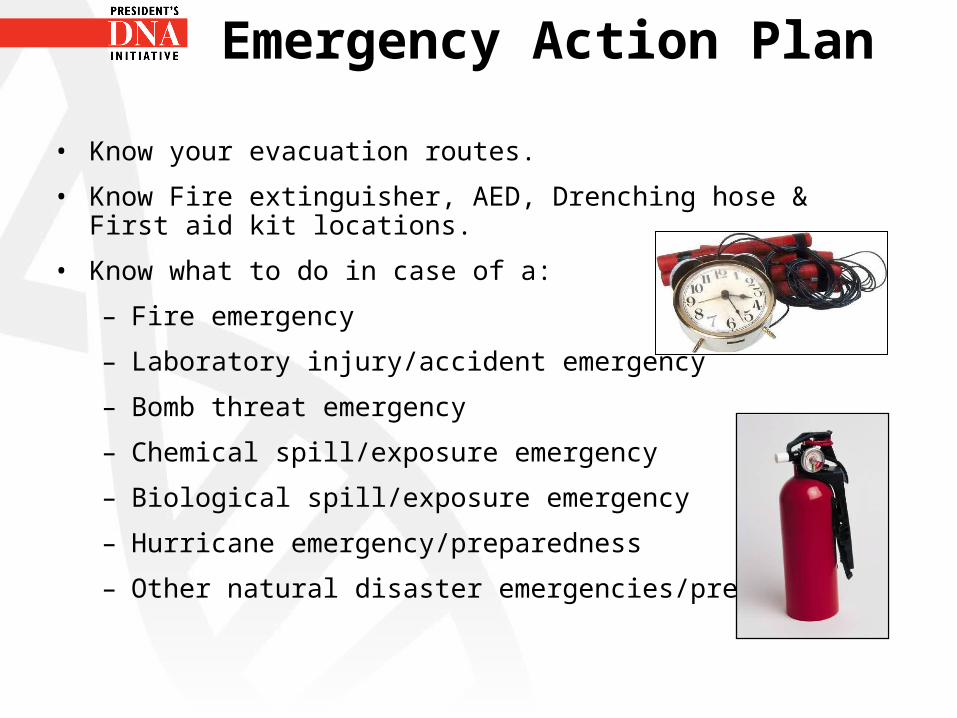
Emergency Action Plan
• Know your evacuation routes.
• Know Fire extinguisher, AED, Drenching hose & First aid kit locations.
• Know what to do in case of a:
– Fire emergency
– Laboratory injury/accident emergency
– Bomb threat emergency
– Chemical spill/exposure emergency
– Biological spill/exposure emergency
– Hurricane emergency/preparedness
– Other natural disaster emergencies/preparedness

Emergency Evacuation Plan
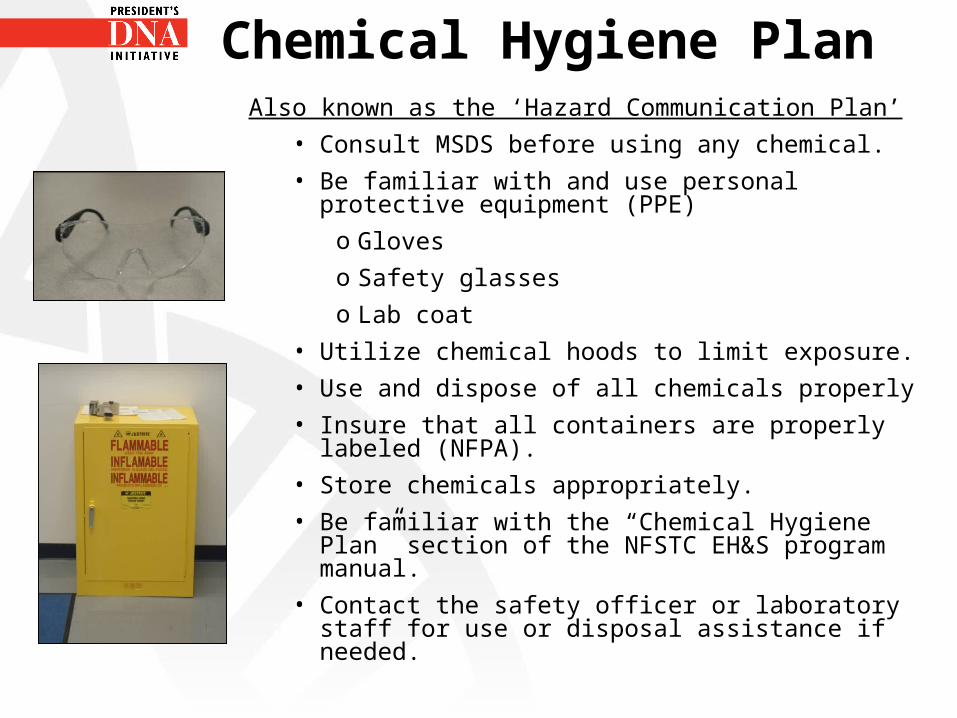
Chemical Hygiene PlanAlso known as the ‘Hazard Communication Plan’
• Consult MSDS before using any chemical.
• Be familiar with and use personal protective equipment (PPE)
o Gloves
o Safety glasses
o Lab coat
• Utilize chemical hoods to limit exposure.
• Use and dispose of all chemicals properly
• Insure that all containers are properly labeled (NFPA).
• Store chemicals appropriately.
• Be familiar with the “Chemical Hygiene Plan” section of the NFSTC EH&S program manual.
• Contact the safety officer or laboratory staff for use or disposal assistance if needed.
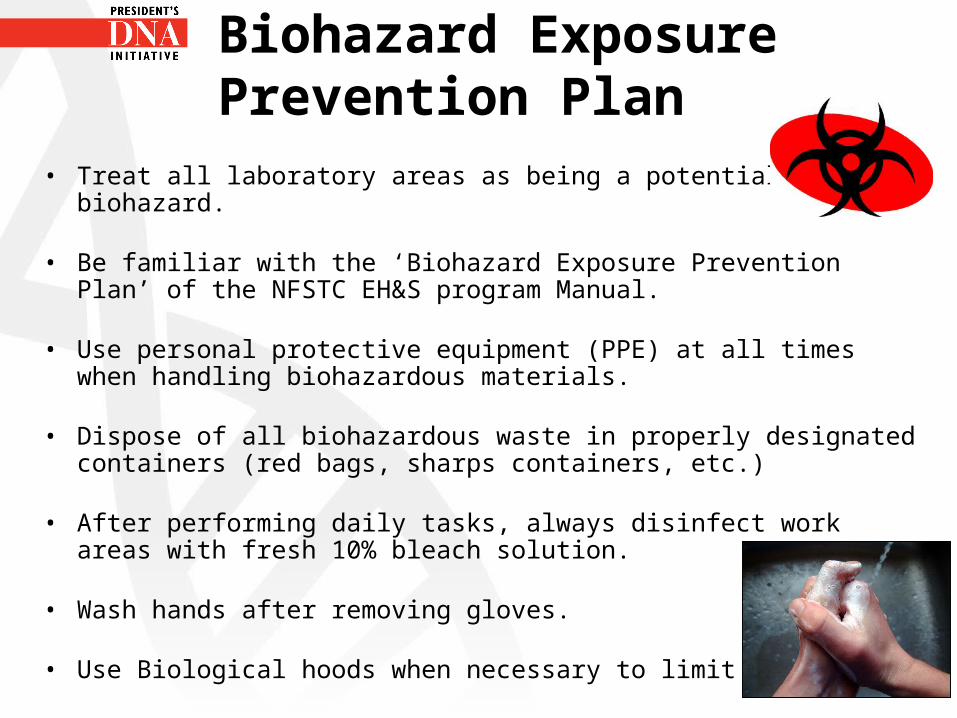
Biohazard Exposure Prevention Plan
• Treat all laboratory areas as being a potential biohazard.
• Be familiar with the ‘Biohazard Exposure Prevention Plan’ of the NFSTC EH&S program Manual.
• Use personal protective equipment (PPE) at all times when handling biohazardous materials.
• Dispose of all biohazardous waste in properly designated containers (red bags, sharps containers, etc.)
• After performing daily tasks, always disinfect work areas with fresh 10% bleach solution.
• Wash hands after removing gloves.
• Use Biological hoods when necessary to limit exposure.
Clean Technique
Refer to laboratory practices employed to reduce the risk of contamination
•Transfer of DNA
– from analyst to sample
– from environment to sample
– between samples (cross-contamination)

Clean Technique
Contamination can adversely effect the outcome of a case; therefore, it is essential that the laboratory have procedures in place to limit, recognize, and address contamination.
Clean TechniqueWork Surfaces and Equipment
• Clean before contact with evidence, between evidence items, and after evidence processing is complete.
• Common practice is to place glassine weigh paper, Kimwipes®, butcher paper, or Benchkote® paper on the bench top (to act as a barrier) while processing evidence. – Change paper and clean bench top between
items

Clean TechniqueWork Surfaces and Equipment
• Instruments (forceps, scissors, scalpels, and tube openers) should be cleaned just prior to use.
• If sterile disposable instruments are used, these should be opened just prior to sample processing and discarded after one use

Clean TechniqueWork Surfaces and Equipment
• Use a 10% bleach solution or a commercially available sterilization reagent such as Cidex® Plus.
• After an item or surface is cleaned with bleach, rinse with purified water or alcohol to prevent the build up of sodium hypochlorite crystals. Instruments or equipment cleaned with bleach should be rinsed to avoid corrosion.
Clean TechniqueReagents and Sample Processing
• When possible, prepare reagents in bulk. – Each analyst is then provided with an aliquot for
his/her individual use
• Reagents should be kept closed when not in use
• Samples should be processed individually– Only one sample should be open at a time
• Unknown samples should be processed separately from reference samples– Processing may be separated by time and/or space.
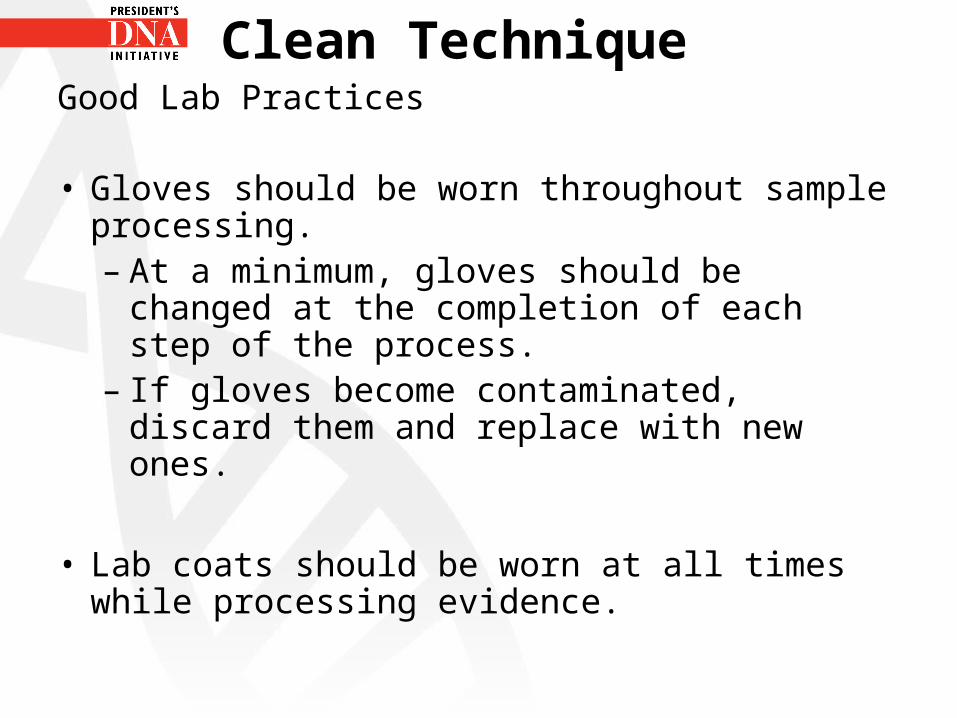
Clean TechniqueGood Lab Practices
• Gloves should be worn throughout sample processing. – At a minimum, gloves should be changed at
the completion of each step of the process. – If gloves become contaminated, discard them
and replace with new ones.
• Lab coats should be worn at all times while processing evidence.
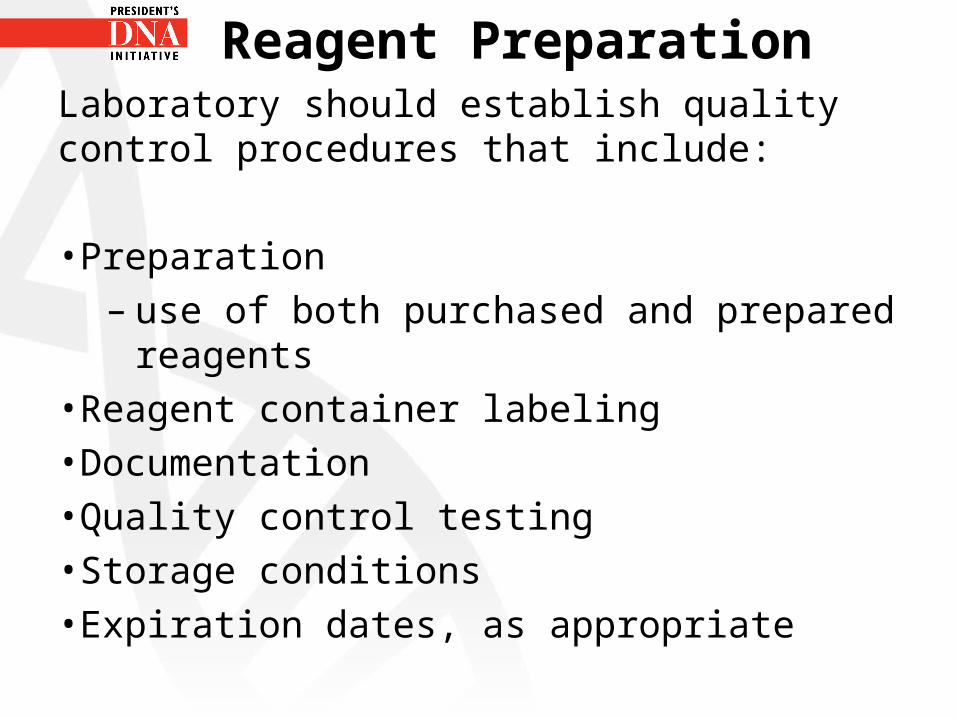
Reagent PreparationLaboratory should establish quality control procedures that include:
•Preparation – use of both purchased and prepared reagents
•Reagent container labeling•Documentation •Quality control testing•Storage conditions •Expiration dates, as appropriate

Reagent Preparation
For the purposes of this workshop, all reagents will be prepared by the instructors
Students may need to perform simple and or serial dilutions as directed by the instructor
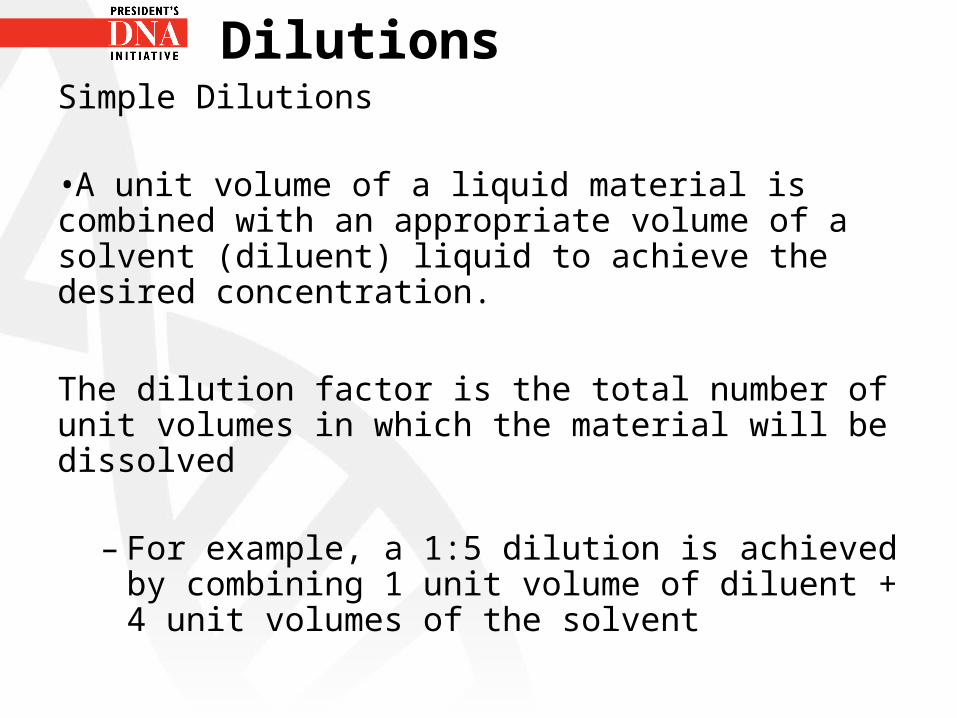
DilutionsSimple Dilutions
•A unit volume of a liquid material is combined with an appropriate volume of a solvent (diluent) liquid to achieve the desired concentration.
The dilution factor is the total number of unit volumes in which the material will be dissolved
– For example, a 1:5 dilution is achieved by
combining 1 unit volume of diluent + 4 unit volumes of the solvent
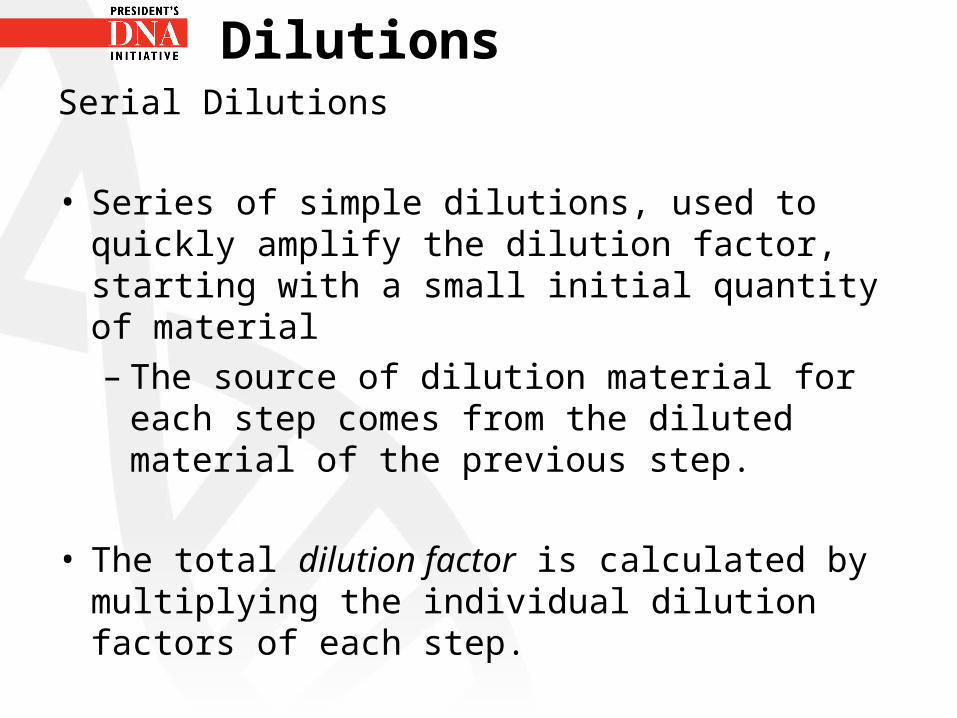
DilutionsSerial Dilutions
• Series of simple dilutions, used to quickly amplify the dilution factor, starting with a small initial quantity of material– The source of dilution material for each step
comes from the diluted material of the previous step.
• The total dilution factor is calculated by multiplying the individual dilution factors of each step.

DilutionsSerial Dilutions
Example: • To perform a three step 1:100 serial dilution:
1. The initial step combines 1 unit volume of the starting solution (10 µl) with 99 unit volumes of solvent (990 µl) = 1:100 dilution
2. The next step, one unit volume of the 1:100 dilution is combined with 99 unit volumes of solvent now yielding a total dilution of 1:100x100 = 1:10,000 dilution
3. The third step, the total dilution would be 1:100x10,000 = 1:1,000,000 total dilution

Use of Basic Equipment• Students will be shown how to use all necessary
laboratory equipment.
• Alternate Light Source– Ensure safety glasses are worn when using
this piece of equipment
Quality AssuranceComponents of a quality system include:
• Use of adequate facilities • Use of validated methods• Use of properly calibrated and functioning equipment• Establishment and implementation of a corrective action,
when needed• Proper training and continuing education for personnel • Use of appropriate evidence control procedures• Use of established analytical procedures • Reports • Participation in proficiency testing program• Participation a laboratory accreditation program
Quality Assurance
• Quality Assurance (QA) consists of all the planned and systematic actions necessary to demonstrate that a product or service meets specified requirements for quality
• The planned and systematic actions are documented in the laboratory quality manual and standard operation procedures (SOP)

Quality Assurance
• For the purposes of this training, all trainees will be required to document each test performed, following the procedures provided
• Procedures established by your laboratory system may vary slightly from those provided in this training


