2
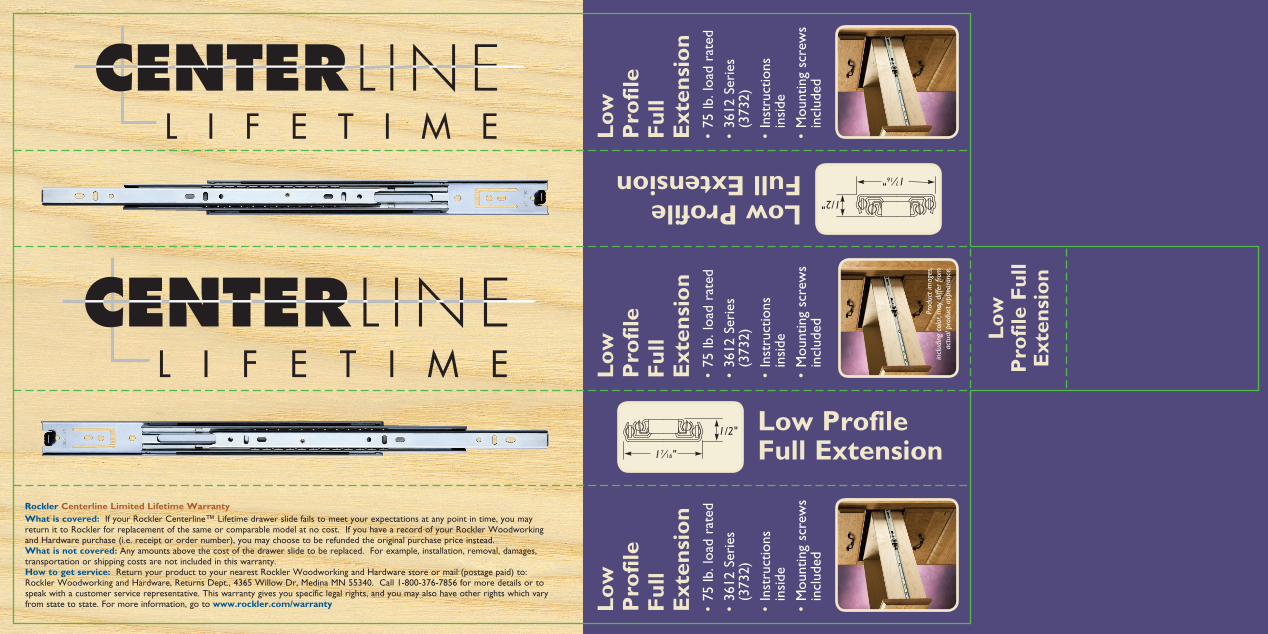
Low Profile Full Extension Low Profile Full Extension 1 7 ⁄16" 1/2" Low Profile Full Extension • 75 lb. load rated • 3612 Series (3732) • Instructions inside • Mounting screws included Low Profile Full Extension 1 7 ⁄16" 1/2" Low Profile Full Extension • 75 lb. load rated • 3612 Series (3732) • Instructions inside • Mounting screws included Rockler Centerline Limited Lifetime Warranty What is covered: If your Rockler Centerline™ Lifetime drawer slide fails to meet your expectations at any point in time, you may return it to Rockler for replacement of the same or comparable model at no cost. If you have a record of your Rockler Woodworking and Hardware purchase (i.e. receipt or order number), you may choose to be refunded the original purchase price instead. What is not covered: Any amounts above the cost of the drawer slide to be replaced. For example, installation, removal, damages, transportation or shipping costs are not included in this warranty. How to get service: Return your product to your nearest Rockler Woodworking and Hardware store or mail (postage paid) to: Rockler Woodworking and Hardware, Returns Dept., 4365 Willow Dr, Medina MN 55340. Call 1-800-376-7856 for more details or to speak with a customer service representative. This warranty gives you specific legal rights, and you may also have other rights which vary from state to state. For more information, go to www.rockler.com/warranty Low Profile Full Extension • 75 lb. load rated • 3612 Series (3732) • Instructions inside • Mounting screws included Product images, including color, may differ from actual product appearance.