43
Generating Wrappers with Fetch Agent Platform 3.2 Matthew Michelson and Craig A. Knoblock CSCI 548: Lecture 2

Generating Wrappers with Fetch Agent
Platform 3.2
Matthew Michelson andCraig A. Knoblock
CSCI 548: Lecture 2

Starting our example
Extract list of cars from Craig’s List: Post textLink to details page
Get the timestampGet the contact email address
Navigate through next links
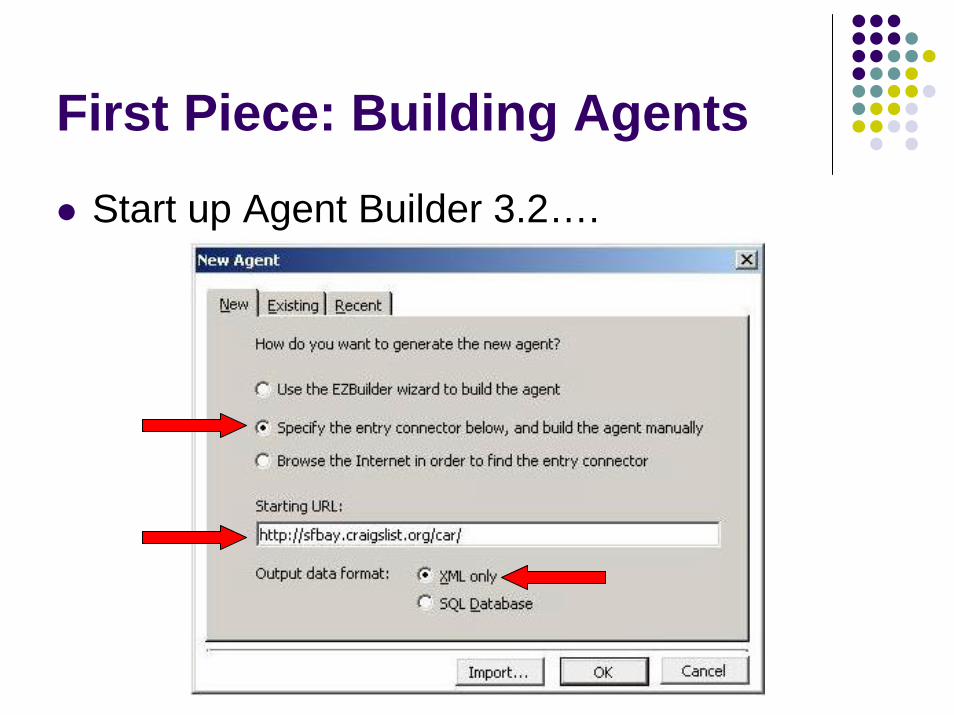
First Piece: Building Agents
Start up Agent Builder 3.2….

Add an entry connector
How should the agent start to get information?
Entry is just a link to a pageGoogle News
Entry is a form:Craig’s list search box

Adding our connector
Click "Connectors tab" Click green globe with plus sign (Add New Connector...)
Select the "Form" Then "Use example of connector on page" since we want it to find the form elements for us.

Adding connectorClick <FORM> for page
highlights what we want. Click Next.
List of form elements we can defineName, Type, Value for each of the fields.
Select the query field, it will highlight. Then click the value box, and select a new parameter.
name it “searchValue.”Click OK next. Name the connector and then make sure to check the box that says "when I finish start the connectivity wizard."

Name this variable

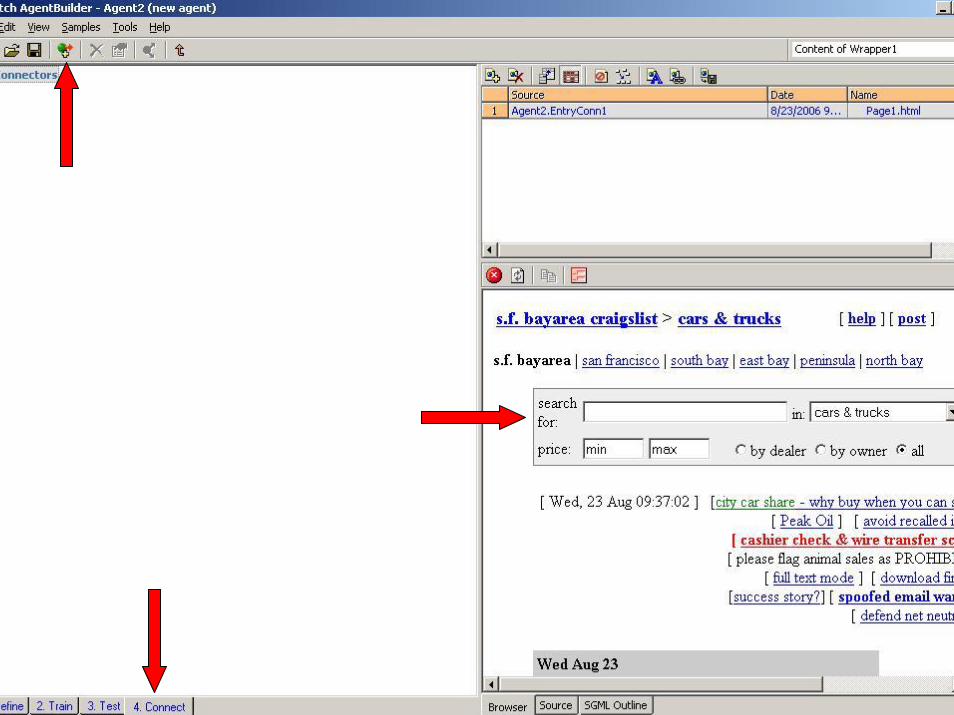
Connecting the search…Next screen, click "Create new wrapper."
Name it PostsPage, check box that says "when I finish start the add new samples wizard." Start with 5 samples, and you're off...
New screen with connector's name, and a value. Click each row and add a valueWizard grabs the pages returned when you submit this value in the form. Now you have 5 example pages to learn to extract from…
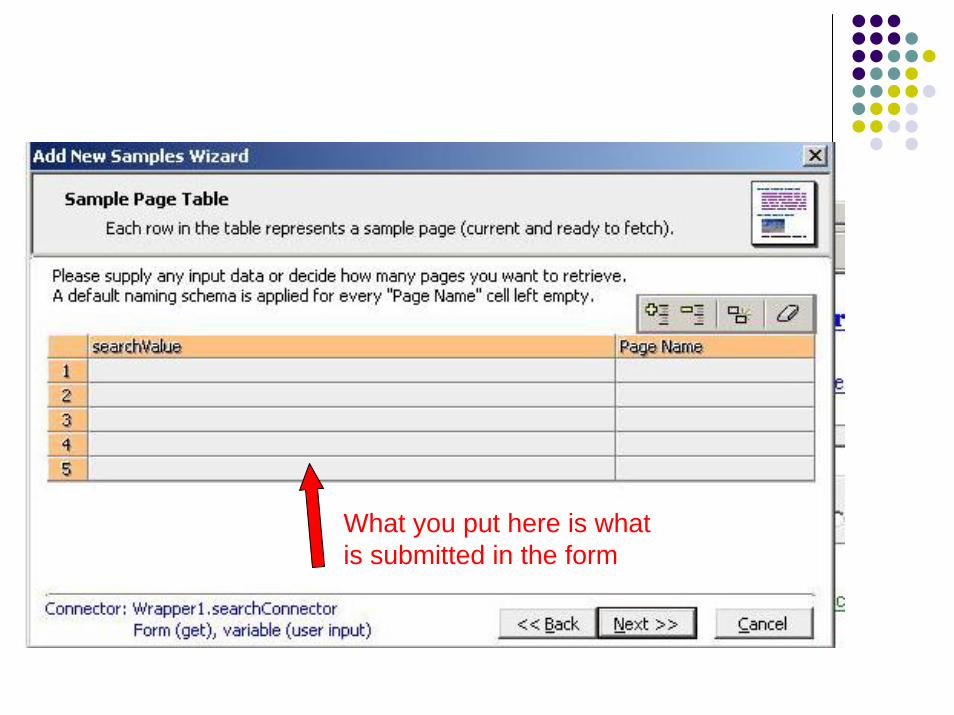
What you put here is what is submitted in the form

What’s the flow like?
Start with entry connector, query on a search term, get pages back…View Agent Layout.
We will come back to this later when we define a "next" link. To get back into our wrapper, just double click it.

Set of pages returned for search term
Front page of CList cars
Search term flows from form to result pages
Defining Extraction Schema
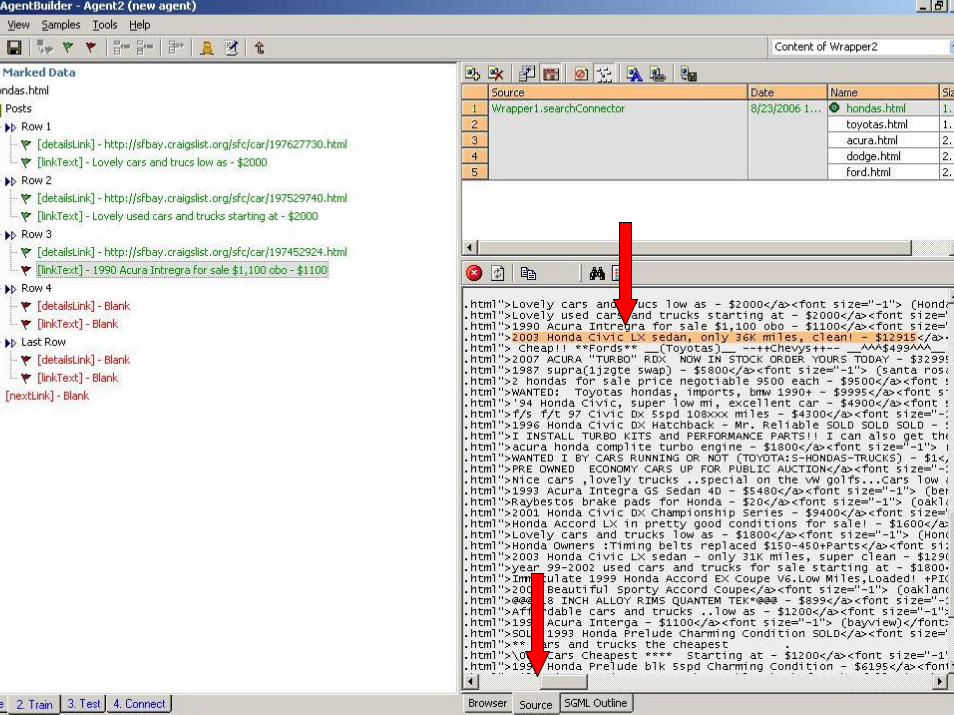
We want the details link, the text, …Define our elements that we want to extract from the source.
2 main elements from results pagesnext link, that lets us navigate from this page to the next one. List of items for sale that matched our search query.
link to the details page text for the link.
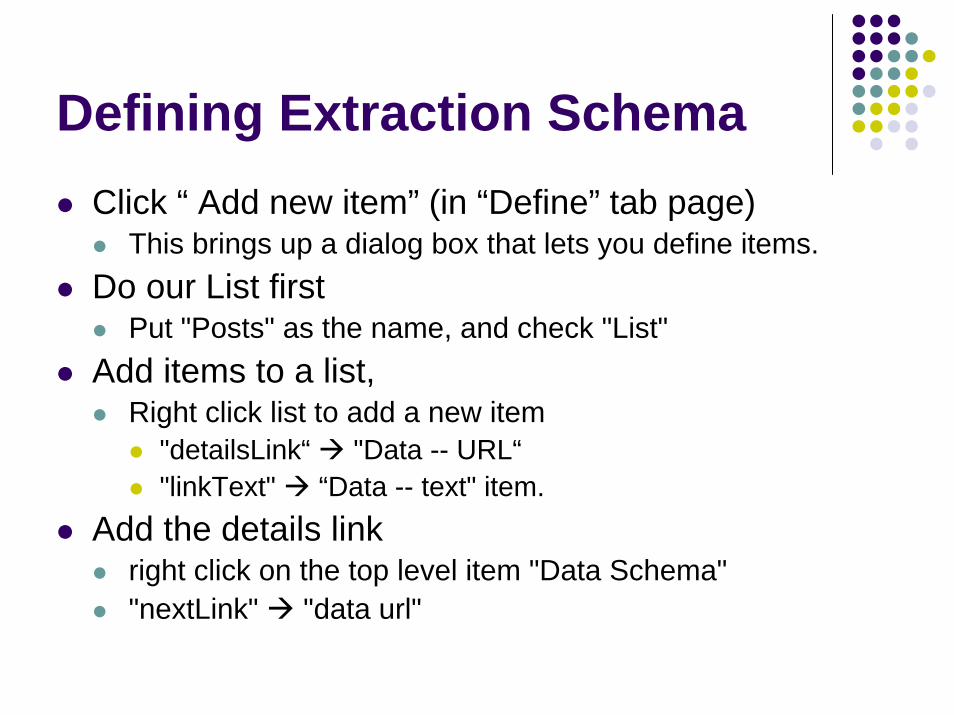
Defining Extraction SchemaClick “ Add new item” (in “Define” tab page)
This brings up a dialog box that lets you define items. Do our List first
Put "Posts" as the name, and check "List"Add items to a list,
Right click list to add a new item "detailsLink“ "Data -- URL“"linkText" “Data -- text" item.
Add the details link right click on the top level item "Data Schema" "nextLink" "data url"

Click to add new schema

•Right click to add items to list
•Right click on Data Schema to add top level elements
Schema Definitions
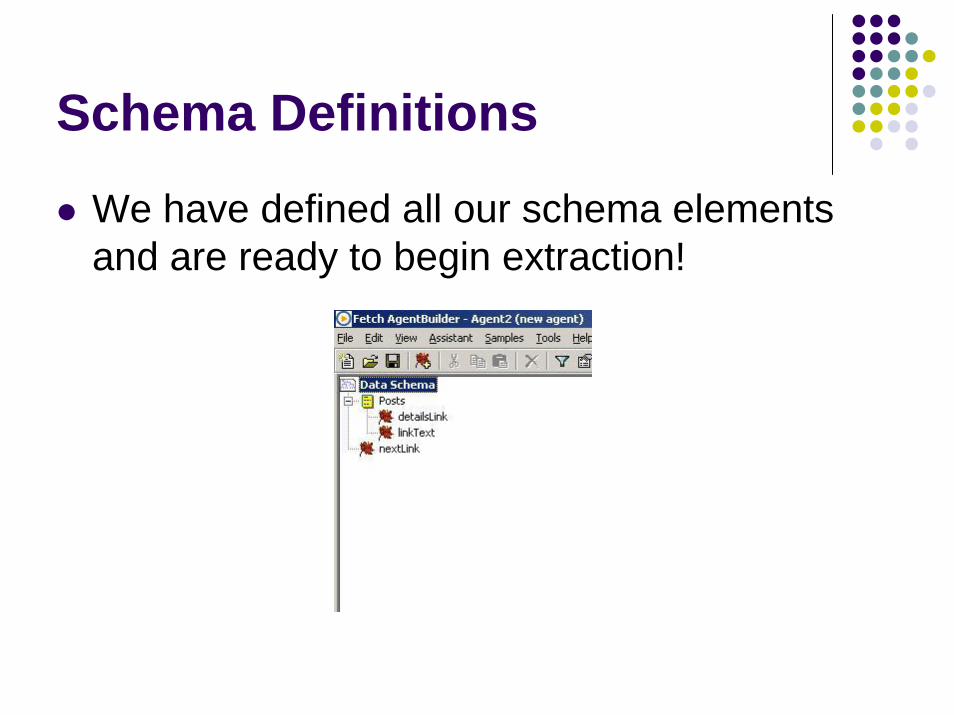
We have defined all our schema elements and are ready to begin extraction!

Training AB for Extraction
Top right cornerselect training pageright click and select "Use for training“Note we are in “Train” tab
Training AB for ExtractionDrag and drop elements from HTML to Agent
Can have null values (check in Validation too!)Drag and Drop troubles: go directly into the html
Click the Source tabhighlight the item yourself and drag it over
Personally: I define more than 1, 2, last elements for Lists
Right click on item, add element after, repeat…Add new pages for training:
Click “Add pages…” and supply URLs.

Add more pages to train
Drag and DropAdding more
rows

Learning Extraction Rules
Train some pagesDifferent cases = more robust rules
Learn extraction rules. Click on the Owl icon "Learn Rules" Be patient: hard rules take time to learn!(Remember we’re in the “train” tab)


Yikes…Errors!
Relax, take a deep breath…Mark-Up errors
User mistakes: You accidentally mark the wrong stuff
It can help you find theseSource errors: Sometimes weirdness in pages
Trick: Disable all training files (right click Disable)Enable them one at a time and retrain

Congratulations!
You can now extract:Lists of detail links and their textNext linksYou are officially an information extractor!
What to do with next links?Want recursive naviagtion
Get pages and pages of Toyotas…

Adding in anchor connectorsSwitch to agent layout (View Agent Layout). Right click on Wrapper2
Add a navigation connectorSelect anchor, select a currently defined data item: the “nextLink”. Select next, name it "NextLink" Uncheck the connectivity wizard, since you already have pages from the site. (Don't worry, we will use this wizard again in a second...)


Our new connector
Mouse over it and you can see its name, etc.Right click on it
"Add New Path" which gives you a little connector object. Just connect it back into Wrapper2.

What about the detailsLink?What can we do?
Iterate through a full list, following next linksWhat more do we want?
For each item in our list, get the details pageWhat do we have so far?
detailsLink tells us where to goWhat’s needed?
Follow detailsLink to a page and extract stuff from it
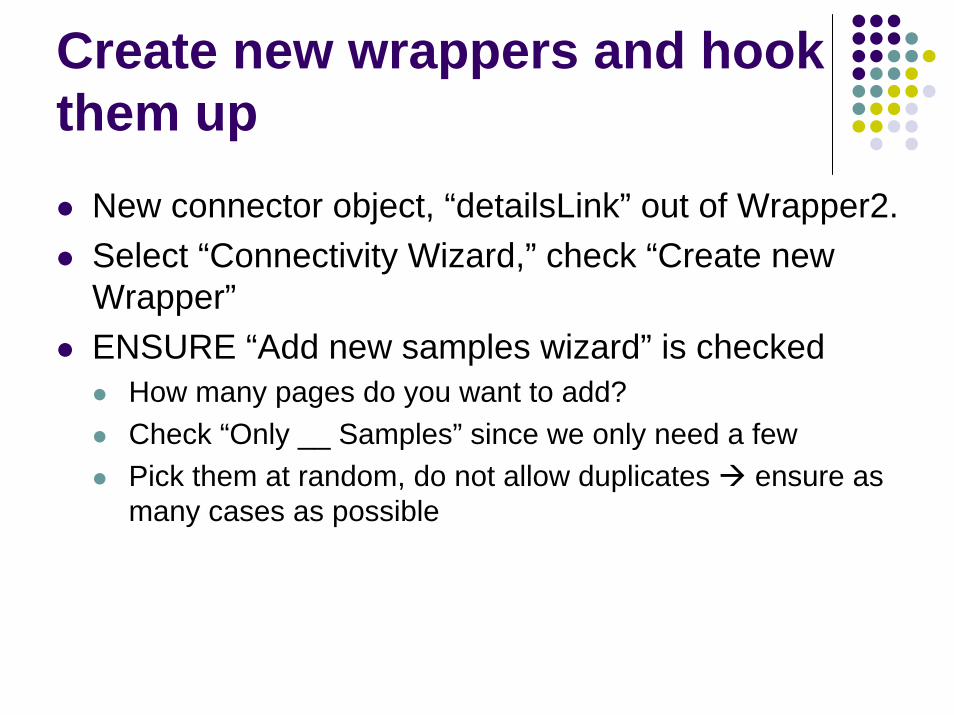
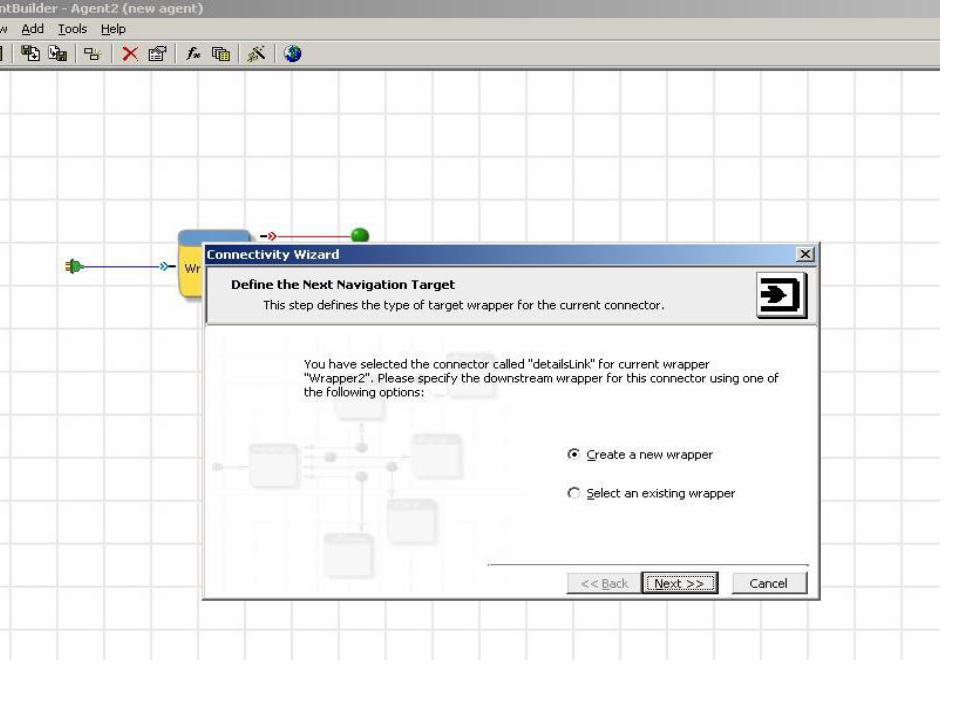
Create new wrappers and hook them up
New connector object, “detailsLink” out of Wrapper2.Select “Connectivity Wizard,” check “Create new Wrapper”ENSURE “Add new samples wizard” is checked
How many pages do you want to add?Check “Only __ Samples” since we only need a fewPick them at random, do not allow duplicates ensure as many cases as possible

Details Page Wrapper
We can navigate and get details pages now!What do we want?
Reply-to email addressTime stamp of post
How do we define the schema?How do we train the extractor?

Finishing up…We can do all our extraction, but we’re not quite doneGo into Agent Layout (View Agent Layout)Click on the wand (“Generate the plan…”)
Save the agent (if you haven’t)name the agent: Lastname_firstname_hwXname the plan: Production
My mistake: always forget to keep the name Production!
Things to remember
Name your agents Lastname_Firstname_HWXIf you don’t see a needed button, check which tab you are inRemember to name your plan Production!

Second Piece: Running Agents
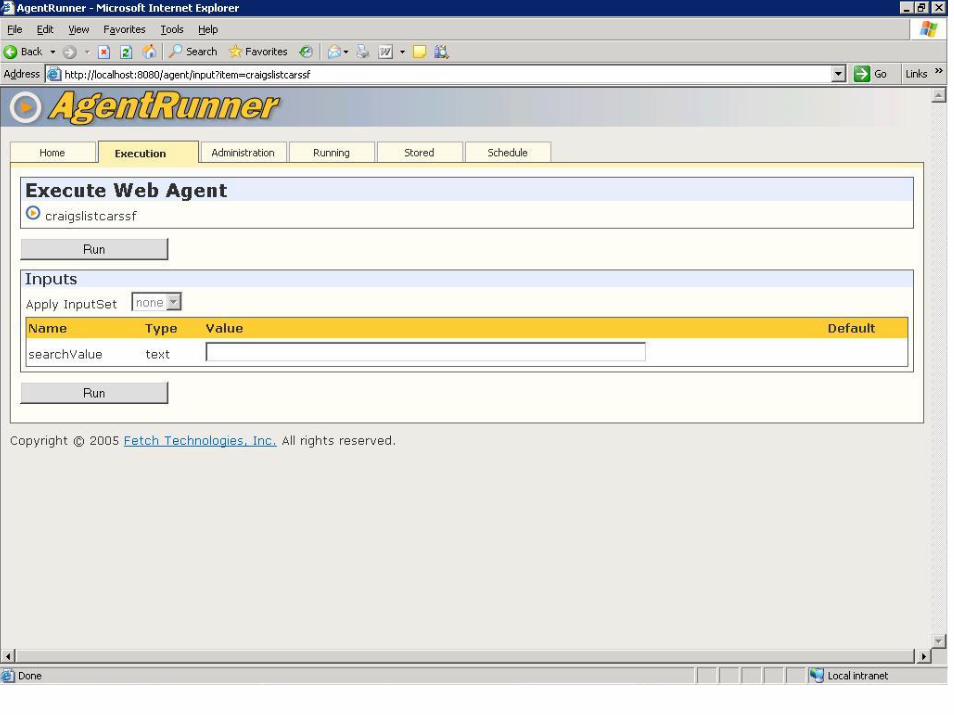
Agent RunnerHosts and runs agents

Once you copy your agent…
Start Agent Runner (if it’s not running)Start Programs Fetch Agent Runner start Agent Runner (wait for it to start…)
Agent Runner Web InterfaceStart Programs Fetch Agent Runner Web Interface


Enabling your agent
In Admin tabClick on Grey arrow, it will turn GreenAgent is now enabled
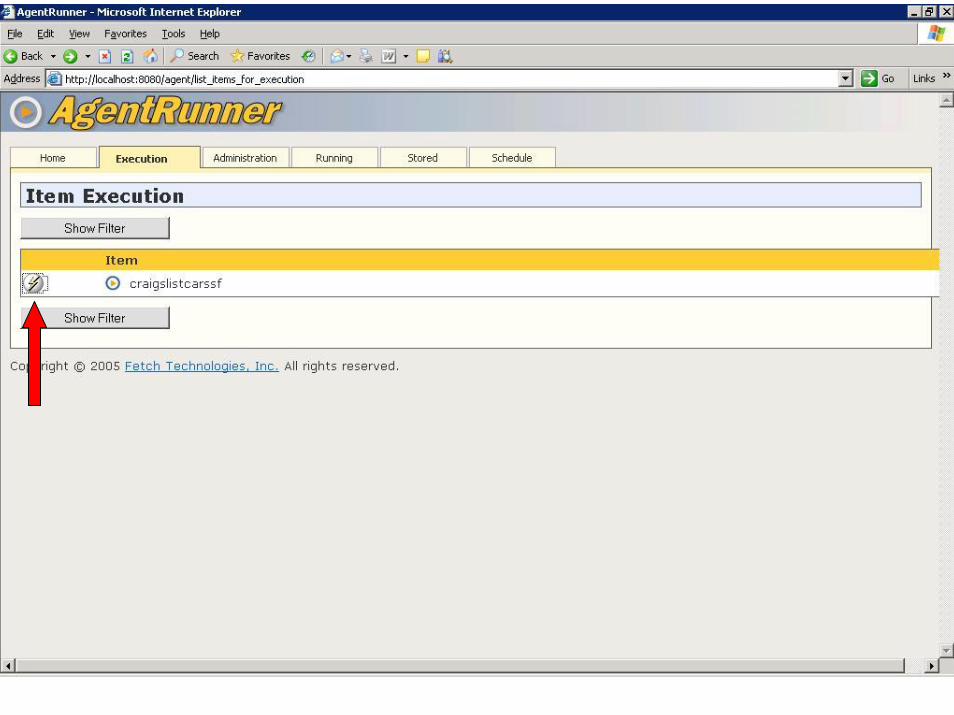
Click Execution tabIf your agent is enabled, you will see it with a lightening bolt next to itClick the lightening bolt to get to your entry connector starting point
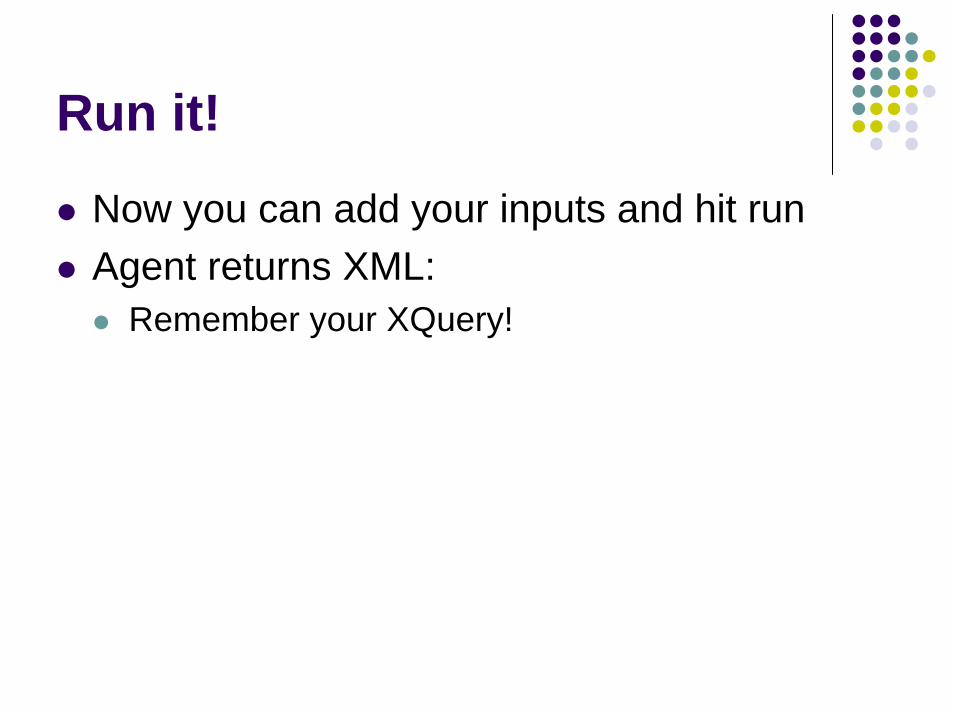
Run it!
Now you can add your inputs and hit runAgent returns XML:
Remember your XQuery!