living with the lab. David Hall Louisiana Tech University [email protected]. Getting your Arduino to Work: Microsoft Windows. Install Arduino programming environment Install Arduino Uno driver Make sure you can download a program (a “sketch”) from your computer to your Arduino. - PowerPoint PPT Presentation
22
Getting your Arduino to Work: Microsoft Windows 1.Install Arduino programming environment 2.Install Arduino Uno driver 3.Make sure you can download a program (a “sketch”) from your computer to your Arduino living with the lab David Hall Louisiana Tech Universi [email protected]
Transcript
Getting your Arduino to Work: Microsoft Windows
1. Install Arduino programming environment
2. Install Arduino Uno driver
3. Make sure you can download a program (a “sketch”) from your computer to your Arduino
• download the installation file from the following website:
arduino.cc/en/Main/Software
• save the downloaded file to a folder on your computer
1. install Arduino IDEIDE = Integrated Development Environment
3
living with the lab
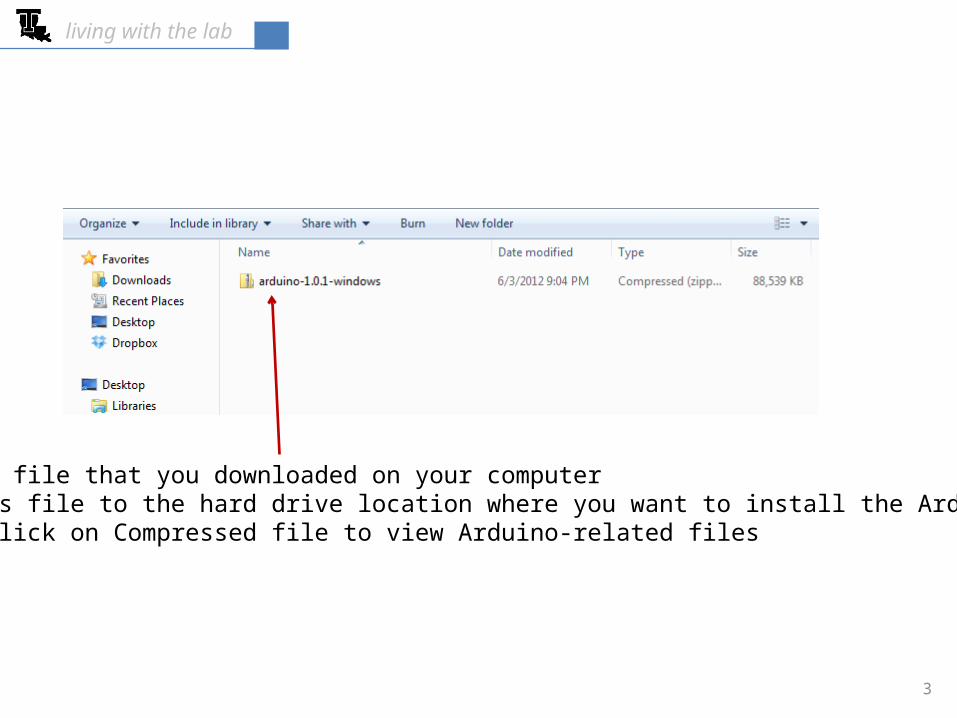
• find the file that you downloaded on your computer• copy this file to the hard drive location where you want to install the Arduino software• double click on Compressed file to view Arduino-related files
4
living with the lab
• navigate to this folder• double click on the arduino application
• click on “Extract all”• this will take a few minutes• when finished, plug in your Arduino with the USB cable
2. install driver
5
living with the lab
click on “Hardware and Sound”
living with the lab
6
click on “Device Manager”
living with the lab
7
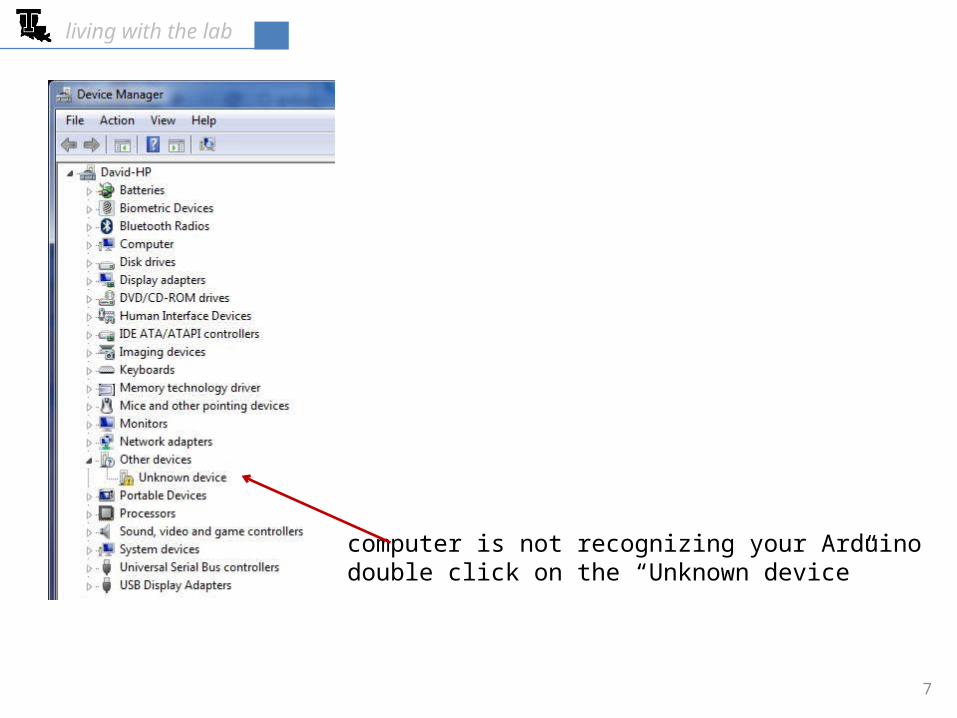
• computer is not recognizing your Arduino• double click on the “Unknown device”
living with the lab
8
click on “Update Driver”
living with the lab
9
click on “Browse my computer for driver software”
living with the lab
10
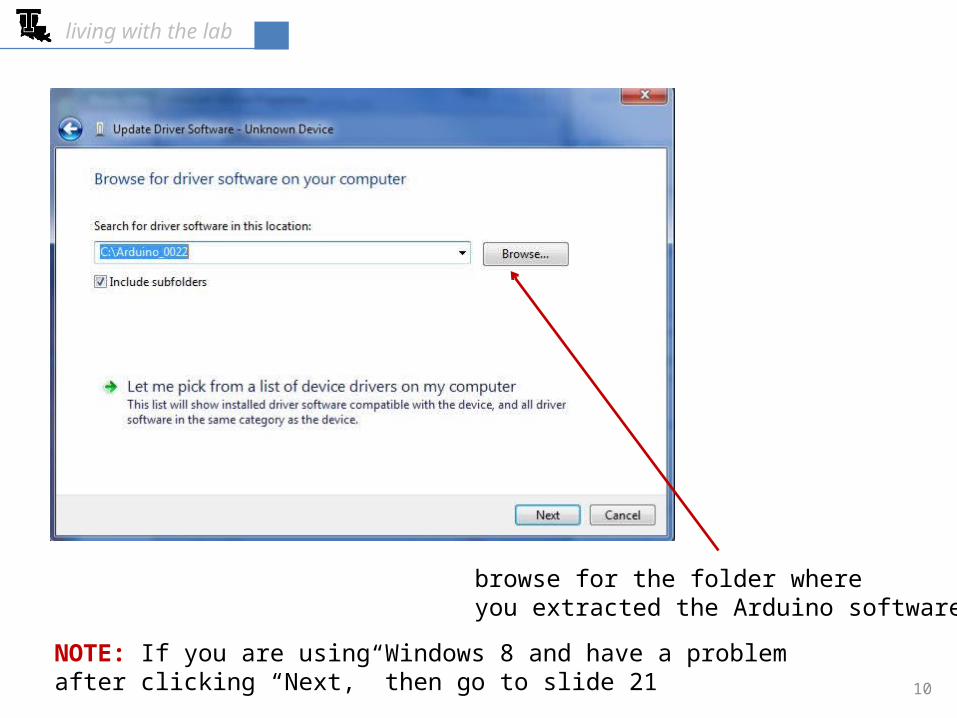
browse for the folder whereyou extracted the Arduino software
NOTE: If you are using Windows 8 and have a problem after clicking “Next,” then go to slide 21
living with the lab
11
select folder where Arduino software was extracted . . . Windows will automatically search subdirectories
living with the lab
12
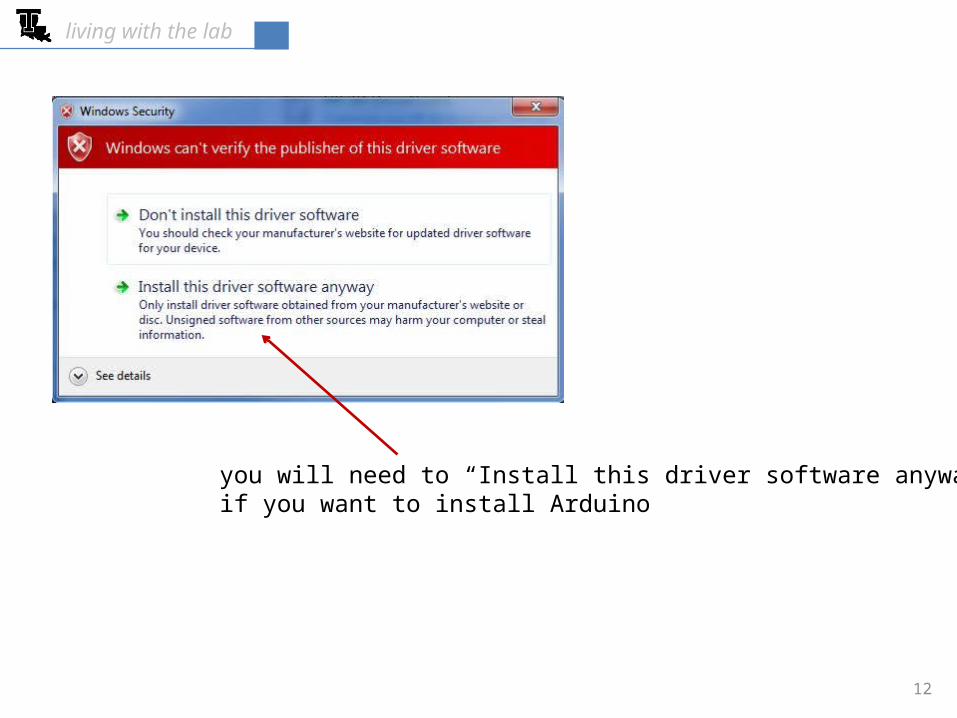
you will need to “Install this driver software anyway” if you want to install Arduino
living with the lab
13
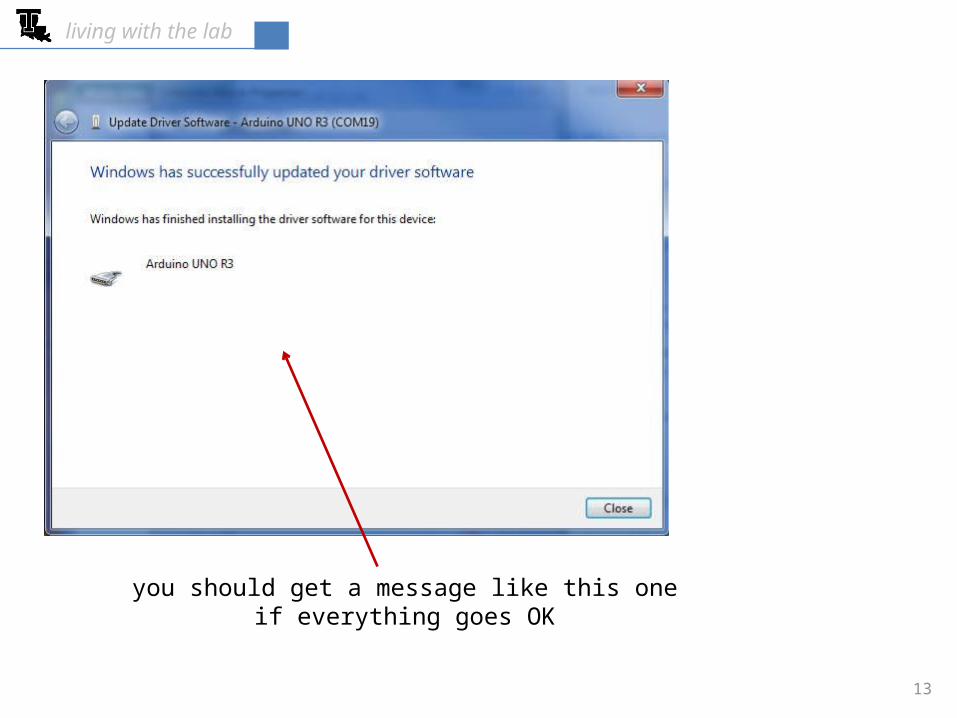
you should get a message like this oneif everything goes OK
living with the lab
14
notice that your Arduino is now recognized
living with the lab
15
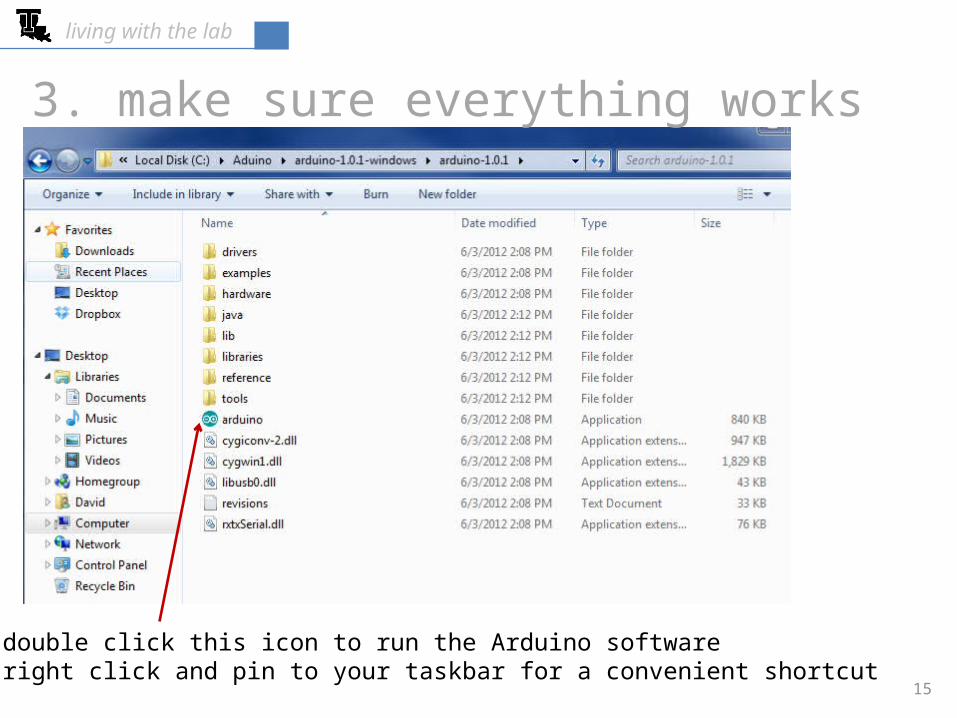
• double click this icon to run the Arduino software• right click and pin to your taskbar for a convenient shortcut
3. make sure everything works
living with the lab
16
• click Tools > Board (Arduino Uno should be highlighted)
living with the lab
17
• click Tools > Serial Port • click in the box beside the COM port if a checkmark is not present (this
will make a checkmark appear if one was not there already)• the checkmark means that your computer sees your Arduino• if no checkmark appears, go back to Device Manager to see what’s up
living with the lab
18
• click File > Examples > Basics > Blink• this will bring up a simple program on your computer screen
living with the lab
19
• clicking “upload” icon sends program to your Arduino
living with the lab
20
• the “TX” and “RX” LEDs will flash as the program is downloaded to the Arduino
• you will see the LED labeled “L” start blinking• this means that it works!!!
• also watch your computer screen to see the status
• if there’s a problem, it will show up here
living with the lab
21
A solution to this problem is available at http://arduino.cc/forum/index.php?topic=94651.15
windows 8 issue: when installing the drivers, you may experience the error below
complete the procedure below: http://arduino.cc/forum/index.php?topic=94651.15
1. Windows Key + R2. Enter shutdown.exe /r /o /f /t 003. Click the "OK" button4. System will restart to a "Choose an option" screen5. Select "Troubleshoot" from "Choose an option" screen6. Select "Advanced options" from "Troubleshoot" screen7. Select "Startup Settings" from "Advanced options" screen8. Click "Restart" button9. System will restart to "Advanced Boot Options" screen10. Select "Disable Driver Signature Enforcement"11. Once the system starts, install the Arduino drivers as you would on Windows 7
after your computer restarts, return to slide 5 and continue the installation
http://www.youtube.com/watch?v=CdE72XUYC7k
Another method is presented in this YouTube video:


![Getting Started With Arduino (2009) Reilly] [Make]_retallat_3fpp](https://static.documents.pub/doc/80x56/577d22341a28ab4e1e96d1ba/getting-started-with-arduino-2009-reilly-makeretallat3fpp.jpg)


