22
COMPUTER CLASS GIMP
| Date post: | 28-Mar-2016 |
| Category: |
Documents |
| Upload: | mayra-soto |
| View: | 213 times |
| Download: | 0 times |

C O M P U T E R C L A S S
GIMP

SELECT THE PHOTO
• File
• Open
• Backdrop picture (background picture)
• Click Open
• File
• Open as layers (the first photo)
• Open
• Select Scale Tool
• Scale Layer (make the picture small):
• Width/Height/Reset/scale down/Press
Enter and Confirm
Move

• Select Move Tool
• Select Scale Tool and make it smaller if you need it.
• Move it with Scale Tool. Press the magnifier to Zoom it.
• Now make Rendering/Select Tool (rope).
• At the bottom of the Toolbox Check mark:
Antiliasing/Feather edge GO RENDERING!
1
2
3

• View/ Zoom/ 25%
• Select/ Invert
• Edit/Cut
• Select/None
• move use:
• To convert small the
picture use SCALE
Press SCALE

SHADOWS
• Brush/Black
1
2
3
Press paintbrush
Brush
Black fuzzy brush (17)

1
2
Add:
1. Layer
2. Mask
3. Add Layer Mask
4. White
5. As rendering you
are going to fuzz
6. Apply Layer Mask
3
5

1 2
3
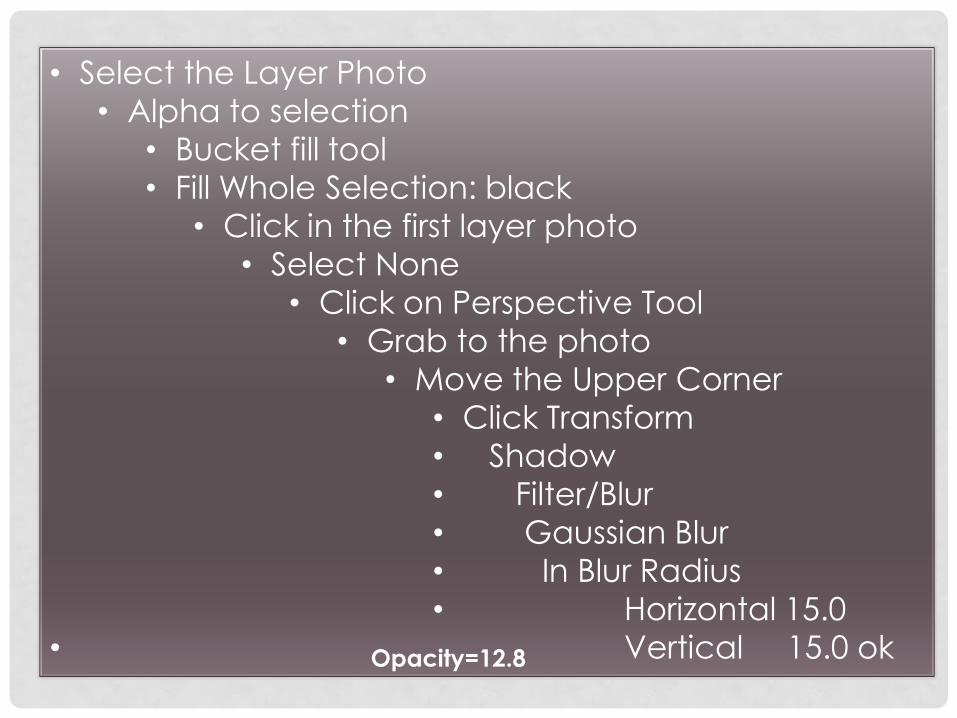
• Select the Layer Photo
• Alpha to selection
• Bucket fill tool
• Fill Whole Selection: black
• Click in the first layer photo
• Select None
• Click on Perspective Tool
• Grab to the photo
• Move the Upper Corner
• Click Transform
• Shadow
• Filter/Blur
• Gaussian Blur
• In Blur Radius
• Horizontal 15.0
• Vertical 15.0 ok Opacity=12.8

WORK WITH COLORS
• Colors
• Curves
• Channel the red curve
• Value
• YOU ARE GOING TO SELECT ANOTHER LAYER AND
REPEAT THE STEPS.

2
1
3


THE PHOTO AS SKETCH
• Open as layer
• Scale to enlarge/to
enlarge the picture
• Move to the right
position
• Perspective Tool
• Transform

A PHOTO AS SKETCH
• Colors
• Desaturate (remove colors)
• Lightness/OK
• Filters/artistic/photocopy/
• mask radius (+- 13.52)
• Sharpness (1.000)
• Percent black (1.000)
• Percent white (.493)
• OK

• Colors/ colors to Alpha/
• Select White Color Alpha/ok
• Filters/artistic/cartoon
• Filters/Distorts/Shift/Shift Amount 14/OK

PUT THE PENCIL INTO HIS HAND
• The pencil:
• File/open as layer/ render it
• Then Select Rotate Tool
• When you rotate the pencil
the rotate window show
you the angle …so click on
Rotate buttom
Rotate

MOVING THE PENCIL
• Move the pencil into the hands, rotate it as
necessary…
• In LAYERS click Opacity
• Click Zoom in
• Select the Eraser Tool/Fuzzy Brush
• Then erase the part hand is cover with the pencil.
• Then go to Colors/Curves
• Move the curve to make the pencil with lighter
color.

BRIGHTNESS/CONTRAST
• Click on COLORS/ BRIGHTNESS AND CONTRAST