11
Hard Floor Care VCT floor stripping This presentation is available for review at: http://blog.wsd.net/custodians
| Date post: | 18-Dec-2015 |
| Category: |
Documents |
| Upload: | william-ryan |
| View: | 217 times |
| Download: | 1 times |

Hard Floor CareVCT floor stripping
This presentation is available for review at: http://blog.wsd.net/custodians
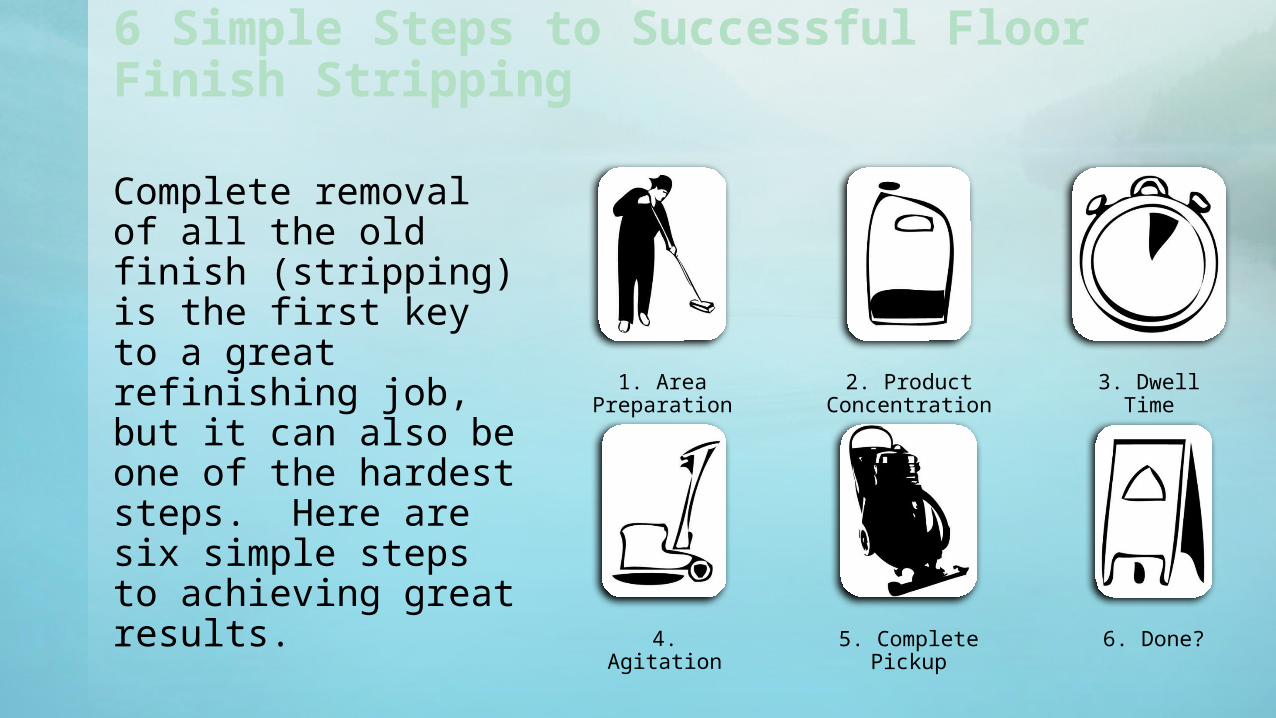
6 Simple Steps to Successful Floor Finish Stripping
2. Product Concentration
3. Dwell Time
4. Agitation 5. Complete Pickup
1. Area Preparation
6. Done?
Complete removal of all the old finish (stripping) is the first key to a great refinishing job, but it can also be one of the hardest steps. Here are six simple steps to achieving great results.

Supplies Before getting started, let’s make sure we are ready to do the job!
1. PPE! (gloves, traction shoes, safety glasses)2. Physical barrier, caution tape, wet floor signs3. Slow speed buffer / Oscillating scrubber4. Wet/Dry Vacuum with squeegee tool5. Doodle bug tool6. Putty knife/scraper7. High Productivity pads8. Large white terry cloth towels9. 3-4 Mop buckets with mops10.Painters/Duct tape11.Floor stripping chemical12.Trash bags13.Never use an auto scrubber to strip a floor!

1. Area PreparationIn order to have a beautiful floor finish, preparation is key! If the area is not prepared correctly you could damage the floor, waste product, or both. Some parts of area preparation include:
• Clearing the area of furniture and large objects
• Sweep, remove gum and floor debris
• Blocking off doorways to prevent foot traffic
• Taping off thresholds and transitions to prevent chemical bleed through to unwanted areas.

1. Area Preparation (continued)• Time. Is there any activity that will conflict with the
stripping/re-finishing process? Plan for cleanup time as well.
• Crew. Do you have sufficient crew to do the job? Have they been given clear job assignments? 4 minimum.
• Plan your exit so you don’t mop yourself into a corner. Know where your water source is so that you can get to it throughout the process.

2. Product ConcentrationThe proper dilution of chemicals along with the proper conditions is vital in affectively stripping floor finish. A few things to consider when mixing your stripping chemical are:
• Always use cool water
• Always fill the measured amount of water and then add the measured amount of chemical
• We currently use P&G Pro Line Stripper which is mixed 1:8 (16 ounces of chemical to 1 gallon of water)
• Follow manufacturer’s instructions for chemical use and safety
• There is a 2 year maximum chemical shelf life.

3. Dwell TimeThe chemical cannot do its job without sufficient dwell time. A few points for dwell time:
• Spread the stripper evenly over the floor and allow at least 10 minutes dwell time.
• Depending on the finish, temperatures, and number of layers, dwell time can vary.
• Make sure that the stripper doesn’t dry out by sprinkling more water as needed.
• If the stripper dries, the finish will be much harder to remove on the next attempt.

4. AgitationNow that the floor finish is liquefied, it’s time to scrub. Important parts of this step include:
• Never use an auto scrubber when working with floor stripper.
• Make sure to use a correctly sized high productivity pad.
• Move at a steady, slow pace overlapping passes to make sure not to miss anything. Make several passes.
• Check your pad regularly. Flip or change pads at least every 125 square feet.
• Pay attention to corners and edges using a doodlebug and putty knife.
• Be careful, the floor will be slippery! Always use proper PPE.

5. Complete PickupIf the slurry isn’t completely picked up, residue and defects will show through! Here are a few points to consider.
• Use a wet/dry vacuum to pick up the slurry.
• Follow immediately after the wet/dry vacuum with a rinse mop so the floor doesn’t dry and harden.
• Wipe down base boards, edges and doors before they can dry. The residue is easy to remove when wet but very difficult if dried.
• Have 2 or 3 rinse mop buckets to rotate through. Change the water out as it gets cloudy.
• Continue to rinse until the water stays clear to make sure you leave no residue. Usually 4 or more passes.
• If residue is left behind the floor will be powdery when dry.

6. Done?Check the floor after it has dried.
• It should be evenly dull with no shiny spots and color should be even. If any finish is left, you are not done! Strip numerous times if necessary.
• There should not be any powder residue or tile color bleed off.
• Corners and edges?
• Repeat the process on any shiny spots.
• Do not apply finish over unevenly stripped floors!

Clean upThe job isn’t done until you have cleaned up the tools you used!
• Like the base boards, if residue is left on equipment it is very hard to remove.
• Pull tape and towels and make sure no residue is left on thresholds and transitions.


