5
Hobbyking mini stick laser cut kit http://www.hobbyking.com/hobbyking/store/uh_viewitem.asp?idproduct=18996

Hobbyking mini stick laser cut kit
http://www.hobbyking.com/hobbyking/store/uh_viewitem.asp?idproduct=18996

1. Assemble the fuselage.
1.01 Assemble the 3pcs frames and servo mounting bases (13,14,15) to the side cover (20).
1.02 Assemble the cover of the other side (20).
1.03 Assemble the frame reinforcing bar at the bottom of the fuselage (09).
01.02 Vertical Tail 03 Horizontal Tail 04 Wing Tips 05 Wing Rib(2pcs in middle) 06 Wing Cover 07 Trailing Edge 08 Leading Edge 09 Reinforcing Bar 10 Beam 11 Aileron 12 Wing Rib 13 Landing skid Reinforcing bar 14,15 Frame 16 Motor mounting base 17 Fuselage front cover 18 Fuselage bottom cover 19 Fuselage above
cover 20 Fuselage sides
cover
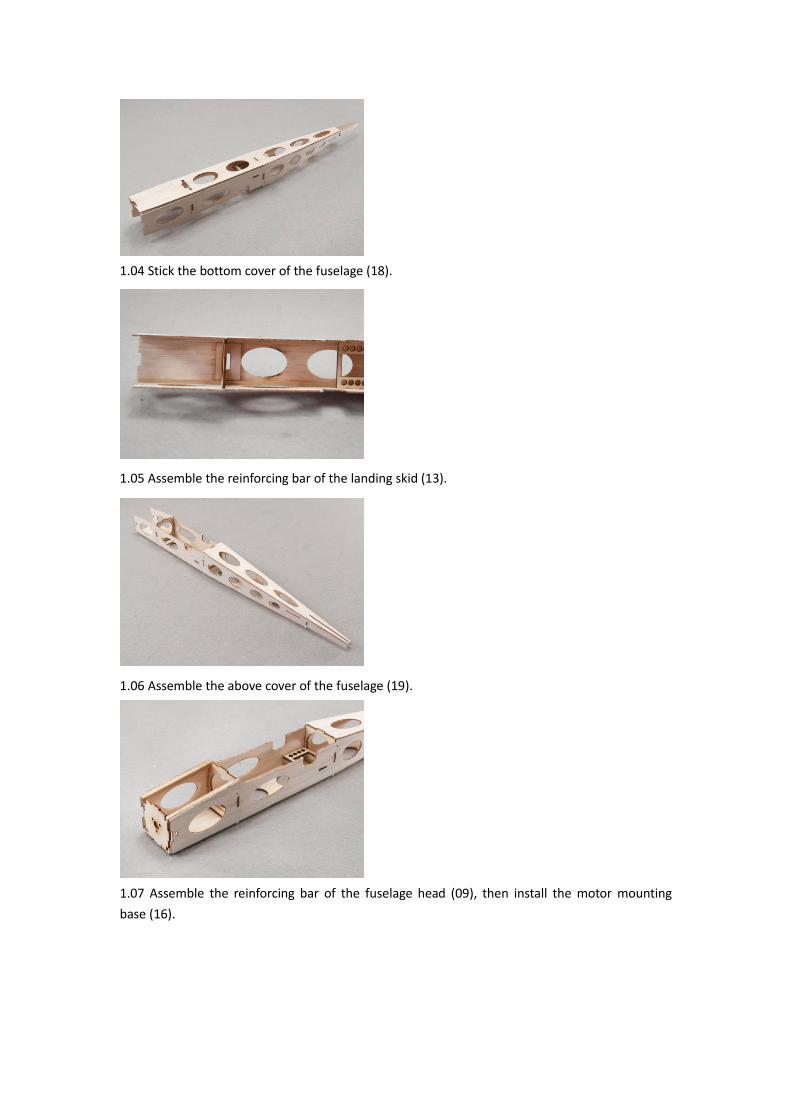
1.04 Stick the bottom cover of the fuselage (18).
1.05 Assemble the reinforcing bar of the landing skid (13).
1.06 Assemble the above cover of the fuselage (19).
1.07 Assemble the reinforcing bar of the fuselage head (09), then install the motor mounting base (16).

1.08 Assemble the head cover (17), then the fuselage assembling finished.
NOTICE: While assembling the horizontal tail (03) and vertical tail (01.02) ,which all need to be covering separately. 2. Assemble the wing
2.01 Assemble the wing ribs (12) to beam (10)and notice the ribs(05*2)at the middle of the the beams.
2.02 Assemble the trailing edge (07) of the wing.

2.03 Stick the cover (06) of the above and below wings.
2.04 Stick the leading edge bar (08), and polish smoothly.
2.05 Assemble the wing tips (04), then the wing assembling finished.
Make cover for the fuselage, vertical tail, horizontal tail, wing, and aileron, then start to install the power system.


