9
How to Send an Announcement
| Date post: | 31-Dec-2015 |
| Category: |
Documents |
| Upload: | daria-cardenas |
| View: | 17 times |
| Download: | 4 times |

How to Send an Announcement

Welcome
• This tutorial will take you through the steps to introducing you and your new Local listing to members.

Local Announcement
• 1 – Sign In– Make sure you are signed in.– Go to “My Local Listing”

Local Announcement
• 2 – Complete A Few Steps First– Sending an announcement sends an email to the
current members in your area, announcing that a new Local business has joined the site.
– This allows you to get in front of people that may not be familiar your business.

Local Announcement
• 2 – Complete A Few Steps First (cont)– Before you send an announcement you want to make
sure you’ve:– Completed the listing setup process
• When you announce your Local listing, you want to make sure members have all of the information about your business.
– Completed the coupon setup process• To take full advantage of your announcement, we recommend
that you add a coupon to your listing prior to sending an announcement.– Important Note: You can only do this one time (per location), so it’s
important to get the most out of your announcement.

Local Announcement
• 3 – Complete the Announcement Form– Find the “Send
Announcement” link in your Local Listing Menu.
Local Announcement
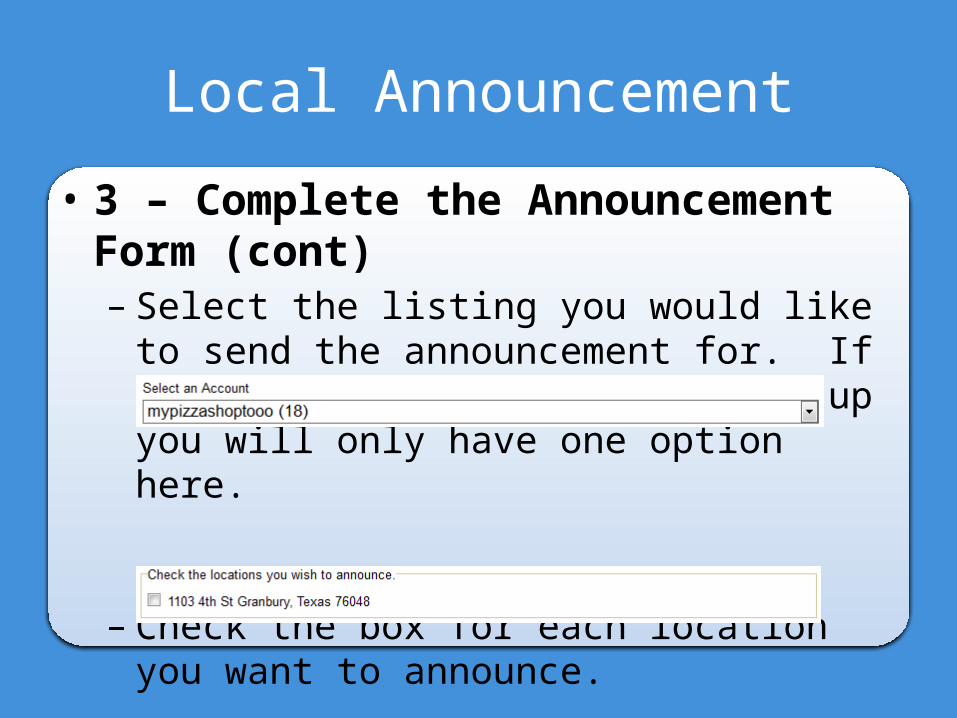
• 3 – Complete the Announcement Form (cont)– Select the listing you would like to send the
announcement for. If you only have one location set-up you will only have one option here.
– Check the box for each location you want to announce.

Local Announcement
• 3 – Complete the Announcement Form (cont)– Enter a name for the email “from” field. Typically
the business name.
– Select a coupon to send in the announcement.

Local Announcement
• 3 – Complete the Announcement Form (cont)– The members in the
surrounding area will receive a message with information about your business that looks like this:


