2
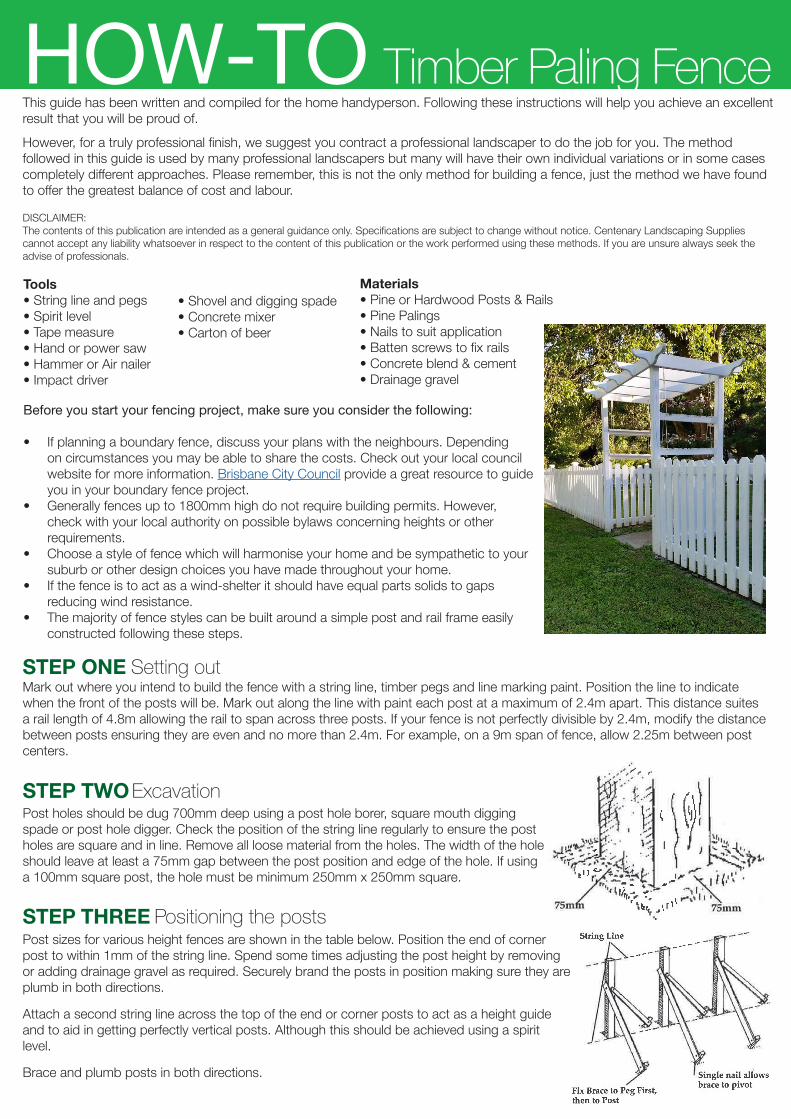
This guide has been written and compiled for the home handyperson. Following these instructions will help you achieve an excellent result that you will be proud of. However, for a truly professional finish, we suggest you contract a professional landscaper to do the job for you. The method followed in this guide is used by many professional landscapers but many will have their own individual variations or in some cases completely different approaches. Please remember, this is not the only method for building a fence, just the method we have found to offer the greatest balance of cost and labour. DISCLAIMER: The contents of this publication are intended as a general guidance only. Specifications are subject to change without notice. Centenary Landscaping Supplies cannot accept any liability whatsoever in respect to the content of this publication or the work performed using these methods. If you are unsure always seek the advise of professionals. STEP ONE Setting out HOW-TO Timber Paling Fence Before you start your fencing project, make sure you consider the following: • If planning a boundary fence, discuss your plans with the neighbours. Depending on circumstances you may be able to share the costs. Check out your local council website for more information. Brisbane City Council provide a great resource to guide you in your boundary fence project. • Generally fences up to 1800mm high do not require building permits. However, check with your local authority on possible bylaws concerning heights or other requirements. • Choose a style of fence which will harmonise your home and be sympathetic to your suburb or other design choices you have made throughout your home. • If the fence is to act as a wind-shelter it should have equal parts solids to gaps reducing wind resistance. • The majority of fence styles can be built around a simple post and rail frame easily constructed following these steps. Mark out where you intend to build the fence with a string line, timber pegs and line marking paint. Position the line to indicate when the front of the posts will be. Mark out along the line with paint each post at a maximum of 2.4m apart. This distance suites a rail length of 4.8m allowing the rail to span across three posts. If your fence is not perfectly divisible by 2.4m, modify the distance between posts ensuring they are even and no more than 2.4m. For example, on a 9m span of fence, allow 2.25m between post centers. STEP TWO Excavation Post holes should be dug 700mm deep using a post hole borer, square mouth digging spade or post hole digger. Check the position of the string line regularly to ensure the post holes are square and in line. Remove all loose material from the holes. The width of the hole should leave at least a 75mm gap between the post position and edge of the hole. If using a 100mm square post, the hole must be minimum 250mm x 250mm square. STEP THREE Positioning the posts Post sizes for various height fences are shown in the table below. Position the end of corner post to within 1mm of the string line. Spend some times adjusting the post height by removing or adding drainage gravel as required. Securely brand the posts in position making sure they are plumb in both directions. Attach a second string line across the top of the end or corner posts to act as a height guide and to aid in getting perfectly vertical posts. Although this should be achieved using a spirit level. Brace and plumb posts in both directions. Tools • String line and pegs • Spirit level • Tape measure • Hand or power saw • Hammer or Air nailer • Impact driver Materials • Pine or Hardwood Posts & Rails • Pine Palings • Nails to suit application • Batten screws to fix rails • Concrete blend & cement • Drainage gravel • Shovel and digging spade • Concrete mixer • Carton of beer