12
How to Use the LulzBot 3D Printer

How to Use the LulzBot 3D Printer

Important Policies and Prohibited Uses
To ensure that the use of the 3D printers promotes an ethical learning environment, the creation
of certain projects is prohibited. Users will not create projects which:
1. Violate local, state, or federal law
2. Unsafe, harmful, dangerous or poses a threat to the well-being of others (i.e. printing 3D
weapons)
3. Violates any of the policies outlined in the Scot’s Key
Educational Technology staff reserves the right to refuse any projects or fabrication requests.
Abiding by The Scot’s Key (The College of Wooster Code of Social Responsibility 2018-2019),
the creation of weapons with any college technology resources and services is prohibited. Based
on the following codes from The Scot’s Key:
In accordance with Ohio’s Concealed Carry law, College Policy prohibits handguns on
College property, in College-owned or leased vehicles, and while conducting College
business. Individuals who have been issued by the state of Ohio to carry a concealed
weapon are not exempt from the provisions of this policy…Under no circumstances are
other weapons or objects carried for the purpose of injuring or intimidating others
permitted on College property, including outdoor areas…Other weapons or objects
include, but are not limited to: all types of firearms; mace/pepper spray; tasers and other
similar devices; switchblade knives and knives with a blade longer than four
inches...explosives including blasting caps and other detonation devices; pellet guns,
paintball guns, BB guns, brass knuckles, slingshots, martial art weapons, and chains.
Violation of this policy will result in disciplinary action that may include separation from
the College.
This policy applies to all employees (faculty and staff), students, contract and temporary
workers, vendors, consultants, and anyone visiting or conducting business on College
property. Violation of this policy will result in disciplinary action that may include
separation from the College. (“Firearms and Other Weapons”, 40-41).
It is expected that individuals using the College’s technology resources and services will
do so in a responsible fashion. As technology resources and services are essential for the
College to engage in its core mission, users conserve such resources, are considerate of
other uses, and adhere to all applicable policies, laws, and regulations.
The College views misuse and abuse of technology resources and services as a serious
offense. Such abuse includes but is not limited to: using technology resources and
services to violate any of the Codes that govern behavior in the College
community…using any College technology resources for commercial purposes. (“Use of
Computers and Information Technology”, 56).
As policy under “Use of Computers and Information Technology,” the College must
abide by local, state, and federal laws. Under federal law known as the “Undetectable
Firearms Act of 1988,” a gun made 100% of undetectable materials (such as plastic) is
prohibited.
Section 2. Undetectable Firearms Act

(A)Prohibitions:
(1) It shall be unlawful for any person to manufacture, import, sell, ship, deliver,
possess, transfer, or receive any firearm…
(B) Any major component of which, when subjected to inspection by the types of
x-ray machines commonly used at airports, does no generate an image that
accurately depicts the shape of the component…
(2) For purposes of this subjection
(A) The term “major component” means, with respect to a firearm, the barrel, the
slide or cylinder, or the frame or receiver of the firearm; and
(B) The term “Security Exemplar” means an object, to be fabricated at the
direction of the secretary, that is
(i) constructed of, during the 12- month period beginning on the date of the
enactment of this subsection, 3.7 ounces of material type 17-4 PH stainless steel
in a shape resembling a handgun… [3.7 ounces of steel often are accounted for in
the firing pin] (Public Law 100-649, 100th Congress)
The creation of plastic guns is strictly prohibited under federal law and the College’s code of
behavior. Members of the College including, students, staff, faculty, contract workers, temporary
workers, and visitors of the College are expected to abide by these policies and laws.
Once informed of the proper usage of College technology resources and services, the issue
should resolve with no production of weapons or firearms. Failure to abide by this policy after
will result in a report to Educational Technology staff, Campus Security and Protective Services,
and proper administrative officials. Students and employees (faculty and staff) may face
judiciary hearings as outlined in The Scot’s Key. Violators may also be in contact with local law
enforcement as needed.

Lulzbot
Figure 1 Front of Lulzbot
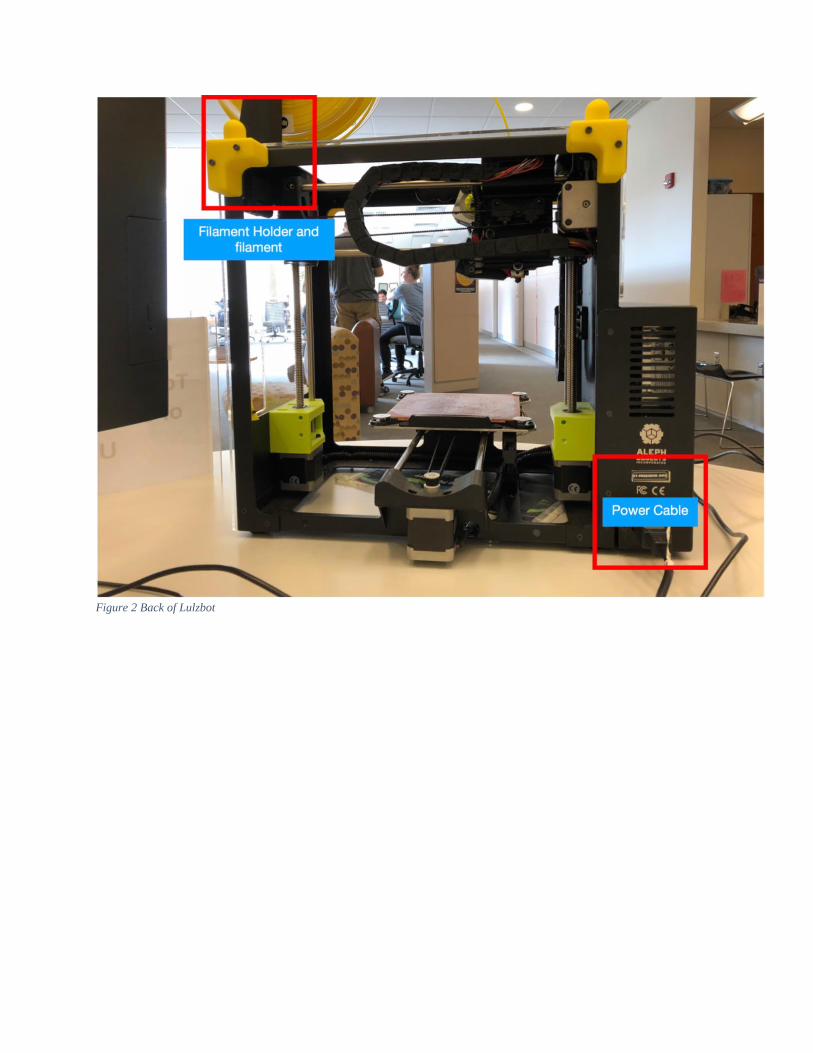
Figure 2 Back of Lulzbot

Figure 3 Filament and Tool Head
Plastic Types

Cura Lulzbot Interfaces
Figure 4 Cura Home Prepare Interface

Figure 5 Cura Print Interface

Figure 6 Cura Manual Control and Commands

How to Setup the Printers
Step 1: Setting up the Printer
4. Set up the printer by plugging it and connecting it to the computer via the usb cord. The usb
cord connection should already be plugged into the printer.
5. Sign into the computer using your credentials.
6. Turn on the power to the printer.
7. Set up the provided signs near the computers to warn other users about the computer and
printers in use.
8. Place the plexi glass covers on the printers.
9. Lay out the tools to be used for removing the prints (i.e. the knives)
Step 2: Launching Cura
After the computer loads, launch Cura. The latest stable version is 3.2.23. Information about the
updates to Cura is available at Aleph Objects INC, you are encouraged to read it to understand the
interface better.
Step 3: Connecting the Printer
1. Navigate and click on the monitor icon in at the top of the application next to "prepare."
2. Scroll down to "manual control" and click on connect. The computer and the printer should
now connect. If there is an error, you will receive it at the top of the page.
Step 4: Cleaning Before Printing
1. The bed should be wiped down before and after each print with Isopropyl alcohol. You will
find this on either on the cart or available on the shelf with the 3D printer filament. You only
need to dampen the cloth slightly to clean the bed.
2. Once the bed has been cleaned, you can now load the cleaning filament into the print head to
clean it. Use this when you are changing between filaments to ensure there are no clogs.
To clean the print head:
1. Load the cleaning filament into the print head like the regular filament (See “Preparing to
Print” below for loading the filament)
2. Heat the head up to 250 degrees
3. Extrude 4-8 times until all you see is the clear cleaning filament extruding from the head
4. Remove the cleaning filament in order to load the printing filament
Step 5: Preparing to Print
1. Load the chosen filament into the printhead extruder (*see images below for reference)
2. Once the filament has been loaded correctly, heat up the extruder to the correct temperature
for the filament in order to extrude. The filament temperature is available in the booklet on
the cart.
3. To start a print, use the drop-down menu, "File" and then "New Project."
4. On the left-hand side, you will see the similar commands of laying it flat, rotating and more.

5. At the bottom of the screen, you have the option to save the file for later or to "Print via usb."
Click "print via usb" to begin the job.
6. You can now navigate back to the other screen to see how long the print will take.
Loading the Extruder1
1. To heat up the old filament plastic, return to the print monitor console and heat the
temperature specific for that plastic.
2. Unscrew the feeder by sliding the plastic tab with the two screws up until it is loose
3. Remove the old filament by pulling it out of the feeder and take a new filament and feed it
into the feeder.
4. Move the piece of plastic with the two screws back over the bottom piece of plastic and snap
it back into place
5. Now, return to the control panel and make sure the feeder is sitting over top of the print bed
by using the controls. The arrows on the circle allow you to adjust the location of the print
nozzle, and the print bed, such that you can line them up.
1 Images courtesy of Lulzbot manual

Step 6: Finishing the Print
1. When the print has finished, the printer will stop the head, retract it, and move the bed to
cool.
2. The print is finished and cooled when the bed moves to the front of the printer again.
3. Carefully utilize the spatulas and knifes provided in order to remove the print. You may
find that for some prints it is easier to remove the print before the bed has cooled all the
way.


