6
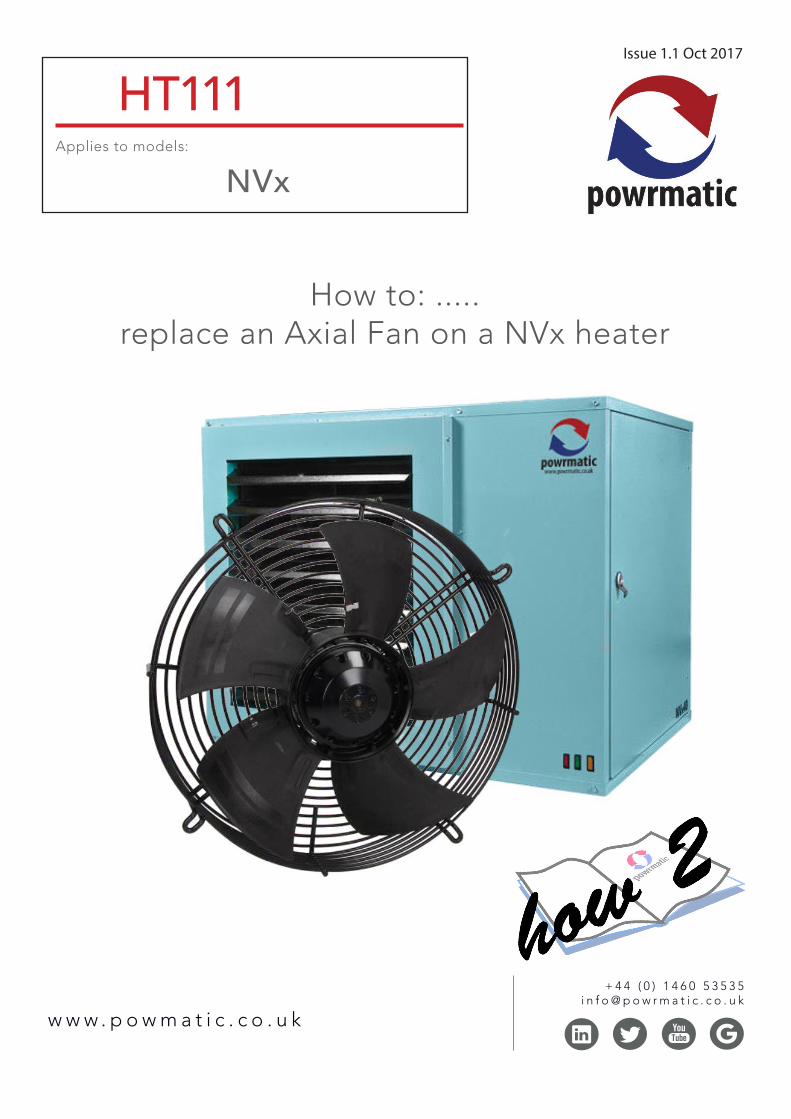
www.powmatic.co.uk +44 (0) 1460 53535 [email protected] Applies to models: How to: ..... replace an Axial Fan on a NVx heater Issue 1.1 Oct 2017 HT111 NVx
w w w . p o w m a t i c . c o . u k
+ 4 4 ( 0 ) 1 4 6 0 5 3 5 3 5i n f o @ p o w r m a t i c . c o . u k
Applies to models:
How to: .....replace an Axial Fan on a NVx heater
Issue 1.1 Oct 2017
HT111
NVx

page no. 2 of 6 Replacement NVx Axial Fan Doc ref: H2:111 issue1.1 Oct 2017.
1.1 Main fan from rear.
1.2 Undo cable gland
from rear panel.
1.3 Remove electrical
panel cover to remove
cable.
1.4 Remove main fan
cables t12 from terminal
strip.
WARNING: Always switch off and disconnect electricity supply and close service valve before carrying out any servicing or replacement of failed components.
1.5 Remove earth cables
for main fan.
1.6 Remove neutral cable
for main fan.
1.7 Remove all cables
from any electrical panel
glands.
1.8 Remove fan motor
terminal box cap.
Procedure

page no. 3 of 6 Replacement NVx Axial Fan Doc ref: H2:111 issue1.1 Oct 2017.
1.13 Carefully remove
fan securing bolts
ensuring fan does not
drop!.
1.14 Carefully withdraw
fan assy.
1.15 If necessary to
remove the fan back
plate, unscrew all fixing
screws.
1.16 Remove all fixing
screws.
1.9 Slacken fan motor
cable gland.
1.10 Pull terminal strip
away from the terminal
box.
1.11 Remove brown live,
blue neutral and earth
cable from terminals.
1.12 Remove wires from
cable gland and detach
cable from fan guard.

page no. 4 of 6 Replacement NVx Axial Fan Doc ref: H2:111 issue1.1 Oct 2017.
1.17 Carefully remove
the fan plate.
1.18 Where necessary,
replace the fan back
plate with fixing screws.
1.19 Carefully insert
new fan assembly into
housing.
Singular fans with
connector box gland
facing left, glands on
twin fans face each
other.
1.20 Relocate fixing
bolts through fan guard
ensuring washer and
AVM is used behind the
guard fixing point.
1.21 Tighten all bolts to
correct tension.
1.22 Re insert fan wires
through cable gland.
1.23 Replace fan cables.
Blue neutral to U2,
brown live wire to U1,
earth wire to earth.
1.24 Tighten fan motor
cable gland.

page no. 5 of 6 Replacement NVx Axial Fan Doc ref: H2:111 issue1.1 Oct 2017.
1.25 Replace main fan
cable brown to t12 to
terminal strip.
1.26 Replace neutral
cable for main fan.
1.27 Replace earth cable
for main fan.
1.28 Tighten cable
gland.
1.29 Check operation
of main fan and replace
electrical panel cover.

page no. 6 of 6 Replacement NVx Axial Fan Doc ref: H2:111 issue1.1 Oct 2017.
HEATING DIVISION
Hort Bridge
Ilminster, Somerset TA19 9PS
Tel: 01460 53535
Fax: 01460 52341
Every effort is made to ensure accuracy at time of going to press. However as part of continued product improvement,
we reserve the right to alter specification without prior notice.


