25
HTML FORMS
| Date post: | 24-Dec-2015 |
| Category: |
Documents |
| Upload: | cori-watts |
| View: | 222 times |
| Download: | 0 times |
HTML FORMS
FORMS
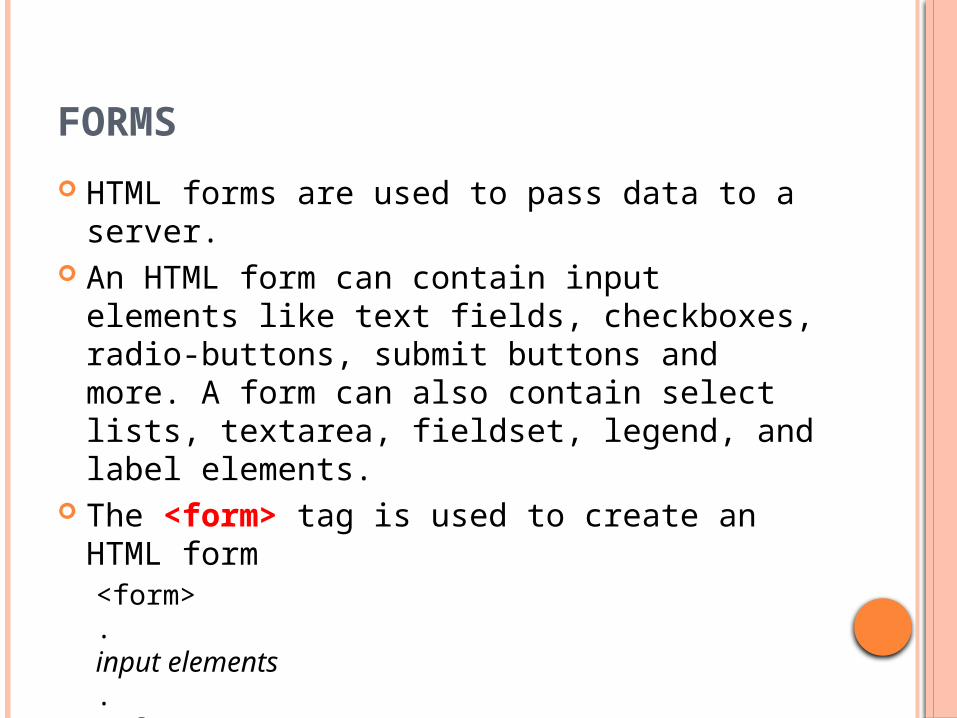
HTML forms are used to pass data to a server.
An HTML form can contain input elements like text fields, checkboxes, radio-buttons, submit buttons and more. A form can also contain select lists, textarea, fieldset, legend, and label elements.
The <form> tag is used to create an HTML form<form>.input elements.</form>

THE INPUT ELEMENT
The most important form element is the <input> element.
The <input> element is used to select user information.
An <input> element can vary in many ways, depending on the type attribute. An <input> element can be of type text field, checkbox, password, radio button, submit button, and more.

ATTRIBUTES FOR <INPUT>

THE INPUT ELEMENTS
Text Fields:<input type="text"> defines a one-line input field that a user can enter text into:<form>First name: <input type="text“ name="firstname"><br>Last name: <input type="text" name="lastname"></form>

THE INPUT ELEMENTS
Password Field:<input type="password"> defines a password field:<form>Password: <input type="password" name="pwd"></form>Radio Buttons:<input type="radio"> defines a radio button. Radio buttons let a user select ONLY ONE of a limited number of choices:<form><input type="radio" name=“gender“ value="male">Male<br><input type="radio" name=“gender“ value="female">Female</form>

THE INPUT ELEMENTS
Radio Buttons Attributes:

THE INPUT ELEMENTS
Checkboxes<input type="checkbox"> defines a checkbox. Checkboxes let a user select ZERO or MORE options of a limited number of choices.<form><input type="checkbox" name="vehicle" value="Bike">I have a bike<br><input type="checkbox" name="vehicle" value="Car">I have a car </form>

THE INPUT ELEMENTS
Checkbox Attributes:

THE INPUT ELEMENTS
Drop downs:<select name=“subject"> defines a drop down.<option value=“Algorithms”> defines the elements in drop down.
<form>
<select name="cars">
<option value="volvo">Volvo</option>
<option value="saab">Saab</option>
<option value="fiat">Fiat</option>
<option value="audi“ selected>Audi</option>
</select>
</form>

THE INPUT ELEMENTS
Attributes for <Select>
OPTGROUP
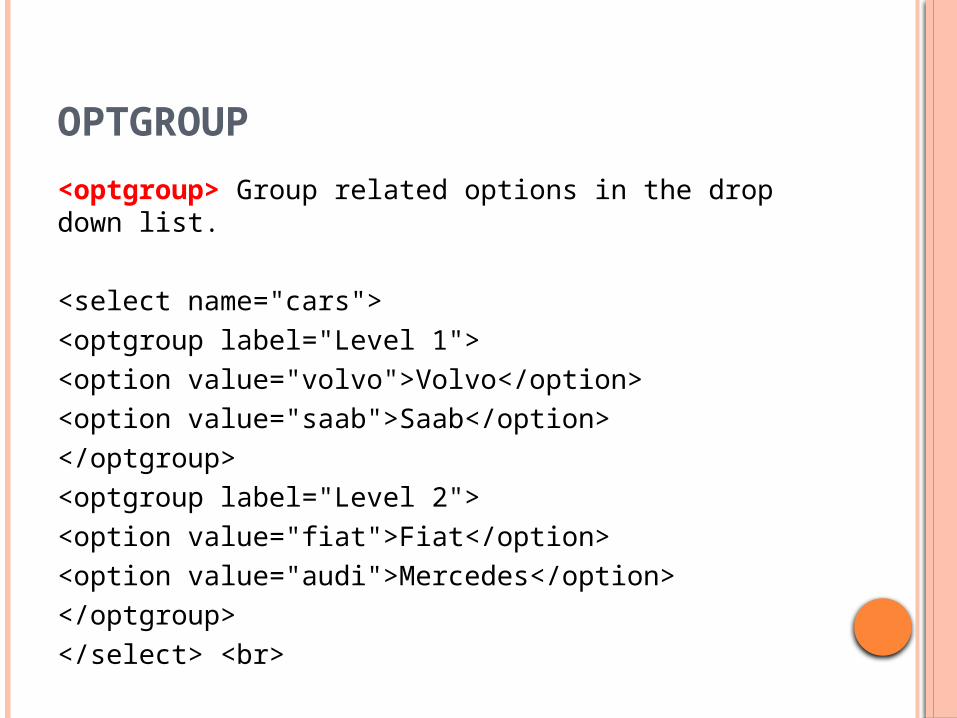
<optgroup> Group related options in the drop down list.
<select name="cars">
<optgroup label="Level 1">
<option value="volvo">Volvo</option>
<option value="saab">Saab</option>
</optgroup>
<optgroup label="Level 2">
<option value="fiat">Fiat</option>
<option value="audi">Mercedes</option>
</optgroup>
</select> <br>

THE INPUT ELEMENTS
Submit Button<input type="submit"> defines a submit button.A submit button is used to send form data to a server. The data is sent to the page specified in the form's action attribute. The file defined in the action attribute usually does something with the received input:<form name="input" action="html_form.htm" method="get">Username: <input type="text" name="user"><input type="submit" value="Submit"></form>

THE INPUT ELEMENTS
Reset Button<input type=“reset"> defines a Reset button.It creates a button that automatically resets form controls to their initial values.<input type="reset" value="Clear Form">

CREATING BUTTONS USING THE <BUTTON> ELEMENT
The <button> element is a more recent introduction that allows you to specify what appears on a button between an opening <button> tag and a closing </button> tag. So you can include textual markup or image elements between these tags.<button type=”submit”>Submit</button><button type=”reset”>I want to start again</button><button type=”button”><img src=”submit.gif” alt=”submit” /></button>

FIELD SETS
<fieldset> Group related elements in a form<legend> Gives the caption to the fieldset.
<fieldset><legend>Personal information:</legend>Name: <input type="text" size="30"><br>E-mail: <input type="text" size="30"><br>Date of birth: <input type="text" size="10"></fieldset>

TEXT AREA
<textarea> defines the area for text e.g. for comments <textarea> </textarea>You can define the area using the rows and columns attributes

CREATING LABELS FOR CONTROLS ANDTHE <LABEL> ELEMENT
<label> <label for=”Uname”>User name</label>
For controls that do not have a label, you should use the <label> element. This element does not affect the form in any way other than telling users what information they should be entering

TABBING ORDER
If you want to control the order in which elements can gain focus, you can use the tabindex attribute to give that element a number between 0 and 32767, which forms part of the tabbing order. Every time the user presses the Tab key, the focus moves to the element with the next highest tabbing order (and again, Shift+Tab moves focus in reverse order).
The following elements can carry a tabindex attribute:
<a> <button> <input> <object> <select> <textarea>

TABBING ORDER EXAMPLE<form name=”frmTabExample”><input type=”checkbox” name=”chkNumber” value=”1” tabindex=”3” /> One<br /><input type=”checkbox” name=”chkNumber” value=”2” tabindex=”7” /> Two<br /><input type=”checkbox” name=”chkNumber” value=”3” tabindex=”4” /> Three<br /><input type=”checkbox” name=”chkNumber” value=”4” tabindex=”1” /> Four<br /><input type=”checkbox” name=”chkNumber” value=”5” tabindex=”9” /> Five<br /><input type=”checkbox” name=”chkNumber” value=”6” tabindex=”6” /> Six<br /><input type=”checkbox” name=”chkNumber” value=”7” tabindex=”10” />Seven <br /><input type=”checkbox” name=”chkNumber” value=”8” tabindex=”2” /> Eight<br /><input type=”checkbox” name=”chkNumber” value=”9” tabindex=”8” /> Nine<br /><input type=”checkbox” name=”chkNumber” value=”10” tabindex=”5” /> Ten<br /><input type=”submit” value=”Submit” /></form>

SENDING FORM DATA TO THE SERVER
The method attribute can take one of two values, either get or post, corresponding to the HTTP methods used to send the form data. If the <form> element does not carry a method attribute, then by default the get method will be used. If you are using a file upload form control, you must choose the post method (and you must set the enctype attribute to have a value of multipart/form-data).

HTTP GET When you send form data to the server using the
HTTP get method, the form data is appended to the URL specified in the action attribute of the <form> element.
The form data is separated from the URL using a question mark. Following the question mark you get the name/value pairs for each form control. Each name/value pair is separated by an ampersand (&).
One of the great advantages of passing form data in a URL is that it can be bookmarked. If you look at searches performed on major search engines such as Google, they tend to use the get method so that the page can be bookmarked.

HTTP GET DISADVANTAGE The get method, however, has some
disadvantages. Indeed, when sending sensitive data such as the password shown here, or credit card details, you should not use the get method because the sensitive data becomes part of the URL and is in full view to everyone (and could be bookmarked).

SITUATIONS TO AVOID “GET”
❑ You are updating a data source such as a database or spreadsheet (because someone could make up URLs that would alter your data source).❑ You are dealing with sensitive information, such as passwords or credit card details (because the sensitive form data would be visible as part of a URL).❑ You have large amounts of data (because older browsers do not allow URLs to exceed more than 1,024 characters — although the recent versions of the main browsers do not have limits).❑ Your form contains a file upload control (because uploaded files cannot be passed in the URL).

HTTP POST When you send data from a form to the server
using the HTTP post method, the form data is sent transparently in what is known as the HTTP headers. While you do not see these headers, they are sent in clear text and cannot be relied upon to be secure (unless you are sending data under a Secure Sockets Layer, or SSL).
The only issue with using the HTTP post method is that the information the user entered on the form cannot be bookmarked in the same way it can when it is contained in the URL. So you cannot use it to retrieve a page that was generated using specific form data as you can when you bookmark a page generated by most search engines, but it is good for security reasons.


![Mrunal [Economy] Banking...Orms Explained - Mrunal](https://static.documents.pub/doc/80x56/55cf855d550346484b8d4923/mrunal-economy-bankingorms-explained-mrunal.jpg)


