27
HTML Forms
| Date post: | 14-Dec-2015 |
| Category: |
Documents |
| Upload: | andrew-hill |
| View: | 219 times |
| Download: | 0 times |

HTML Forms

Slide 2
Forms (Introduction) The purpose of input forms Organizing forms with a <fieldset>
and <legend> Using different <input> element types
to get user input A brief JavaScript introduction to show
the purpose of an input form
Slide 3
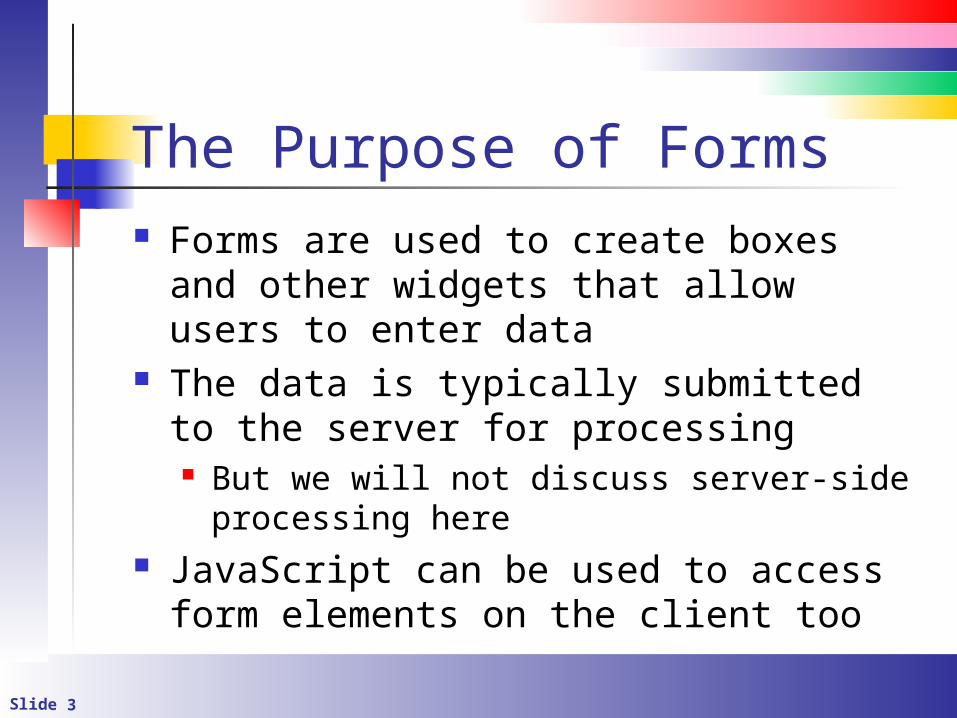
The Purpose of Forms Forms are used to create boxes and
other widgets that allow users to enter data
The data is typically submitted to the server for processing But we will not discuss server-side
processing here JavaScript can be used to access form
elements on the client too

Slide 4
Form (Posting) A form’s data may be sent to the server
in different ways: GET / data is sent in the URL POST / data is sent in the HTTP header
We won’t get into exactly how this works yet

Slide 5
History of Forms They have been the same “forever”
XForms tried and failed
Big changes in HTML 5 But they don’t break existing code Not all browsers support all features but
most features are supported

Slide 6
Important Elements (tags) The <form> element marks a region
used to get user input It is the form (and it’s elements) that are
posted to the server The <fieldset> element groups visible
elements in the form It appears as an immediate child of the <form> element

Slide 7
Important Elements (tags) The <legend> element draws a prompt
around the <fieldset> box It appears as a child of <fieldset>
Other elements appear inside of the <fieldset>

Slide 8
The <form> Element The action attribute contains the URL
where the data will be posted to the server This makes little sense now but will when we
talk about server-side processing The method attribute defines how the form is
posted get – data is posted in the ‘query string’ put – data is posted in the form’s header
Note the name attribute is deprecated (use id)

Slide 9
The <form> Element (Example) A first form with two text boxes:
<form action="demo_form.asp" method="get"> First name: <input type="text" name="fname"><br> Last name: <input type="text" name="lname"><br> <input type="submit" value="Submit"></form>

Slide 10
The <fieldset> Element (1) The <fieldset> element logically
groups visible controls The element must appear inside of a <form> element
A form can have multiple fieldsets A border is drawn around the <fieldset>

Slide 11
The <fieldset> Element (2) The <legend> element contains text
that appears in the border It must appear as an immediate child of <fieldset>

Slide 12
Important Elements (tags) The <label> element provides a visual
prompt for an <input> element The <input> element is used to create
a control that gathers user input Lots of new type attributes
The <textarea> element provides a multi-line input control
The <checkbox> element provides a check box that is checked or unchecked

Slide 13
Important Elements (tags) The <button> element is a clickable
button There are also radio buttons, list boxes,
and so on

Slide 14
The <label> element It’s a visible label that the user sees
Use it to create prompts Set the for attribute to the id property
of the related control When the user clicks on the label, it’s as if
the user clicked on the “for” element
It makes a click on the label focus the input element it is for.

Slide 15
The <input> Element The type attribute defines how the
element appears and how it operates Note that if the type is invalid or does
not exist, a text box is assumed

Slide 16
<input> Elements (List) New HTML 5 attributes

Slide 17
text <input> Elements text elements allow the users to enter
text into a text box password elements hides the characters
entered The value attribute stores the entered
value Example:<input id="name" type="text"
value="Enter Name" />

Slide 18
text <input> Elements <input>
There are several extensions (w3schools) The placeholder attribute displays
default text If the required attribute is set, the form
cannot be submitted until the user provides input
The required and optional attributes are used with CSS styles (pseudo classes) to set formatting

Slide 19
text <input> Elements <input>
The pattern attribute contains a validation regular expression
valid and invalid attribute determine which styles to apply to valid and invalid data
in-range and out-of-range attribute determine which styles to apply to valid and invalid data
There are several date types as shown in the example

Slide 20
text <input> Elements New <input> types
The email type marks an e-mail message The number type marks a number
Use min, max, step and value to define the range and default value
The new <input> control range type provides a slider Again, use min, max, and value to control
the range and current value

Slide 21
<textarea> Elements Use to create a scrollable multi-line text
box Set the rows attribute to define the
number of rows displayed Set the cols attribute to define the
number of columns display The value appears in the element
content

Slide 22
checkbox Element It’s a box that can be checked or
unchecked (a two-state control) The Boolean checked attribute indicates
whether the box is checked or not

Slide 23
radio <input> Elements Use to select one item from a list of
items Set the name attribute to the same value
to make the buttons appear as part of a group
Set the checked attribute to define the button selected by default
Handle the onchange event to do work when a radio button is selected

Slide 24
<select> Elements Use to select items from a drop-down list The child <option> elements contain the
drop-down items Handle the onchange event to do work
when an item is selected Read the selectedIndex attribute to get
the 0-based index of the selected item Read the value property to get the item’s
value;

Slide 25
<select> Elements (Examle) Create a select element with three drop-
down items

Slide 26
Buttons There are three types of buttons
submit – triggers the form’s action (GET or POST)
reset – reset the form’s fields to their initial values
button - action is controlled by client-side script
This is the button we will use in this course

Slide 27
HTML5 Form Improvements The <progress> and <meter> elements
provide a progress bar Set the <value> attribute to the current
value of the meter (between 0 and 1)


