HTML GUIDE Press F5 and then Click on the links on the left to get to the section you want Section 1: Getting Started Section 2: Moving Banner Section 3: Formatting text Section 4: Adding Images Section 5: Adding links to a web site Section 6:Adding sound Section 7: Common Tags Exi t Section 8: CSS Style Sheets
Transcript
HTML GUIDE
Press F5 and thenClick on the links on the left to get to the section you want
Section 1: Getting Started
Section 2: Moving Banner
Section 3: Formatting text
Section 4: Adding Images
Section 5: Adding links to a web site
Section 6:Adding sound
Section 7: Common Tags
Exit
Section 8: CSS Style Sheets
GETTIN
G STA
RTED
This
sec
tion te
lls y
ou h
ow to
beg
in
to m
ake
a w
eb p
age
CONTENTS
Back Next
Exit
Section 1
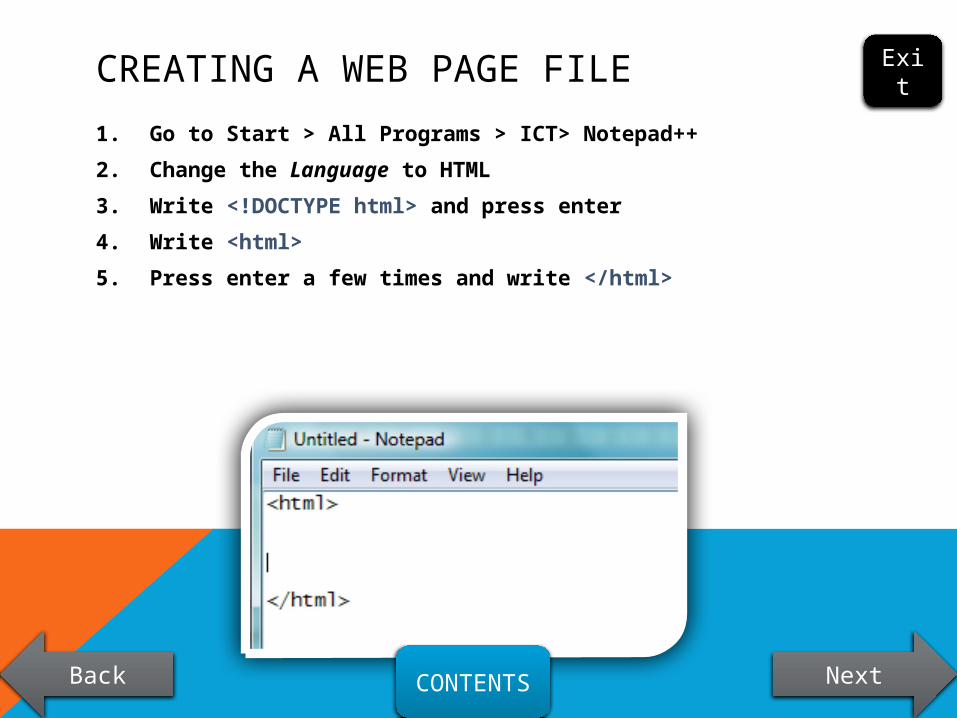
CREATING A WEB PAGE FILE
1. Go to Start > All Programs > ICT> Notepad++
2. Change the Language to HTML
3. Write <!DOCTYPE html> and press enter
4. Write <html>
5. Press enter a few times and write </html>
CONTENTS
Back Next
Exit
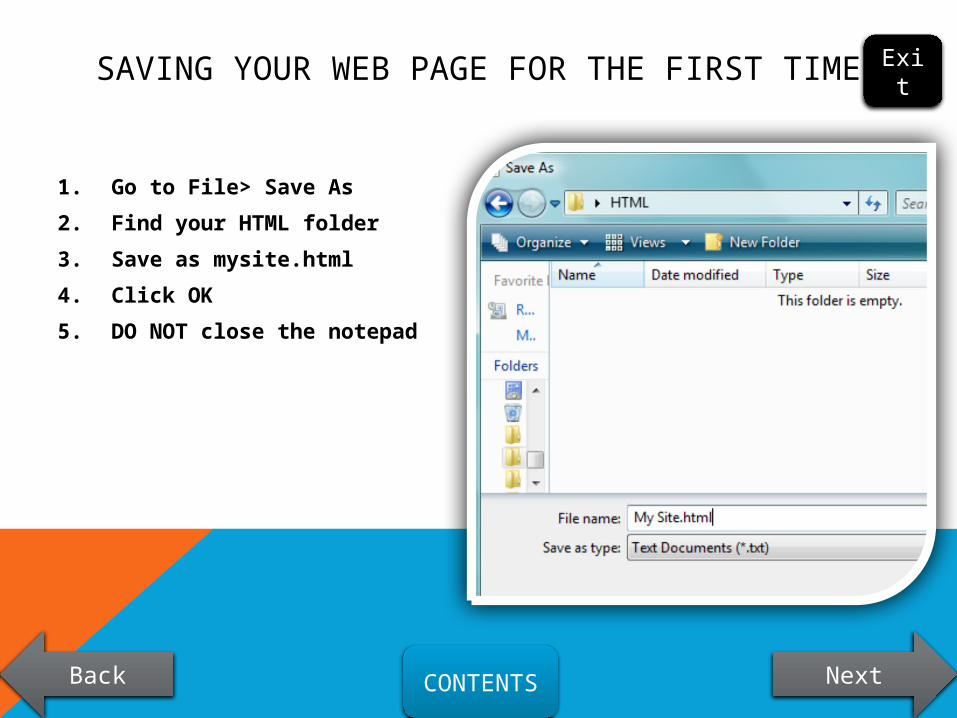
SAVING YOUR WEB PAGE FOR THE FIRST TIME
1. Go to File> Save As
2. Find your HTML folder
3. Save as mysite.html
4. Click OK
5. DO NOT close the notepad
CONTENTS
Back Next
Exit
TO OPEN YOUR WEB PAGE AS A WEB PAGE
1. Go to My Documents
2. Double click on mysite.html
3. DO NOT close this
CONTENTS
Back Next
Exit
SPLITTING YOUR PAGE INTO SECTIONS
1. The head section is the top section of the page
2. Between the tags <html> and </html>, write <head> and </head>
CONTENTS
Back Next
Exit
SPLITTING YOUR PAGE INTO SECTIONS
3. Between <head> and </head> write the <title> and </title>
4. Between <title> and </title> write the title of your webpage
5. Save
CONTENTS
Back Next
Exit
WHAT DOES IT LOOK LIKE SO FAR?
You should still have the web page up
Click refresh
If not open double click on mysite.html from your HTML folder
It should look like this
CONTENTS
Back Next
Exit
MAKING THE BODY
1. After </head> write <body>
2. Press enter
3. Type some text you want on your page
4. Press enter
5. Write </body>
6. Save
7. Click refresh on your web page
8. You should see the screen on the next slide
CONTENTS
Back Next
Exit
CONGRATULATIONS!!
You have successfully set up your first web page .
Keep working to see how fantastic your page can look...maybe be the best in the class?
CONTENTS
Back Next
Exit
MOVING BANNER
This feature allows you to create a banner across the top of your web page with text that moves
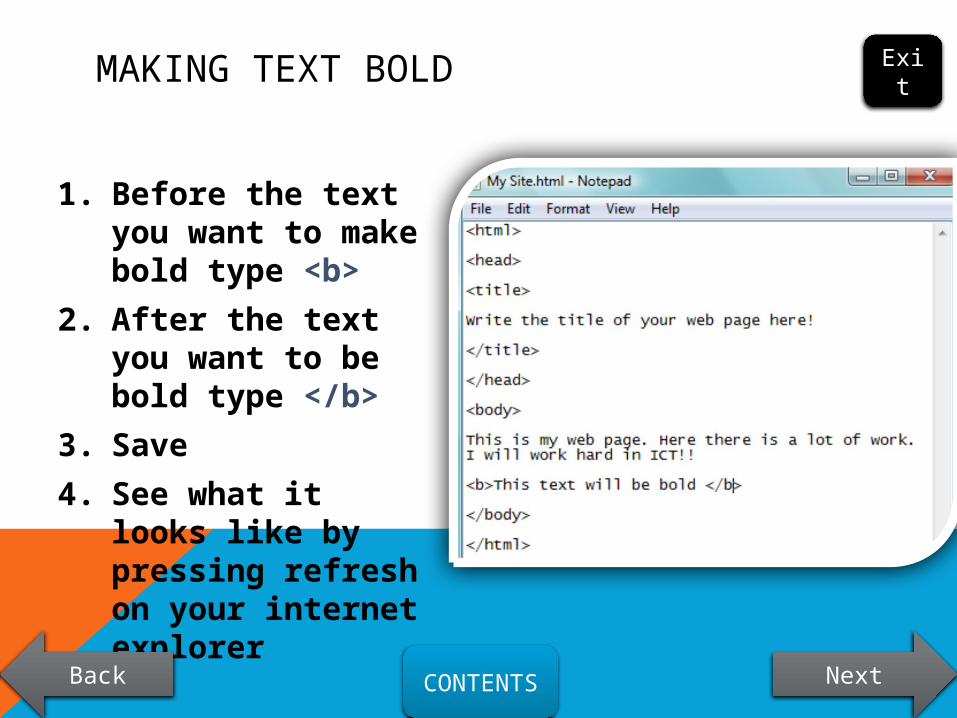
4. See what it looks like by pressing refresh on your internet explorer
CONTENTS
Back Next
Exit
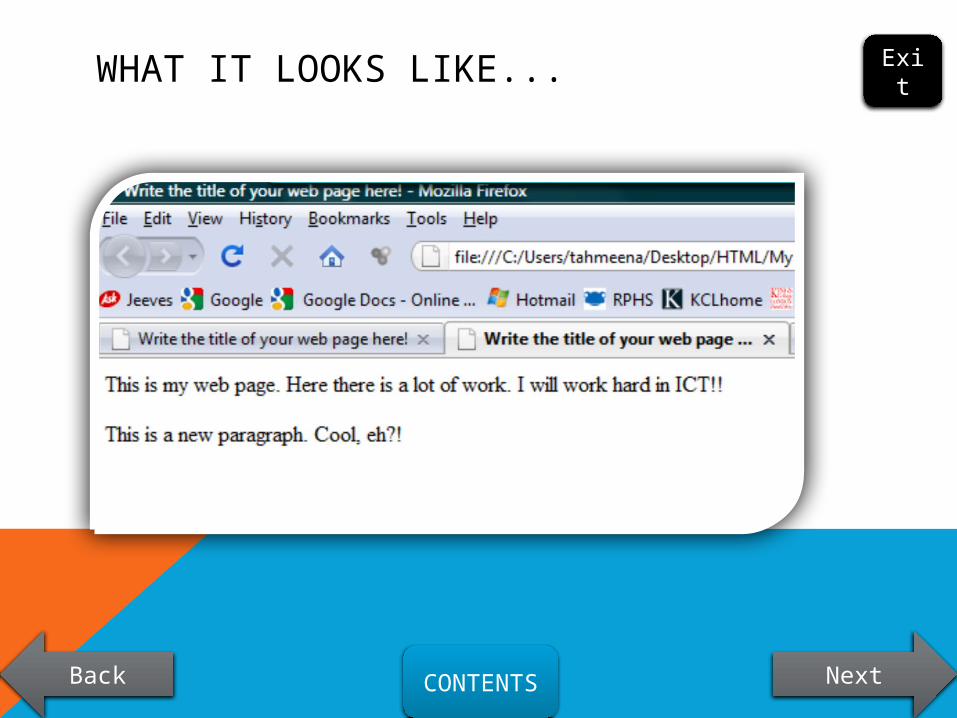
WHAT IT LOOKS LIKE...
CONTENTS
Back Next
Exit
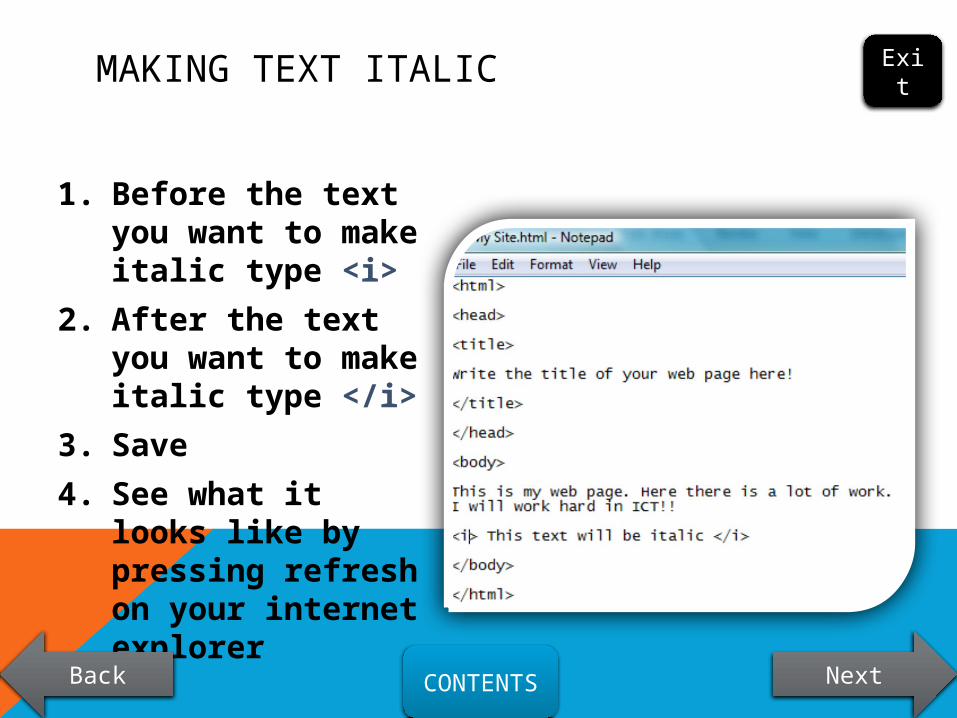
MAKING TEXT ITALIC
1. Before the text you want to make italic type <i>
2. After the text you want to make italic type </i>
3. Save
4. See what it looks like by pressing refresh on your internet explorer
CONTENTS
Back Next
Exit
WHAT IT LOOKS LIKE...
CONTENTS
Back Next
Exit
UNDERLINING TEXT
1. Before the text you want to underline type <u>
2. After the text you want to underline type </u>
3. Save
4. See what it looks like by pressing refresh on your browser(you should really only underline hyperlinks; you’ll learn about those, later)
CONTENTS
Back Next
Exit
WHAT IT LOOKS LIKE...
CONTENTS
Back Next
Exit
COMBINING FORMATTING
You can make text bold italic and underlined
Always close tags in reverse order
CONTENTS
Back Next
Exit
</u> </i> </b>
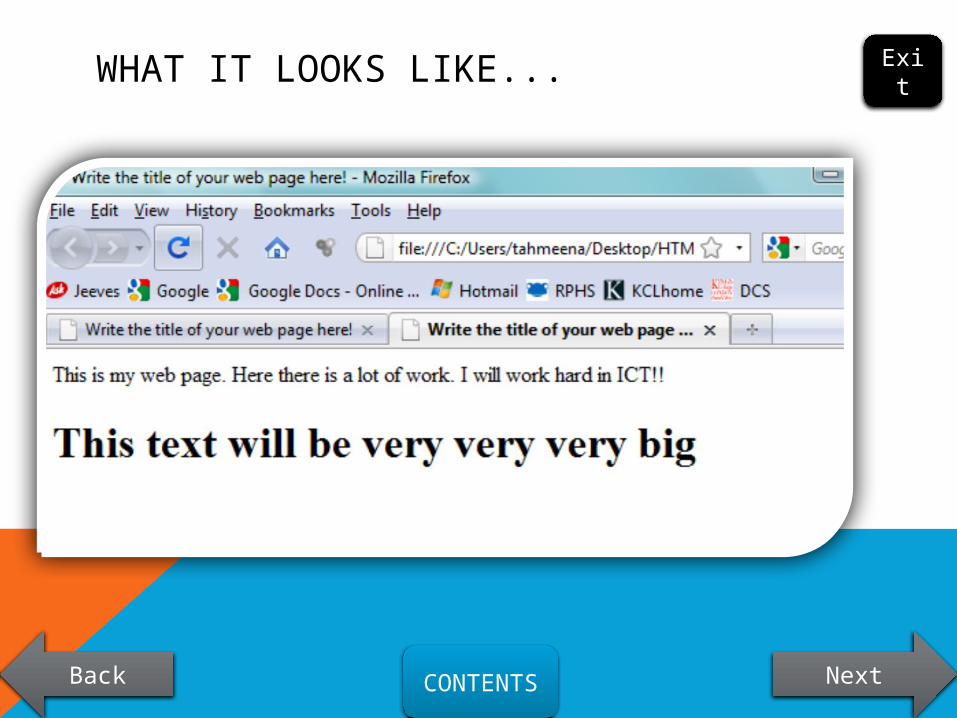
HEADING STYLES
1. To make text stand out as headings we can change the size of this text: h1 is the biggest size and h6 is the smallest
2. Before the text you want to make a heading type <h1> (if you want the heading to be really big!!)
3. After the text you want to make a heading type </h1>
CONTENTS
Back Next
Exit
WHAT IT LOOKS LIKE...
CONTENTS
Back Next
Exit
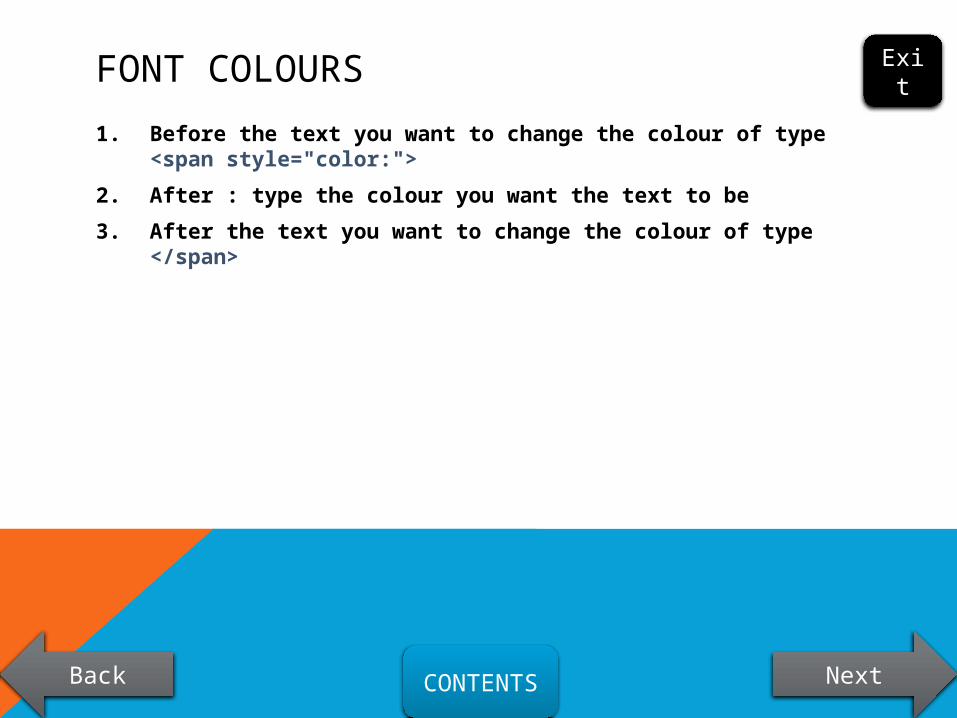
FONT COLOURS
1. Before the text you want to change the colour of type <span style="color:">
2. After : type the colour you want the text to be
3. After the text you want to change the colour of type </span>
CONTENTS
Back Next
Exit
WHAT IT LOOKS LIKE...
CONTENTS
Back Next
Exit
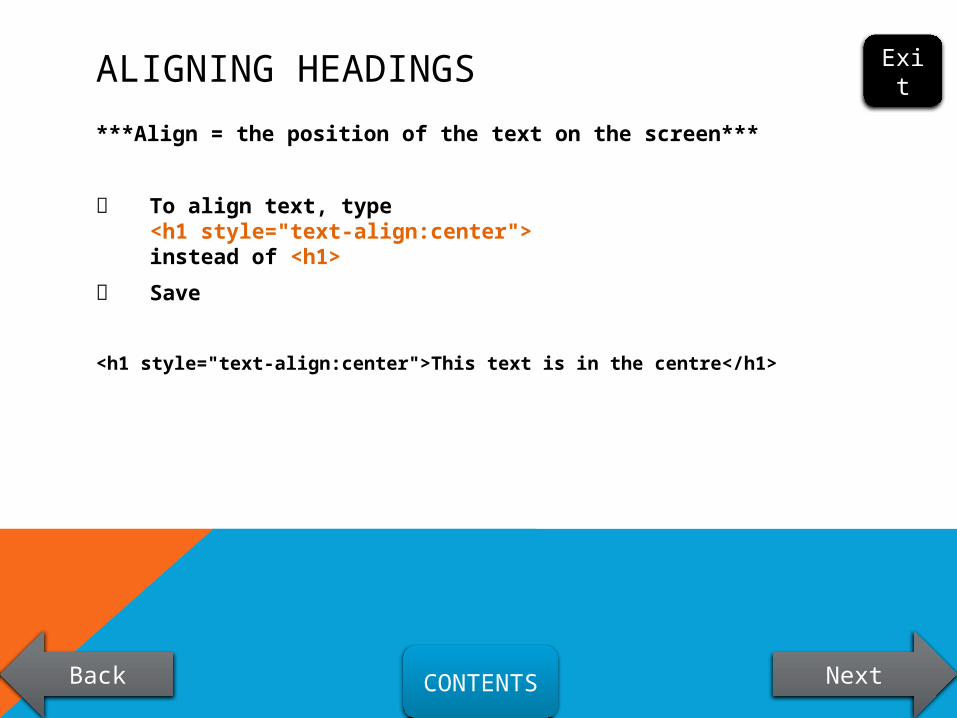
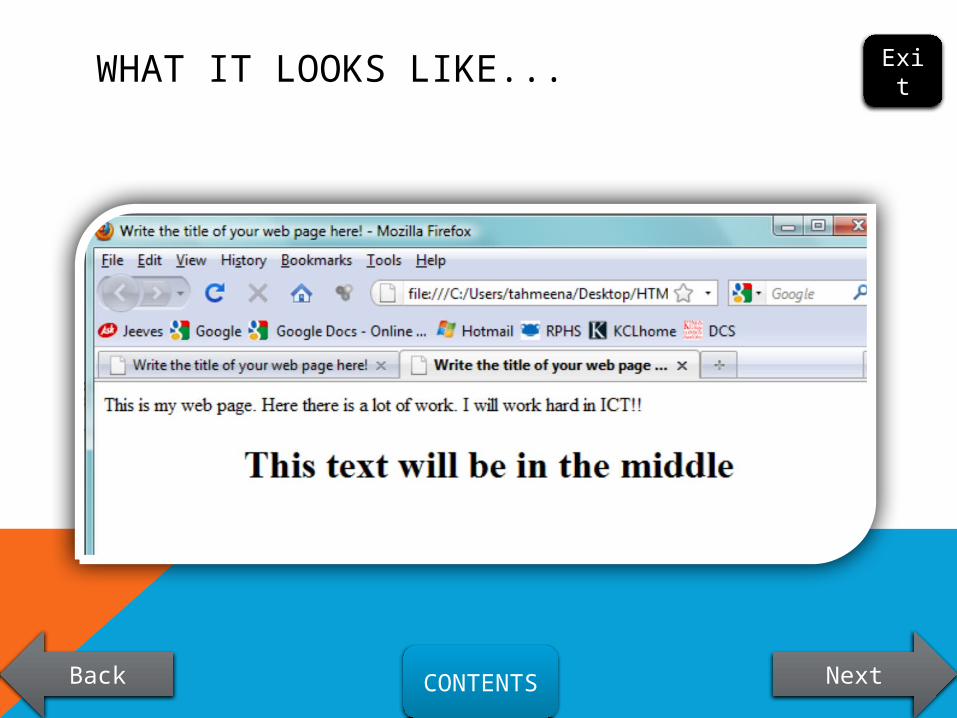
ALIGNING HEADINGS
***Align = the position of the text on the screen***
To align text, type <h1 style="text-align:center"> instead of <h1>
Save
<h1 style="text-align:center">This text is in the centre</h1>
CONTENTS
Back Next
Exit
WHAT IT LOOKS LIKE...
CONTENTS
Back Next
Exit
NEW PARAGRAPHS
1. To use a paragraph write the text you want to be in a paragraph between <p> and </p>
CONTENTS
Back Next
Exit
</p>
WHAT IT LOOKS LIKE...
CONTENTS
Back Next
Exit
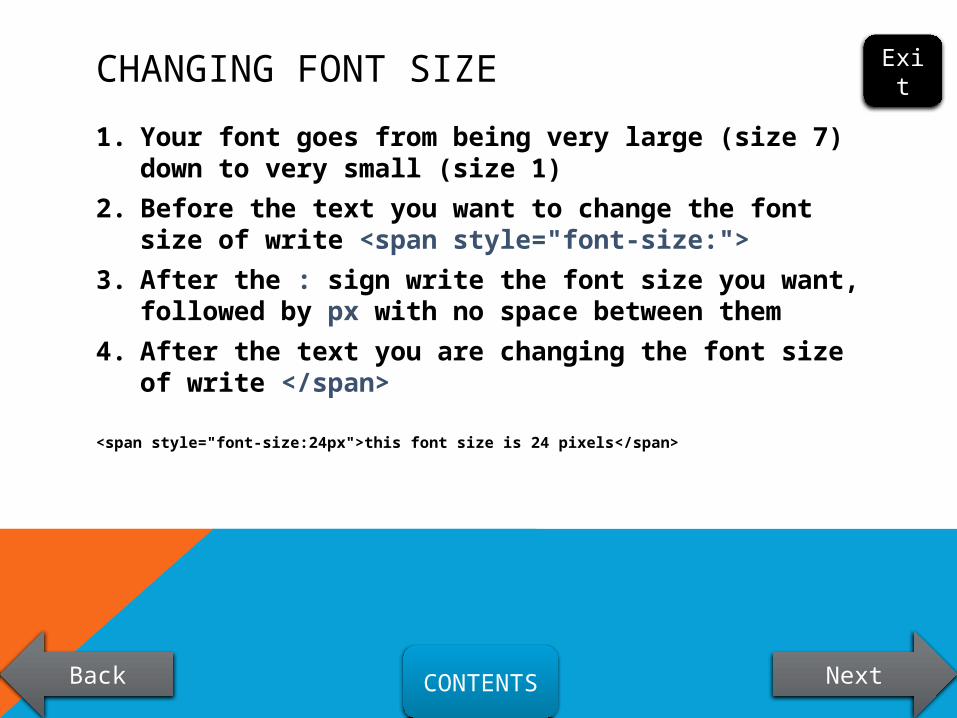
CHANGING FONT SIZE
1. Your font goes from being very large (size 7) down to very small (size 1)
2. Before the text you want to change the font size of write <span style="font-size:">
3. After the : sign write the font size you want, followed by px with no space between them
4. After the text you are changing the font size of write </span>
<span style="font-size:24px">this font size is 24 pixels</span>
CONTENTS
Back Next
Exit
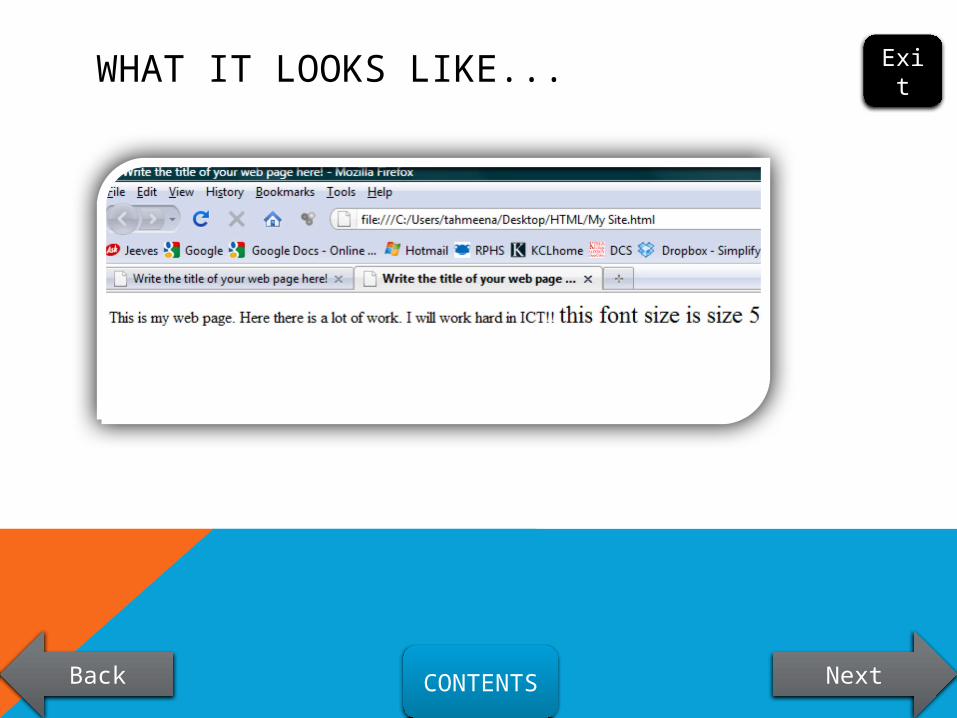
WHAT IT LOOKS LIKE...
CONTENTS
Back Next
Exit
COMBINING STYLESCombining styles is very easy; you just have to separate them with ;1. Write <p style="background:black2. Write ;3. Write color:pink"> 4. Write your paragraph5. Write </p>
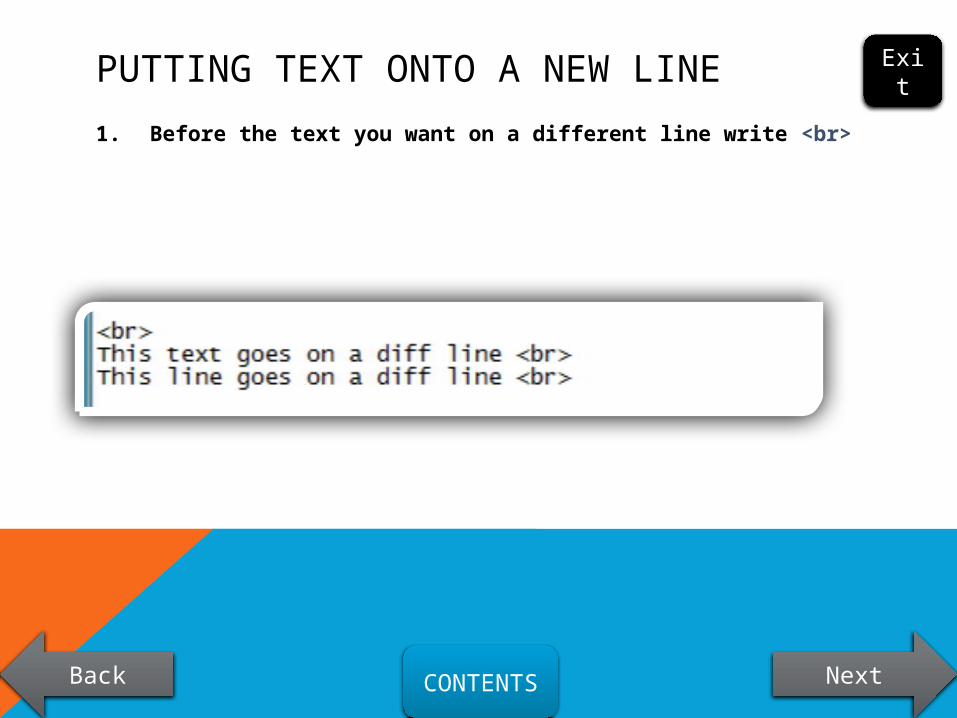
PUTTING TEXT ONTO A NEW LINE
1. Before the text you want on a different line write <br>
CONTENTS
Back Next
Exit
WHAT IT LOOKS LIKE...
CONTENTS
Back Next
Exit
Bullet points
1. Write <ul>
2. Write <li> then write the text you want to be in the bullet point and then write </li>
3. Repeat step 2 as many times as you want
4. Finish by writing </ul>
<ul>
<li>Bullet Points are useful</li>
<li>Bullet Points are cool</li>
</ul>
Exit
Numbered list
1. Write <ol>
2. Write <li> then write the text you want to be the numbered item and then write </li>
3. Repeat step 2 as many times as you want
4. Finish by writing </ol>
<ol>
<li>Numbered lists are useful</li>
<li>Numbered lists are cool</li>
</ol>
Exit
ADDING IM
AGES
This
nex
t sec
tion te
lls y
ou h
ow to
add im
ages
to y
our w
eb
page
CONTENTS
Back Next
Exit
Section 4
ADDING AN IMAGE
1. Go to the internet and find an image you like
2. Save it in your HTML folder with a sensible name (you shouldn’t use spaces)
3. In your notepad file, write <img src=“name.jpg"> and between the "" write the name of your image
CONTENTS
Back Next
Exit
ADDING LINKS TO A WEBSITE
CONTENTS
Back Next
Exit
Section 5
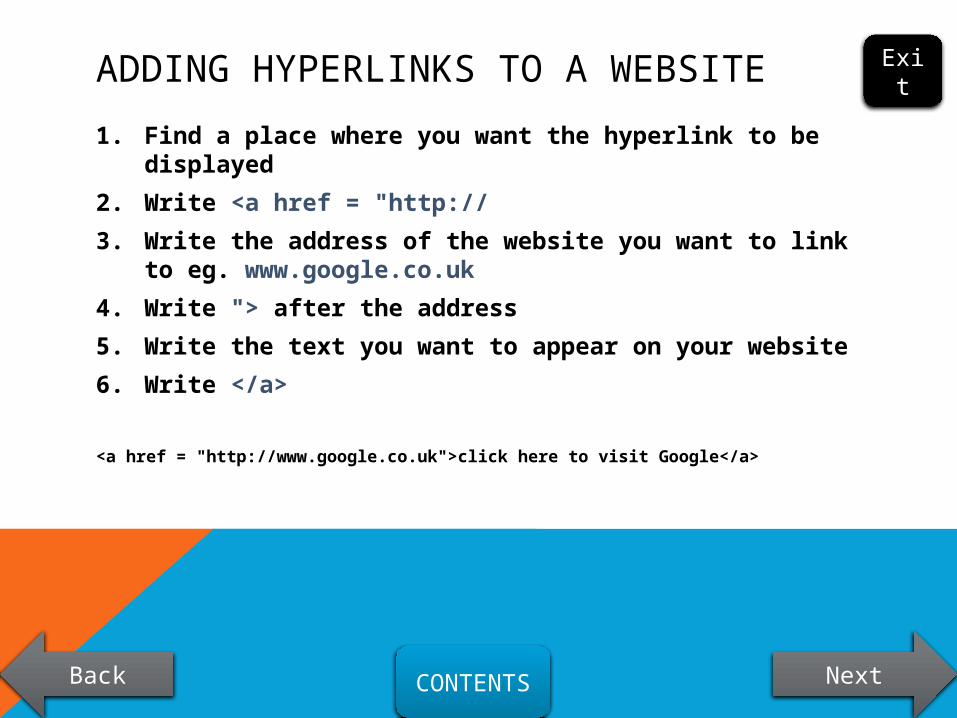
ADDING HYPERLINKS TO A WEBSITE
1. Find a place where you want the hyperlink to be displayed
2. Write <a href = "http://
3. Write the address of the website you want to link to eg. www.google.co.uk
4. Write "> after the address
5. Write the text you want to appear on your website
6. Write </a>
<a href = "http://www.google.co.uk">click here to visit Google</a>
CONTENTS
Back Next
Exit
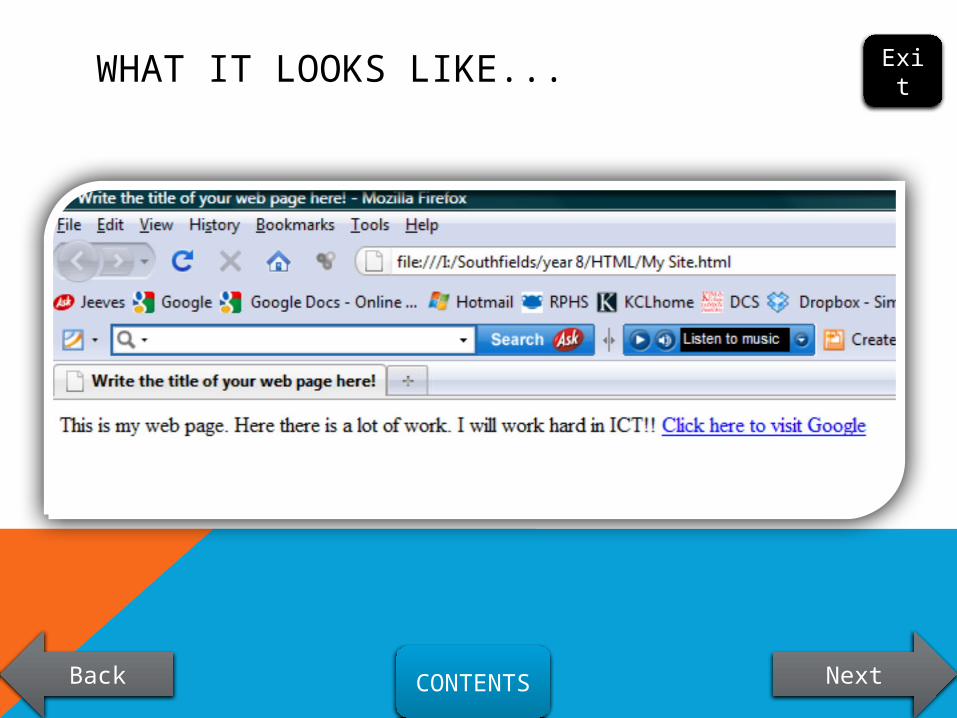
WHAT IT LOOKS LIKE...
CONTENTS
Back Next
Exit
ADDING S
OUND
This
sec
tion w
ill te
ll yo
u how
to p
lay
sound o
n you
r site
CONTENTS
Back Next
Exit
Section 6
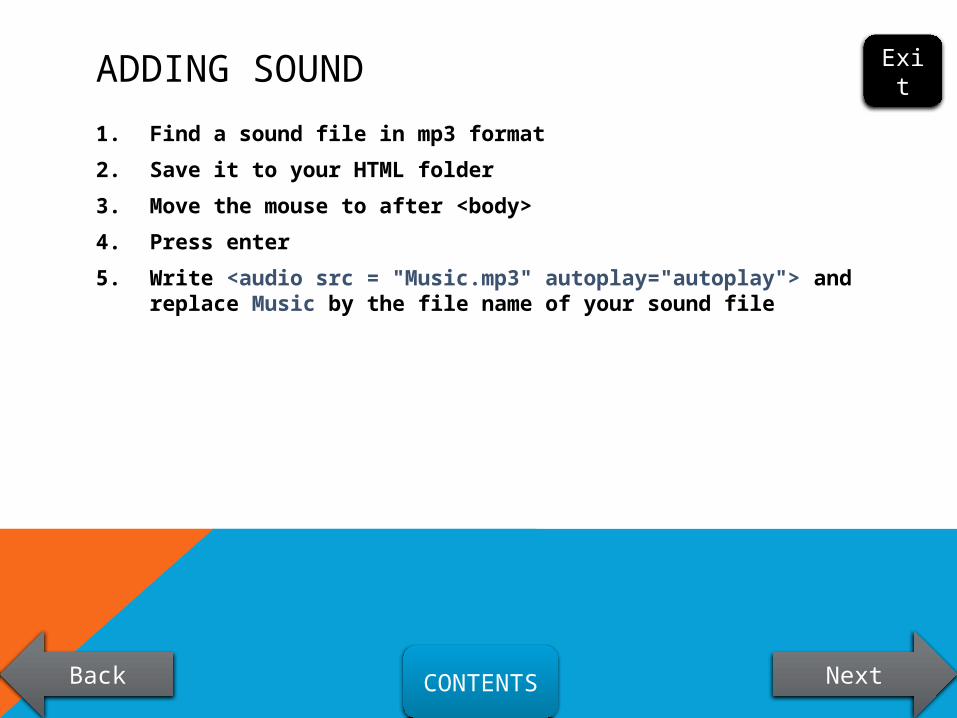
ADDING SOUND
1. Find a sound file in mp3 format
2. Save it to your HTML folder
3. Move the mouse to after <body>
4. Press enter
5. Write <audio src = "Music.mp3" autoplay="autoplay"> and replace Music by the file name of your sound file
CONTENTS
Back Next
Exit
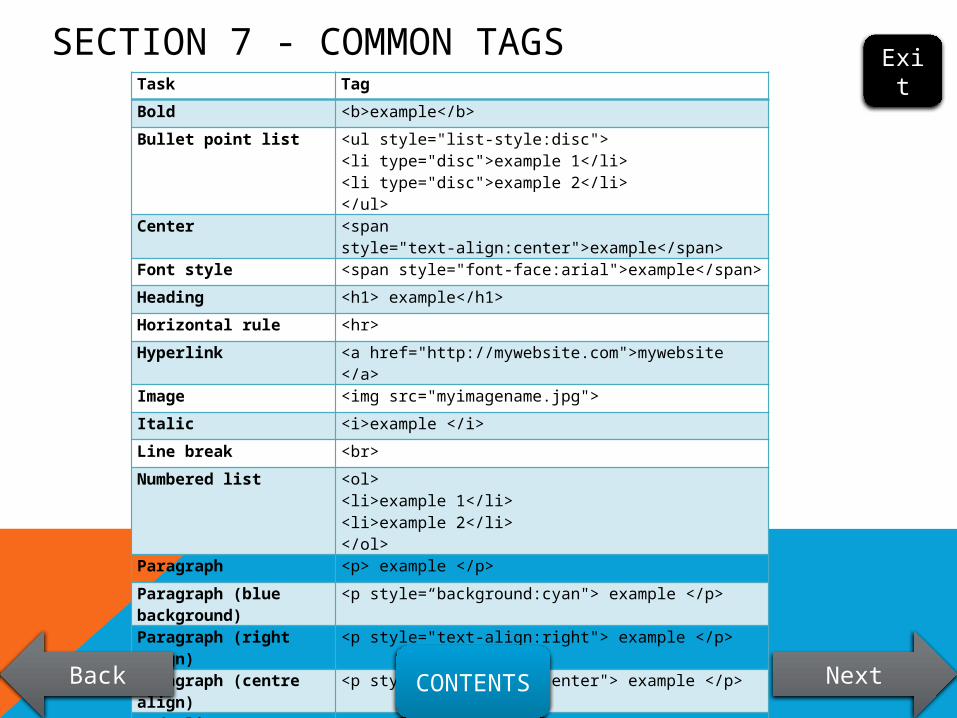
Task Tag
Bold <b>example</b>
Bullet point list <ul style="list-style:disc"><li type="disc">example 1</li><li type="disc">example 2</li></ul>
Center <span style="text-align:center">example</span>
Font style <span style="font-face:arial">example</span>