26
HTML Images and HTML Backgrounds Presented by Nobel Mujuji (BSc Hons Information Systems )(WUA)
| Date post: | 07-Aug-2015 |
| Category: |
Documents |
| Upload: | nobel-mujuji |
| View: | 40 times |
| Download: | 2 times |
HTML Images and HTML Backgrounds
Presented by Nobel Mujuji
(BSc Hons Information Systems )(WUA)
Images and HTML Backgrounds
• Web pages with text alone can be boring, and to prevent this, it is always good to used images and backgrounds to bring life to the web page. Images and backgrounds can be used as design elements in the web page to make it look better and more interesting. In this section you will learn the final basics of HTML.
• in your HTML document. This part is broken down into two sections:
• Images Learn how to add Images to your page and display it on your web page.• Backgrounds Learn how to add Background elements on the page and further
design your web page.
• Images can be added to a web page very easily using the <img> tag. The <img> tag should be specified a source for the image, using the src attribute (src= path_to_image). Like for a hyperlink, the value for src can either be a relative reference or a direct reference including an URL address.
• For example:
• <img src="http://www.aspnetbook.com/images/aspnetbook.png"/>
html - source urls
• Image source URLs can be either local or global, meaning that the picture files you wish to display on your website can be either hosted locally on your machine (local) or hosted elsewhere on some other web site domain (global).
Global: http://www.tizag.com/pics/htmlT/sunset.gif
Local: pics/sunset.gif
• Local URLs are relative to the file path of the web page itself. For example, if the picture file is placed inside the same directory as the web page, then the local URL for the image would simply be the name of the image, since it is residing in the same directory as the HTML page.
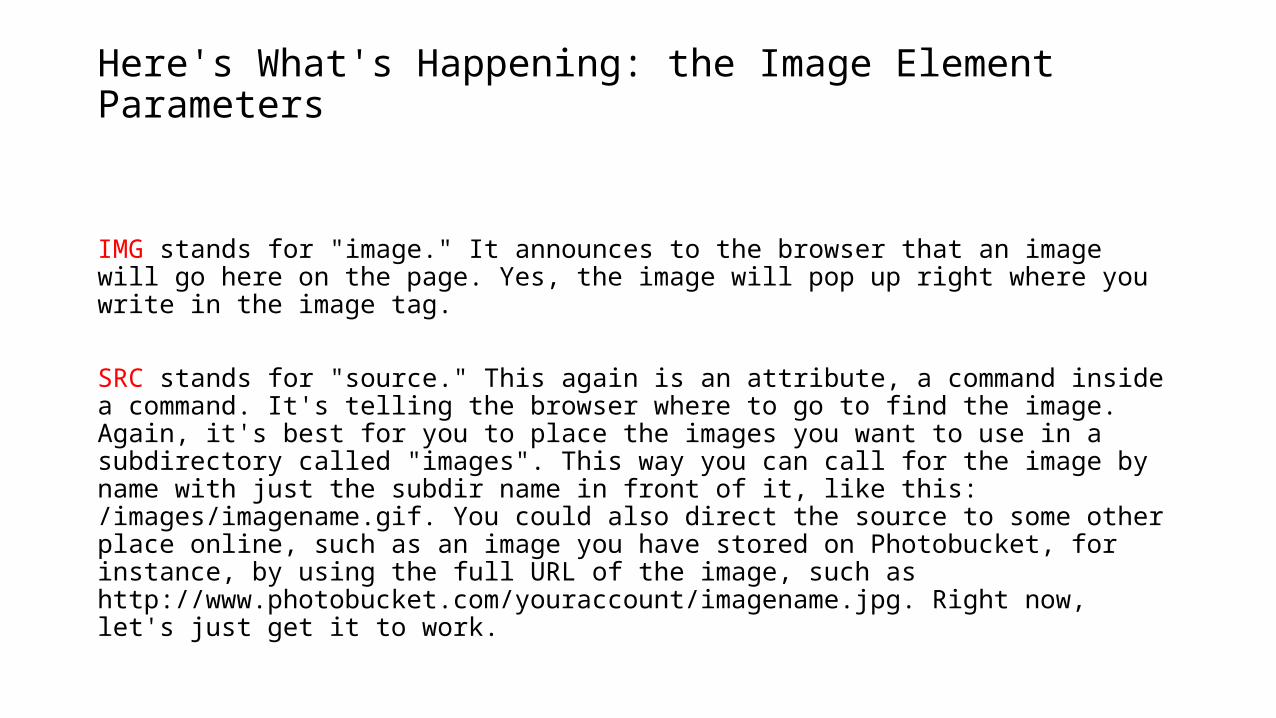
Here's What's Happening: the Image Element Parameters
IMG stands for "image." It announces to the browser that an image will go here on the page. Yes, the image will pop up right where you write in the image tag.
SRC stands for "source." This again is an attribute, a command inside a command. It's telling the browser where to go to find the image. Again, it's best for you to place the images you want to use in a subdirectory called "images". This way you can call for the image by name with just the subdir name in front of it, like this: /images/imagename.gif. You could also direct the source to some other place online, such as an image you have stored on Photobucket, for instance, by using the full URL of the image, such as http://www.photobucket.com/youraccount/imagename.jpg. Right now, let's just get it to work.
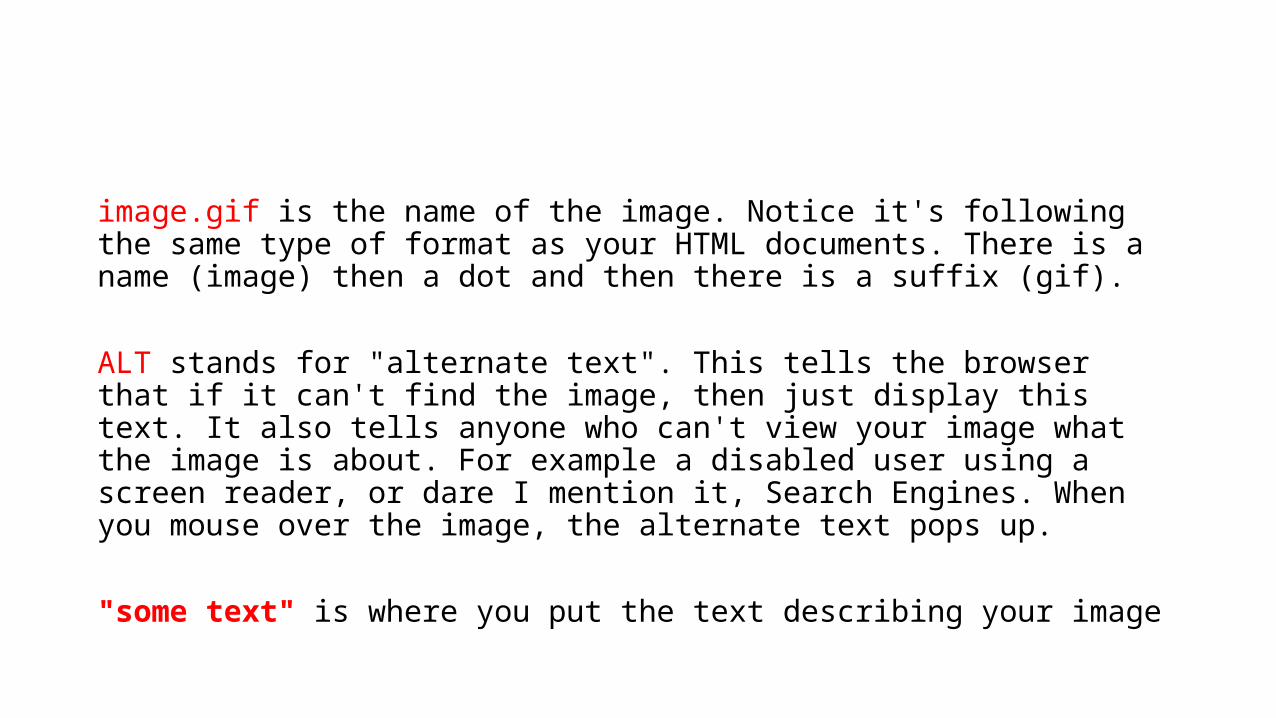
image.gif is the name of the image. Notice it's following the same type of format as your HTML documents. There is a name (image) then a dot and then there is a suffix (gif).
ALT stands for "alternate text". This tells the browser that if it can't find the image, then just display this text. It also tells anyone who can't view your image what the image is about. For example a disabled user using a screen reader, or dare I mention it, Search Engines. When you mouse over the image, the alternate text pops up. "some text" is where you put the text describing your image

HEIGHT stands for, as you might guess, the height of the image in pixels. Again, the height can be just about anything, but generally will be less than the height of the web browser.
.gif This is pronounced "jif" or "gif" (hard "G") depending on whom you speak to. I have always said "jif", like the peanut butter. This is an acronym for Graphics Interchange Format..png Pronounced as 'ping', this stands for Portable Network Graphic. This is ultimately the replacement for .gif, with partial transparency options, but browser support is sketchy--some browsers still don't like to display .png files.
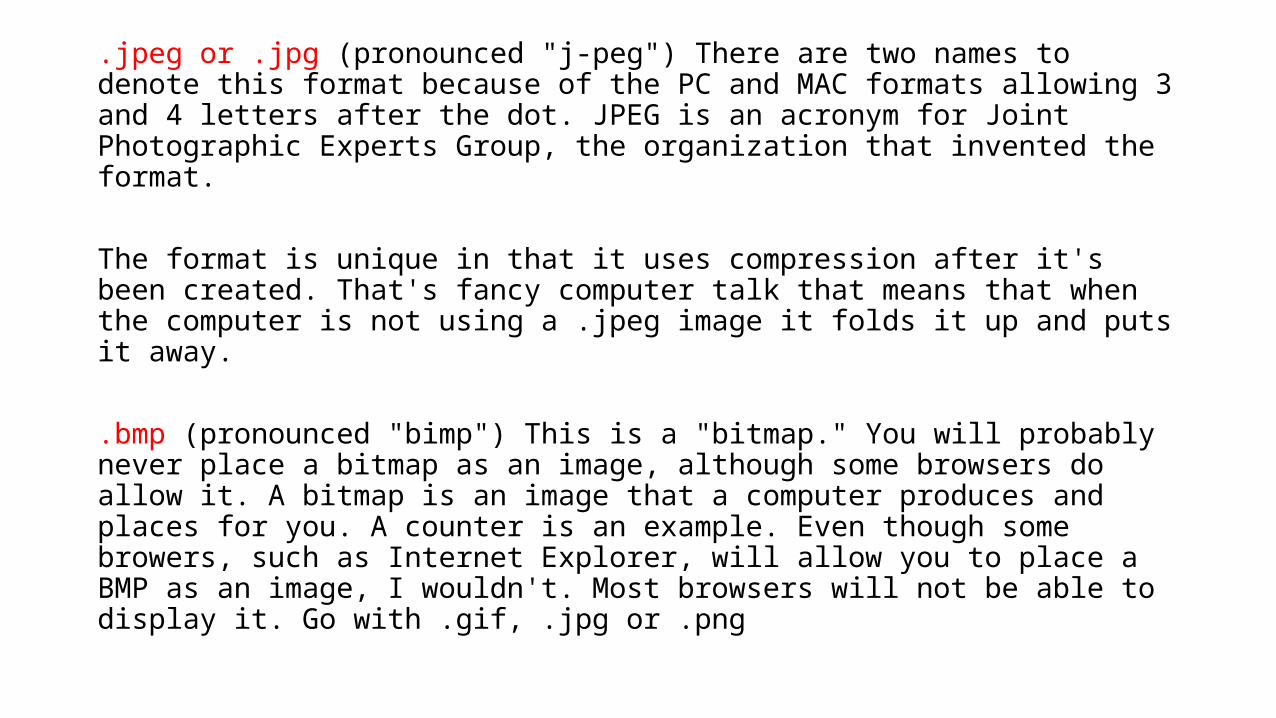
.jpeg or .jpg (pronounced "j-peg") There are two names to denote this format because of the PC and MAC formats allowing 3 and 4 letters after the dot. JPEG is an acronym for Joint Photographic Experts Group, the organization that invented the format.
The format is unique in that it uses compression after it's been created. That's fancy computer talk that means that when the computer is not using a .jpeg image it folds it up and puts it away.
.bmp (pronounced "bimp") This is a "bitmap." You will probably never place a bitmap as an image, although some browsers do allow it. A bitmap is an image that a computer produces and places for you. A counter is an example. Even though some browers, such as Internet Explorer, will allow you to place a BMP as an image, I wouldn't. Most browsers will not be able to display it. Go with .gif, .jpg or .png
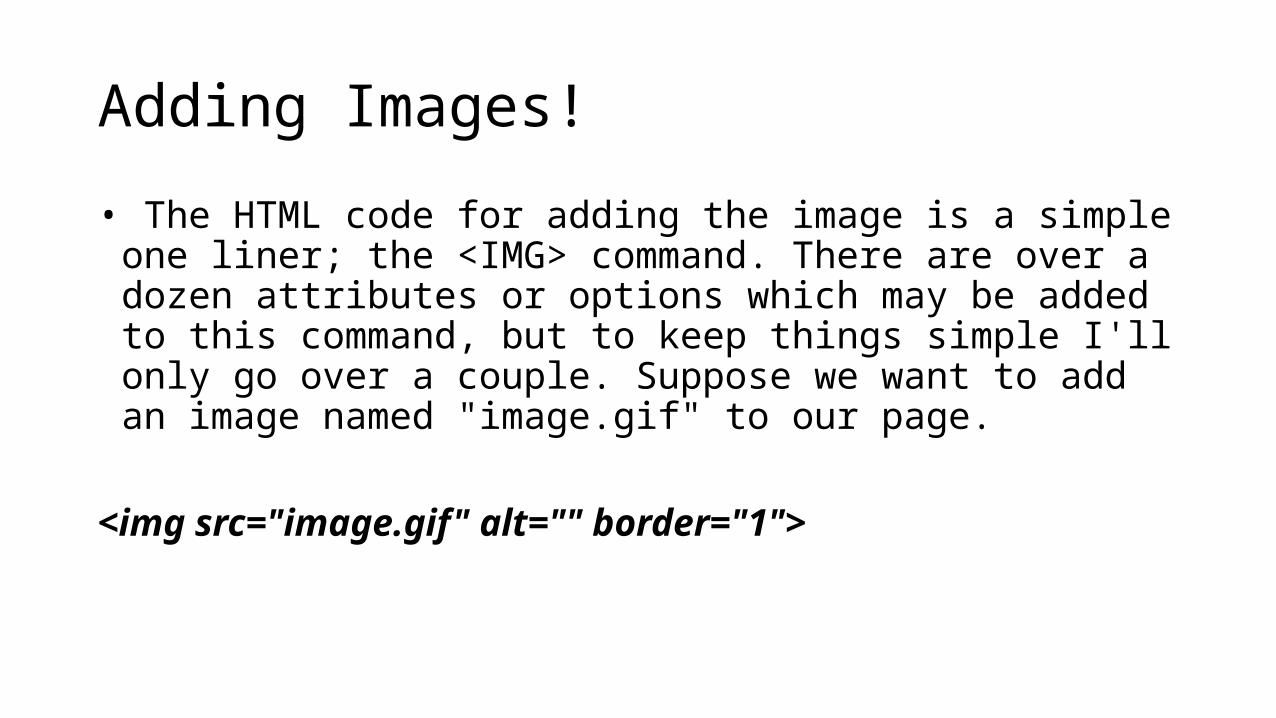
Adding Images!
• The HTML code for adding the image is a simple one liner; the <IMG> command. There are over a dozen attributes or options which may be added to this command, but to keep things simple I'll only go over a couple. Suppose we want to add an image named "image.gif" to our page.
<img src="image.gif" alt="" border="1">
The WIDTH and HEIGHT Attributes:
You can also specify the image's WIDTH and HEIGHT. If the width and/or height are not the actual image dimensions then the image will be scaled to fit. For example, let us take our masterpiece and stretch it across the screen a little.
• <img src="image.gif" width="500" height="50" alt="">
The ALT Attribute:
An attribute that you might not think does much is the ALT option. Believe it or not, there is a small percentage of web surfers who can not view images. By adding the ALT attribute you will be able to describe in text what they are missing. It's courtesy for people who's browser does not support images. Most browsers also display this information while the image is loading. Here's what the above example code would look like with an ALT attribute.
The WIDTH and HEIGHT Attributes
You can also specify the image's WIDTH and HEIGHT. If the width and/or height are not the actual image dimensions then the image will be scaled to fit. For example, let us take our masterpiece and stretch it across the screen a little.
<img src="image.gif" width="500" height="50" alt="">


