Integrating Integrating Integrating Integrating Active Directory Active Directory Active Directory Active Directory Federation Services with Federation Services with Federation Services with Federation Services with SharePoint SharePoint SharePoint SharePoint Environment All servers have Window Server 2008 R2 Datacentre installed and joined to the test.com domain • DC – Domain Controller and Enterprise CA for the test.com domain • Share – SharePoint Server • SQL – SQL Server for ADFS databases • SQL02 – SQL Server mirror partner for ADFS databases • ADFS01 – First ADFS Server • ADFS02 – Second ADFS Server The following servers are not joined to the test.com domain • ADFSProxy01 – First ADFS Proxy Server • ADFSProcy02 – Second ADFS Proxy Server Install ADFS 2.0 and Configure to Use with ADFS Prerequisites • Download ADFS 2.0 on ADFS01 • Create following DNS entries o A auth.test.com 192.168.1.103 (IP of ADFS01) • Create a certificate for auth.test.com • Provision domain user accounts: o test\adfs-service Normal Domain User o test\adfs-install-temp Domain Admin and sysadmin on SQL server Installation 1. Logon to the ADFS01 server as a domain administrator and launch the ADFSSetup.exe
Transcript
Integrating Integrating Integrating Integrating Active Directory Active Directory Active Directory Active Directory
Federation Services with Federation Services with Federation Services with Federation Services with
SharePointSharePointSharePointSharePoint
Environment All servers have Window Server 2008 R2 Datacentre installed and joined to the test.com domain
• DC – Domain Controller and Enterprise CA for the test.com domain
• Share – SharePoint Server
• SQL – SQL Server for ADFS databases
• SQL02 – SQL Server mirror partner for ADFS databases
• ADFS01 – First ADFS Server
• ADFS02 – Second ADFS Server
The following servers are not joined to the test.com domain
• ADFSProxy01 – First ADFS Proxy Server
• ADFSProcy02 – Second ADFS Proxy Server
Install ADFS 2.0 and Configure to Use with ADFS
Prerequisites
• Download ADFS 2.0 on ADFS01
• Create following DNS entries
o A � auth.test.com � 192.168.1.103 (IP of ADFS01)
• Create a certificate for auth.test.com
• Provision domain user accounts:
o test\adfs-service � Normal Domain User
o test\adfs-install-temp � Domain Admin and sysadmin on SQL server
Installation
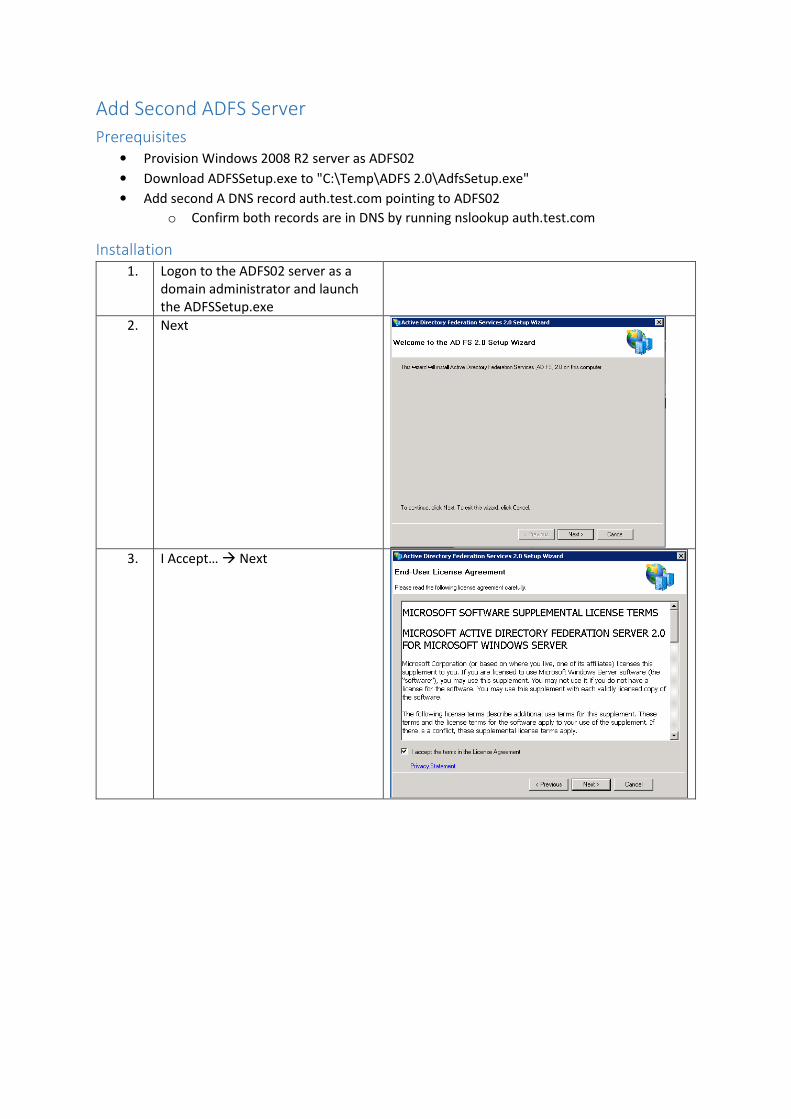
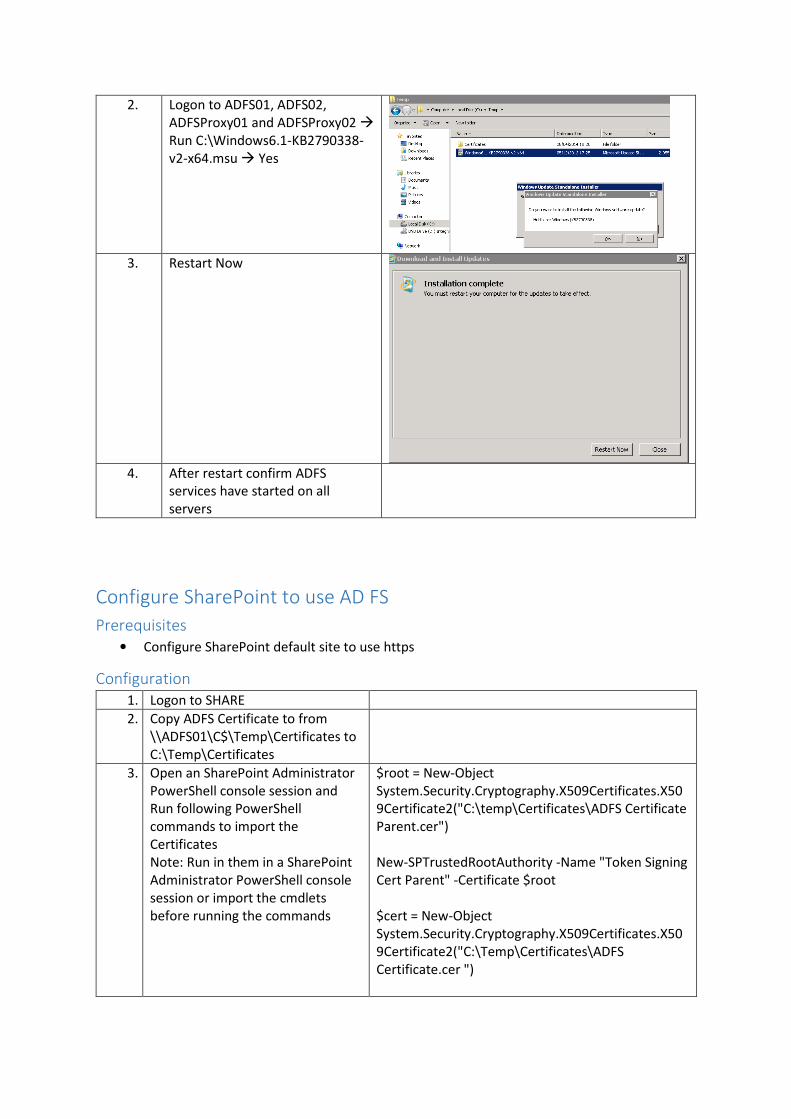
1. Logon to the ADFS01 server as a
domain administrator and launch
the ADFSSetup.exe
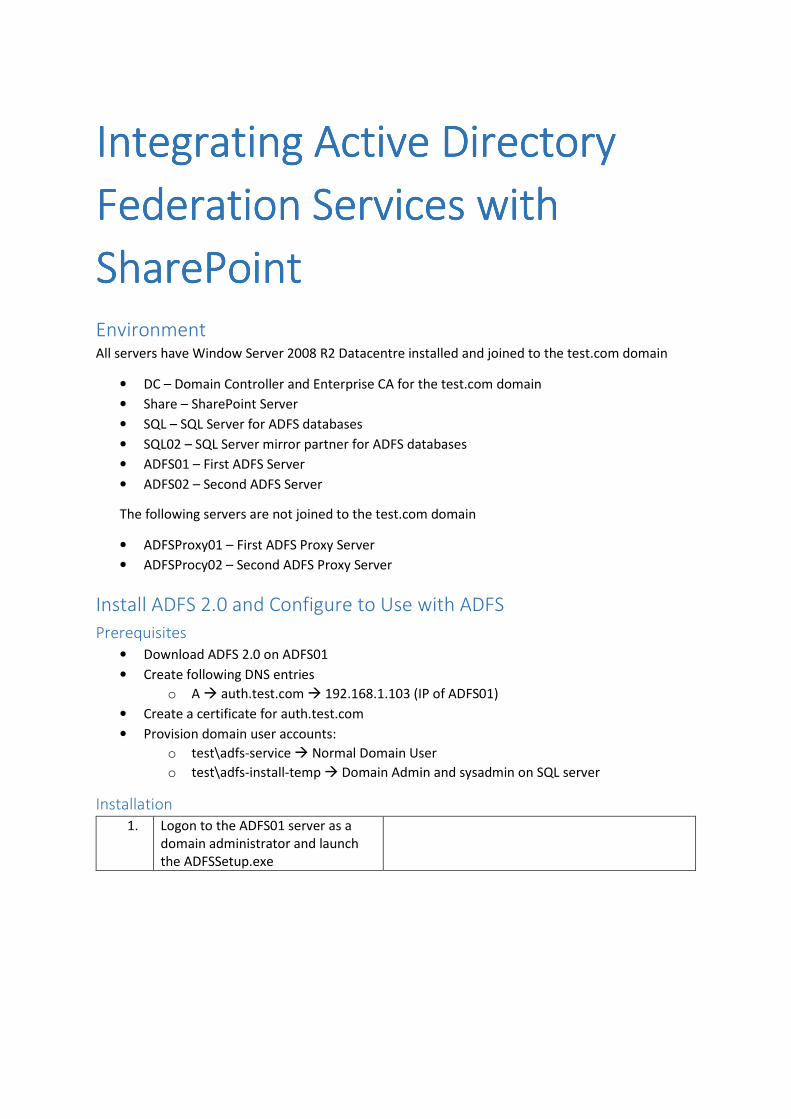
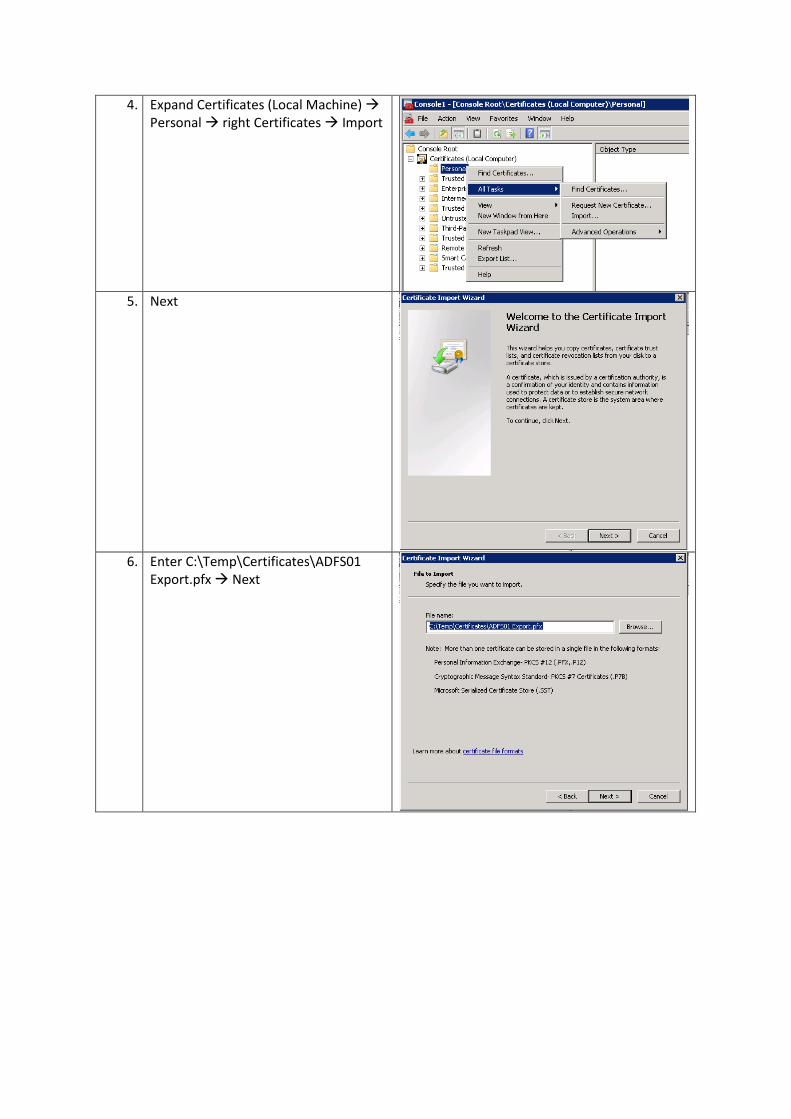
2. Next
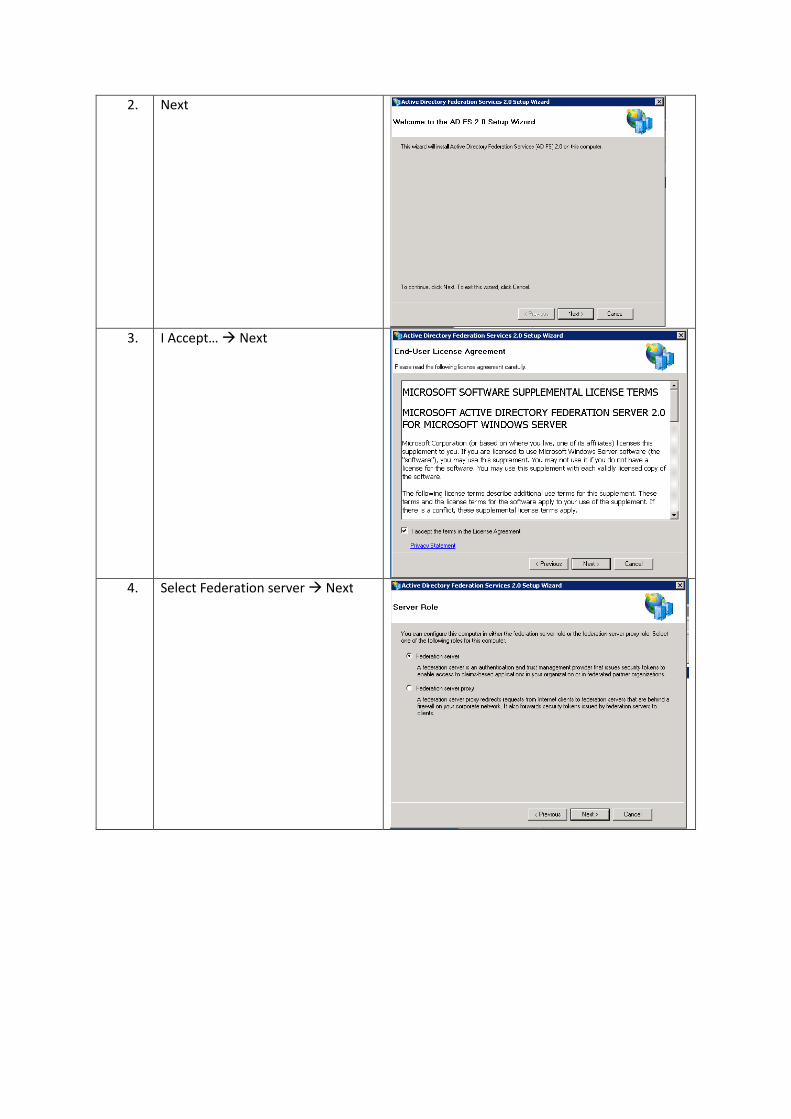
3. I Accept… � Next
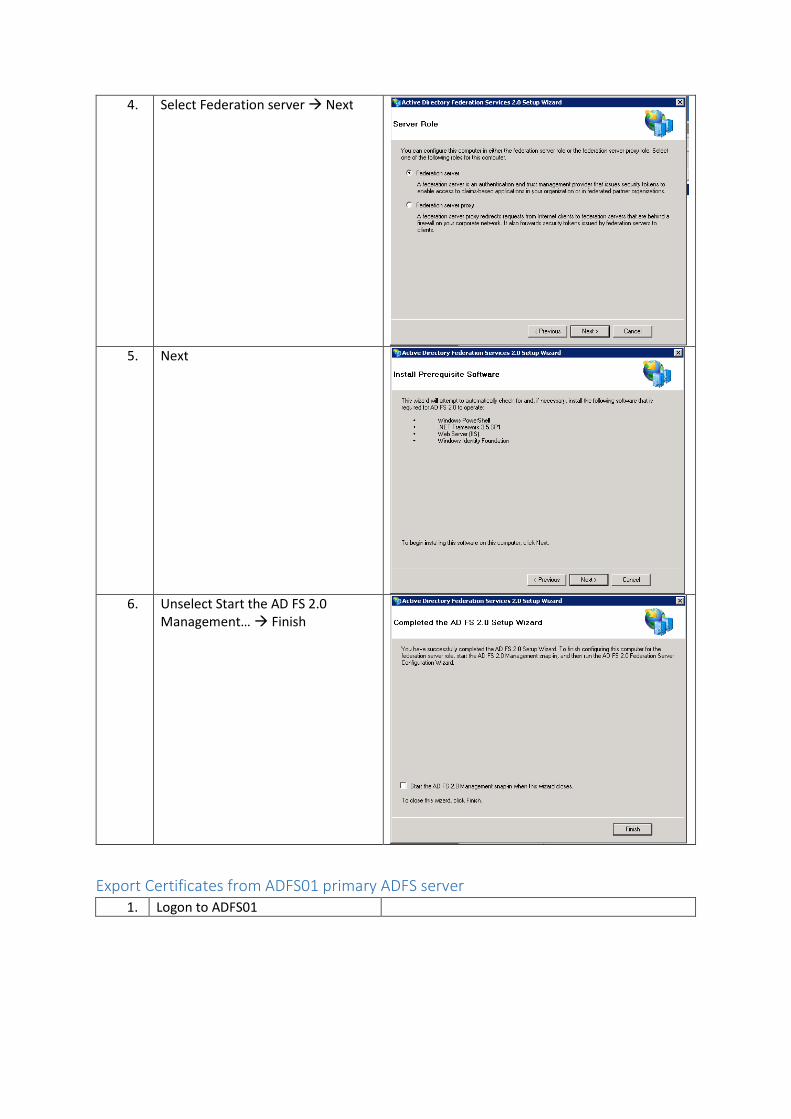
4. Select Federation server � Next
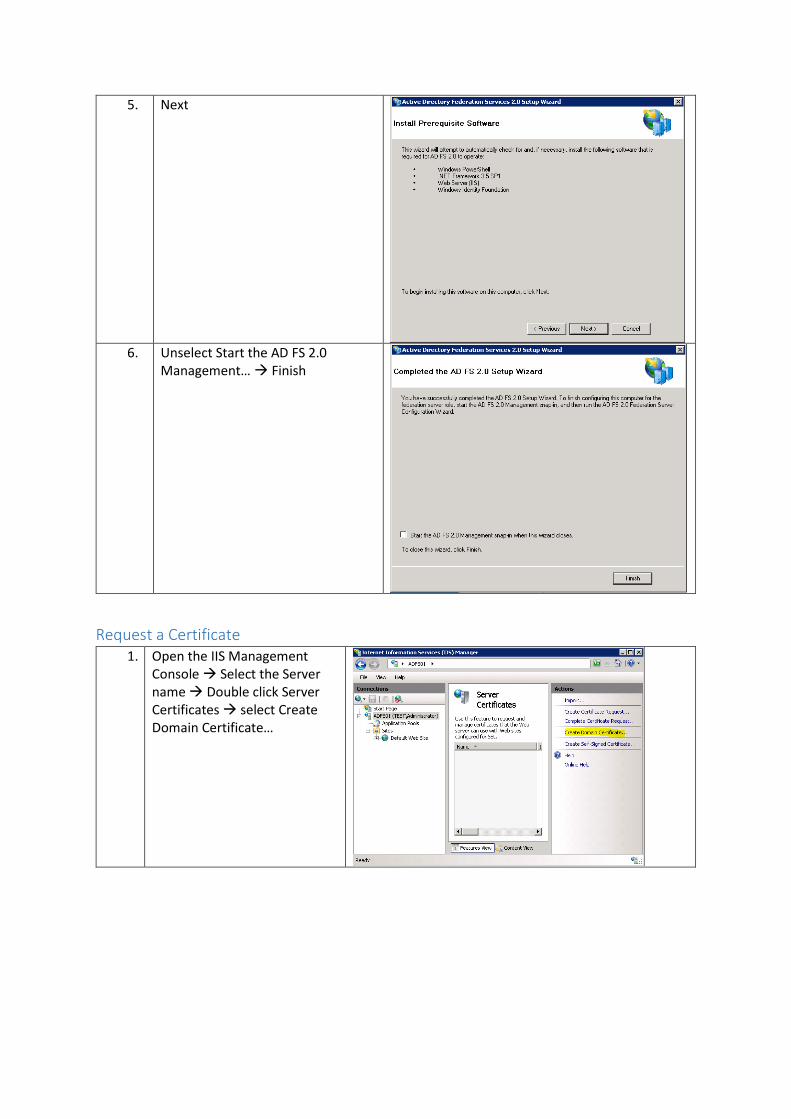
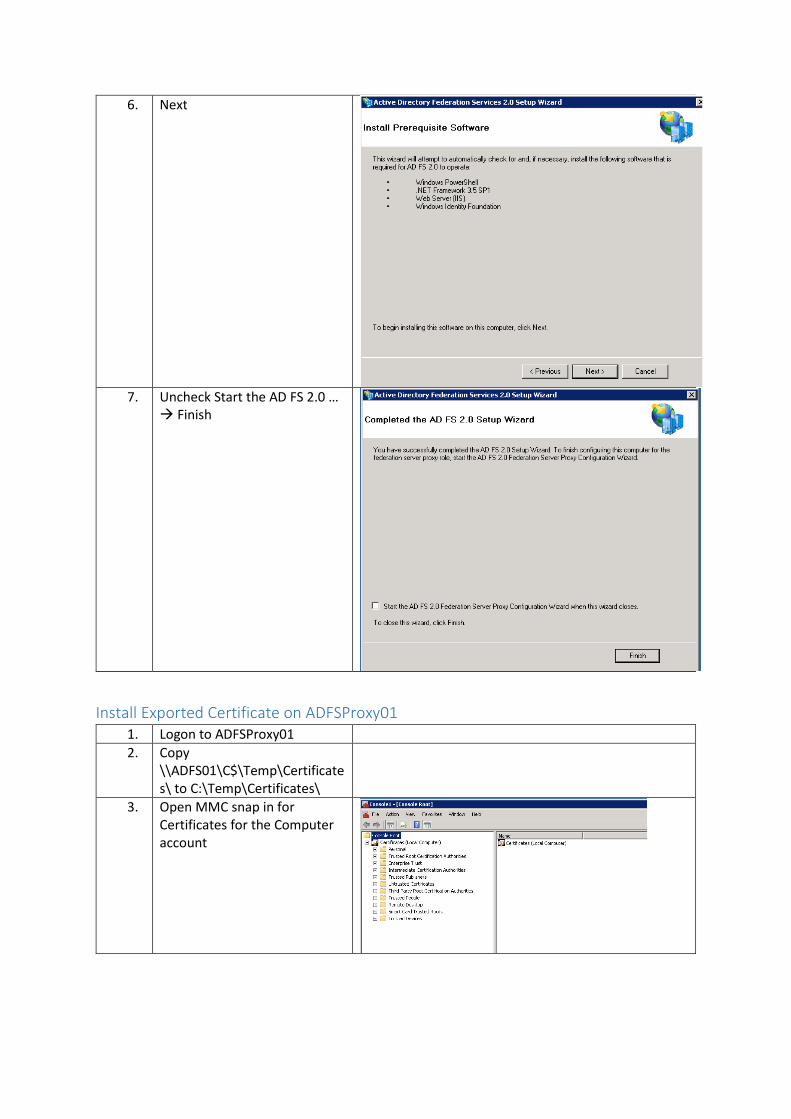
5. Next
6. Unselect Start the AD FS 2.0
Management… � Finish
Request a Certificate
1. Open the IIS Management
Console � Select the Server
name � Double click Server
Certificates � select Create
Domain Certificate…
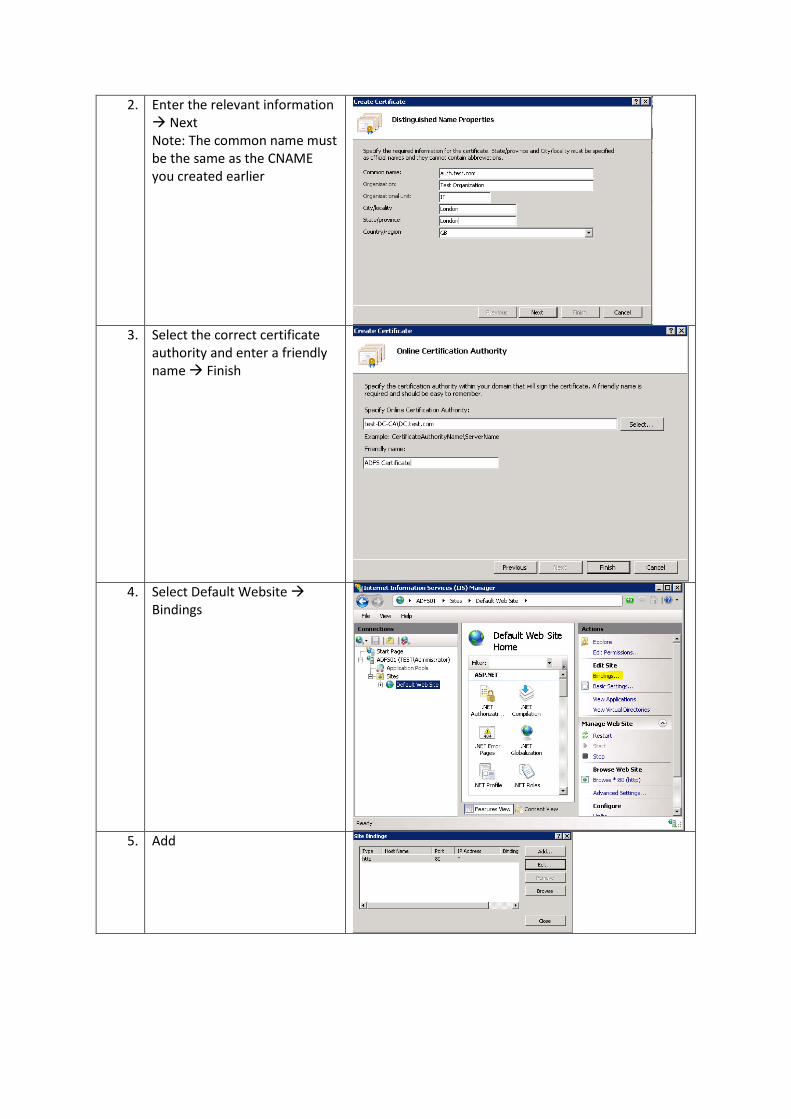
2. Enter the relevant information
� Next
Note: The common name must
be the same as the CNAME
you created earlier
3. Select the correct certificate
authority and enter a friendly
name � Finish
4. Select Default Website �
Bindings
5. Add
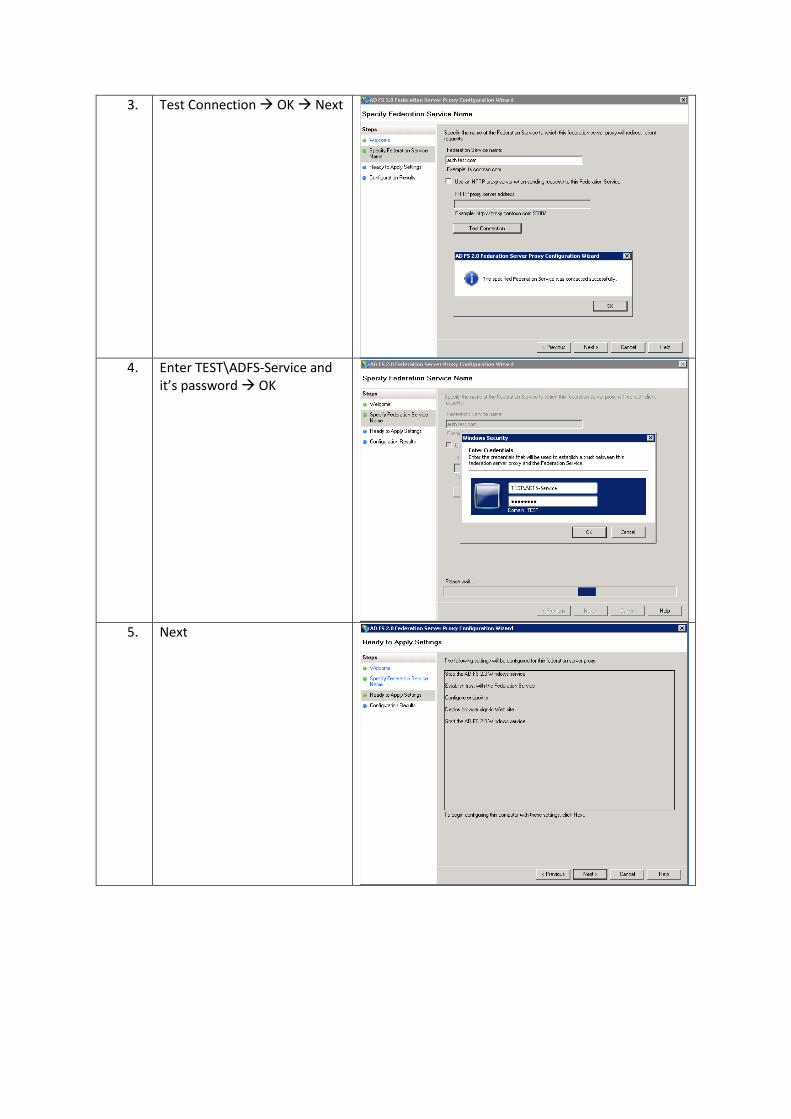
6. Select https � select ADFS
Certificate � OK
7. Select http\80 � Remove �
Yes � Close
Configure AD FS
1. Logon to the ADFS01 with an
account that is a Domain Admin
and is a sysadmin on the SQL
server
2. Open Administrator Powershell
console � browse to C:\Program
Files\Active Directory Federation
Services 2.0> � Run the following
command
Note: Replace Password with
account password
.\FSConfig.exe CreateSQLFarm /ServiceAccount
test\adfs-service /ServiceAccountPassword
Password /SQLConnectionString
“database=AdfsConfiguration;server=sql;integrated
security=SSPI” /CleanConfig
/FederationServiceName auth.test.com
/AutoCertRolloverEnabled
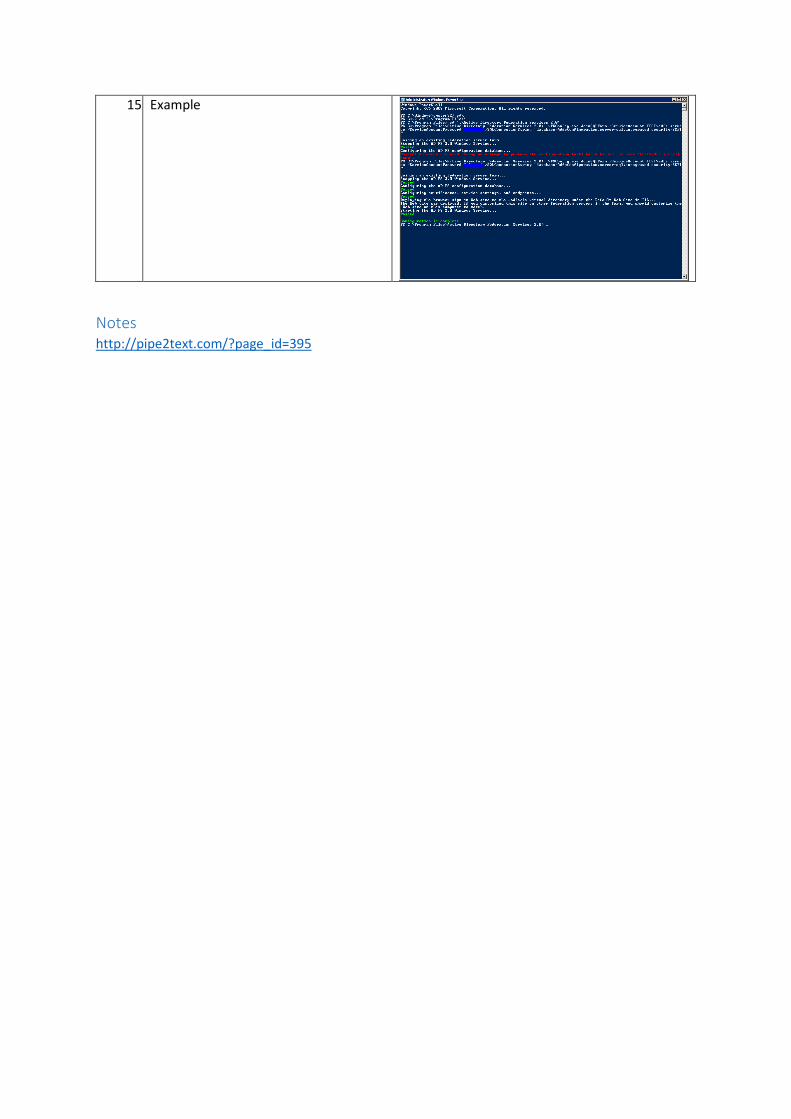
3. Example
Export Certificates and add a new token signing certificate to ADFS
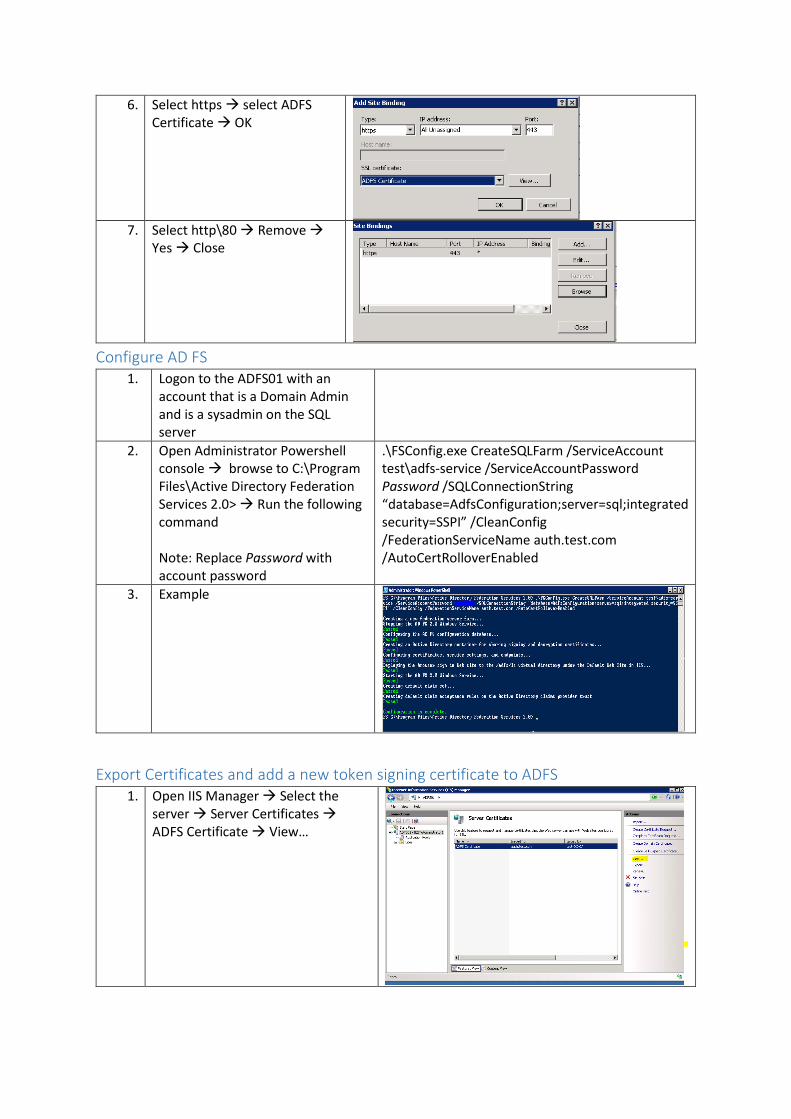
1. Open IIS Manager � Select the
server � Server Certificates �
ADFS Certificate � View…
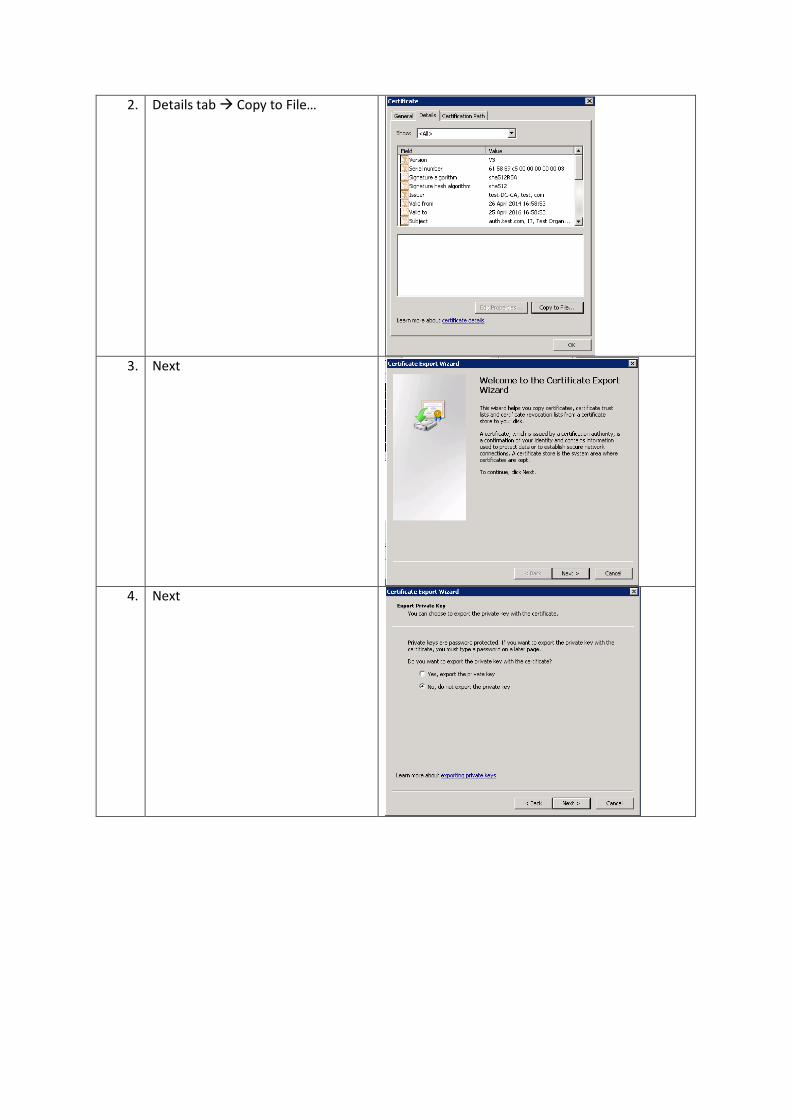
2. Details tab � Copy to File…
3. Next
4. Next
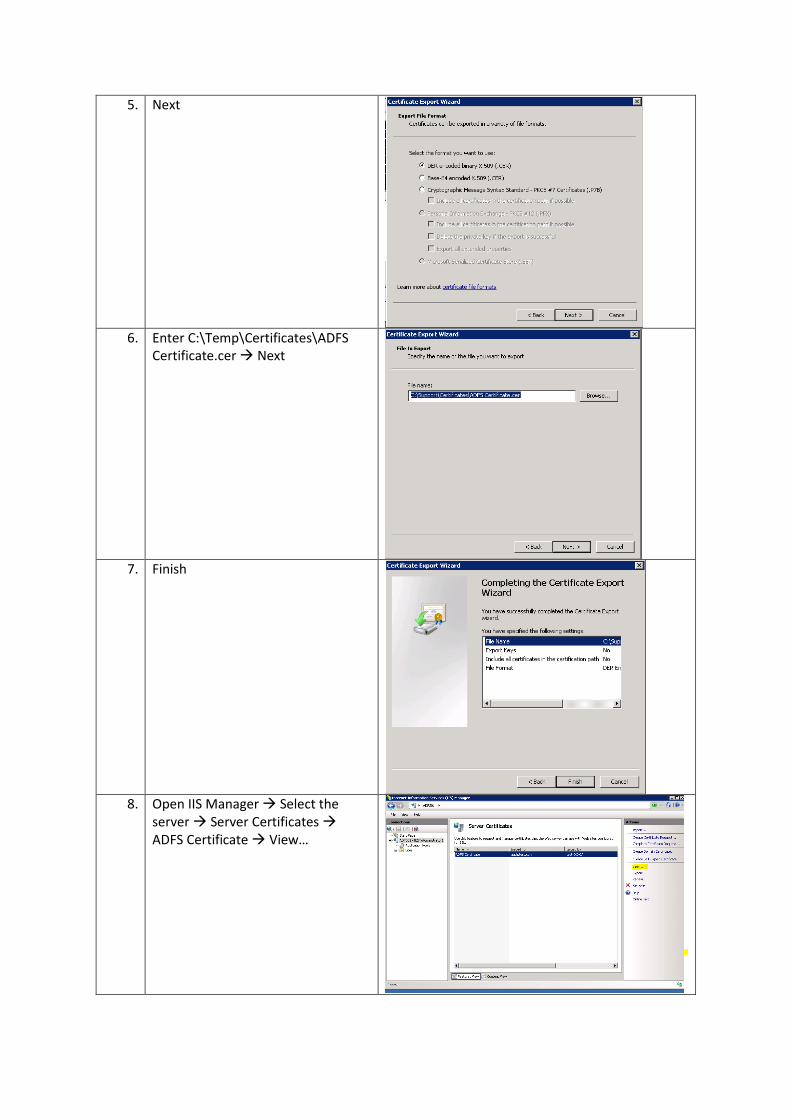
5. Next
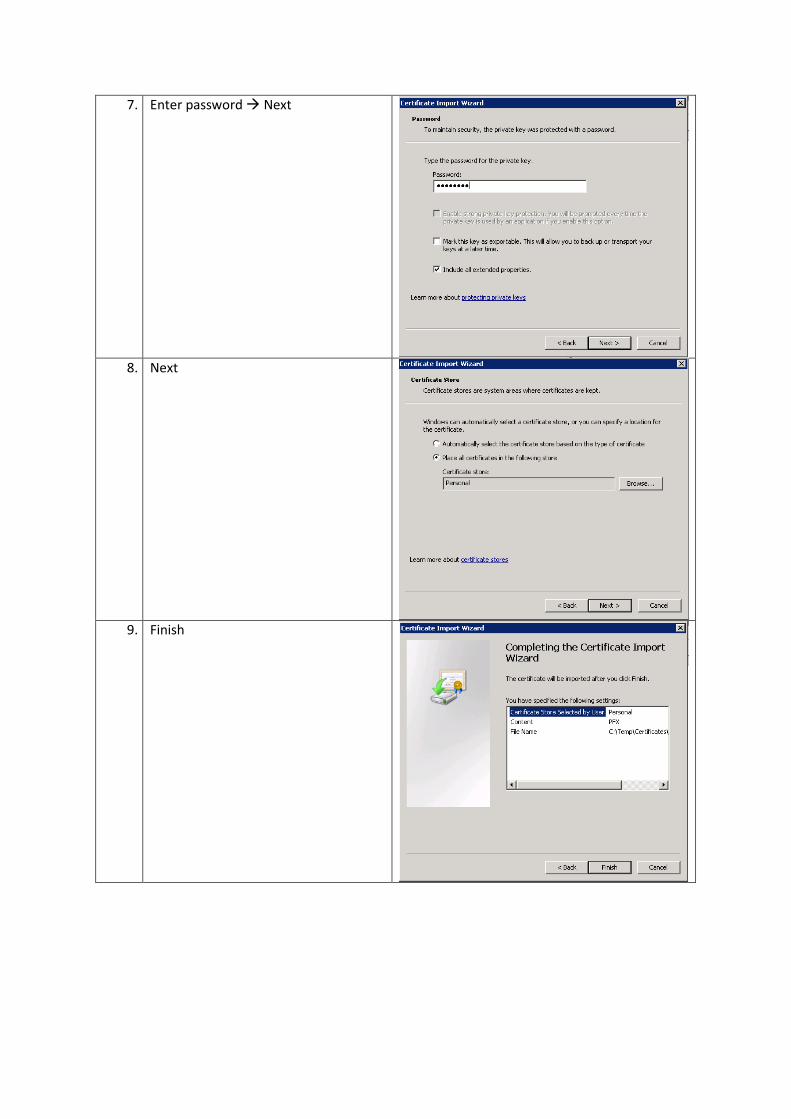
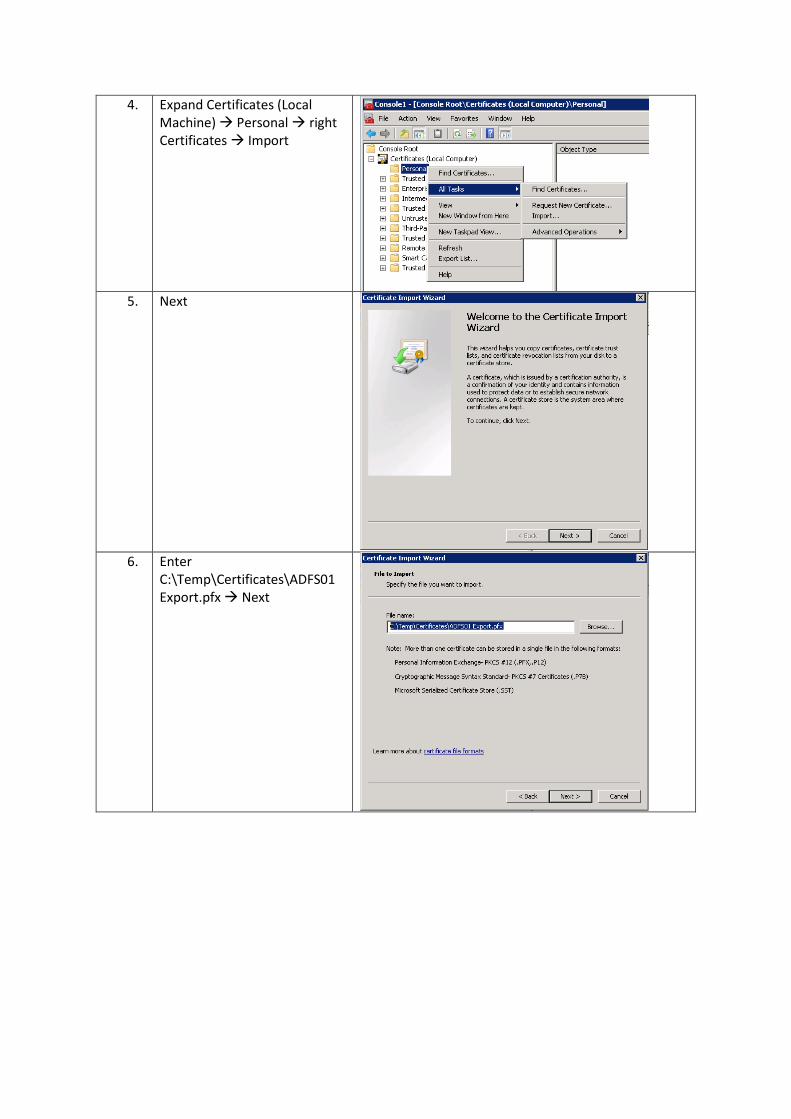
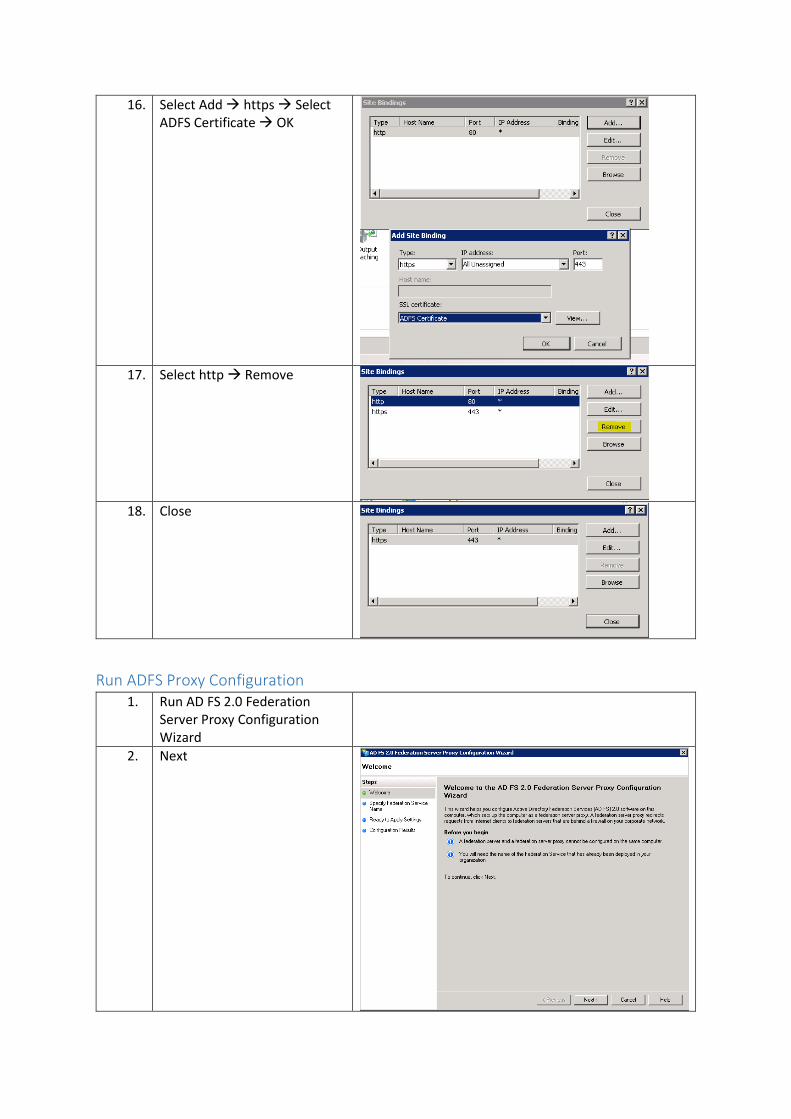
6. Enter C:\Temp\Certificates\ADFS
Certificate.cer � Next
7. Finish
8. Open IIS Manager � Select the
server � Server Certificates �
ADFS Certificate � View…
9. Select the Certification Path tab �
select the root � View Certificate
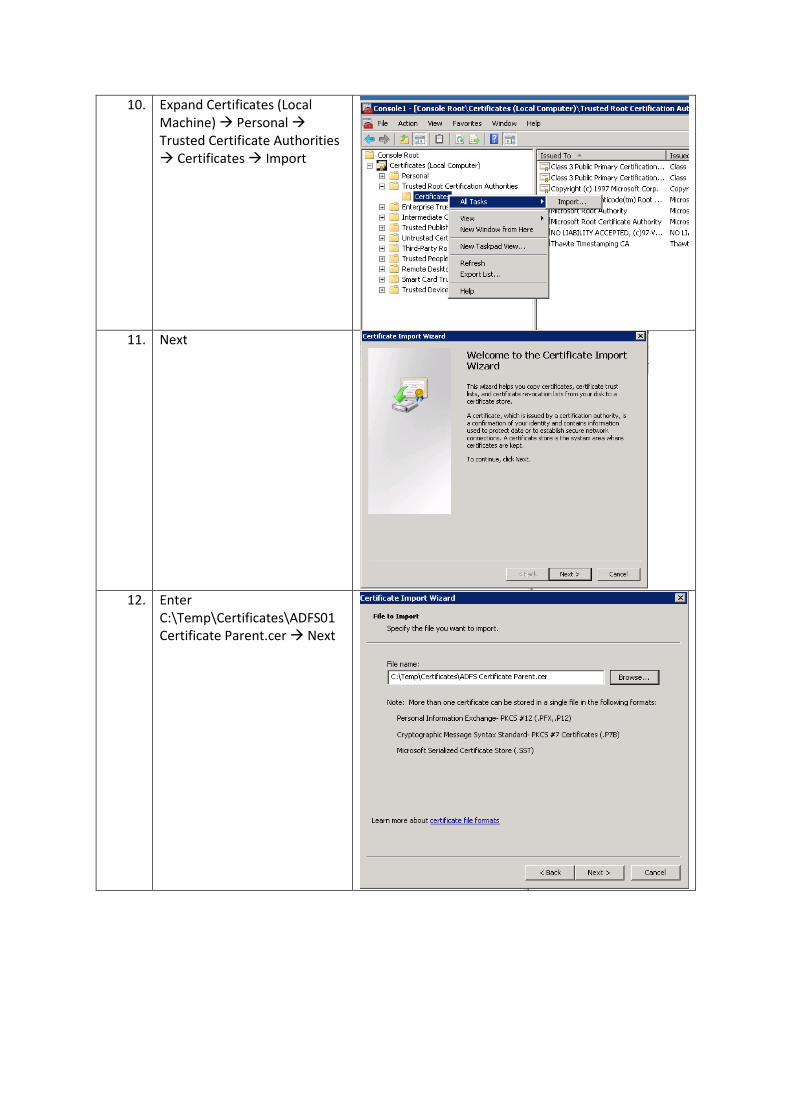
10. Details tab …. And follow the same
steps as above, but save the
certificate as ADFS Certificate Parent
Note: This step is will be used on the
SharePoint Server
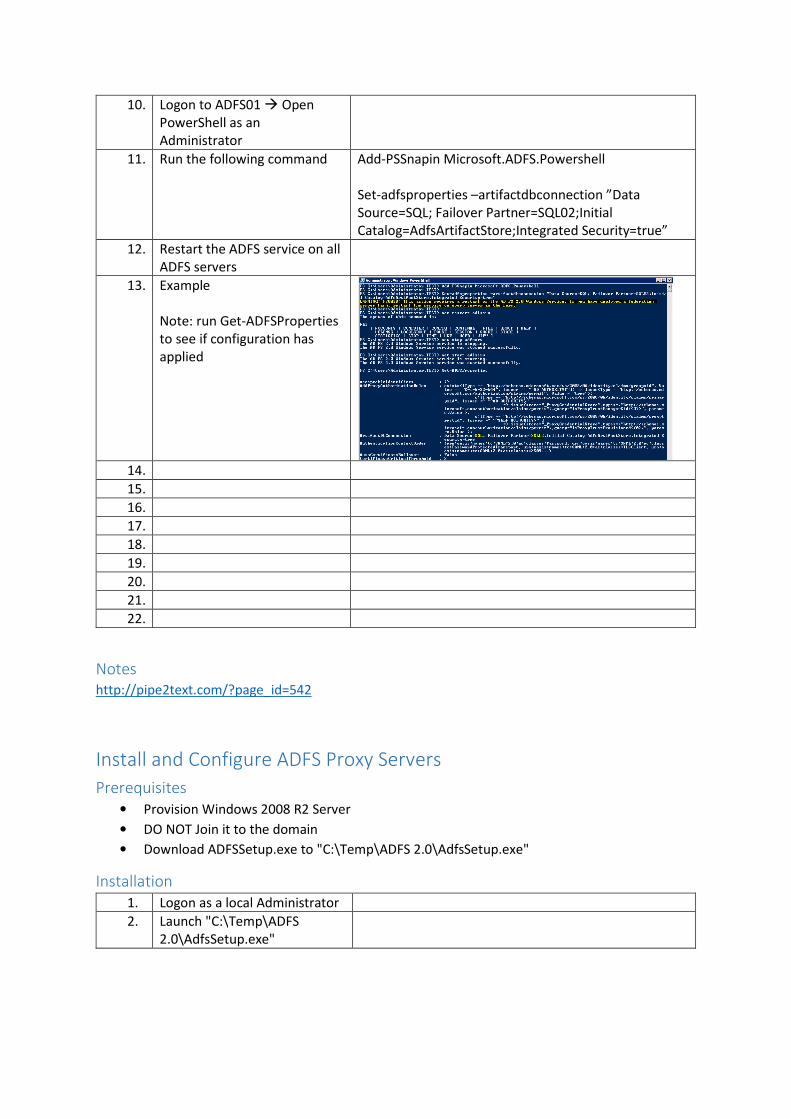
11. Open PowerShell run following lines Add-PSSnapin
Microsoft.Adfs.PowerShell
set-adfsproperties -
autocertificaterollover $false
12. Open ADFS Management Console �
Services � Certificates � Add
Token Signing Certificate…
13. OK
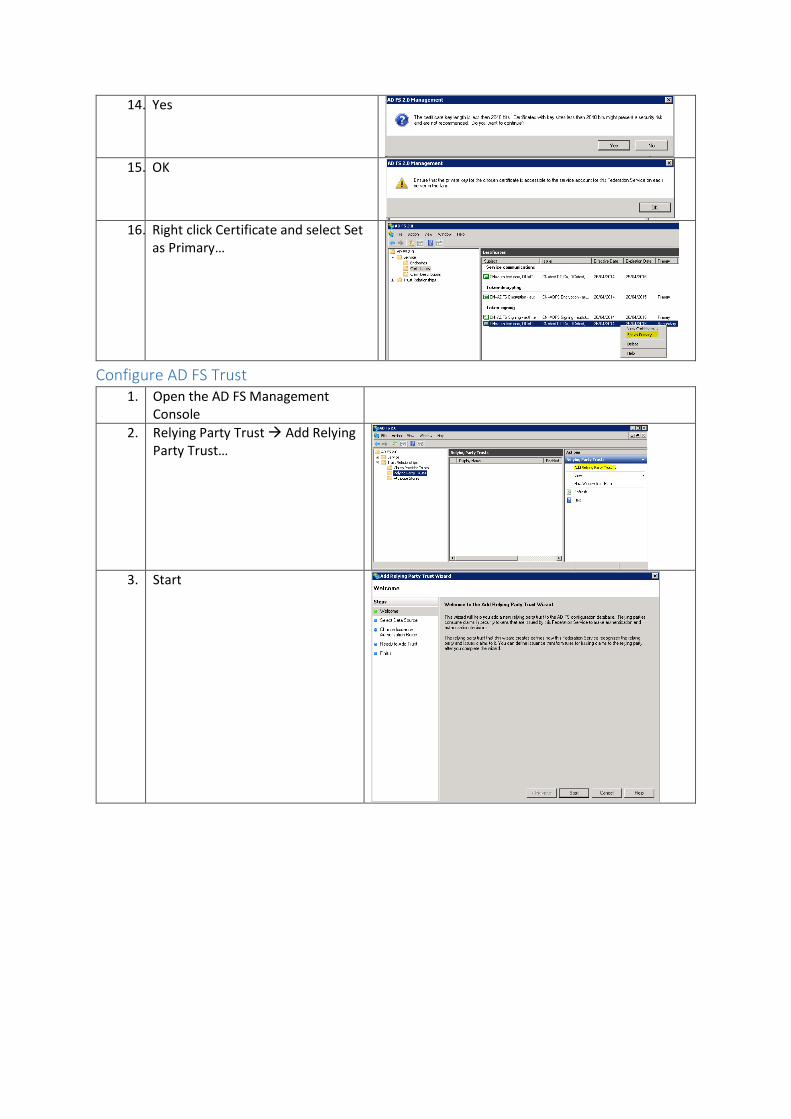
14. Yes
15. OK
16. Right click Certificate and select Set
as Primary…
Configure AD FS Trust
1. Open the AD FS Management
Console
2. Relying Party Trust � Add Relying
Party Trust…
3. Start
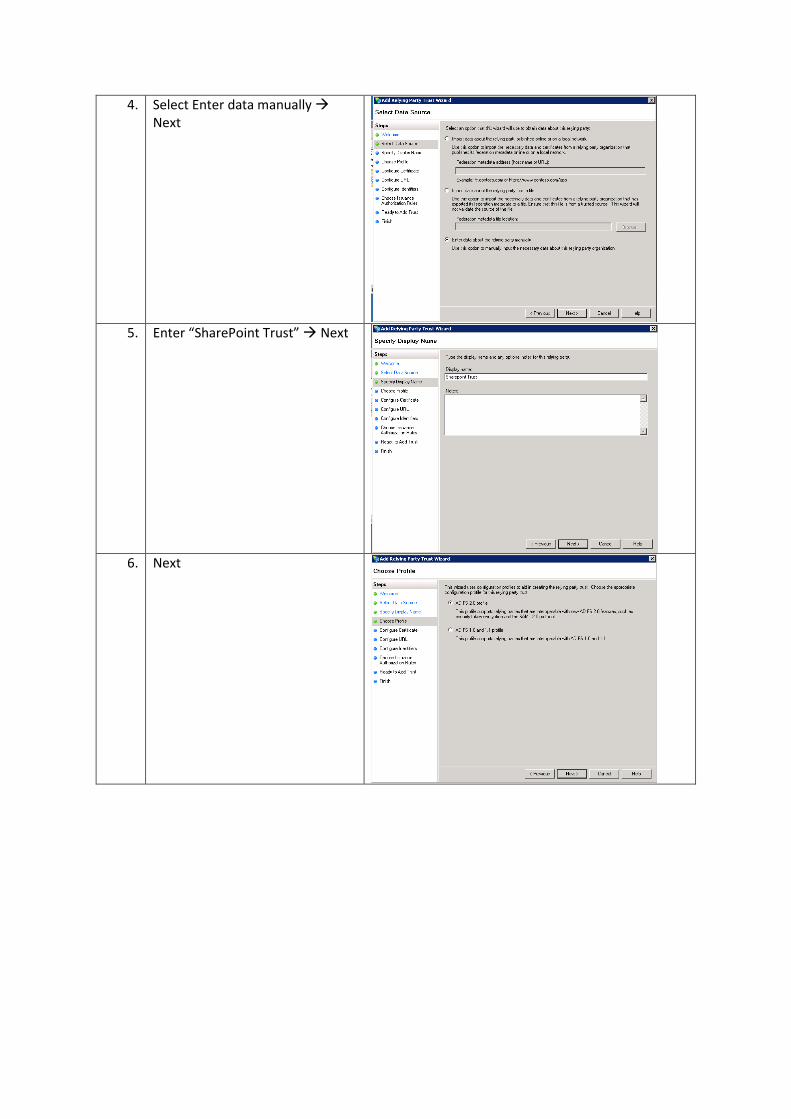
4. Select Enter data manually �
Next
5. Enter “SharePoint Trust” � Next
6. Next
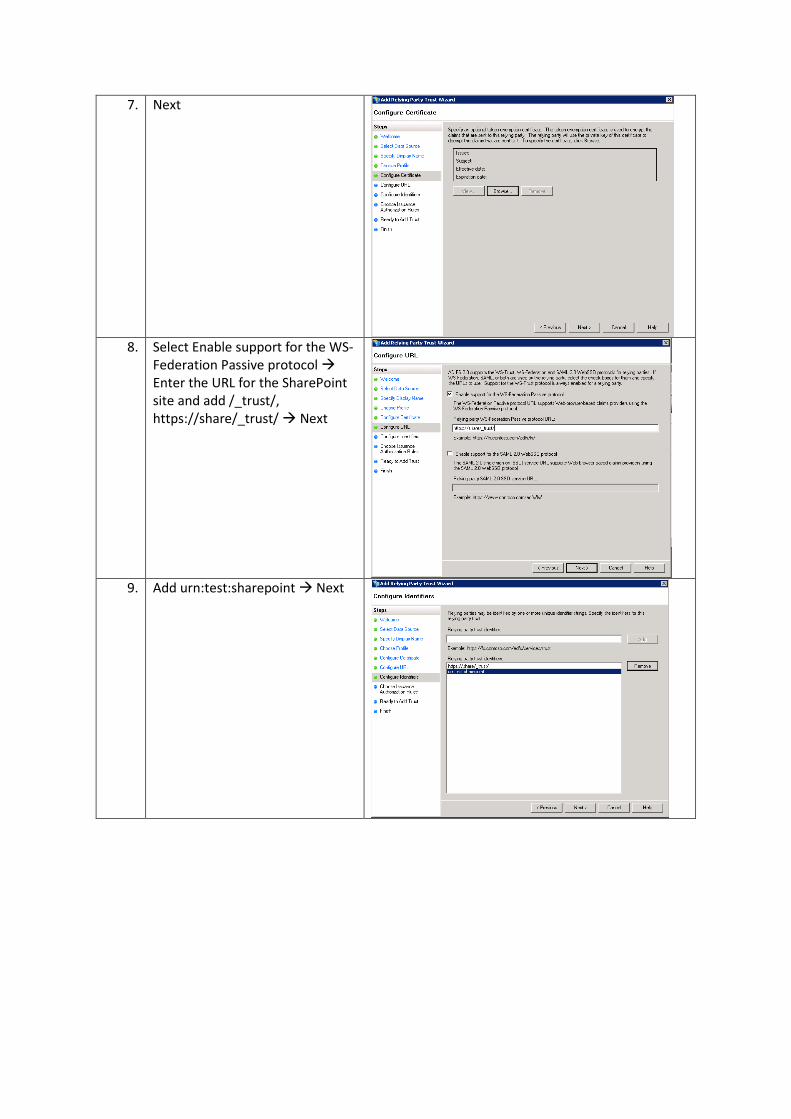
7. Next
8. Select Enable support for the WS-
Federation Passive protocol �
Enter the URL for the SharePoint
site and add /_trust/,
https://share/_trust/ � Next
9. Add urn:test:sharepoint � Next
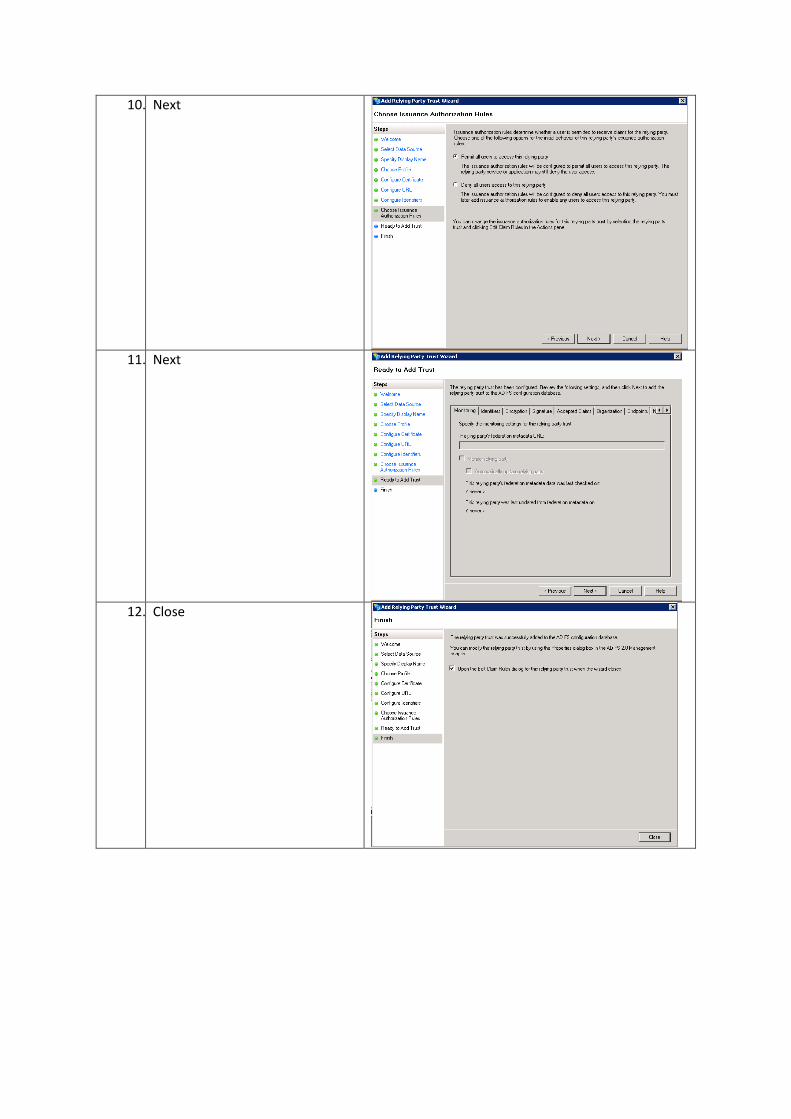
10. Next
11. Next
12. Close
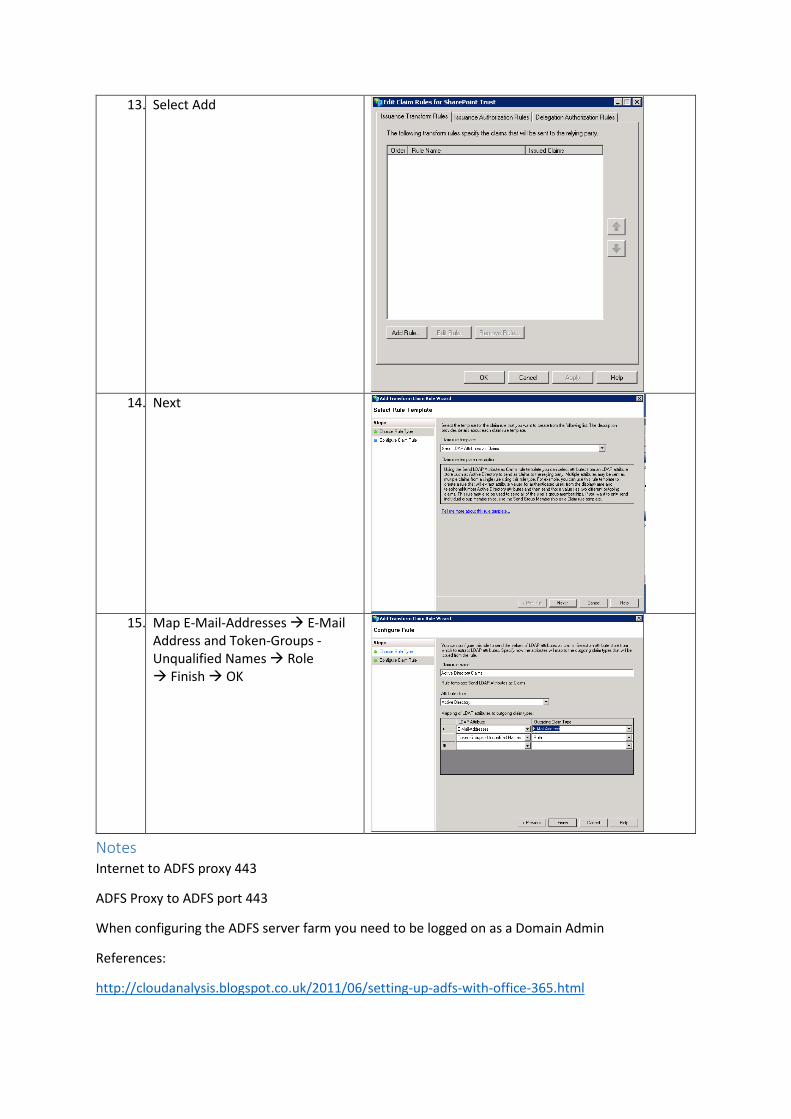
13. Select Add
14. Next
15. Map E-Mail-Addresses � E-Mail
Address and Token-Groups -
Unqualified Names � Role
� Finish � OK
Notes
Internet to ADFS proxy 443
ADFS Proxy to ADFS port 443
When configuring the ADFS server farm you need to be logged on as a Domain Admin